How much of your day goes on tasks a computer could be doing for you?
Every store runs on small repetitive jobs: announcing a new brand, copying an order into a spreadsheet, notifying a team channel. Connecting Salla with Make lets you hand those jobs to an automation instead of doing them by hand, and you build the whole thing visually — no developer required. In this guide, you'll learn how to install the Make app on your store, create a Make account, build and run your first scenario, and remove the app if you no longer need it.
Make is an automation tool that connects apps and moves data between them. Install the Make app from the Salla App Store, create a free Make account, then build a scenario: pick Salla as the data source, choose the event that triggers it, add a destination app, and set how often the scenario runs.
📌 Article overview
- What Make is and why merchants use it
- How to install the Make app on your Salla store
- How to create a Make account
- The difference between free and paid Make plans
- How business automation works with Make
- How to create a scenario in Make
- How to delete a scenario
- The difference between "Create a..." and "Watch ... Created"
- How to remove the Make app from your store
- Frequently asked questions
What is Make?
Make is a tool that connects apps and moves data between them, so you can organize and run your business from one place.
Why merchants use Make
1. It grows your business by automating tasks from a single place.
2. It connects to a wide range of apps and services with no coding involved.
3. Picking apps, adding them, and linking them together happens automatically.
🚀 How to install the Make app on your Salla store
1. From the side menu of your dashboard, click (Installed apps).

2. On the Salla App Store banner, click (Browse the Salla App Store).

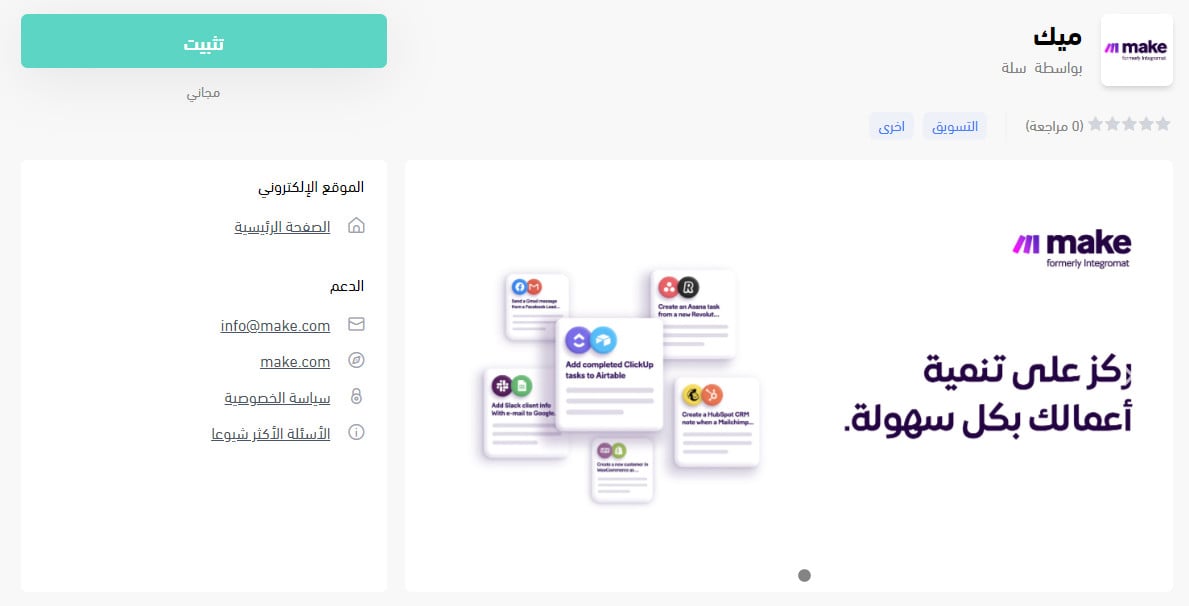
3. On the Make app page, click (Install).
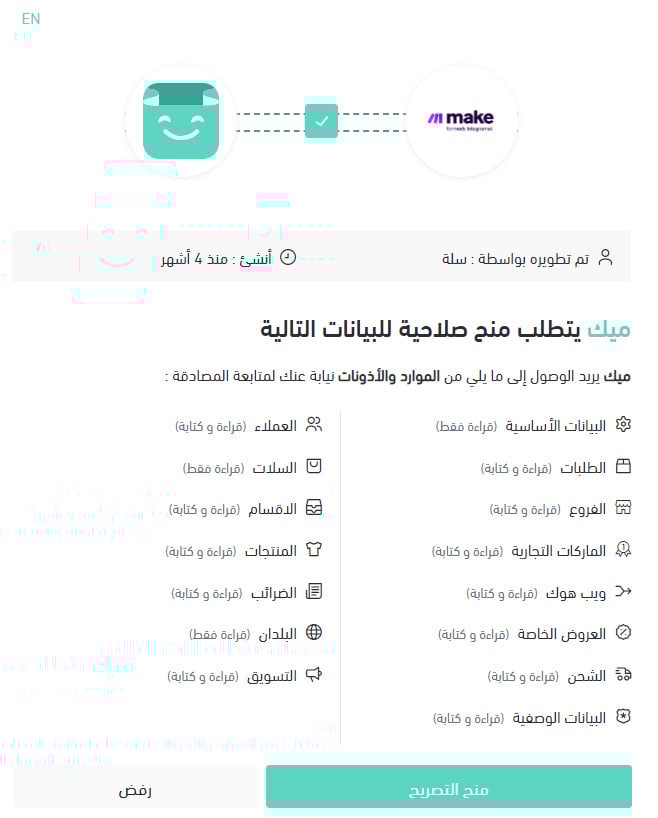
4. Review the permissions the app is asking for, then click (Grant permission).
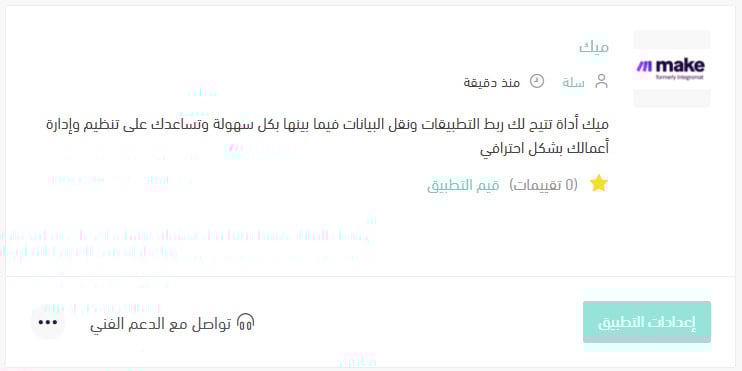
The Make app is now installed on your store.
For more details, see managing your store's apps.
👣 How to create a Make account
1. On Make's registration page, accept the terms of use, then click (Sign up for FREE).
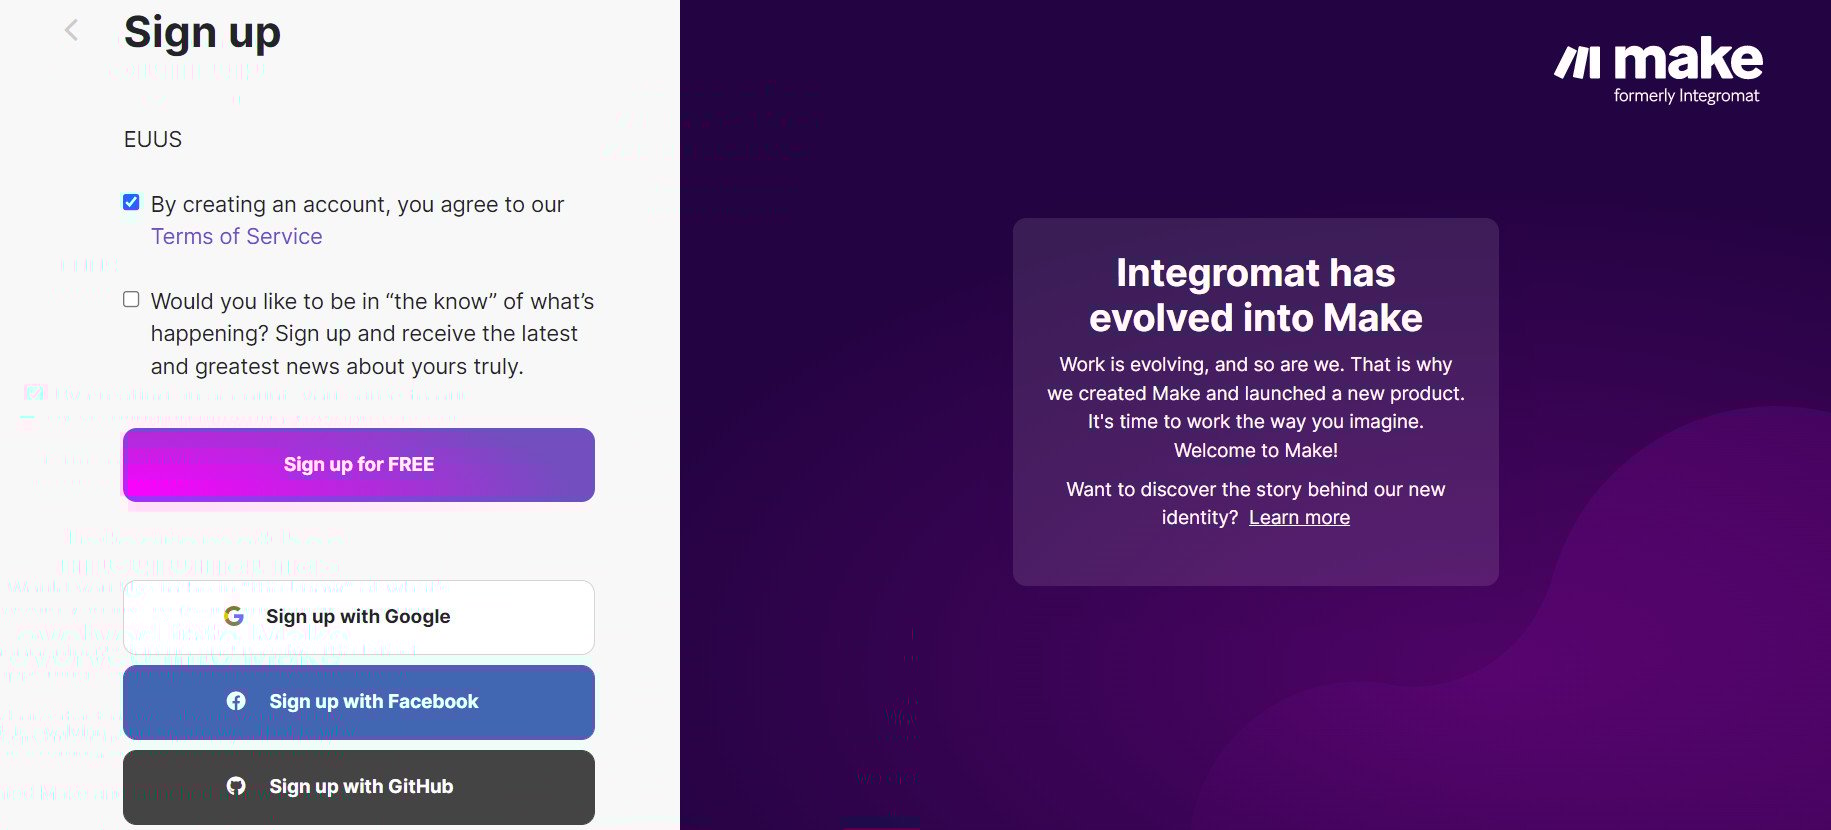
You can also sign up with a Google, Facebook, or GitHub account.
2. Enter the basic details Make asks for — email address, a password for your Make account, your name or store name, country, and hosting region — then click (Sign up for FREE).
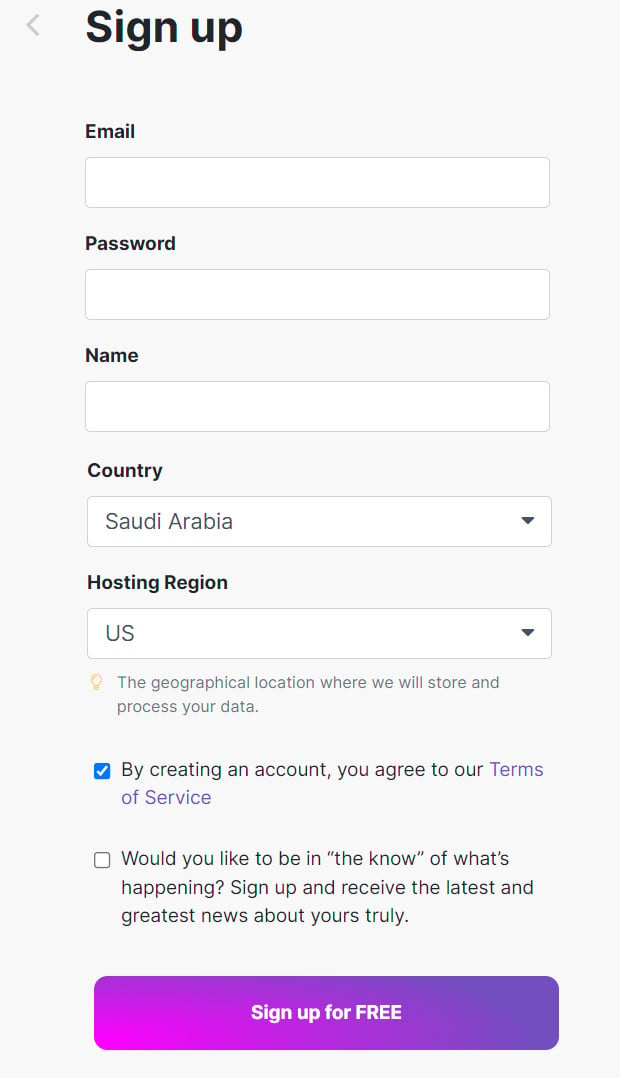
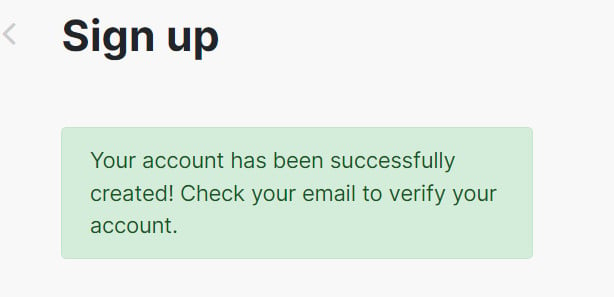
3. Activate your account using the message Make sends to your email.
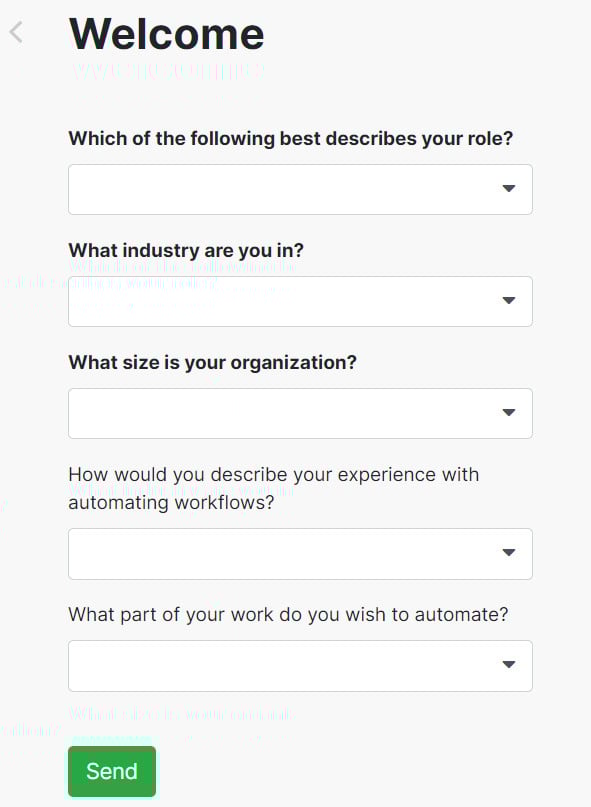
4. Once the account is active, fill in the details about your business, then click (Send).
Make asks for the following, in order:
- Which of the following best describes your role?
- What industry do you work in?
- How big is your organization?
- How would you describe your experience with workflow automation?
- Which part of your work would you like to automate?
Your Make account is now ready to automate the work in your Salla store.
What is the difference between a free Make account and a paid subscription?
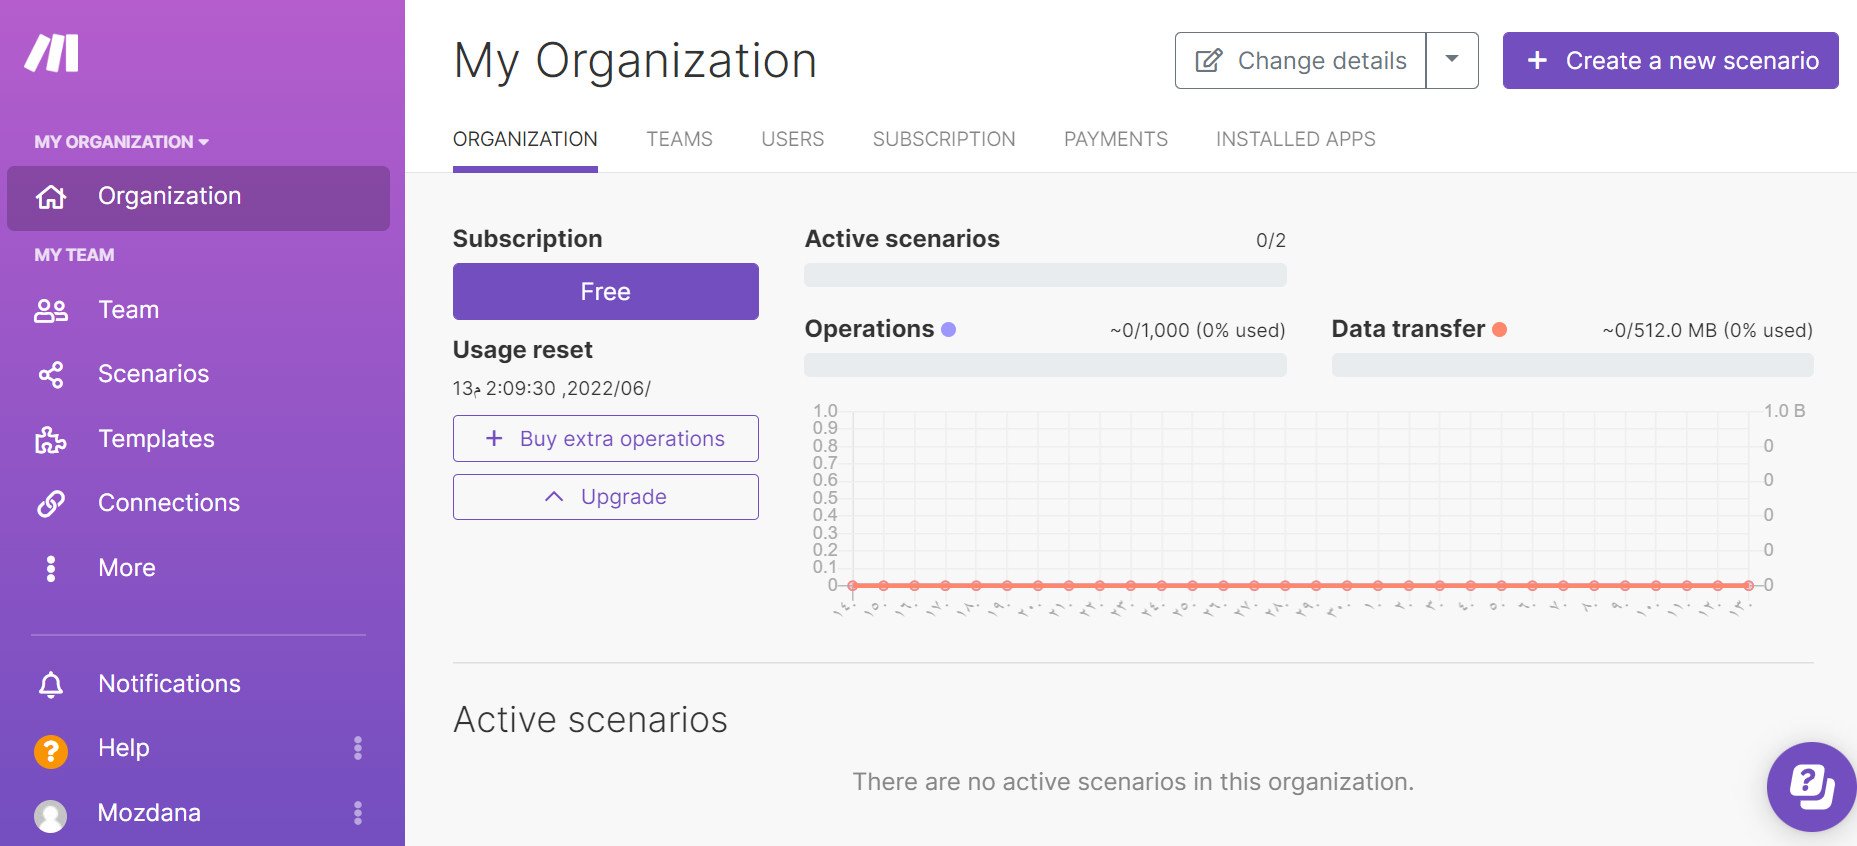
Every registered user gets access to the same Make features. What a free account has is usage limits: a fixed number of operations (how many times Make runs your scheduled tasks) and a set amount of data transfer. Once you have explored building automated workflows on the free plan, pick a subscription that matches what you need.
The free plan gives you 1,000 operations per month.
How business automation works with Make
Automation runs on scenarios. A scenario is a series of steps Make carries out for you. For each scenario you decide the data source, how the data is processed, which data gets used, and what gets ignored.
Make can handle scenarios as complex as you need — even the most involved ones are possible.
👣 How to create a scenario in Make
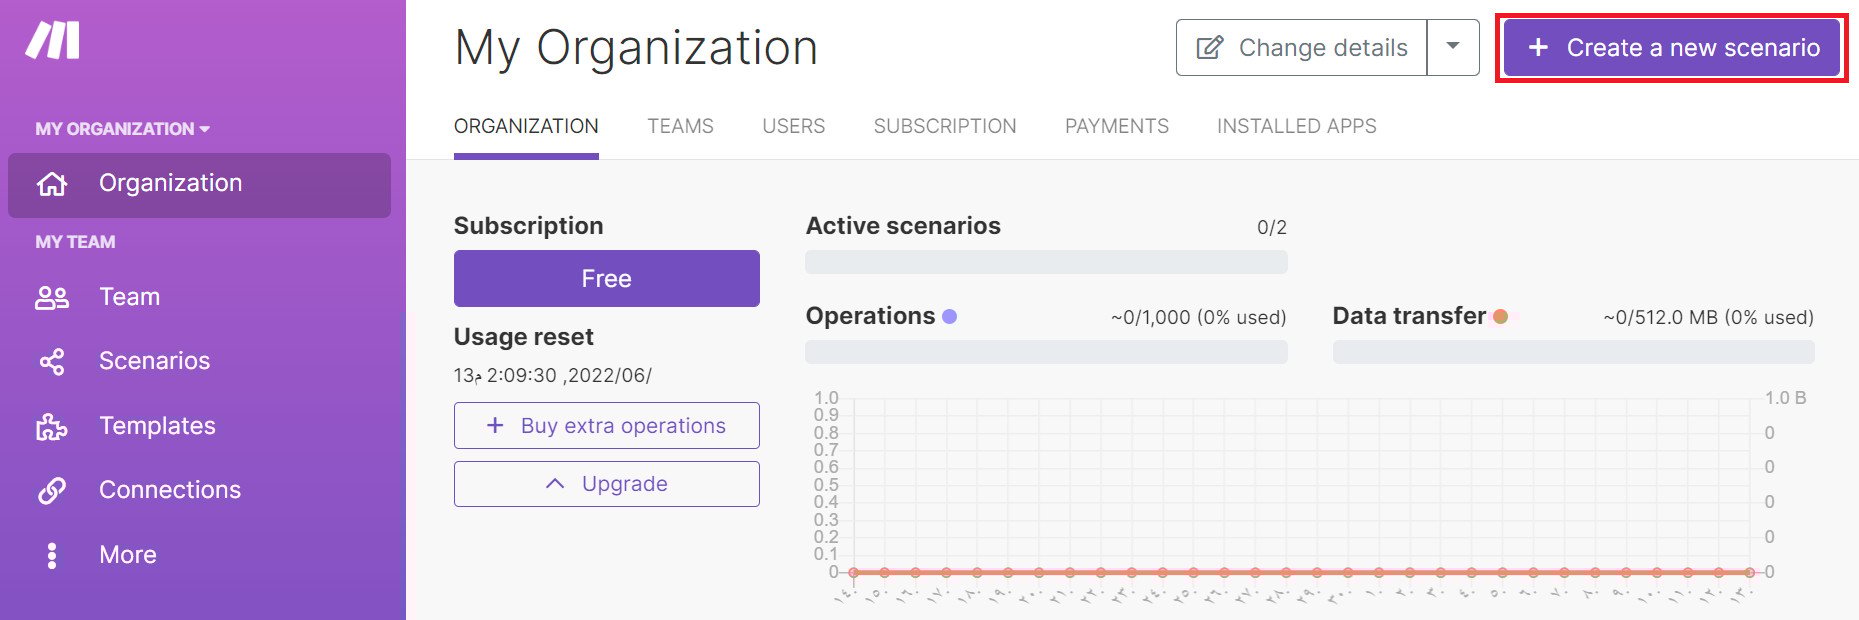
1. From the Organization page, click (+ Create a new scenario).
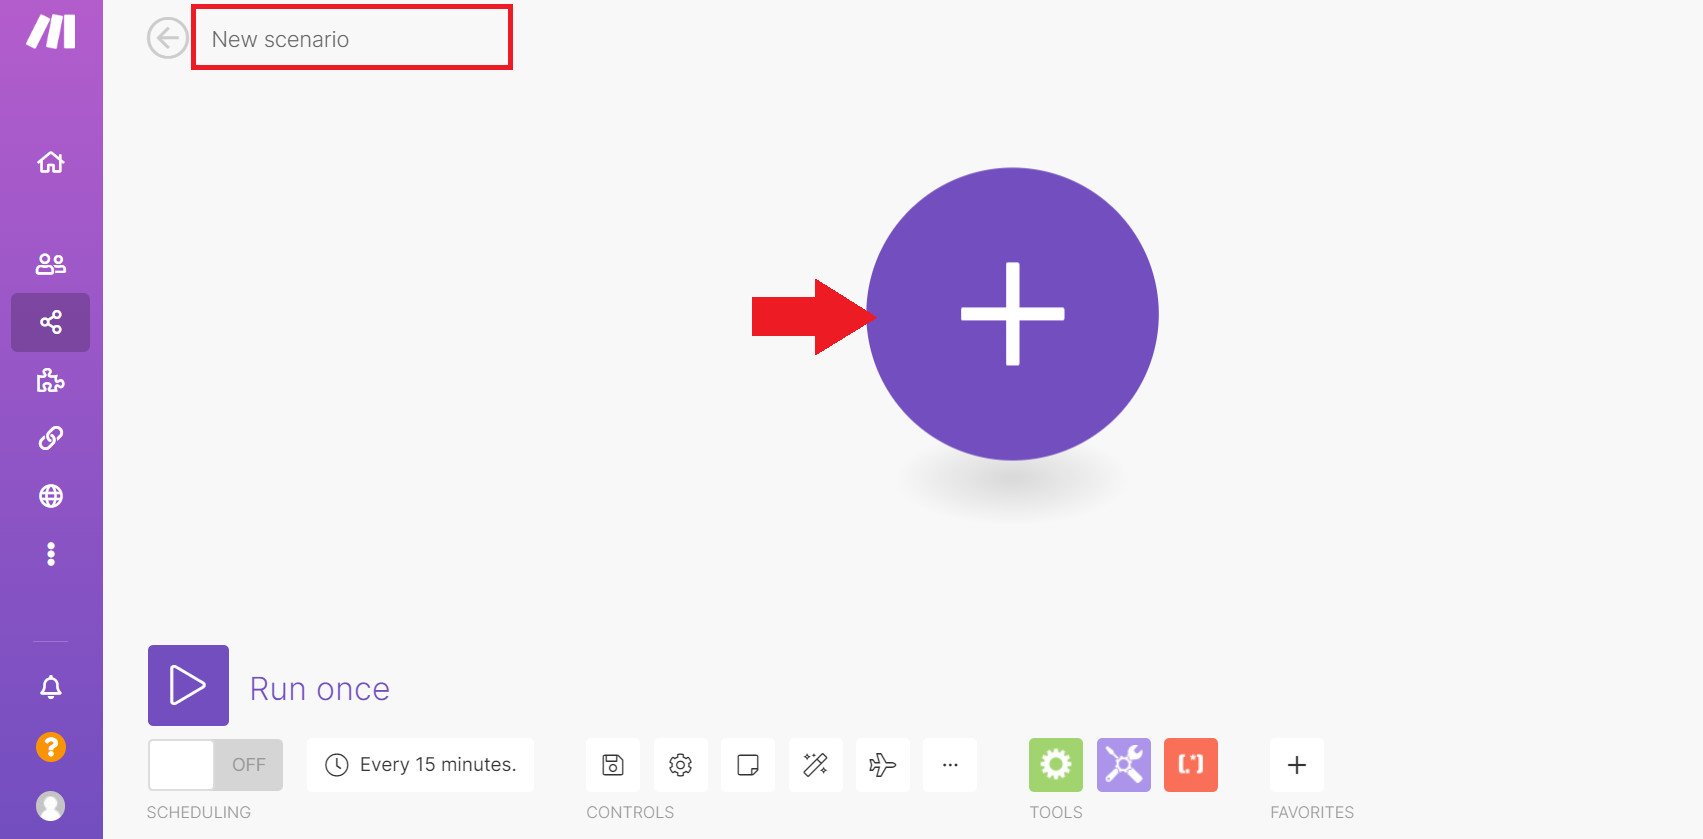
2. Replace the default scenario name with one that describes the work it will do, then click (+).
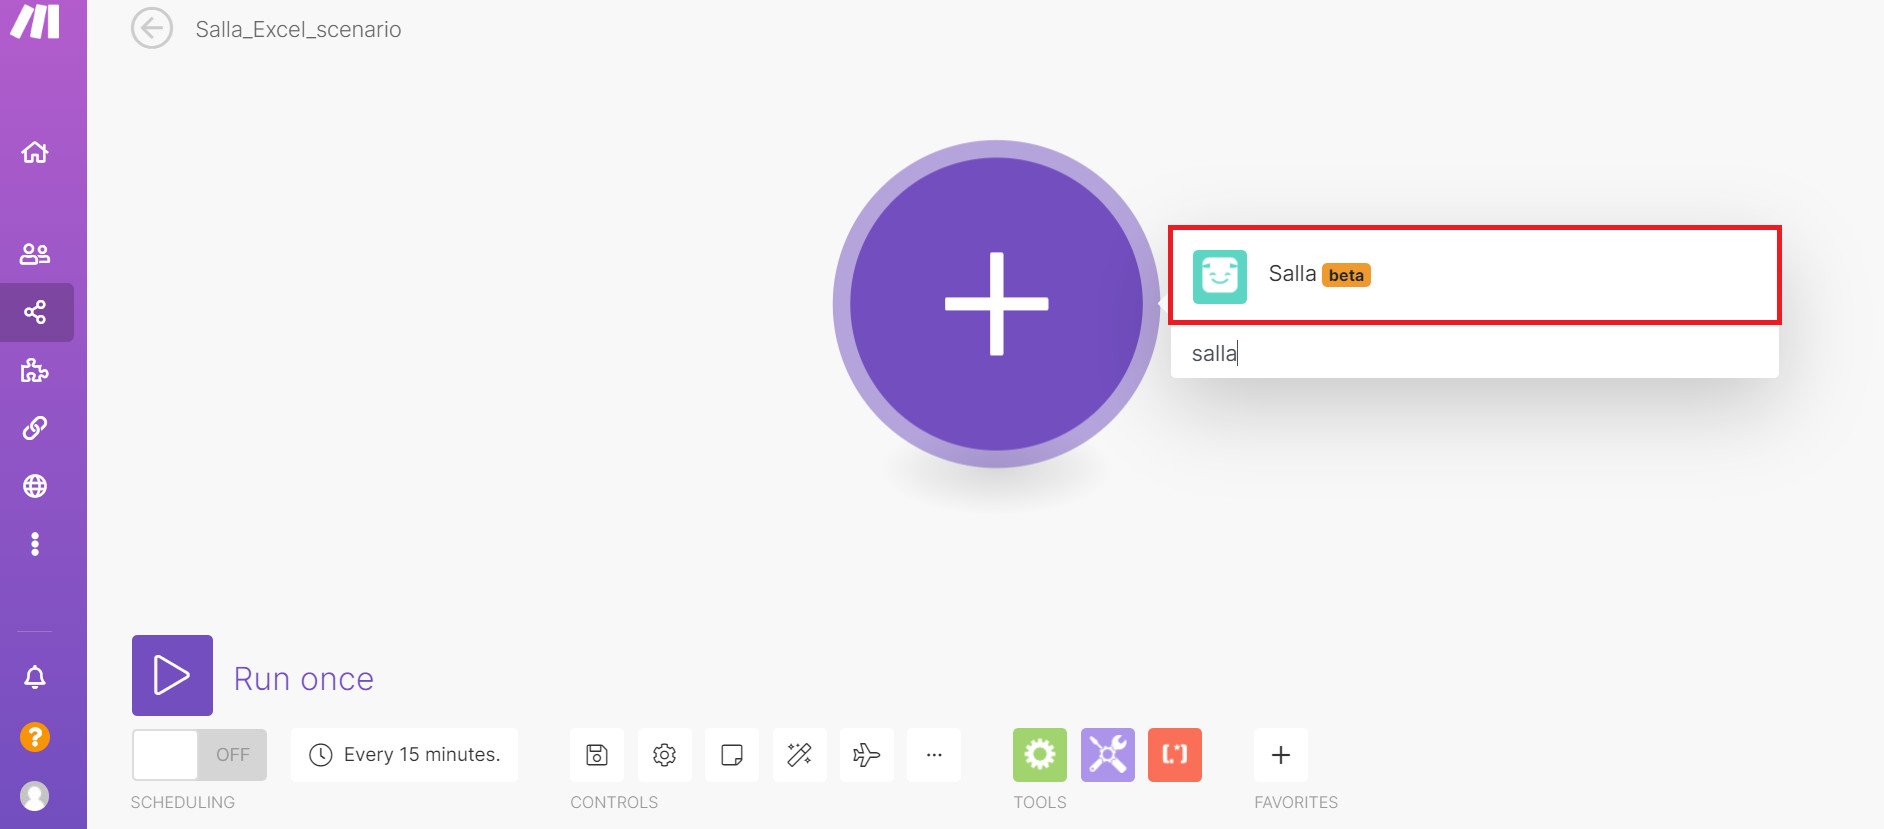
3. Set the data source to Salla.
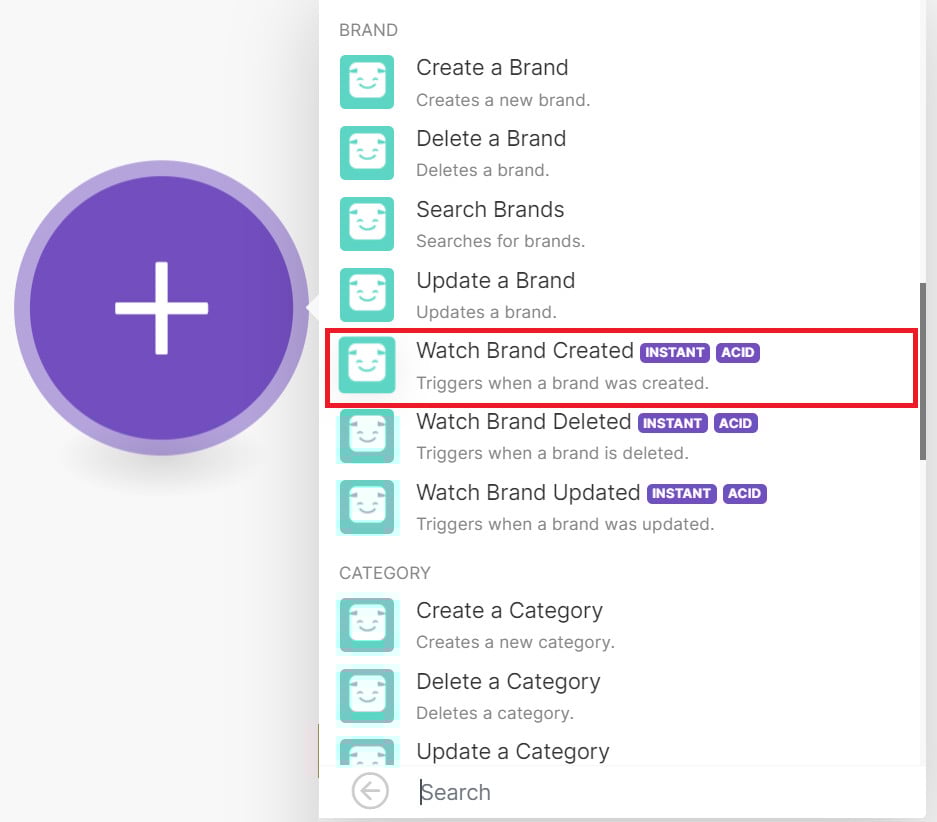
4. Choose the event in the data source that starts the scenario.
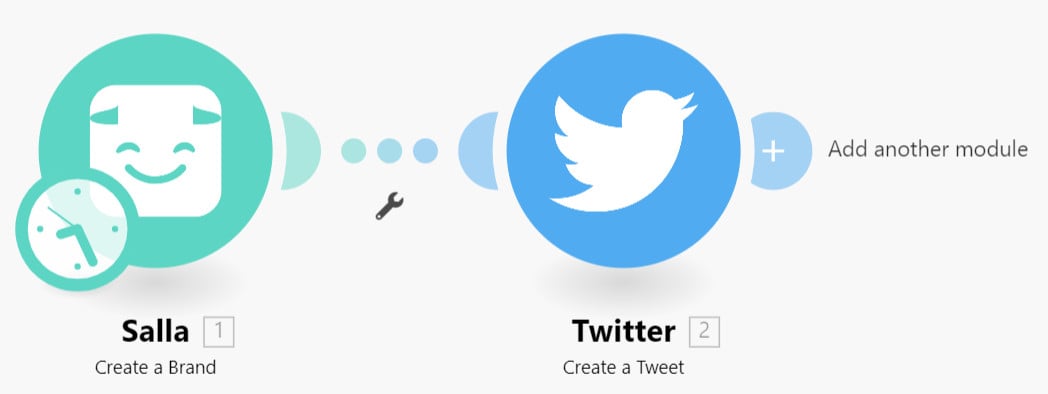
💡 Example: when a new brand is created, a new tweet is posted on Twitter carrying the brand's name and description.
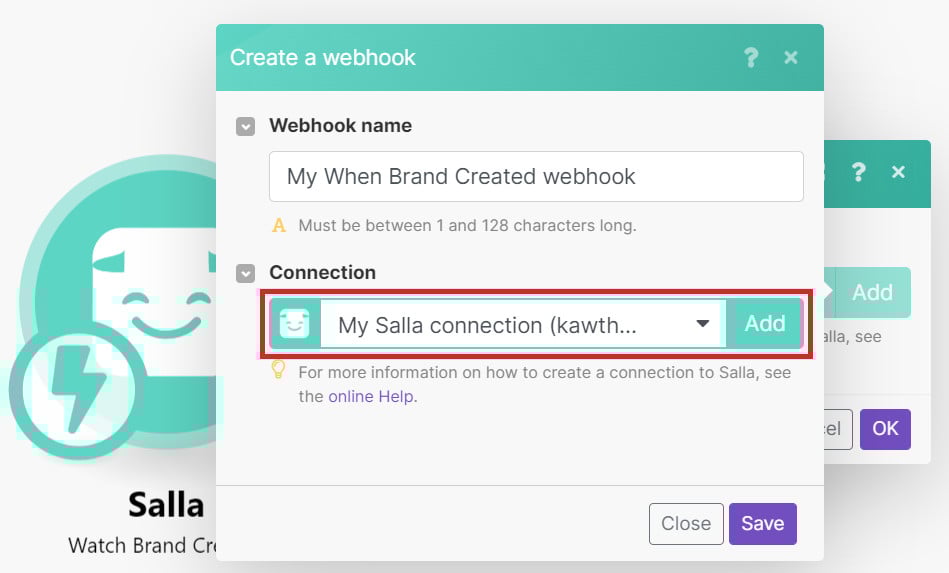
5. Pick one of your existing connections to the data source, or click (Add) to create a new one.
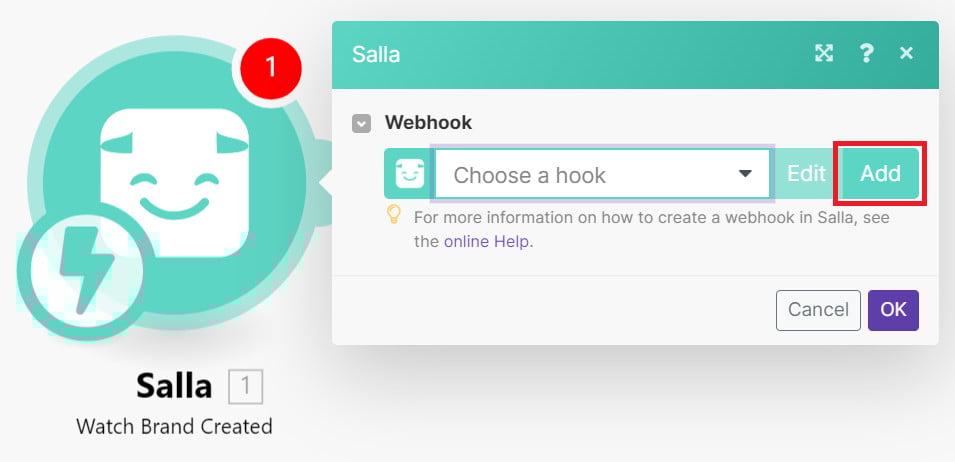
If you create a new connection, give it a name that identifies the data source, then click (Save).
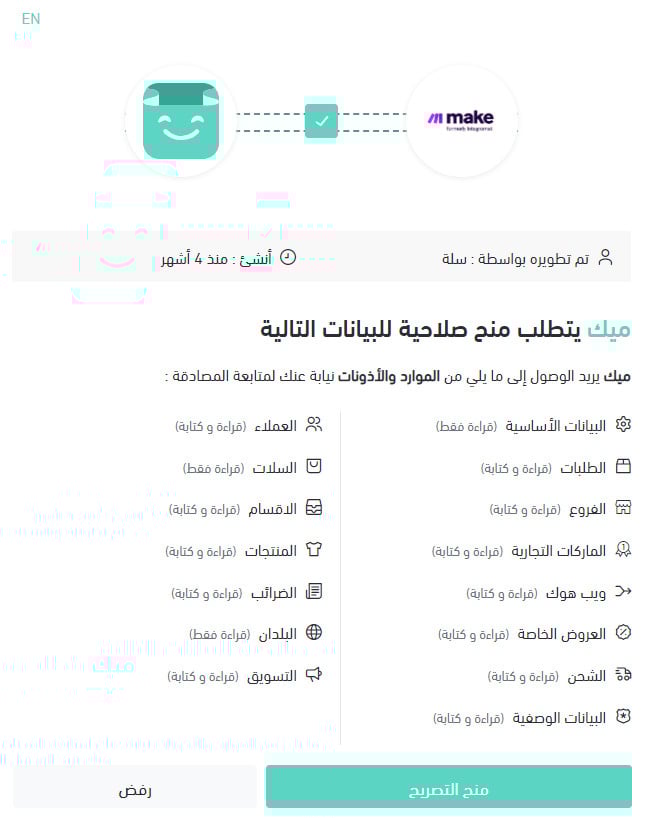
If Make asks for permission to use your data, click (Grant permission).
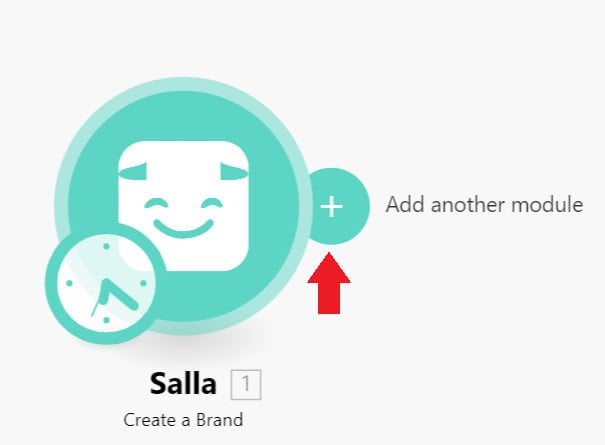
6. Click (+) to add the destination app that should react whenever a new brand is added.
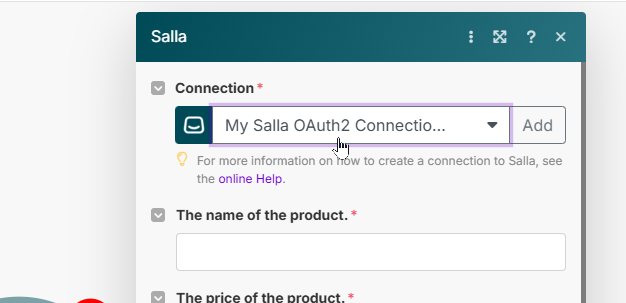
When you work through the connection steps, choose Salla OAuth2.
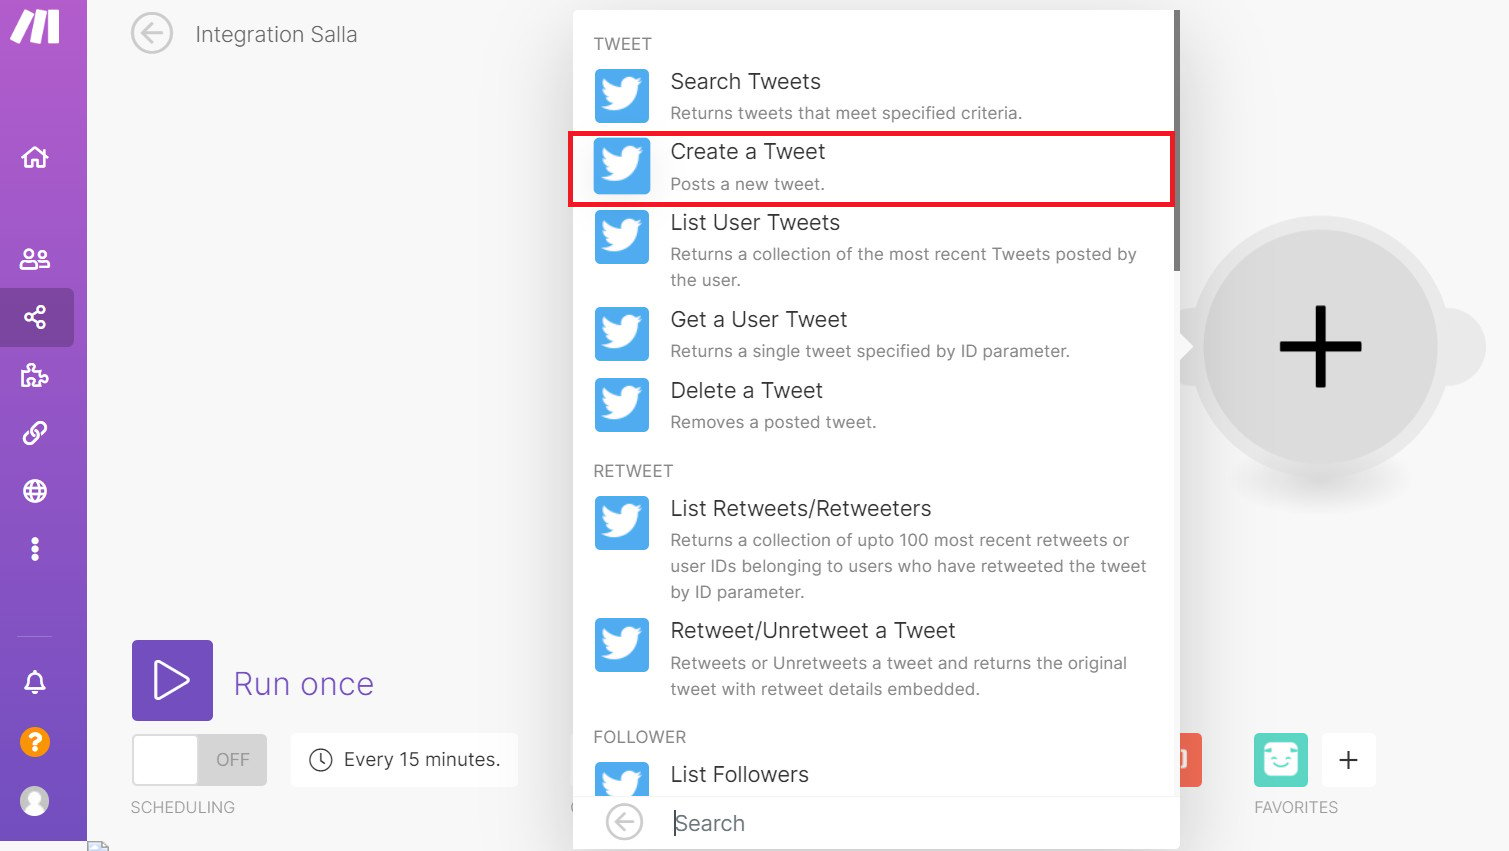
7. In our example — a new brand posts a new tweet on Twitter — choose the event (Create a Tweet).
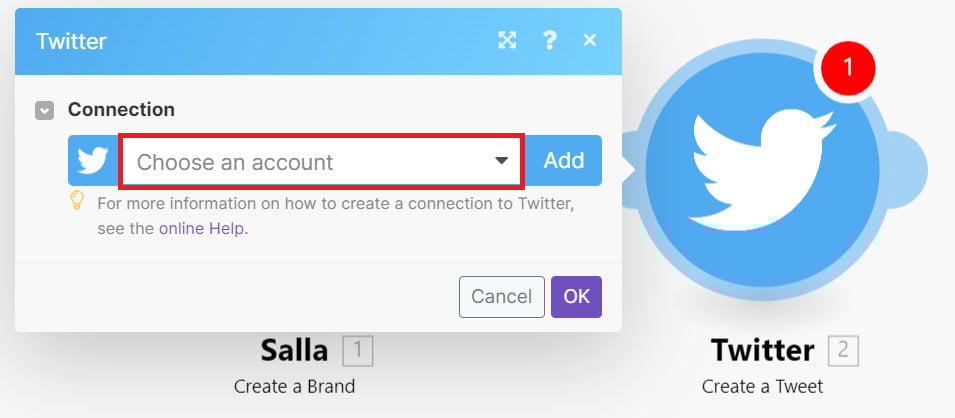
8. Select the connection to your Twitter account, or add a new one by clicking (Add).
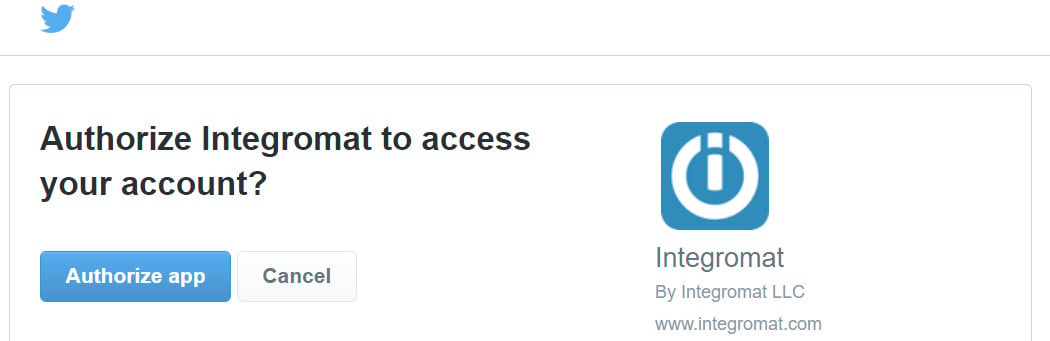
Then grant Make permission to access your Twitter account.
9. Enter the data and wording the tweet should publish, then click (OK).
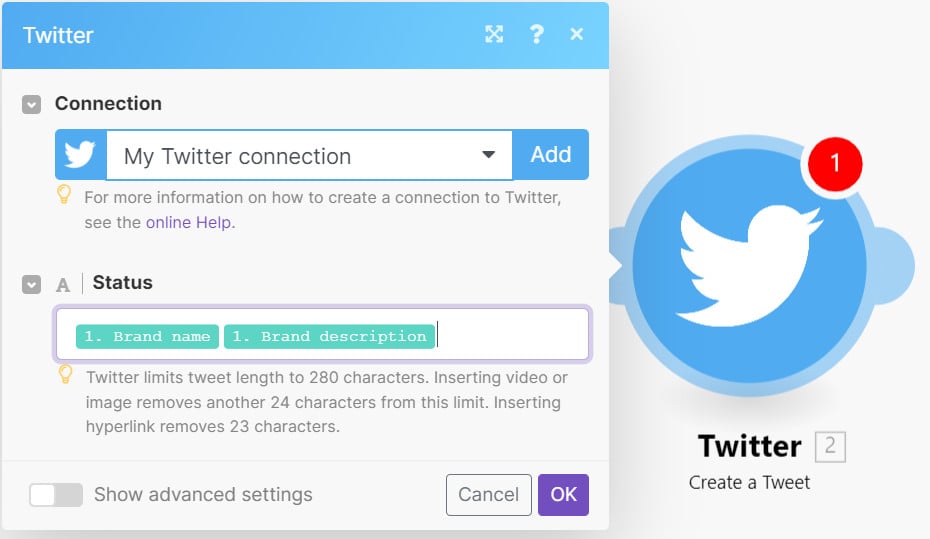
The scenario is now ready to test.
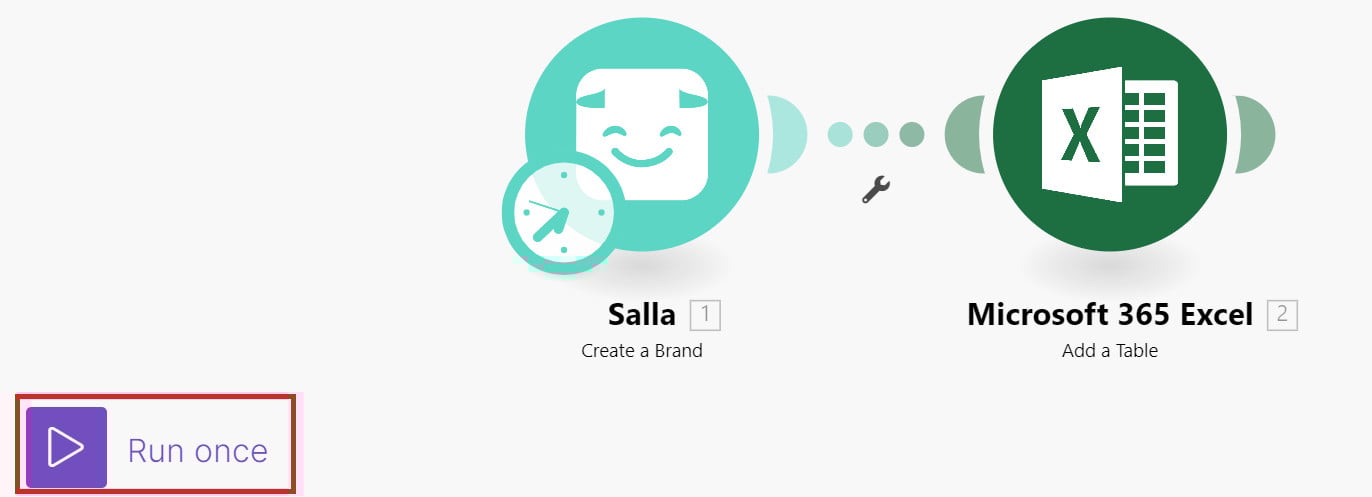
10. To test the scenario, click (Run once).
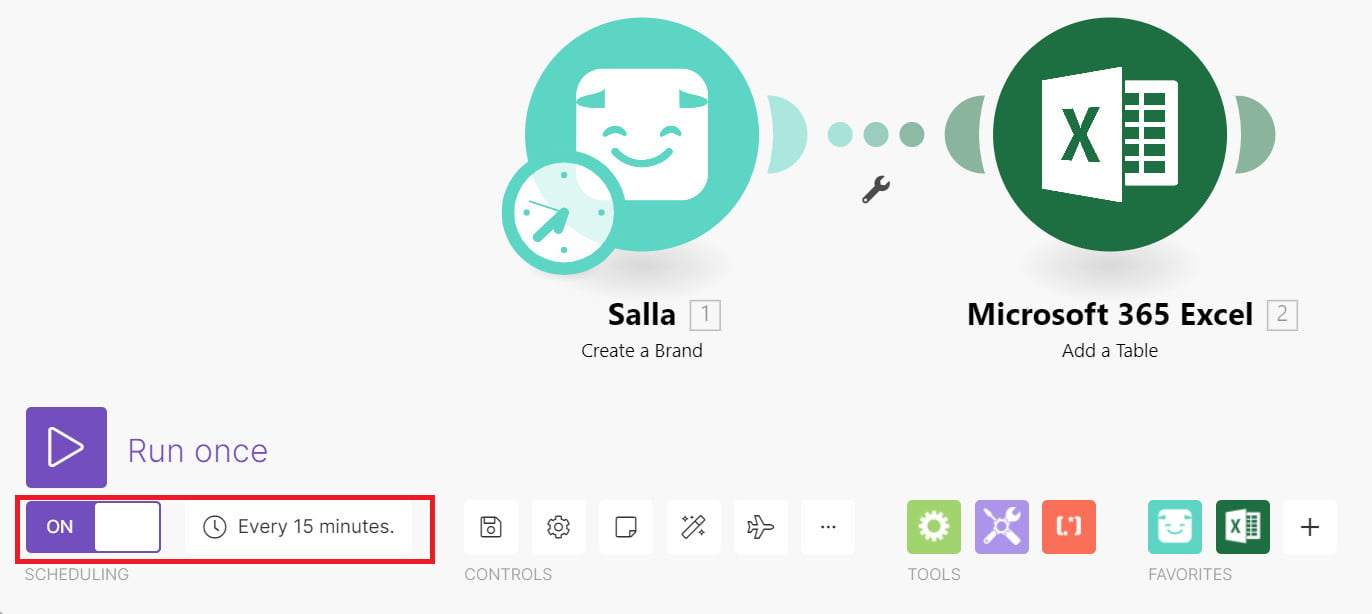
11. To activate the scenario and put it into service, turn on the toggle shown, then set how often the scenario repeats — the interval at which it runs again and checks whether anything changed in the data source.
In our example, every 15 minutes Make checks whether a new brand has been added so it can post a tweet about it.
How to delete a scenario
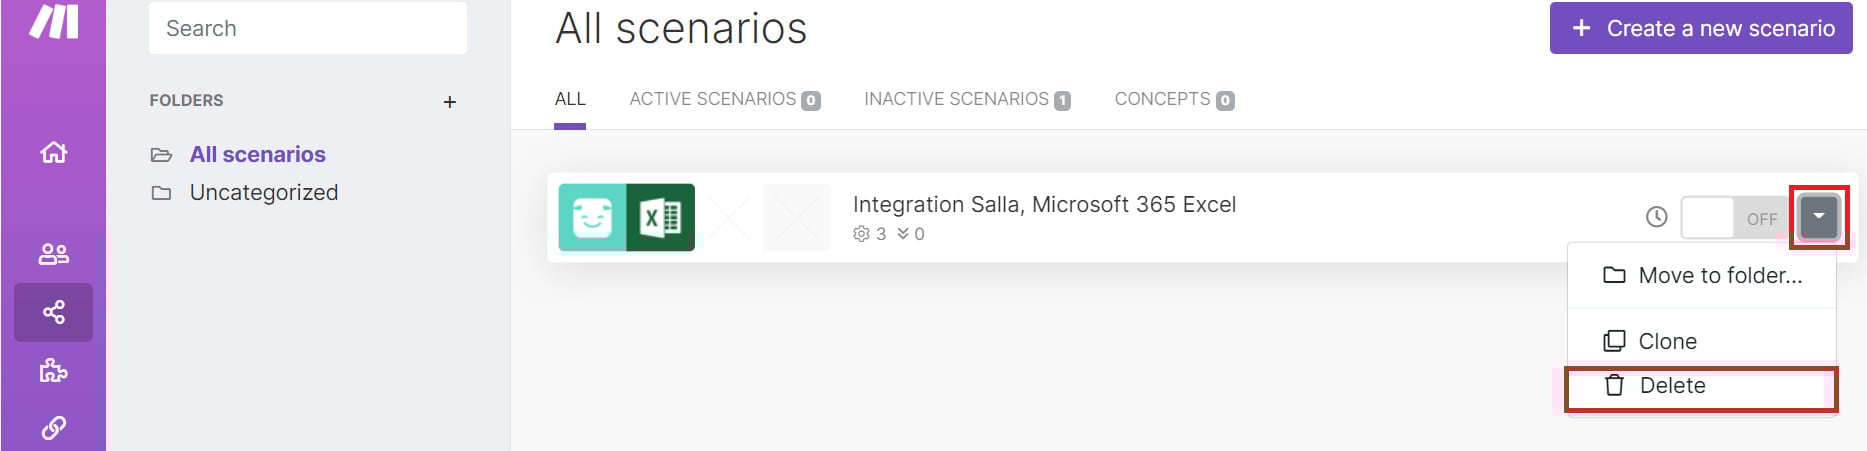
From the scenarios page, open the dropdown menu for the scenario you want to remove, then click (Delete).
What is the difference between "Create a..." and "Watch ... Created"?
There are several ways to react to what happens in your Salla store, and they apply to brands, products, orders, and more:
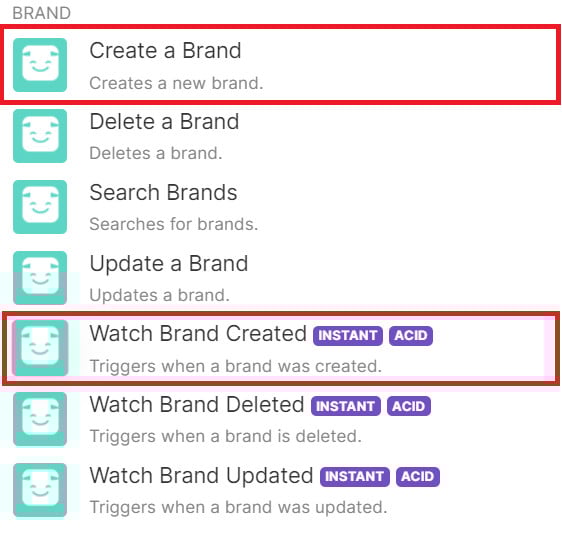
Case one: Watch Brand Created
The trigger fires once the brand has finished being created, exactly as in our earlier example: after a new brand is created, a tweet about it is posted on Twitter.
Case two: Create a Brand
A new brand is created in your store with specific details — either details you enter yourself or details pulled from another app, depending on how you configure the module.
For example, a new brand is created in your store every time someone submits certain information through a particular Google form.
How to remove the Make app from your store
1. From the side menu of your dashboard, click (Installed apps).

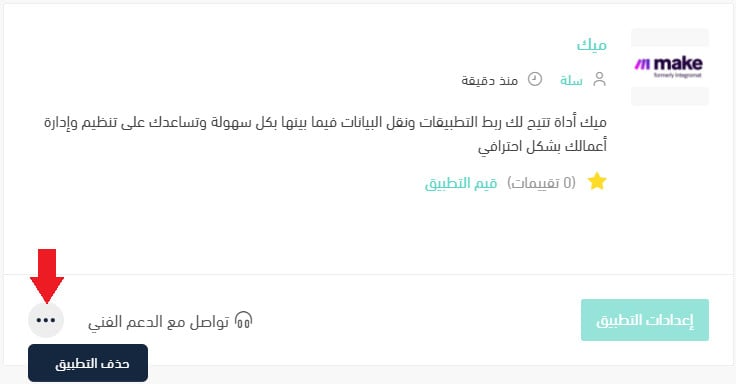
2. On the all apps page, find the Make app, click the (...) icon, then click (Delete app), as shown in the image.
📝 Important notes
A scenario only runs after you activate it. Testing with Run once checks that it works, but it does not put the scenario into service.
Operations are consumed every time a scenario runs, so a short repeat interval uses up your monthly allowance faster than a long one.
Frequently asked questions
❓ Do I need coding skills to connect Salla with Make?
No. Choosing apps, adding them, and linking them together is all done visually, with no development work involved.
❓ How many operations does the free Make plan include?
1,000 operations per month. An operation is one run of a scheduled task, and the free plan also has a set data transfer allowance.
❓ How often does a scenario run?
You decide when you activate it. The repeat interval sets how often the scenario runs again and checks the data source for changes — every 15 minutes in the example used in this guide.
❓ What permissions does Make need from my store?
You review the requested permissions and click Grant permission when you install the app, and again when you create a new connection to Salla inside a scenario.
Start with one scenario that removes a task you repeat every week. Once it is running reliably, the next one takes minutes to build.