How many hours a month does your team spend re-typing store orders into your accounting software?
Every sale you make is also an accounting entry, and copying those entries by hand is where mistakes creep in. Qoyod from Fai Sync links your Salla store to the Qoyod accounting software through the Fai Sync platform, so sales are recorded, stock levels stay aligned, and orders are posted to your books automatically. In this guide, you'll learn how to connect Qoyod from Fai Sync to your store, where to find the API key the connection needs, how to upgrade your plan, and how to remove the app.
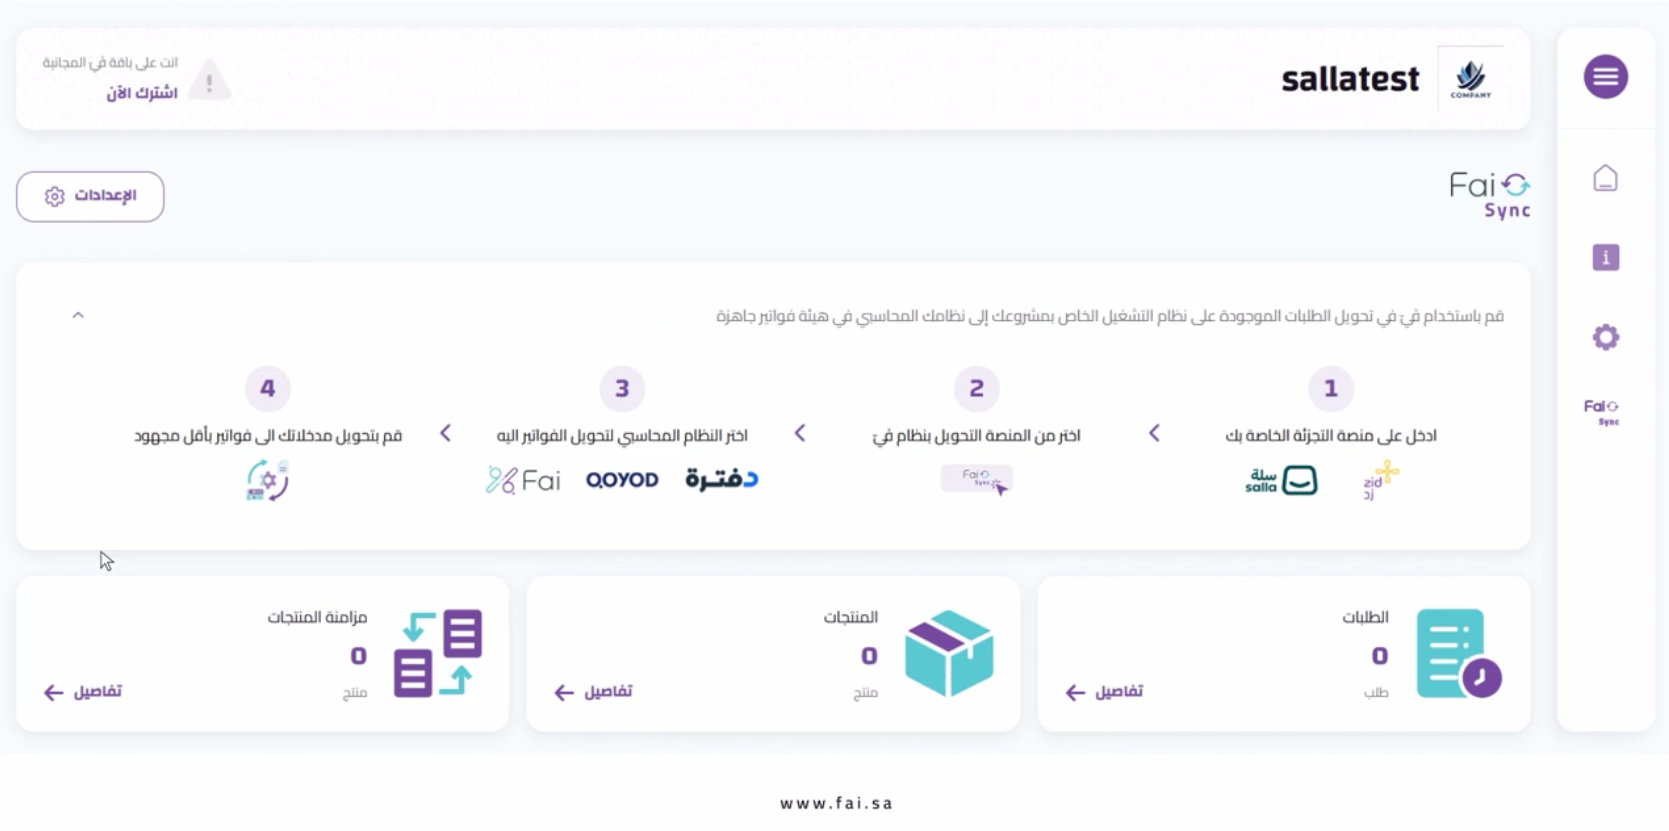
To connect the app, install Qoyod from Fai Sync from the Salla App Store and approve the permissions. Open the activation email, sign in with the credentials it contains, create your entity, choose Qoyod as the accounting software, then paste your Qoyod API key and pick a start date to confirm.
📌 Article overview
- How to connect Qoyod from Fai Sync to your Salla store
- How to manage the Qoyod from Fai Sync app
- Frequently asked questions
🚀 How to connect Qoyod from Fai Sync to your Salla store
1. From the main menu, click the (More) tab, then click (Installed apps).
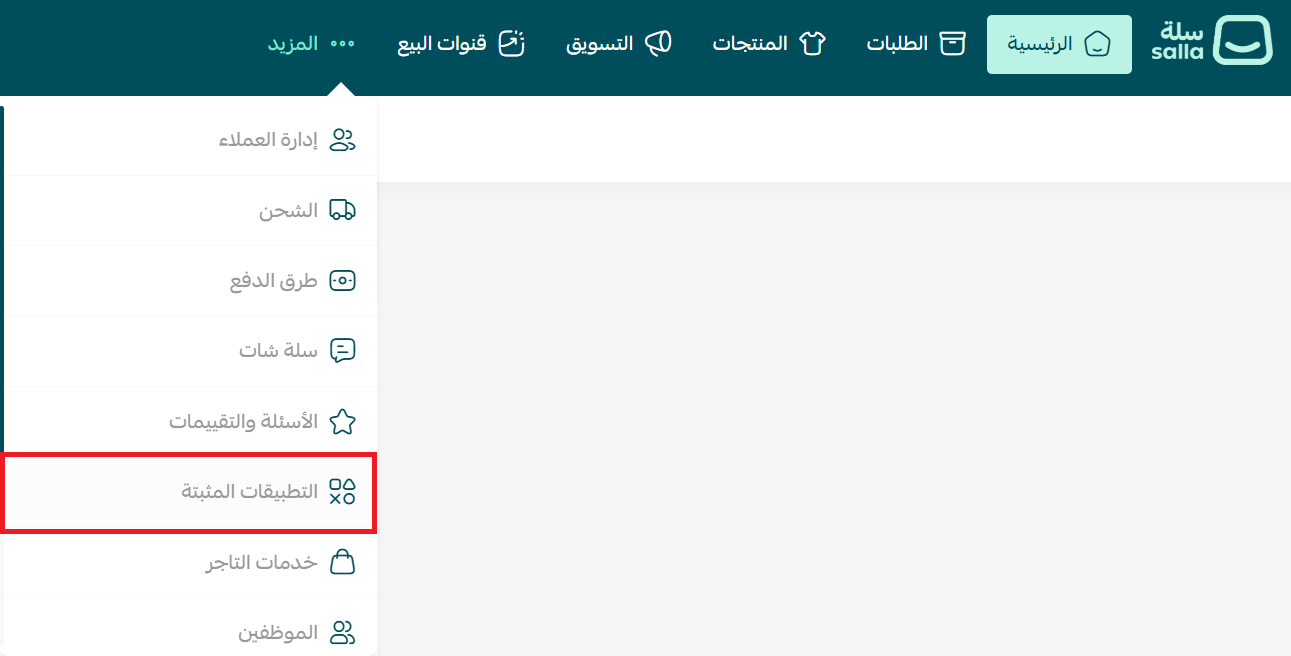
2. On the Salla App Store banner, click (Browse the Salla App Store).

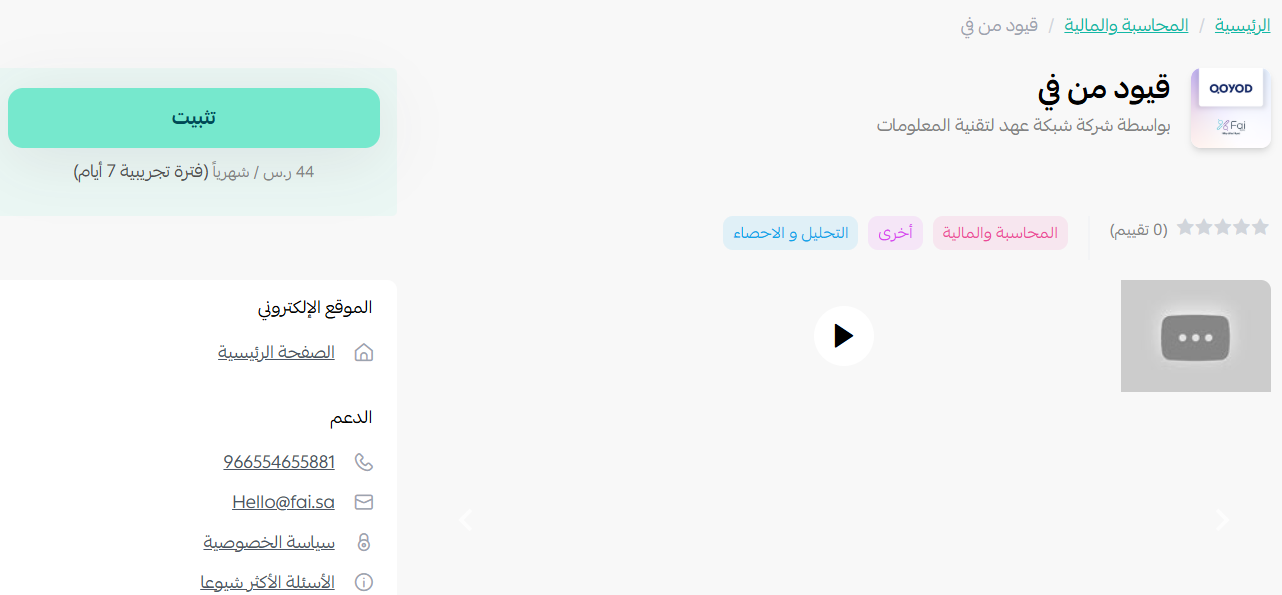
3. On the Qoyod from Fai Sync app page, click (Install).
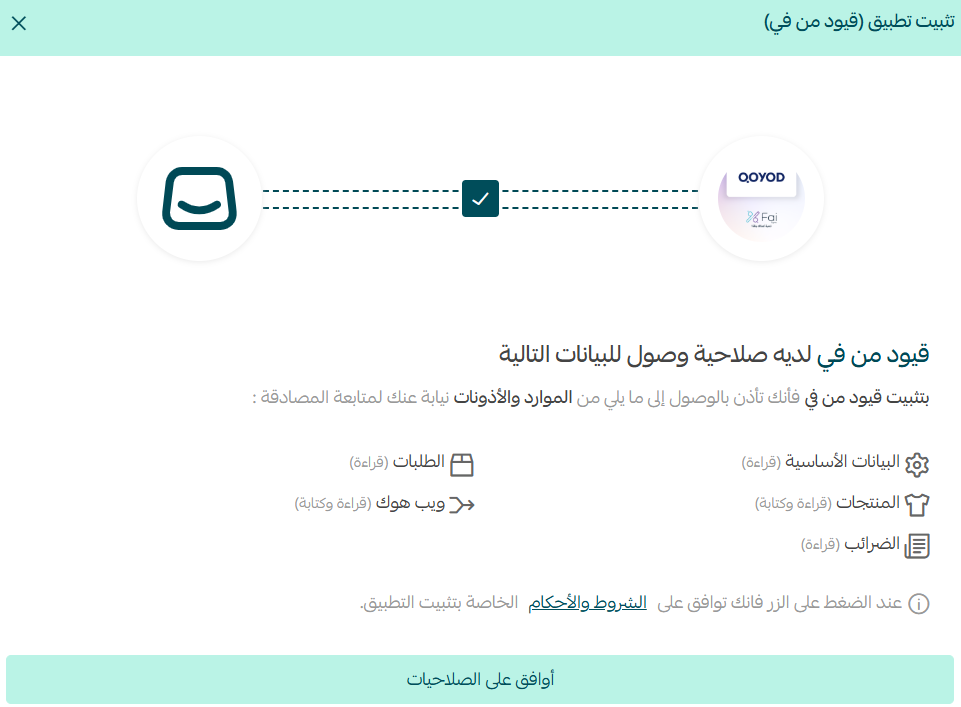
4. Review the permissions the app requests, then click (Approve permissions).
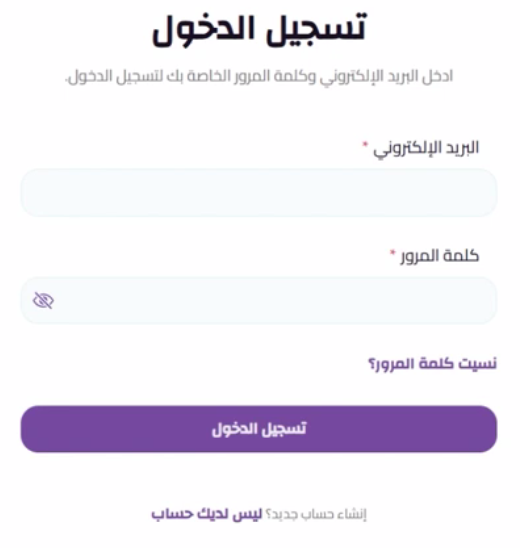
5. Check your inbox. An activation email arrives with a link that takes you to the registration page.

6. Enter the email address and password sent to you, then click (Sign in).
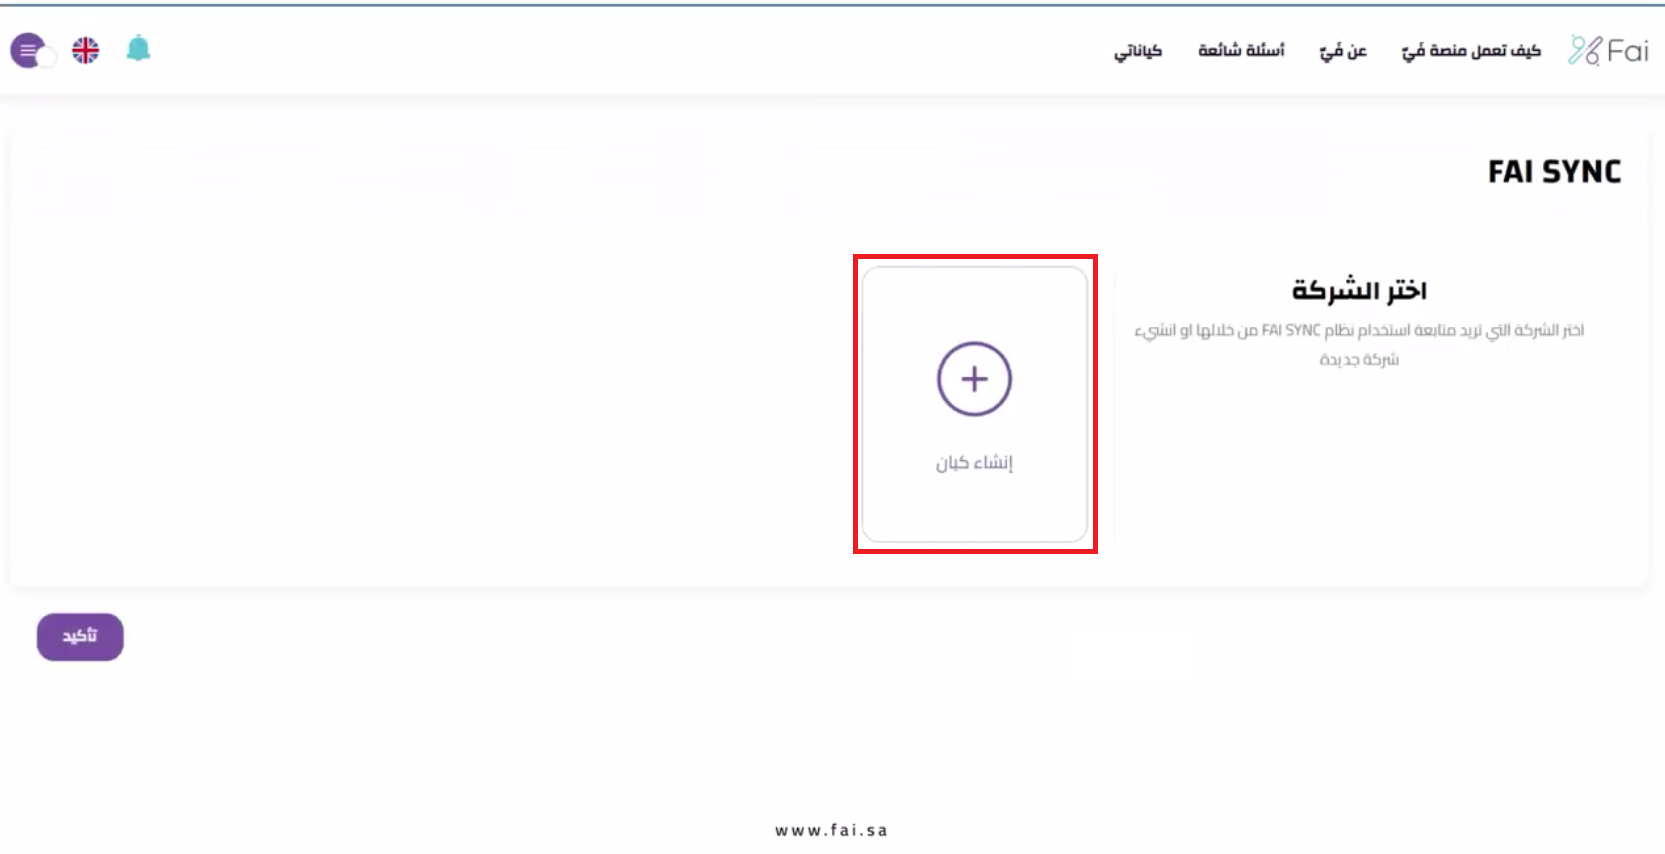
7. Click (Create entity).
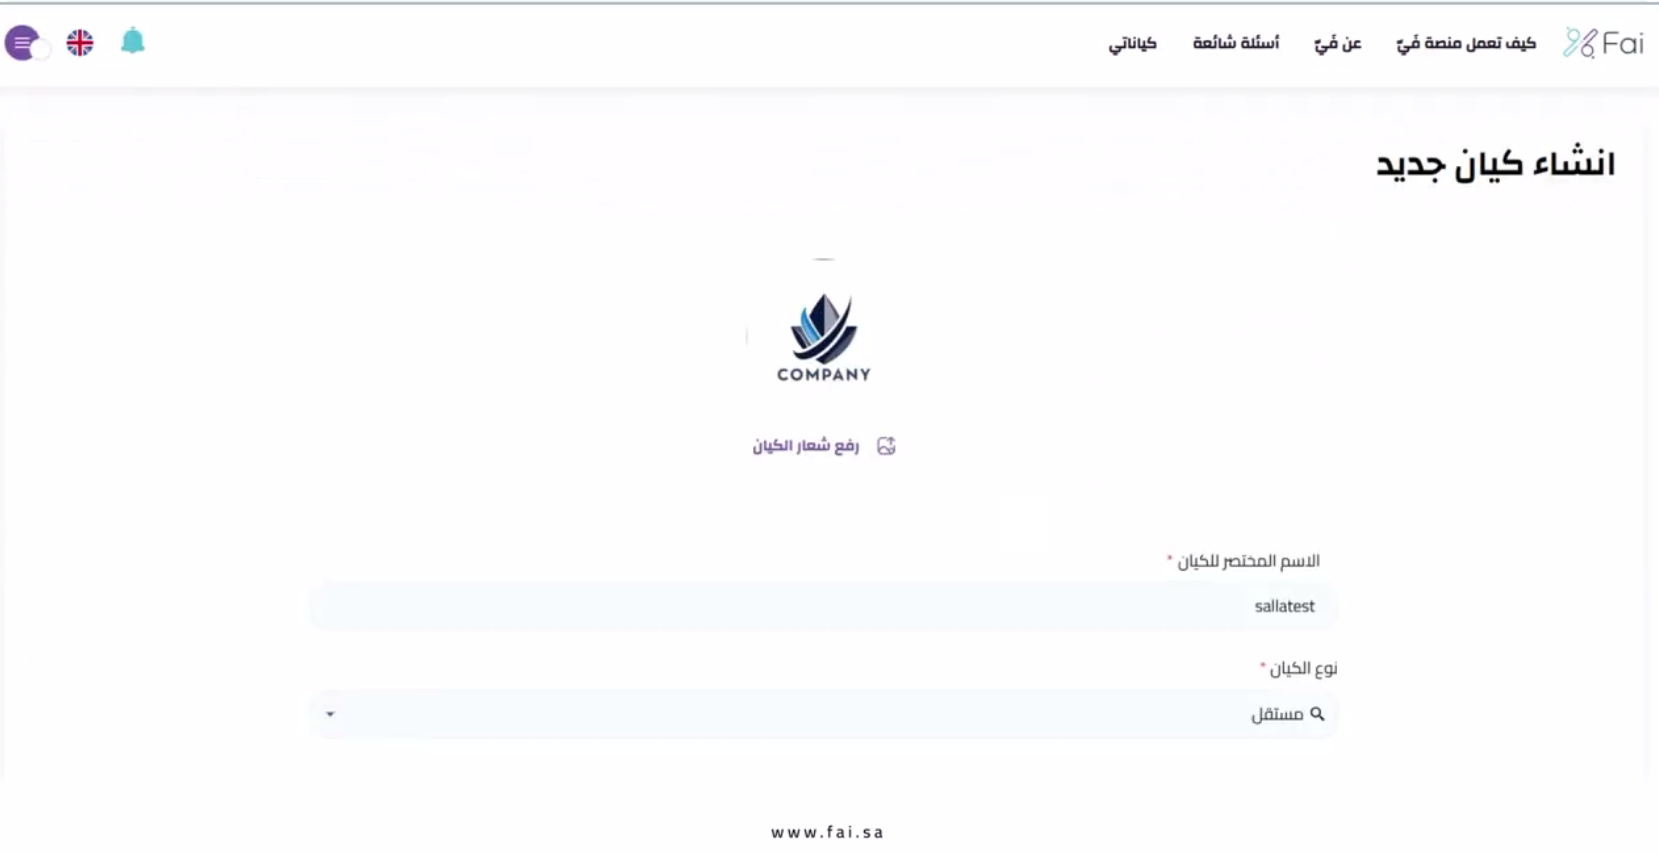
8. Add the details of the new entity: logo, short name, and entity type, then click (Save).
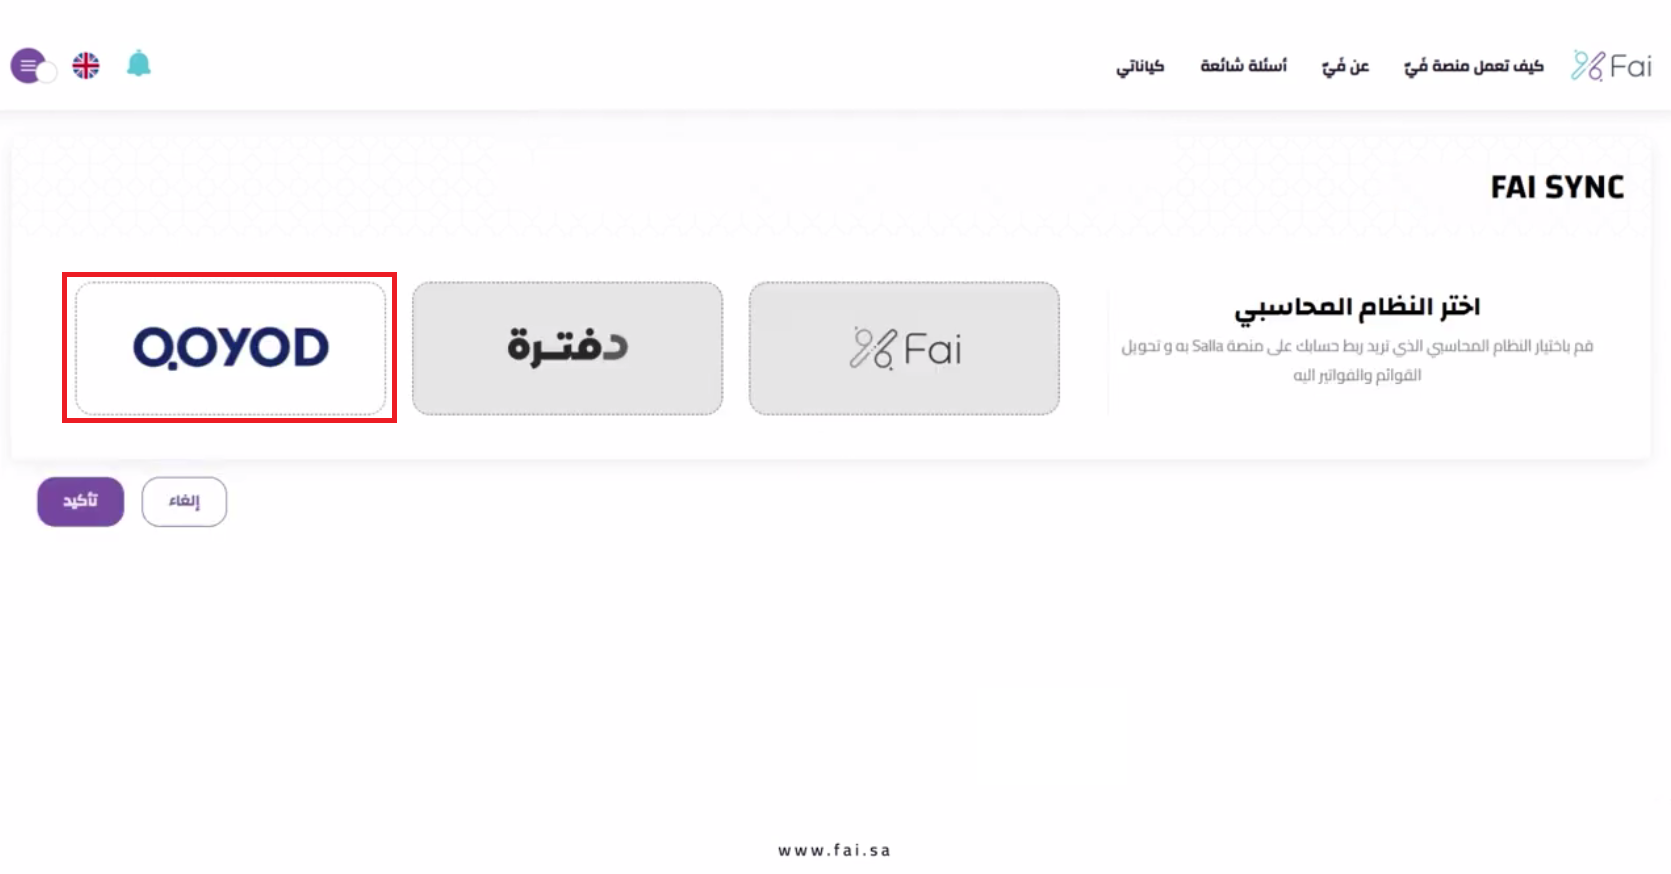
9. Choose Qoyod as your accounting software, then click (Confirm).
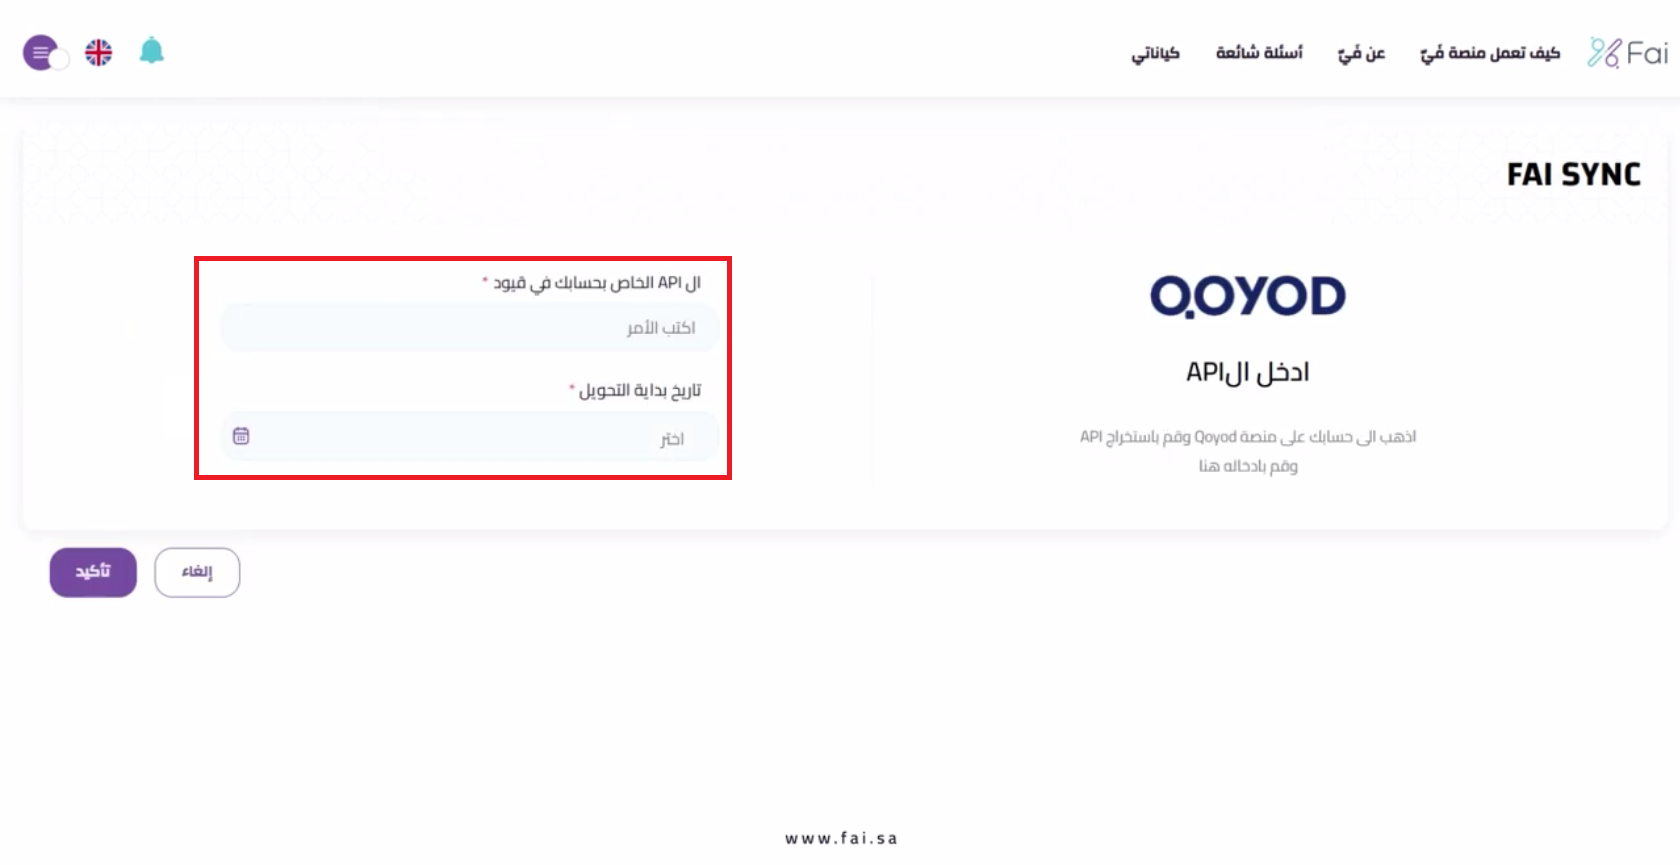
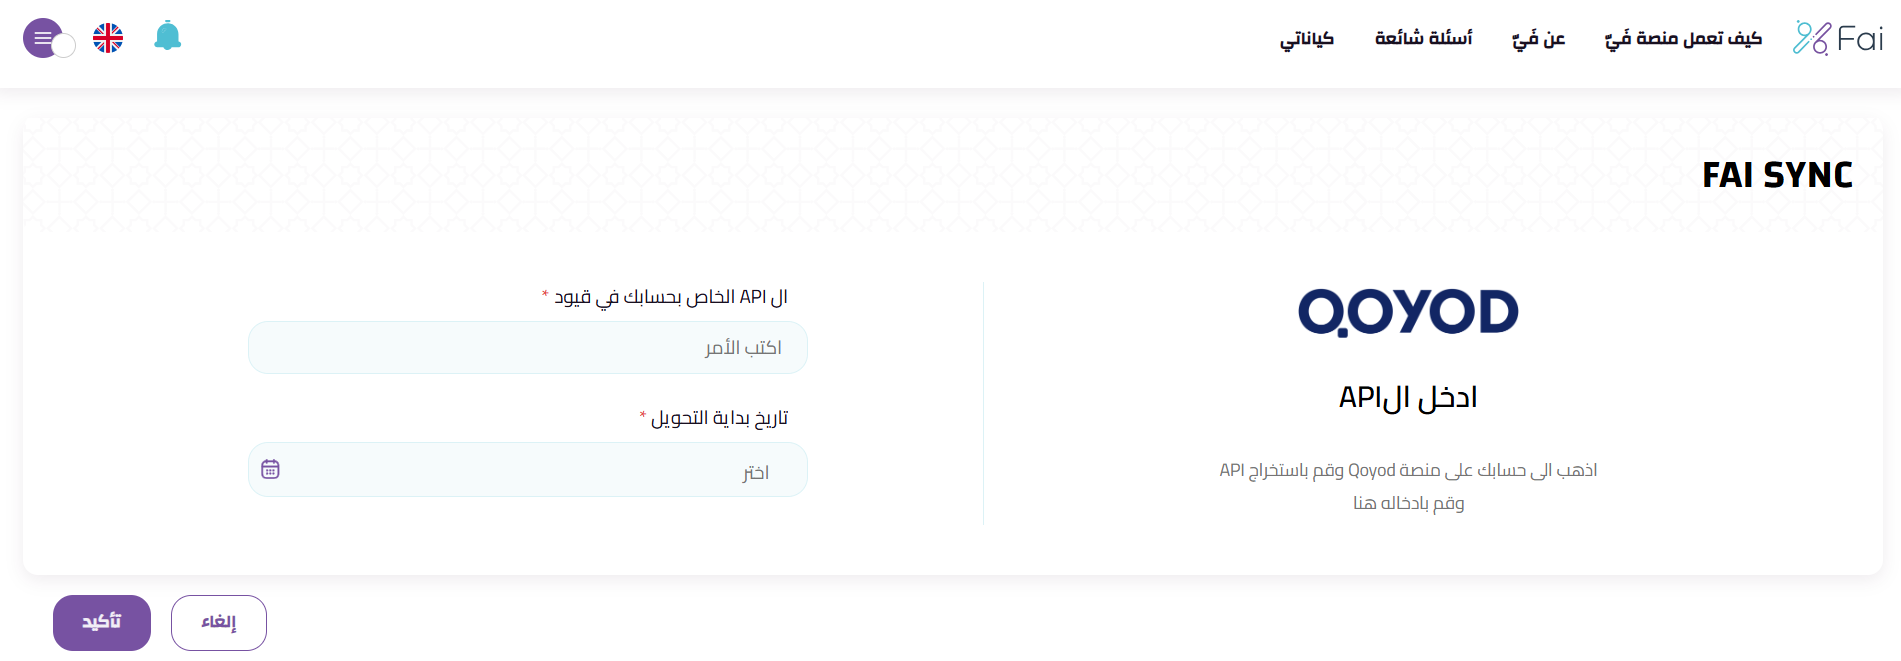
10. In Qoyod, open (General settings) and copy the API key. Paste it into the API key field, choose the start date for syncing, then click (Confirm).
The connection is now live, and your store data starts flowing into Qoyod.
Prefer to watch? See the walkthrough video on connecting Qoyod to your Salla store through Fai Sync, or read more about managing your store's apps.
👣 How to manage the Qoyod from Fai Sync app
1. Upgrade your plan
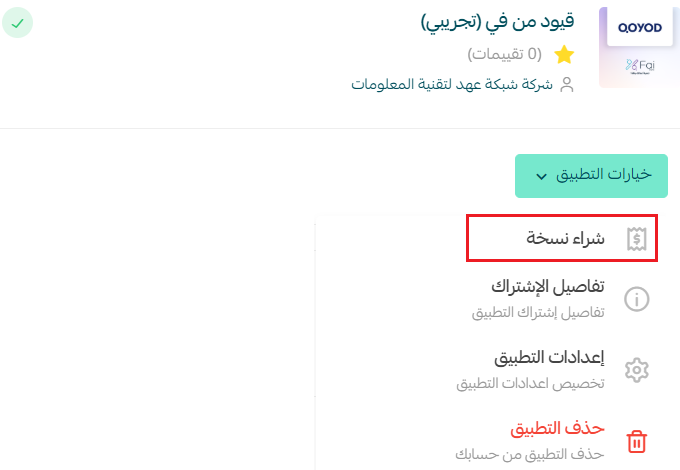
Click (App options), then click (Buy version).
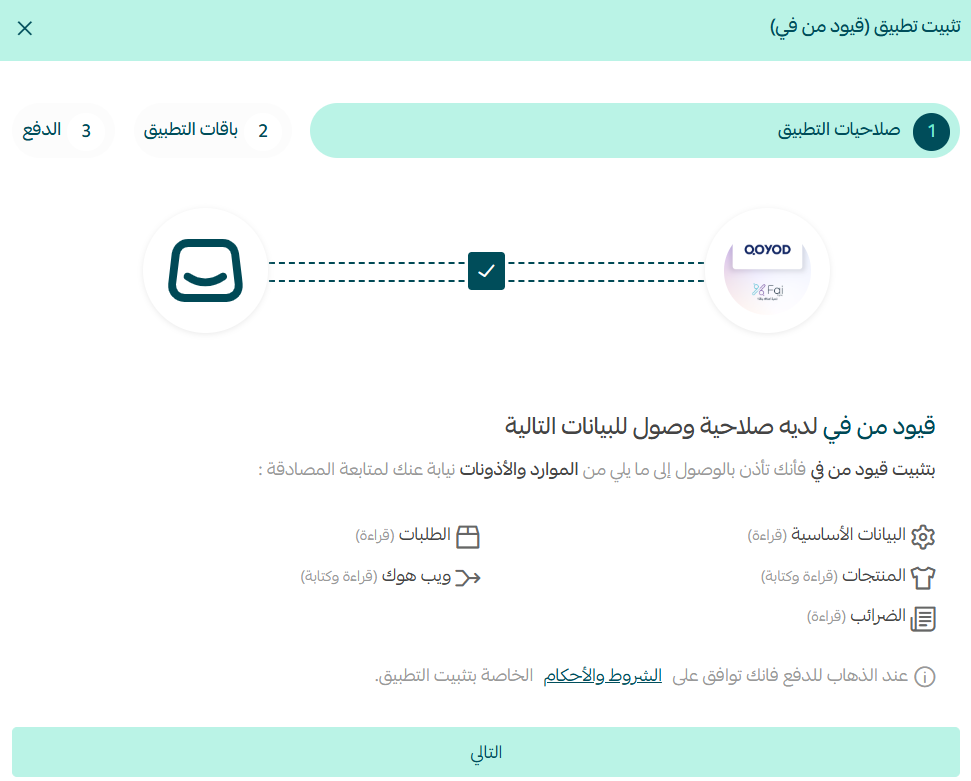
Review the permissions the app requests, approve them, then click (Next).
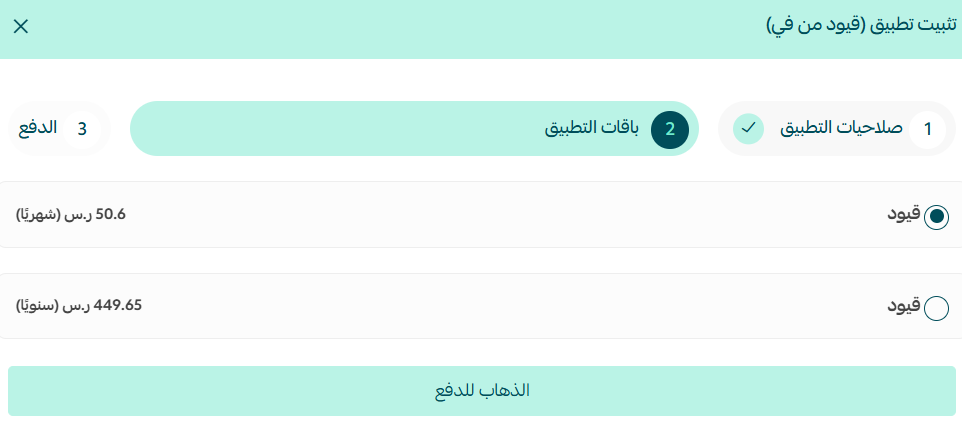
Select the subscription plan that suits you, then click (Go to payment).
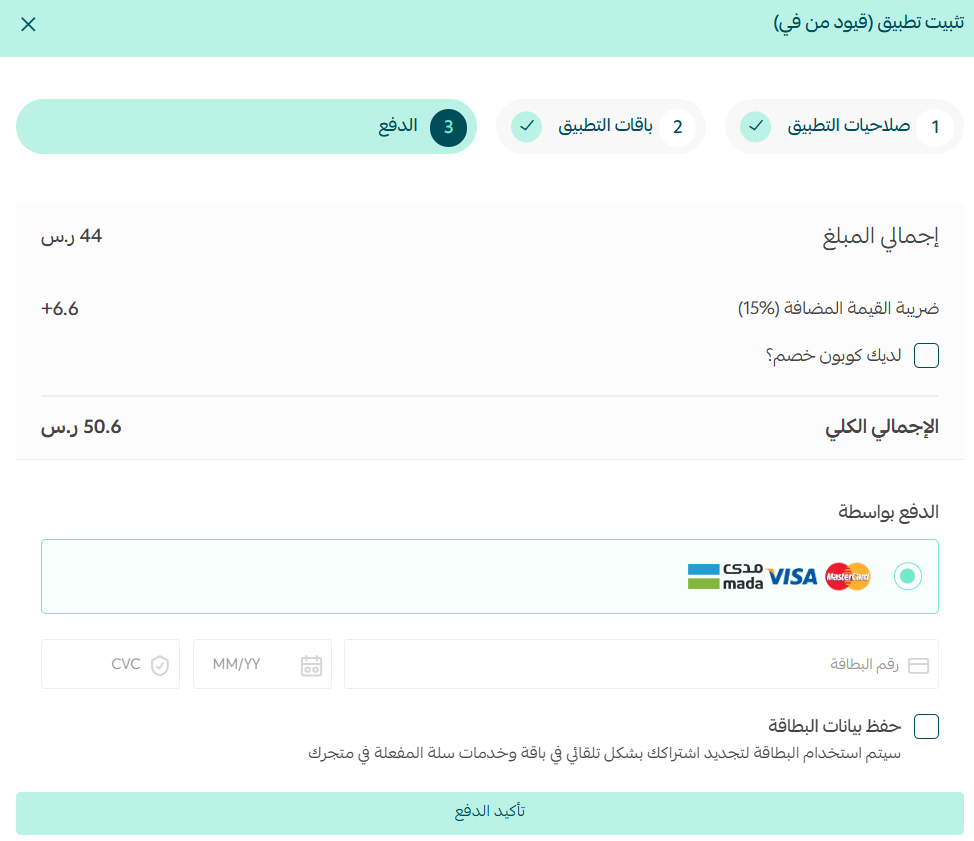
Enter your payment details and click (Confirm payment) to finish the upgrade.
2. Sign in to your Fai account
Fai emails you the credentials for your account.
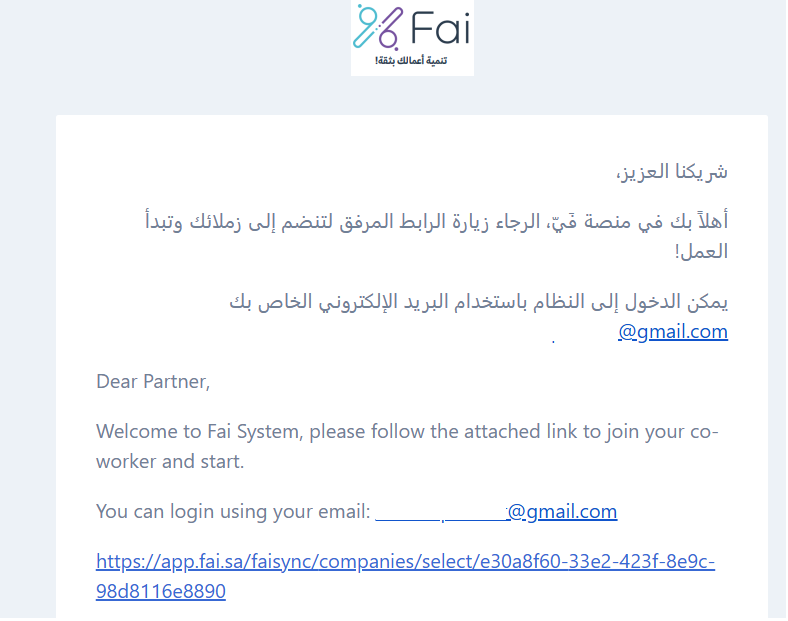
Use them to sign in to the Fai platform and access the full set of services.
For more on managing the account, see the Qoyod from Fai app page.
3. Remove the app
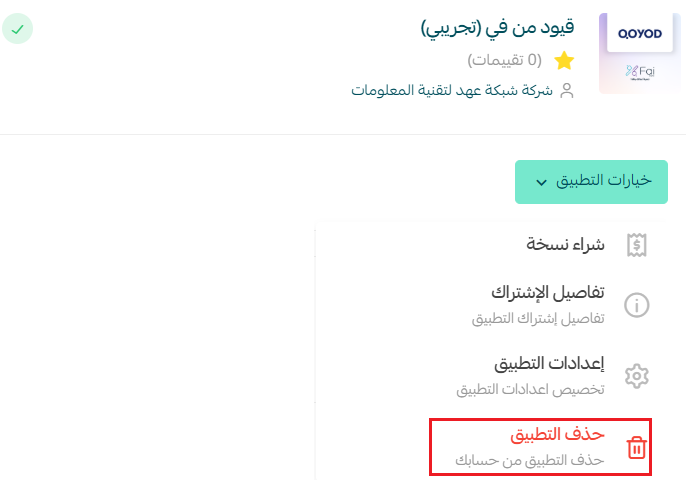
Click (App options), then click (Delete app).
📝 Important notes
- You need an active Qoyod account. The API key comes from (General settings) inside Qoyod, not from your Salla dashboard.
- The start date you choose decides how far back your data is synced, so pick it carefully before confirming.
- Deleting the app stops the sync between your store and Qoyod. Records already posted to Qoyod stay there.
- For more details, visit Qoyod from Fai.
❓ Frequently asked questions
What does Qoyod from Fai Sync actually sync?
It automates the flow of store data into your accounting: sales, inventory levels, and orders posted to your Qoyod books.
Where do I find my Qoyod API key?
In Qoyod, open (General settings) and copy the API key from there, then paste it into the field shown during setup.
Do I need to create an entity before connecting?
Yes. After signing in with the credentials you were emailed, click (Create entity) and add its logo, short name, and type. The accounting connection is set up under that entity.
Can I change my plan later?
Yes. Click (App options), then (Buy version), approve the permissions, and pick the subscription that fits your volume.
Accounting that updates itself is not just faster. It means the numbers you make decisions on are the numbers your store actually produced.