Real operational strength lives in the small details that create a big impact.
As order volume grows and workflows accelerate, order actions move beyond routine steps. They become strategic tools that improve customer experience and increase team efficiency. From tagging orders to managing evaluations, each action helps you stay in control and work smarter.
This guide walks you through every action you can perform on an order and how to use them effectively.
📌 Article overview
- Add tags to an order
- Assign an order to a store employee
- Change order status
- Manage order shipping
- Collect payment
- Print order invoices
- Edit an order
- Duplicate a previous customer order
- View order history and add comments
- View operations log
- Send order evaluation
- Delete an order
- Customer messages archive
- Block a customer
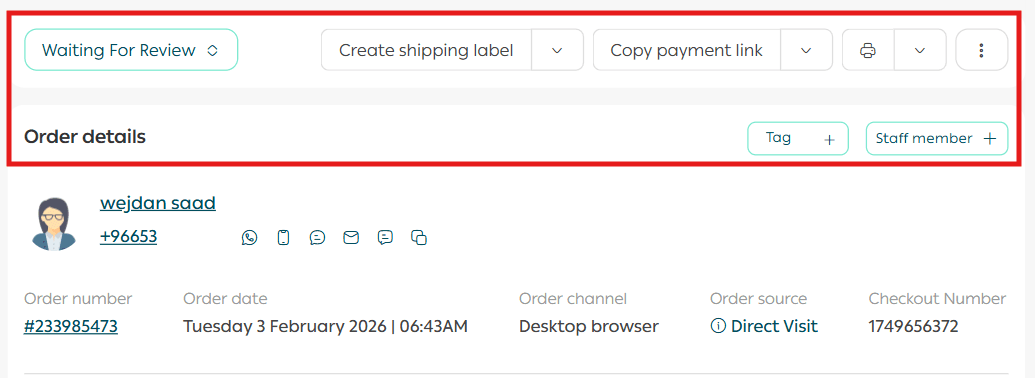
Actions That Can Be Applied to an Order
You can perform many actions on an order. The most important ones are outlined below.
Add a Tag to an Order
You can add one or multiple tags to an order.
Enter the desired tag, then press Enter or click the plus icon next to the tag name.
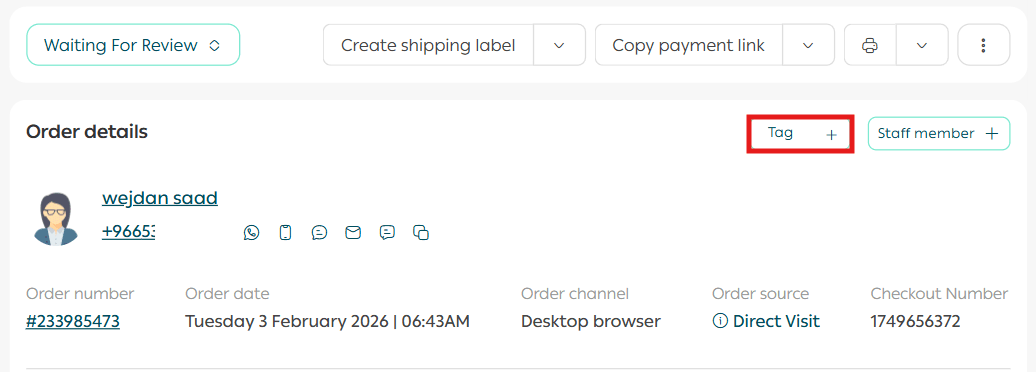
Tags help organize orders and improve internal tracking.
Assign an Order to a Store Employee
Assigning orders to employees helps distribute tasks efficiently, prevents role overlap, and avoids duplicated effort.
Steps
From the Order Actions section, click Add Order Employee, then select an employee from the list.
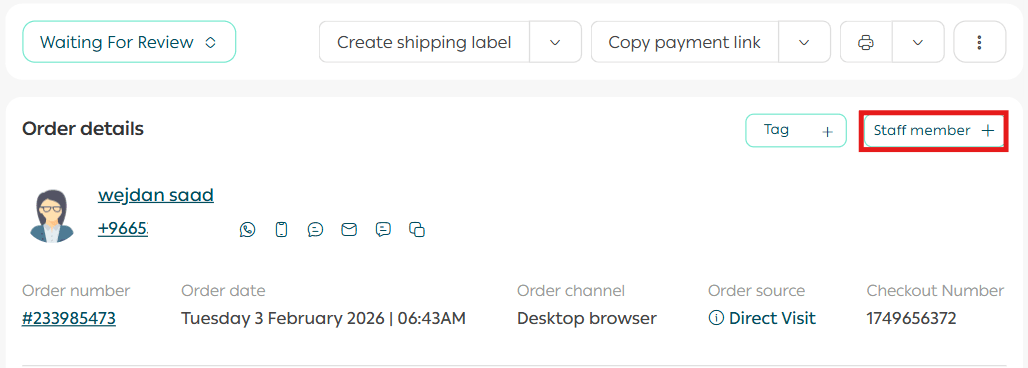
The assigned employee will appear in the order details.

📝 Important note
When an order is assigned, the employee receives a WhatsApp notification, a mobile app notification, and an email.
For more details on automatic order assignment, refer to the Order Settings Customization guide.
Change Order Status
To change an order’s status, from the Order Actions section, click Change Order Status.
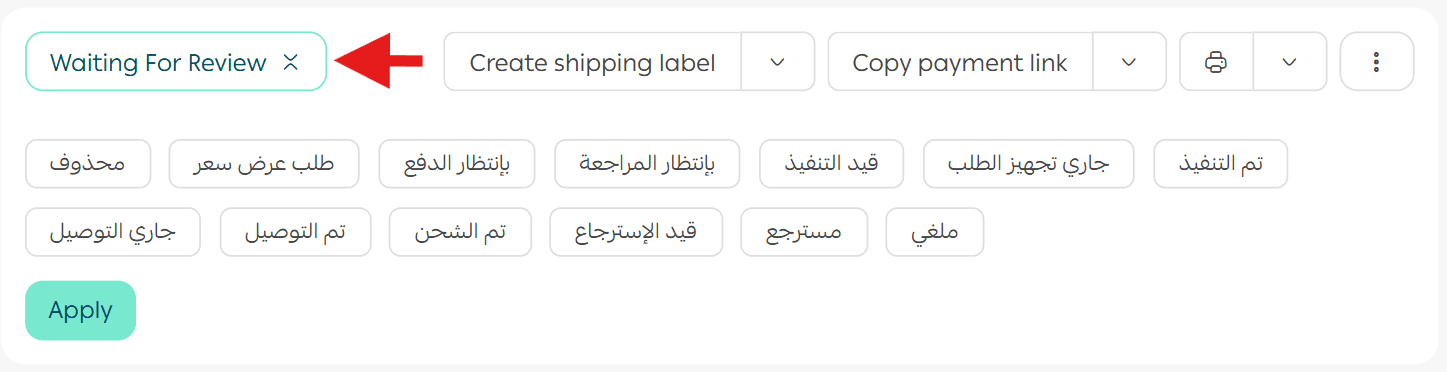
Select the new status and choose whether to notify the customer via SMS.
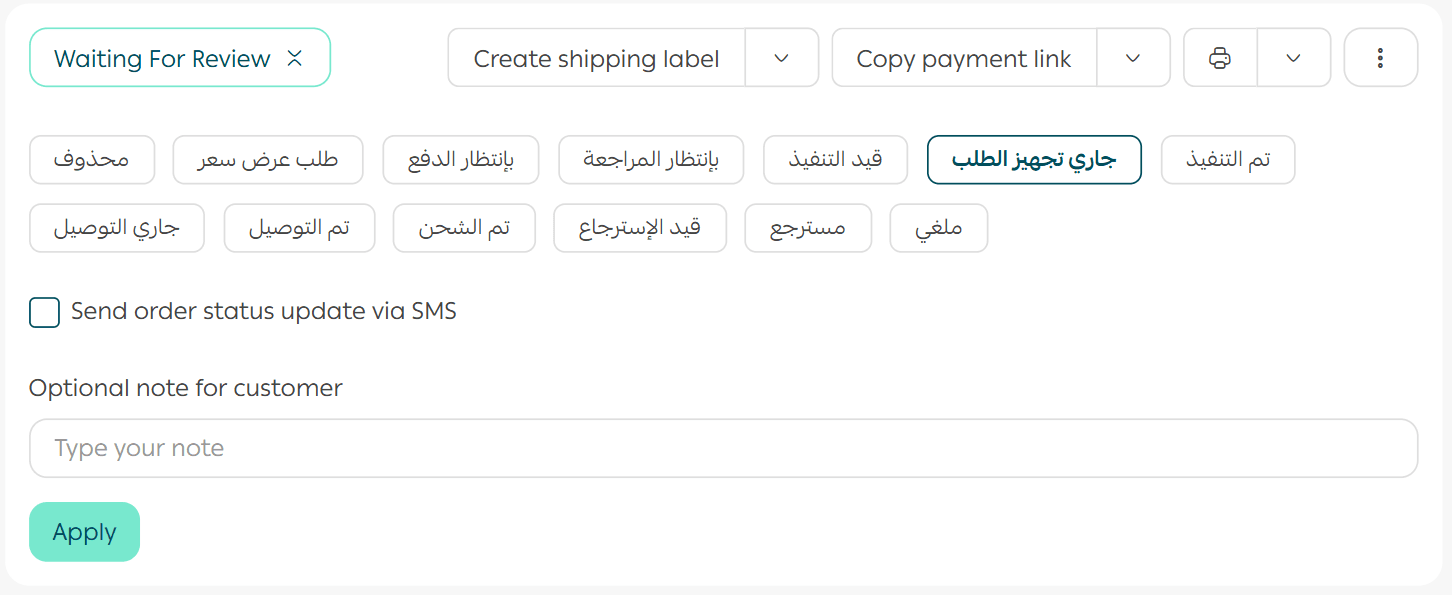
A confirmation message will appear once the action is successful.
✅ SMS notifications are sent when the sender name is Salla and apply to all plans.
This does not apply to stores using external SMS providers.
When are SMS notifications sent?
- When a shipping label is issued, including the tracking link
- When an order is canceled by the merchant
- When an order is refunded or returned
Manage Order Shipping
Several actions are available to manage order shipping.
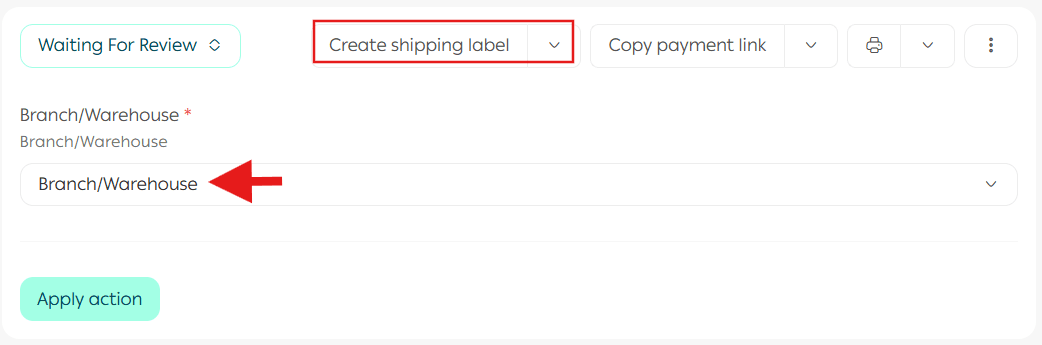
1. Issue a Shipping Label
Select the branch where the shipment will be picked up, enter the required shipping label information, then click Execute Action.
🔔 Note
When a shipping label is issued, the order status automatically changes to Fulfilled.
📝 Important note
Required shipping information may vary depending on the shipping company. Some may only require a warehouse selection, while others may request package dimensions, number of boxes, contents type, and packaging details.
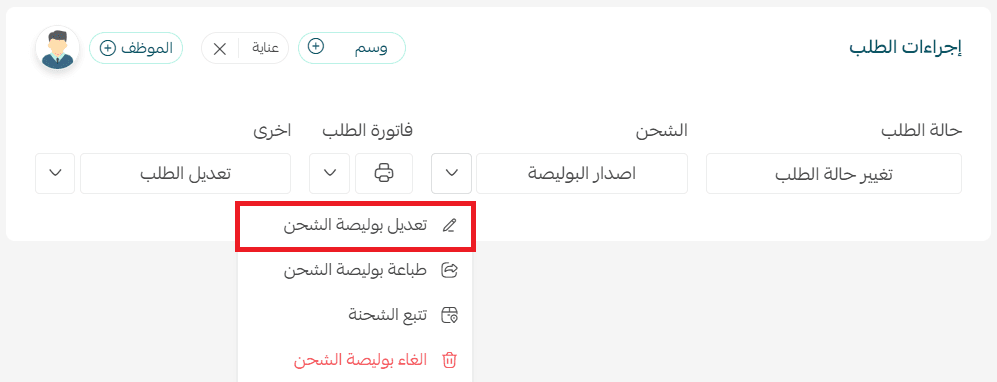
2. Edit Shipping Label
You can modify the shipping label details when needed.
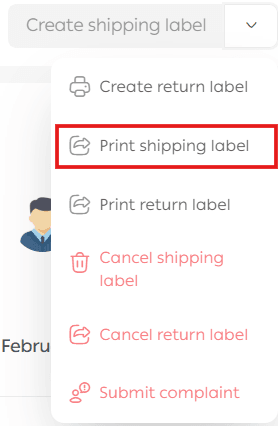
3. Print Shipping Label
Print the shipping label directly from the order actions.
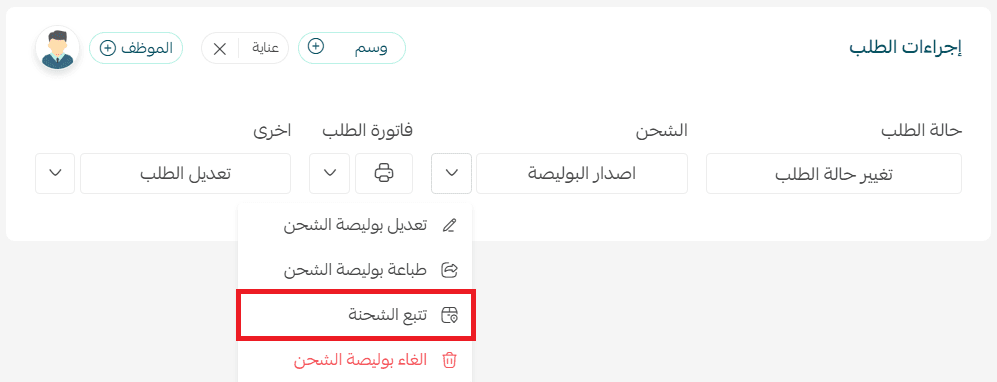
4. Track Shipment
Click Track Shipment to be redirected to the shipping company’s tracking page.
📝 Important notes
- Shipment tracking is available only on new themes starting from the Growth theme
- The tracking icon is not supported if the shipping company or courier is added manually
- Shipment details appear on the customer’s order page when the order status changes to Shipped, Out for Delivery, or Delivered
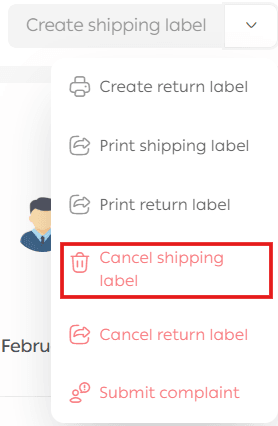
5. Cancel Shipping Label
You can request to cancel a shipping label.
Conditions for accepting a cancellation request
For the cancellation to be accepted by technical support, all of the following must apply:
- The shipment has not been picked up by the shipping company
- This is the first cancellation request for this order
- The payment method is electronic payment, not Cash on Delivery
- The order value is at least SAR 50
- The store has not exceeded the monthly cancellation limit of 100 labels
- No more than 14 days have passed since the label was issued
If conditions are not met
If the shipping label does not meet the conditions, it cannot be canceled directly. The merchant must submit a cancellation request through the Quality Portal for review by the relevant team.
For more details, refer to the Quality Portal guide.
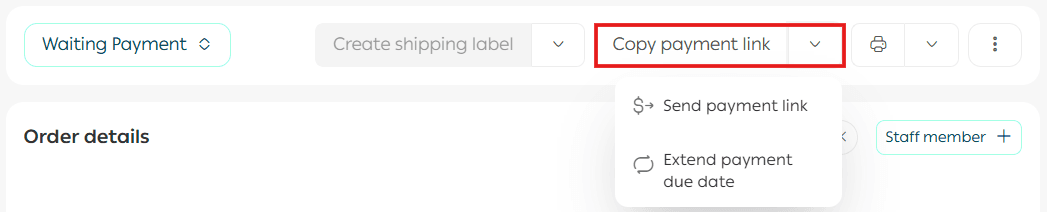
Collect Payment
You can copy the payment link and send it to the customer via WhatsApp or any other communication channel.
You can also send the payment link directly from the dashboard and extend the payment deadline if needed.
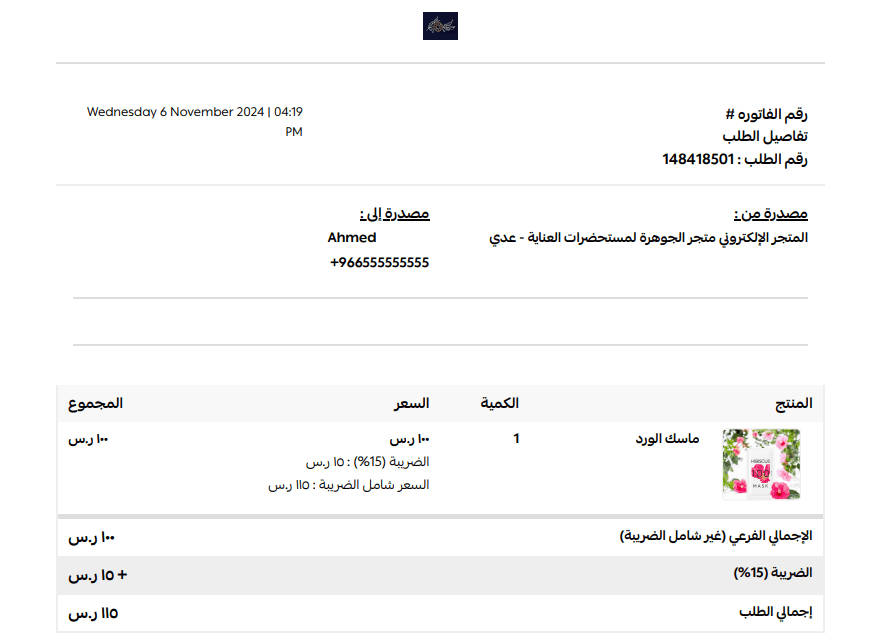
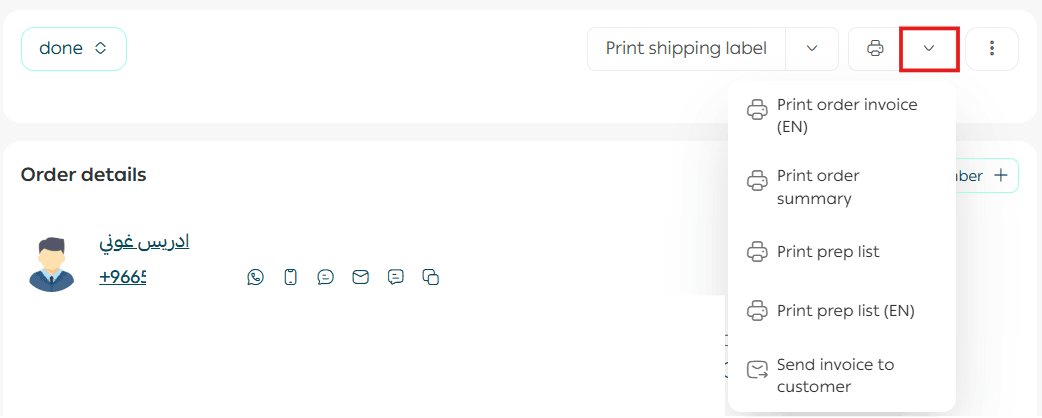
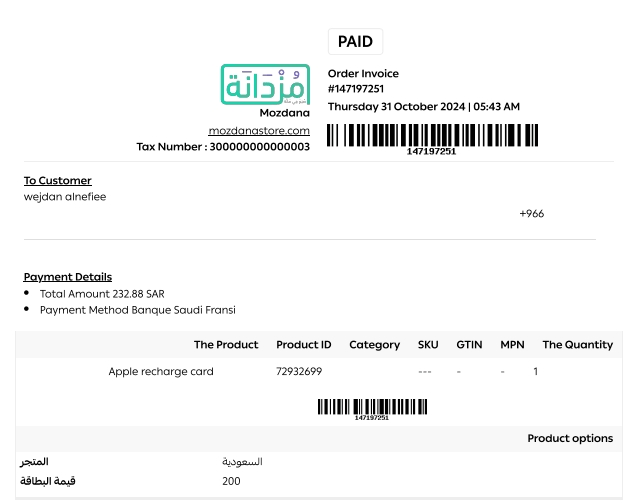
Print Order Invoice
Click Print Order Invoice.

The invoice will open in a separate window.
You can also:
- Print the order summary
- Print the picking list
- Send the invoice directly to the customer
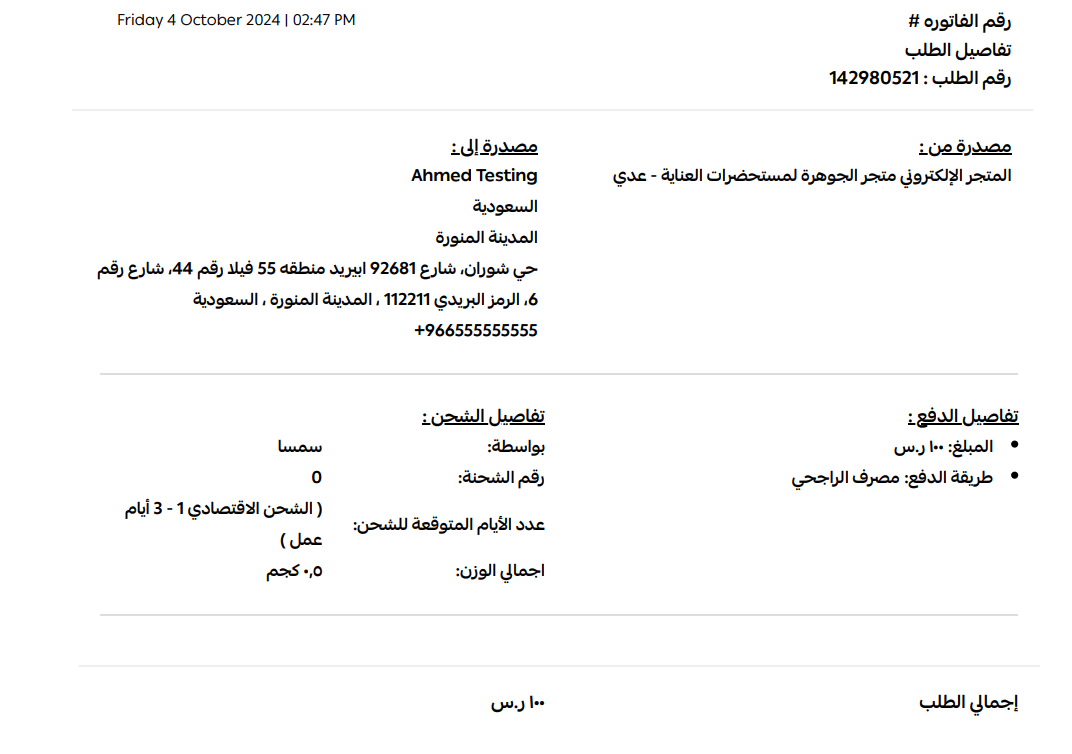
1. Print Order Summary
You will be redirected to a printable order summary.
2. Send Invoice to Customer
Click Send Invoice to Customer to email the invoice directly to the customer.


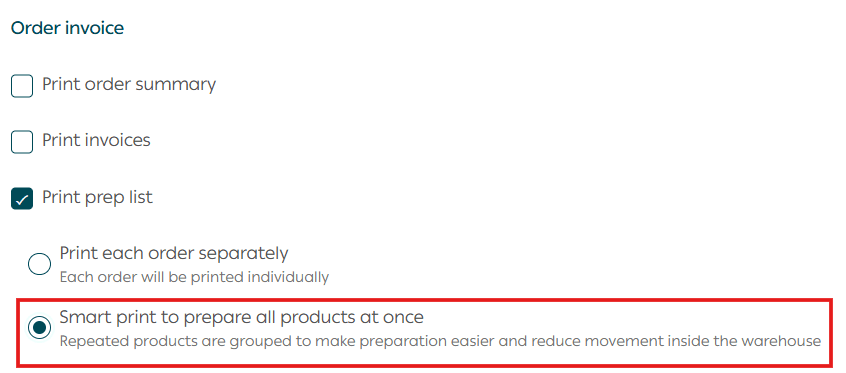
3. Print Picking List
After selecting the orders you want to prepare, from the invoice section, choose Print Picking List.
You will see two options:

- Print each order separately
Each order is printed individually.
- Smart print for all products
Repeated products are grouped together so items can be picked with minimal movement inside the warehouse
The file will be sent to your store email.
Click Download File to access it.
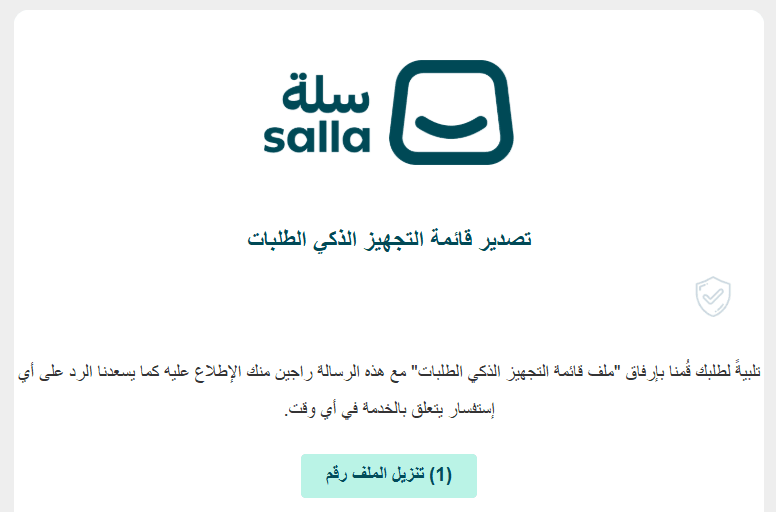
The smart picking list is generated without duplicate products.

Edit an Order
From the More menu, click Edit Order.

You will be redirected to the editable order details.
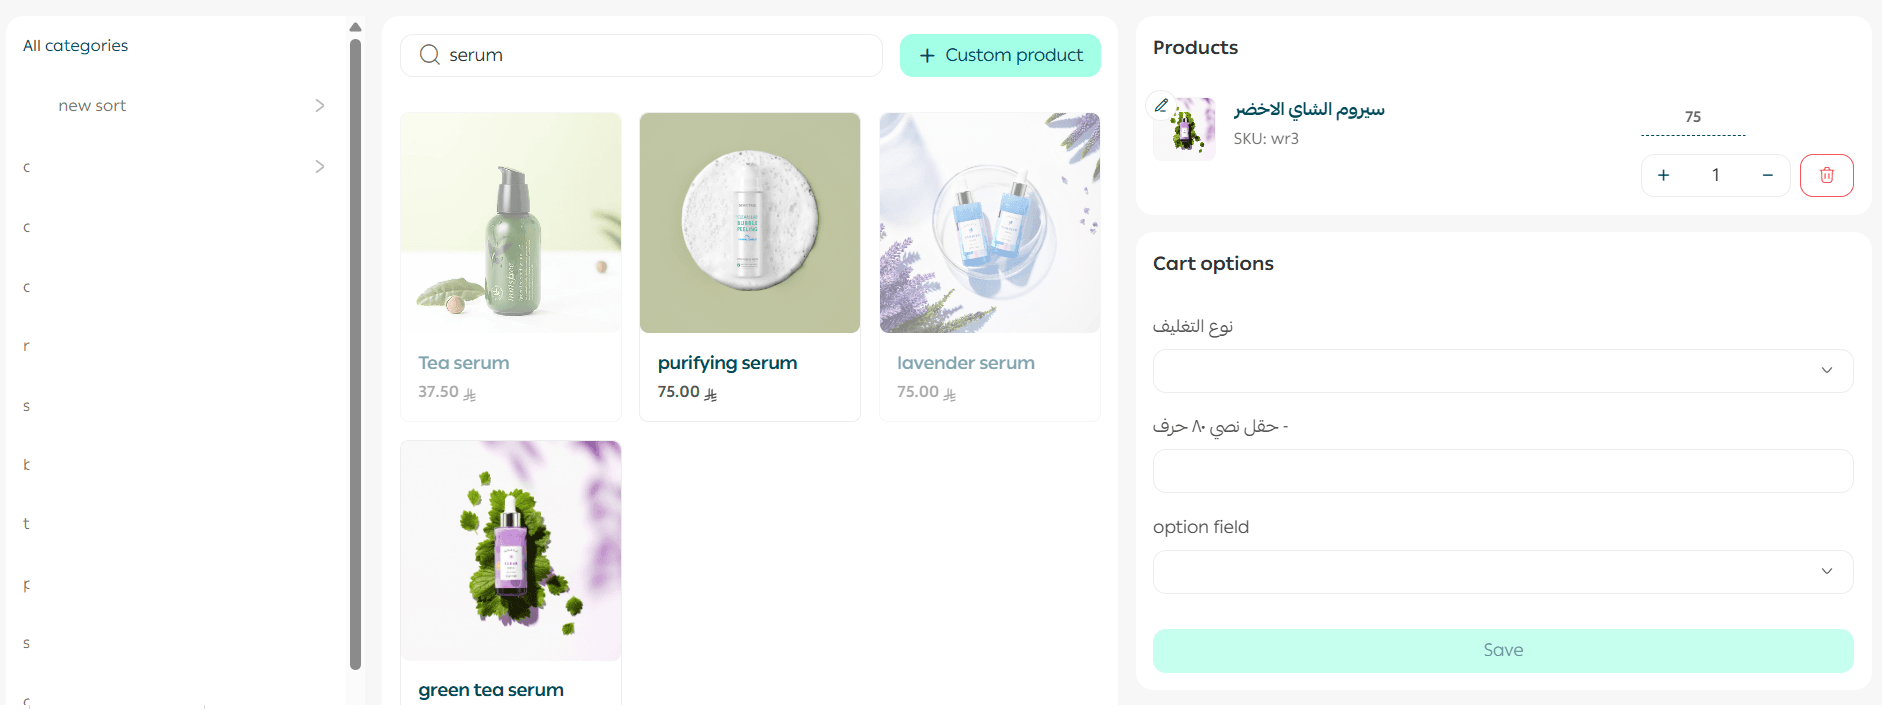
Duplicate a Previous Customer Order
You can create a manual order by duplicating a previous customer order.
From the order details section, open the More menu, then click Duplicate Order.
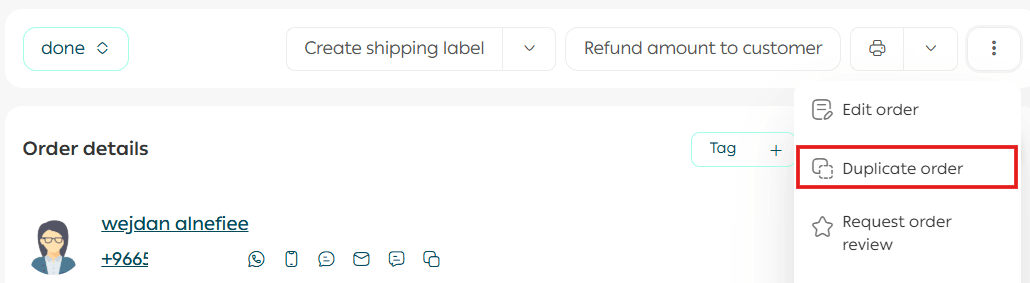
Review the duplicated order, make any necessary changes, then click Create Order.
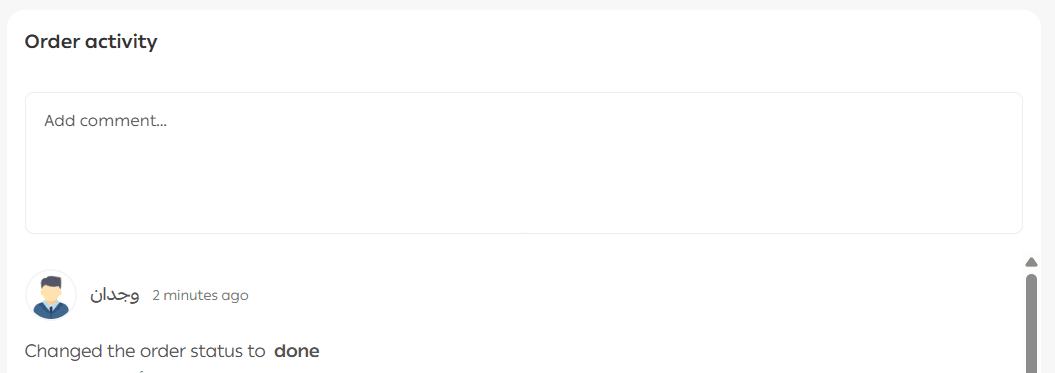
View Order History and Add Comments
At the bottom of the order details section, you will find the order history.
It includes:
- All order status changes
- Timestamps
- Notes related to each status
You can also add internal comments that are not visible to the customer.
Enter your comment and click Add.
📝 Important note
You can notify employees through order comments by sending a mention.
Type @ while writing a comment and select one or more employees from the list.
An email notification will be sent to the mentioned employee.
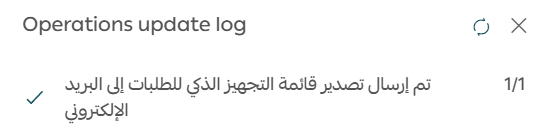
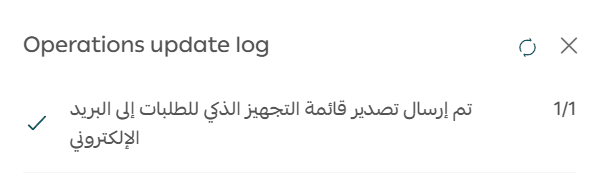
View Operations Log
You can view completed and pending operations from the lower left section of the order page by clicking Operations Log.
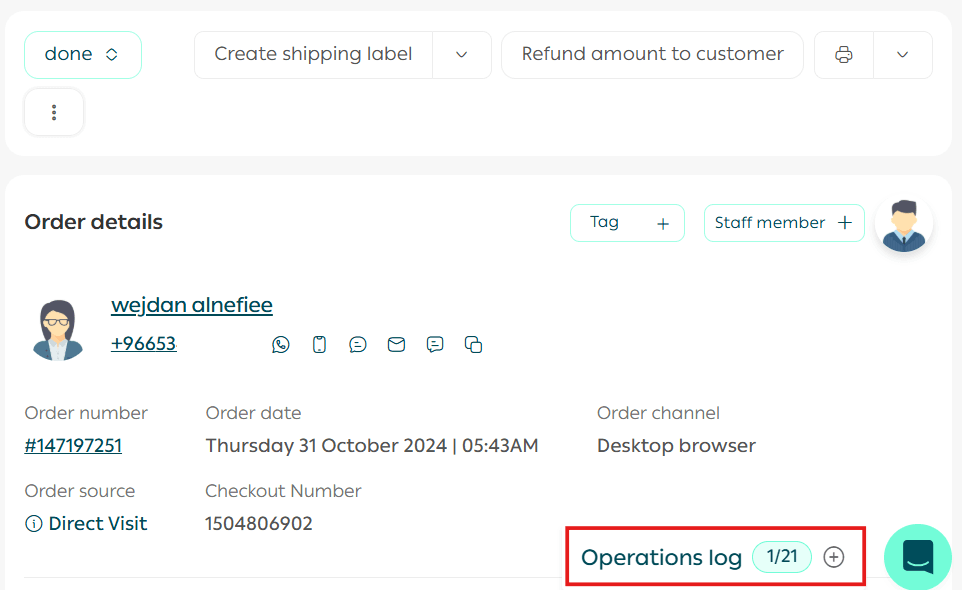
Click View More to see additional details.
Send Order Evaluation
You can configure customer evaluation notifications through:
- Delivery channels such as email and SMS
- A notification banner on the store home page
- The notification bell on the store home page
📘 Learn how to activate the feature and manage evaluation links through the evaluation settings guide.
Delete an Order
From the order details page, open the More menu and click Delete Order.
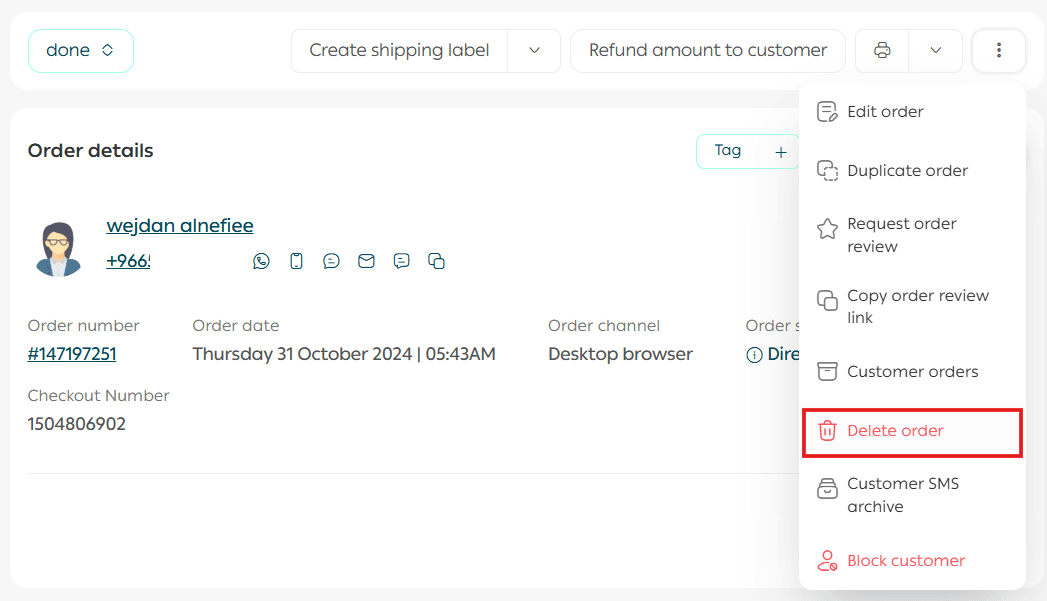
Confirm the deletion by clicking Delete.

For more details, refer to the guide on viewing and restoring deleted orders.
Customer Messages Archive
From the order details section, open the More menu and click Customer Messages Archive.
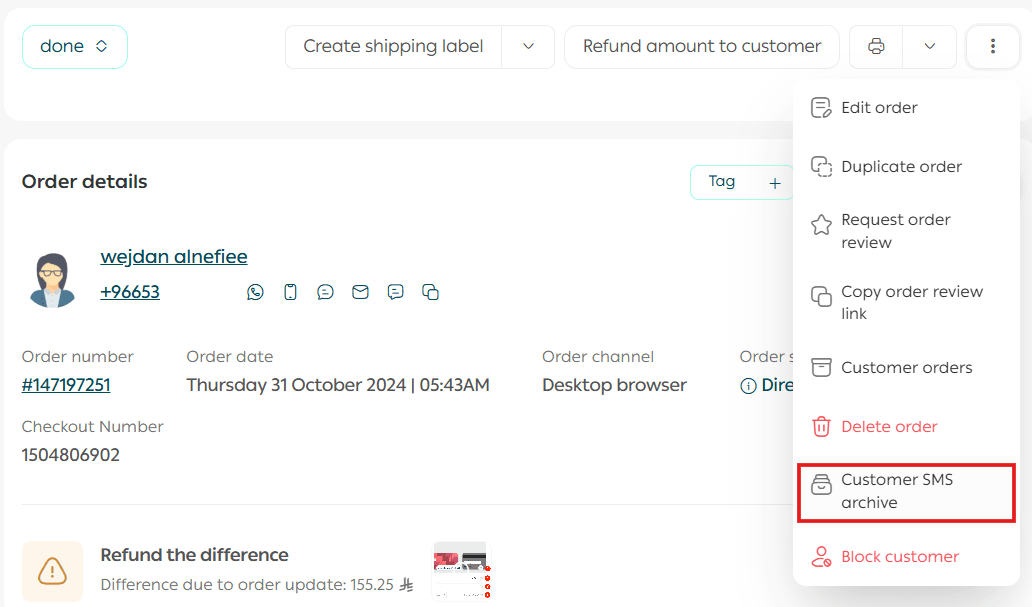
You will be redirected to the message log where you can search messages by customer name or phone number.

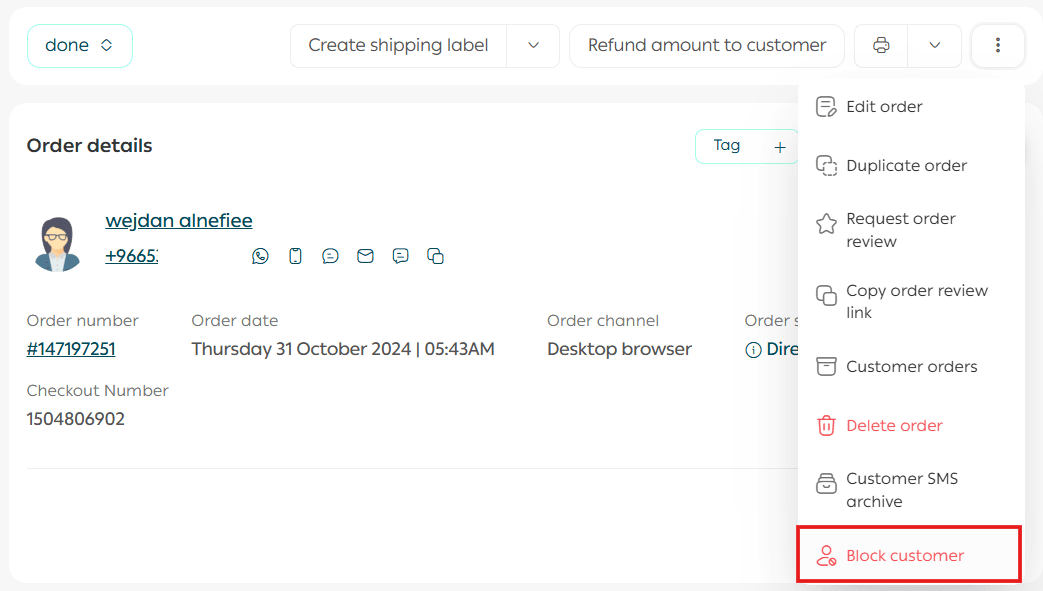
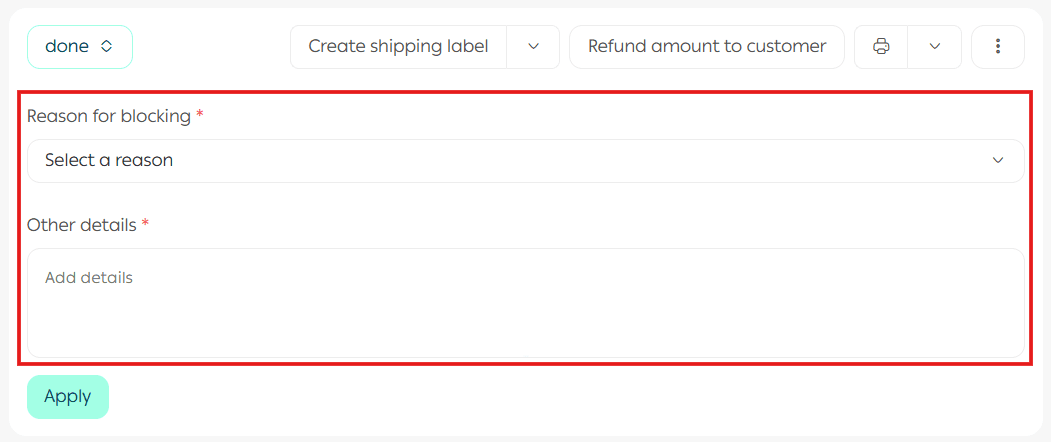
Block a Customer
From the order details section, open the More menu and click Block Customer.
Select the reason for blocking, enter any additional details, then click Execute Action.
Final Takeaway
Order actions are not just tools for processing requests. They are the foundation of efficient operations and consistent customer experience.
By mastering these actions, you reduce friction, empower your team, and keep every order moving forward with clarity and control.