Do you find it difficult to communicate with your customers via the channels they prefer?
Now, you can connect your verified WhatsApp account directly to Salla Chat and manage all conversations from one place.
This not only simplifies communication but also strengthens your brand’s credibility and trust with customers.
Follow the steps below to add WhatsApp as a communication channel and elevate your customer experience.
📌 Article overview
- What is WhatsApp Business verification?
- Adding WhatsApp as a communication channel
- FAQs
- How to verify your Facebook Business account
What is WhatsApp Business Verification?
Getting the green verification badge on WhatsApp enhances your company’s credibility and trustworthiness. It helps customers recognize your business as official and reliable.
Requirements:
- A fully verified Meta Business Manager account
- A phone number not previously used on WhatsApp
- An official business email and a trusted website domain
- Using the system via a Business Solution Provider (BSP) or directly through Meta
Tips for successful verification:
- Use an accurate and officially registered business name
- Avoid generic names like “Customer Support” or “Technical Support”
- Having an official website increases approval chances
- Ensure all profile information matches your legal documents
Adding WhatsApp as a communication channel
Step 1: Create a communication channel
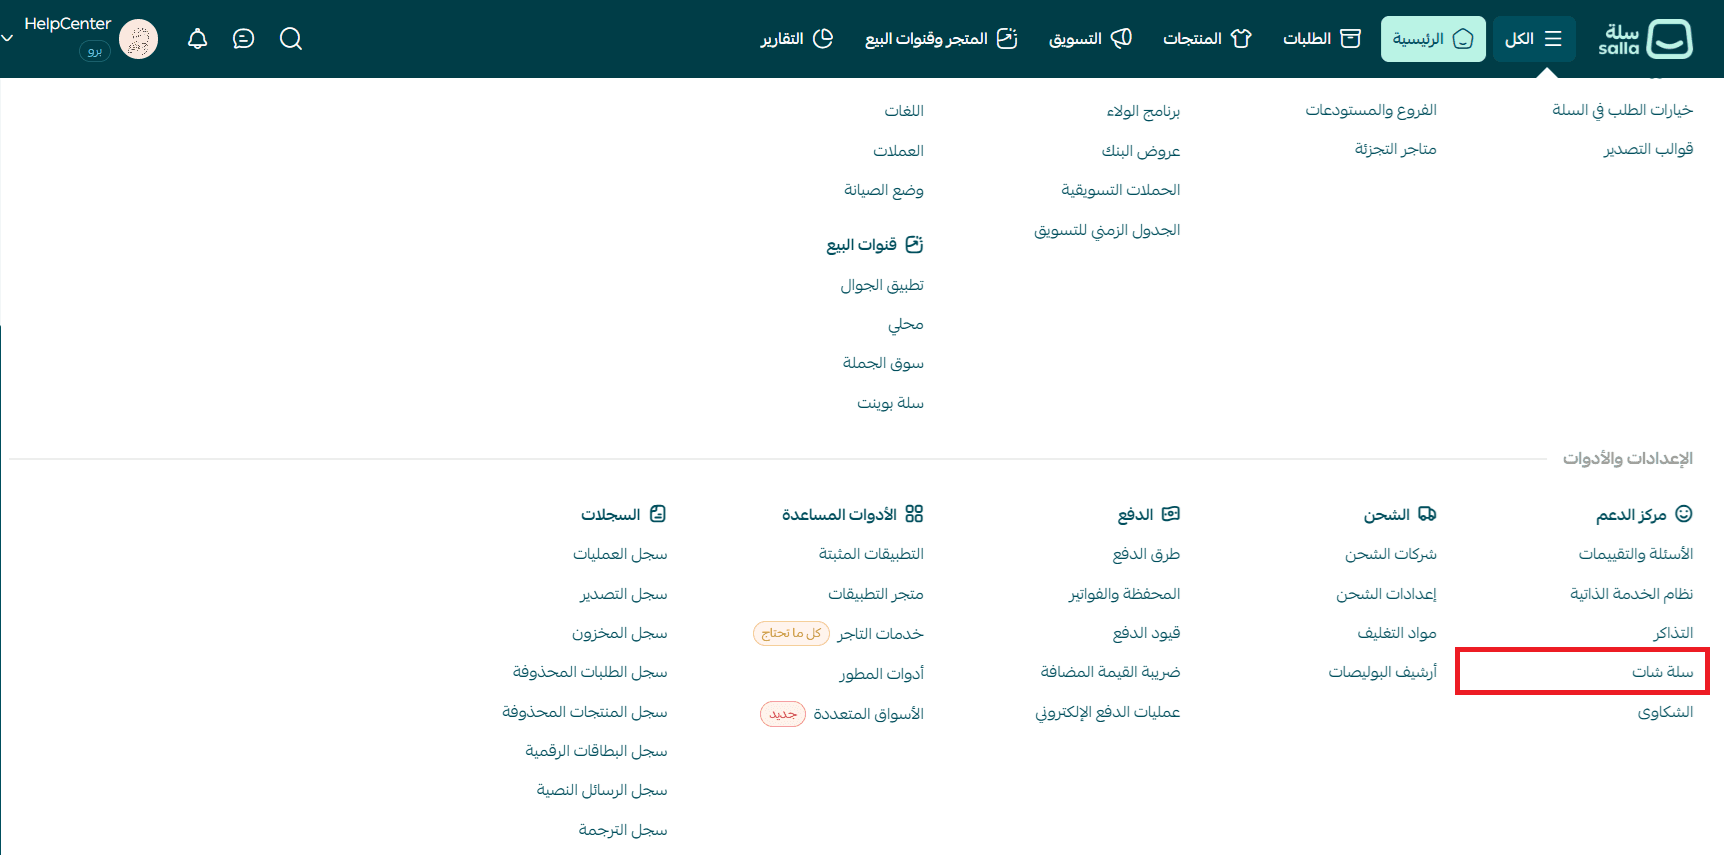
- From the main menu, click All, then from Settings & tools select Salla Chat
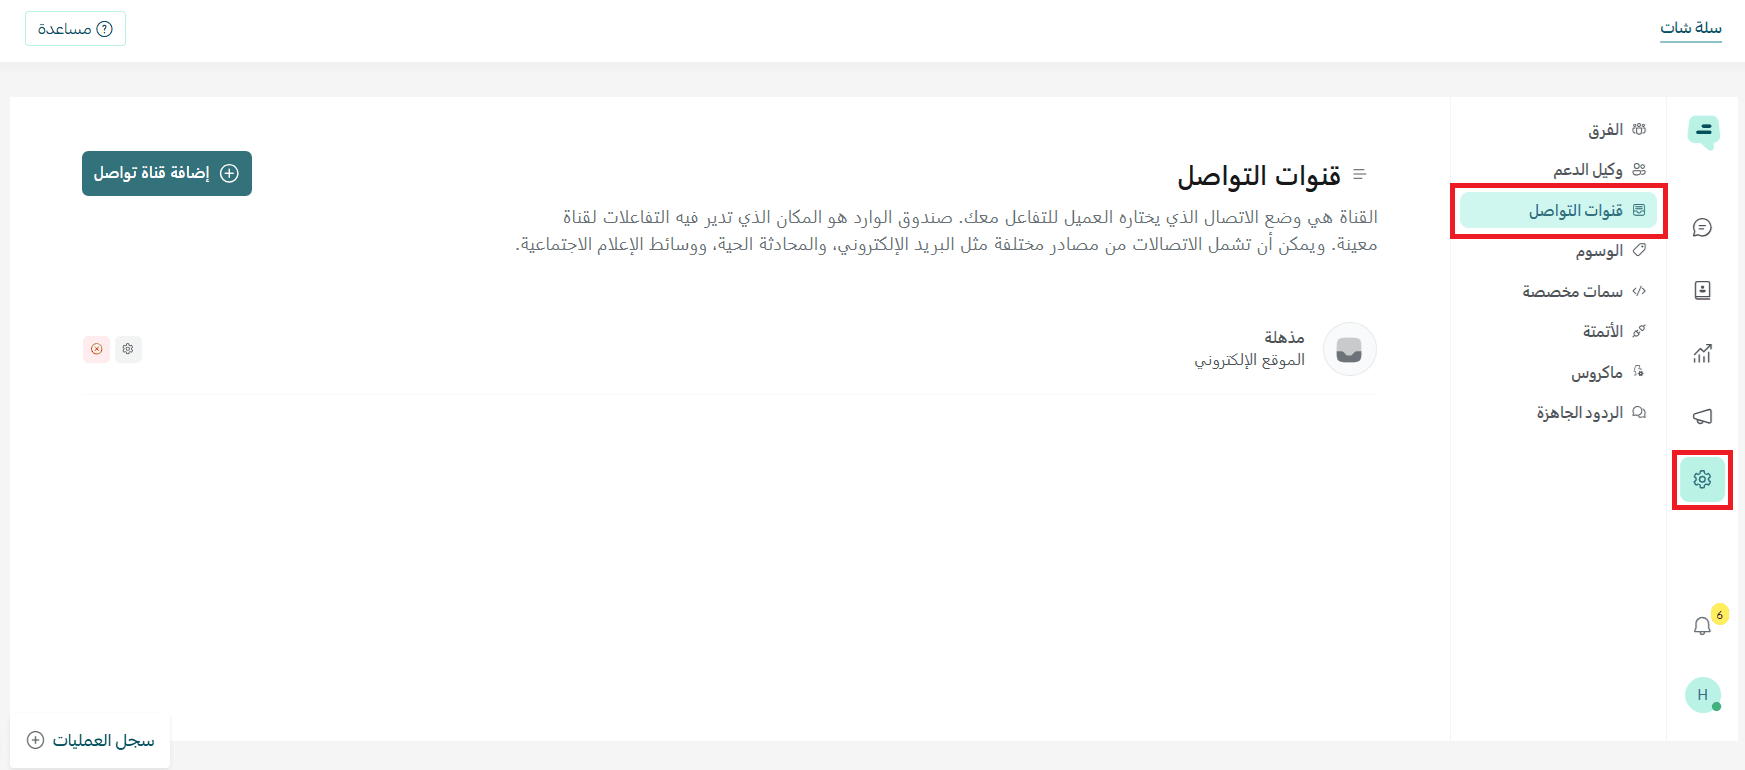
- From the Salla Chat menu, click the Settings icon, then select Communication channels
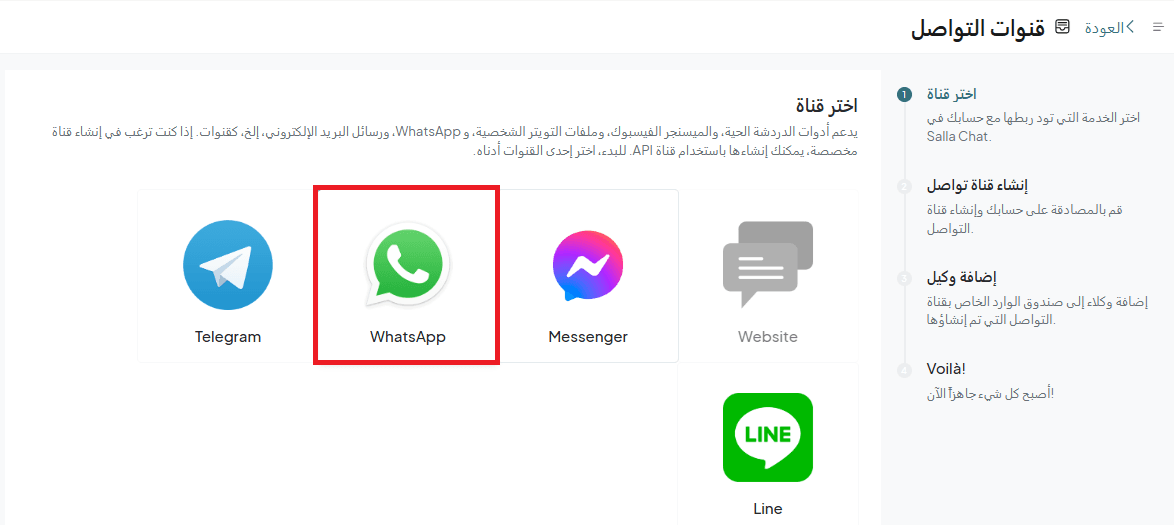
- Click Add channel

- Choose WhatsApp
Step 2: Authenticate your account
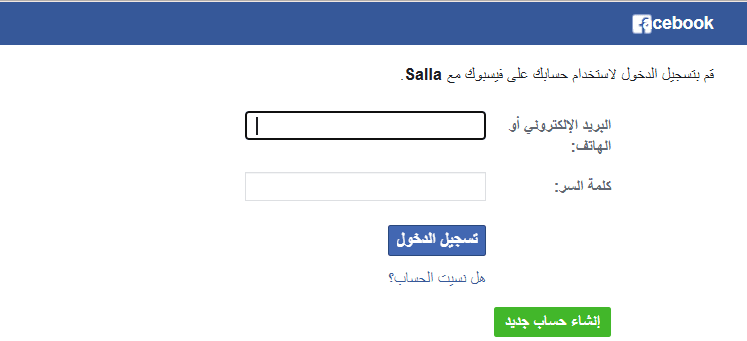
- Log in to your verified Facebook Business account
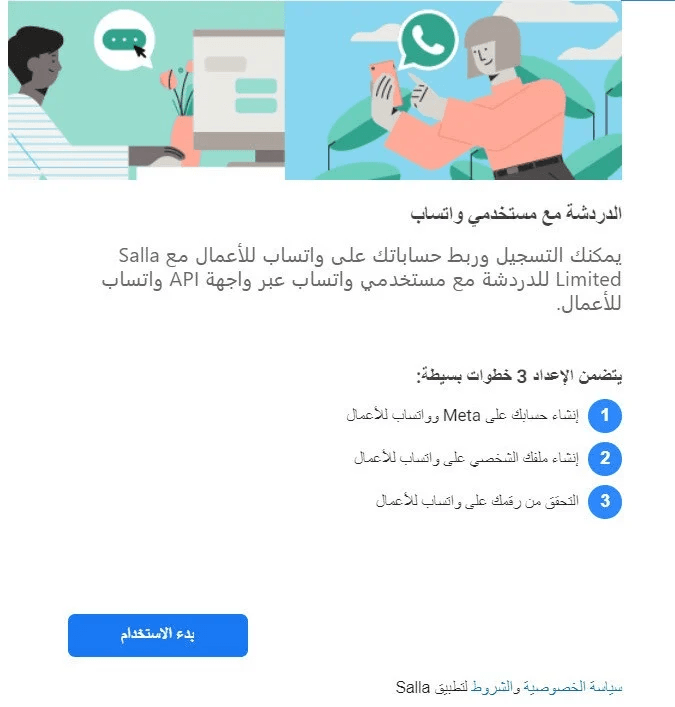
- To start chatting with WhatsApp users, complete the setup steps and click Get started
- Review the permissions shared between Salla and Facebook Business, then click Continue

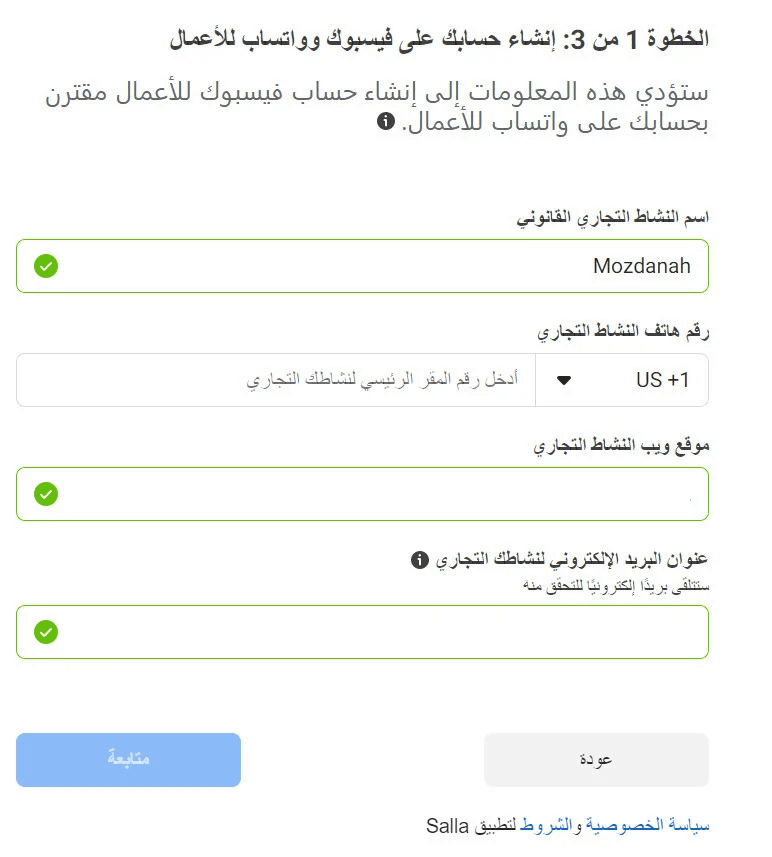
- Enter your Facebook Business account details linked to your WhatsApp Business account, then click Continue
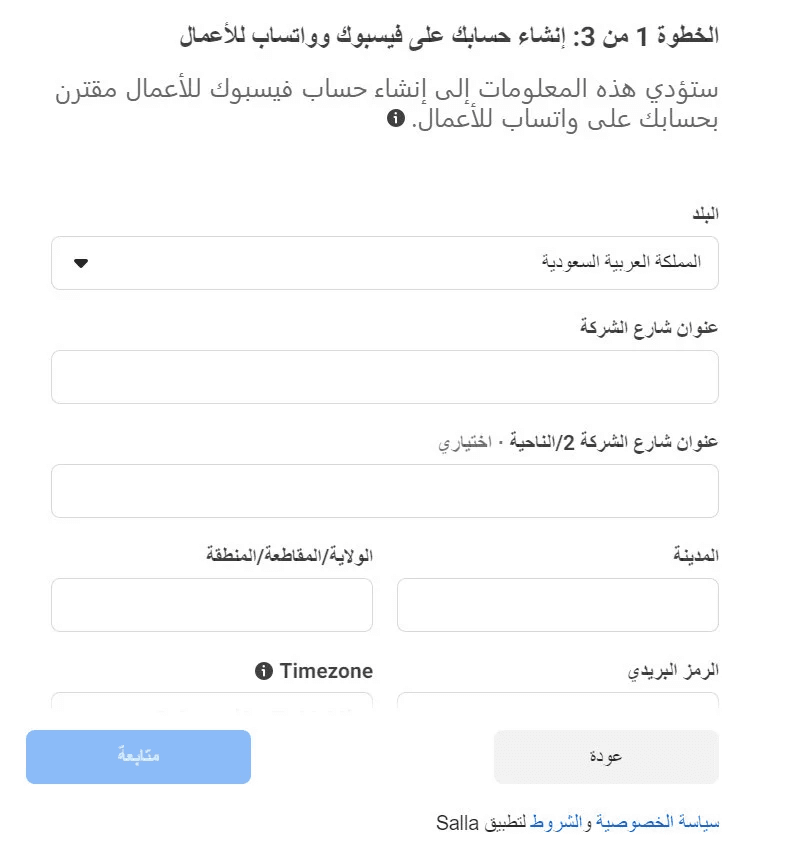
- Enter your business address details, then click Continue
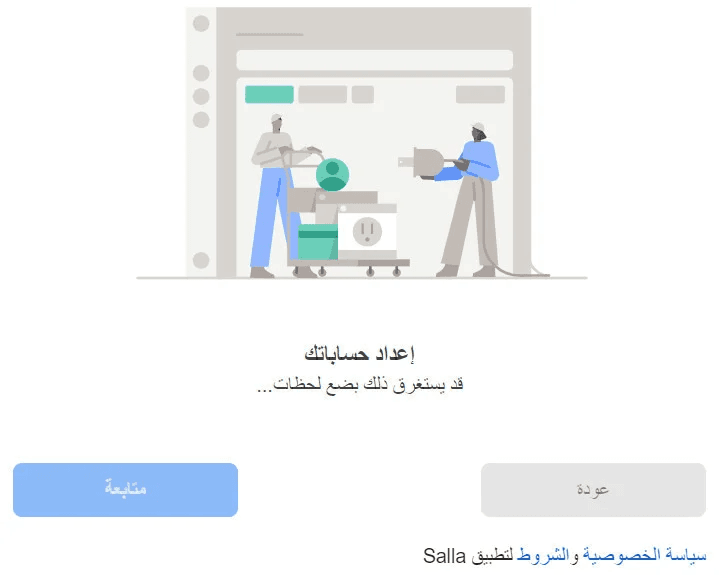
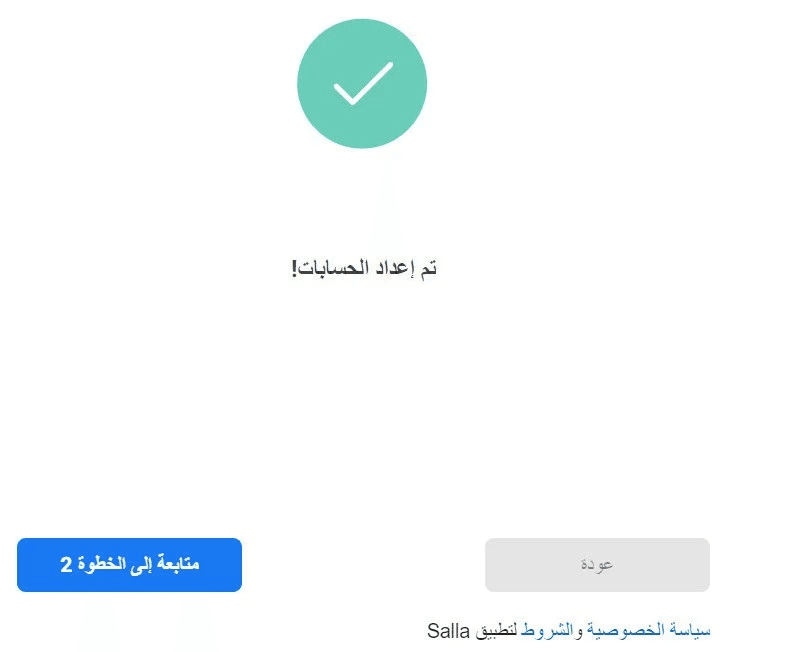
- Wait a few minutes for the setup to complete, then click Continue
- Once setup is complete, click Continue to step 2
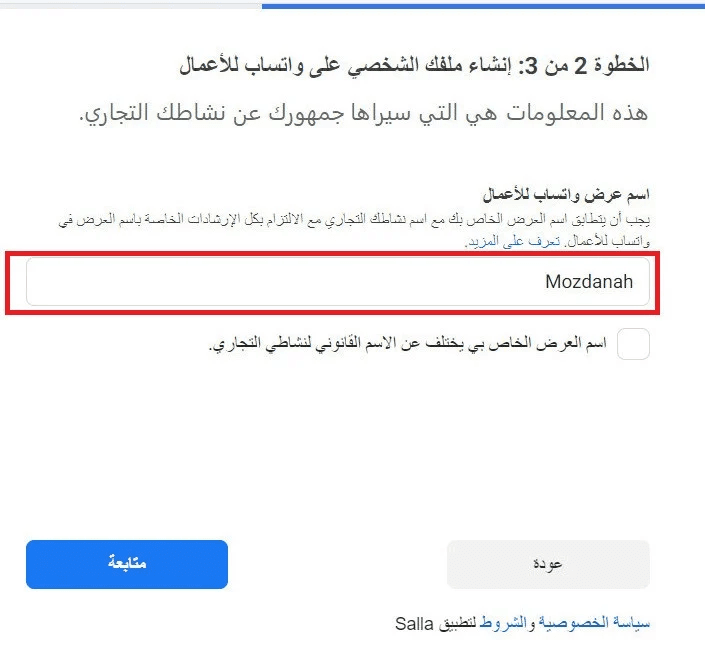
Step 3: Create your WhatsApp Business Profile
- Enter your display name visible to customers, then click Continue
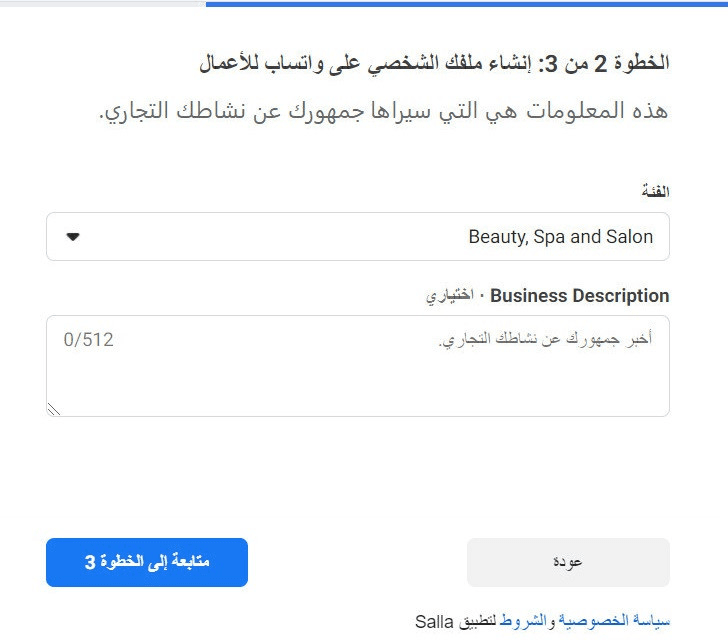
- Select your business category and add a short description, then click Continue to step 3
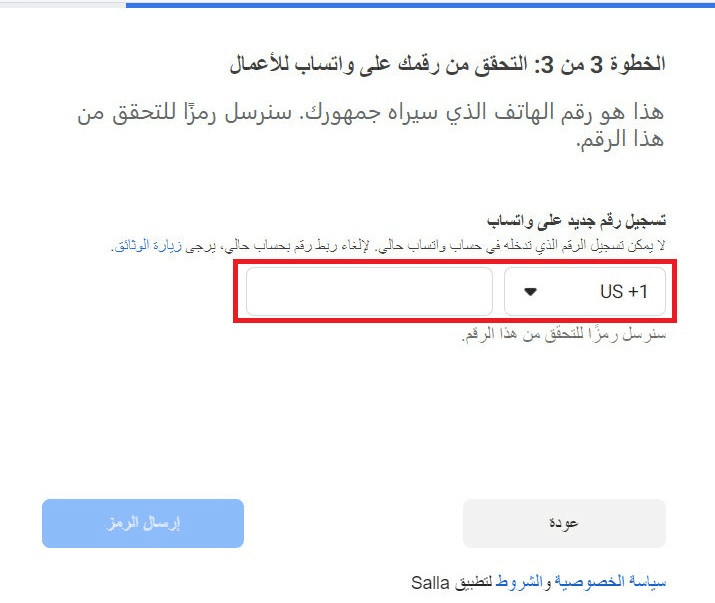
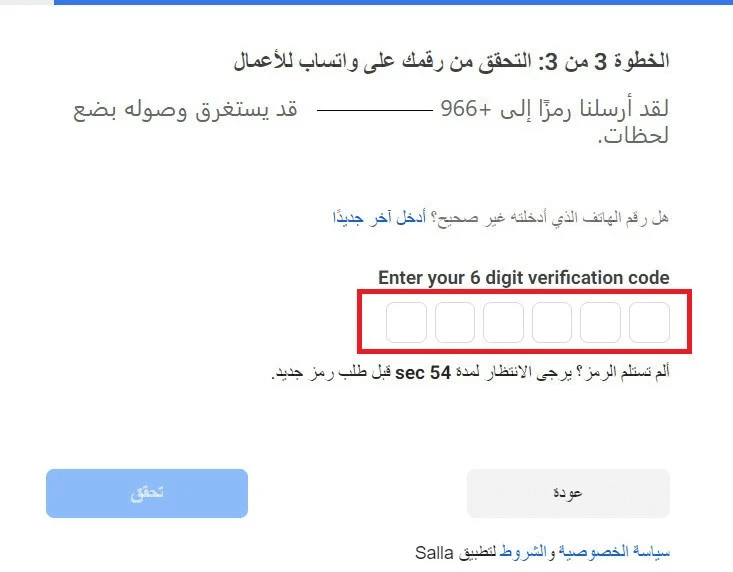
Step 4: Verify your phone number
- Enter your WhatsApp Business phone number, then click Send code)
📝 Note:
After removing the number from Facebook Business, it cannot be reused on the WhatsApp mobile app immediately. You must fully disconnect it and wait 30 days after the last message sent.
- Enter the verification code sent to your phone and click Verify
- Wait for Meta’s review (this may take several days or weeks).
If rejected, you can usually reapply after 30 days.
🎉 Congratulations! You are now ready to chat with WhatsApp users.
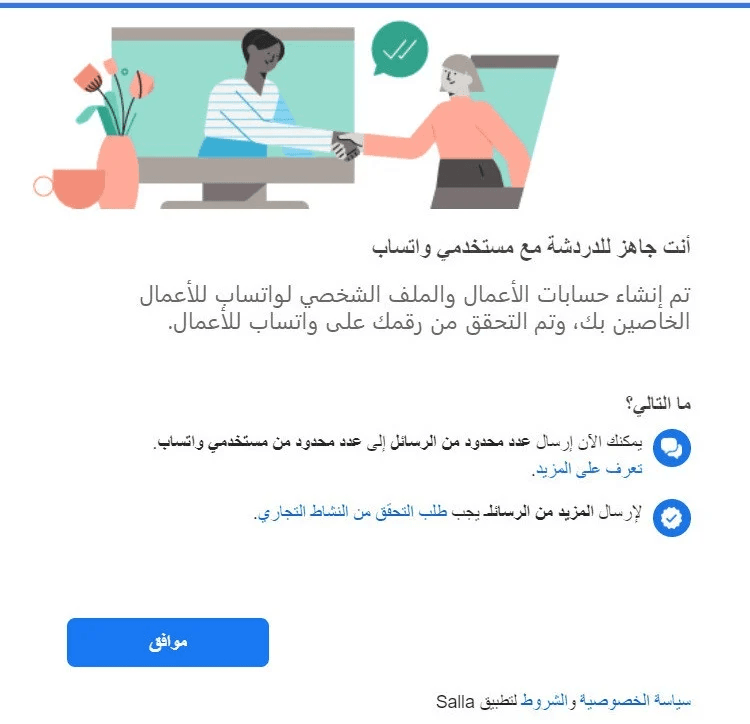
If approved, the green badge will appear next to your business name in customer chats.
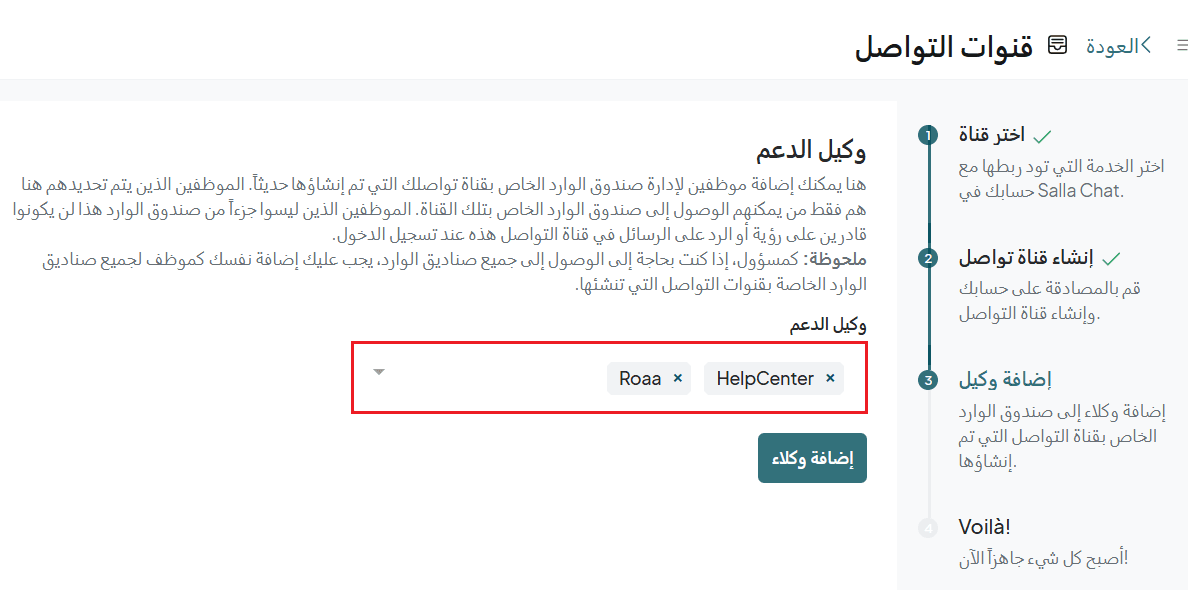
Step 5: Add support agents
- Add a support agent (customer service employee), then click Add agents
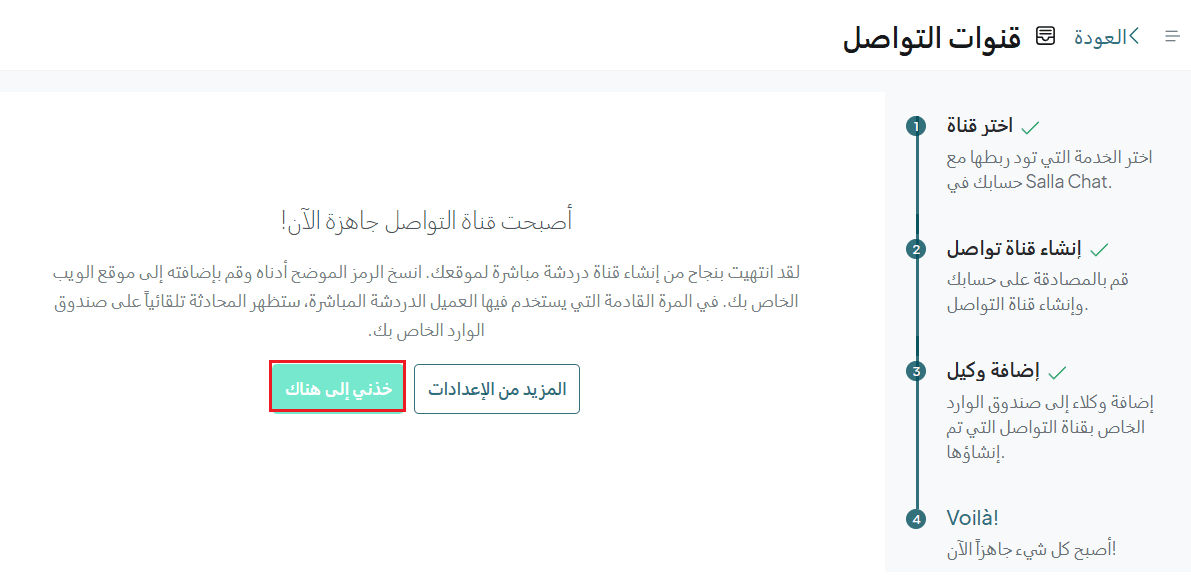
- Your communication channel is now ready
Frequently asked questions
How can I verify my Facebook Business account?
Business Verification in Meta Business Manager allows access to advanced features such as ads, integrations, and APIs.
It helps prove that your business is legitimate and provides:
- Better access to advertising features
- Stronger account security
- Ability to integrate with external systems (e.g., WhatsApp Business API, Instagram)
Requirements:
- A Facebook Business account
- A valid commercial registration document
- A utility bill (e.g., electricity or water) matching your business details
Tips for successful verification:
- Enable two-factor authentication for all admins
- Use a domain-based email (e.g., info@yourbusiness.com)
- Ensure documents are valid and consistent
- Make sure your website is active and matches submitted data
- Respond quickly to any additional requests from Facebook
🚧 Keep copies of all documents and screenshots of your verification status
Verification steps:
Step 1: Access business settings
- Log in to Business Manager and click Business Settings
- From the sidebar, select Security Center
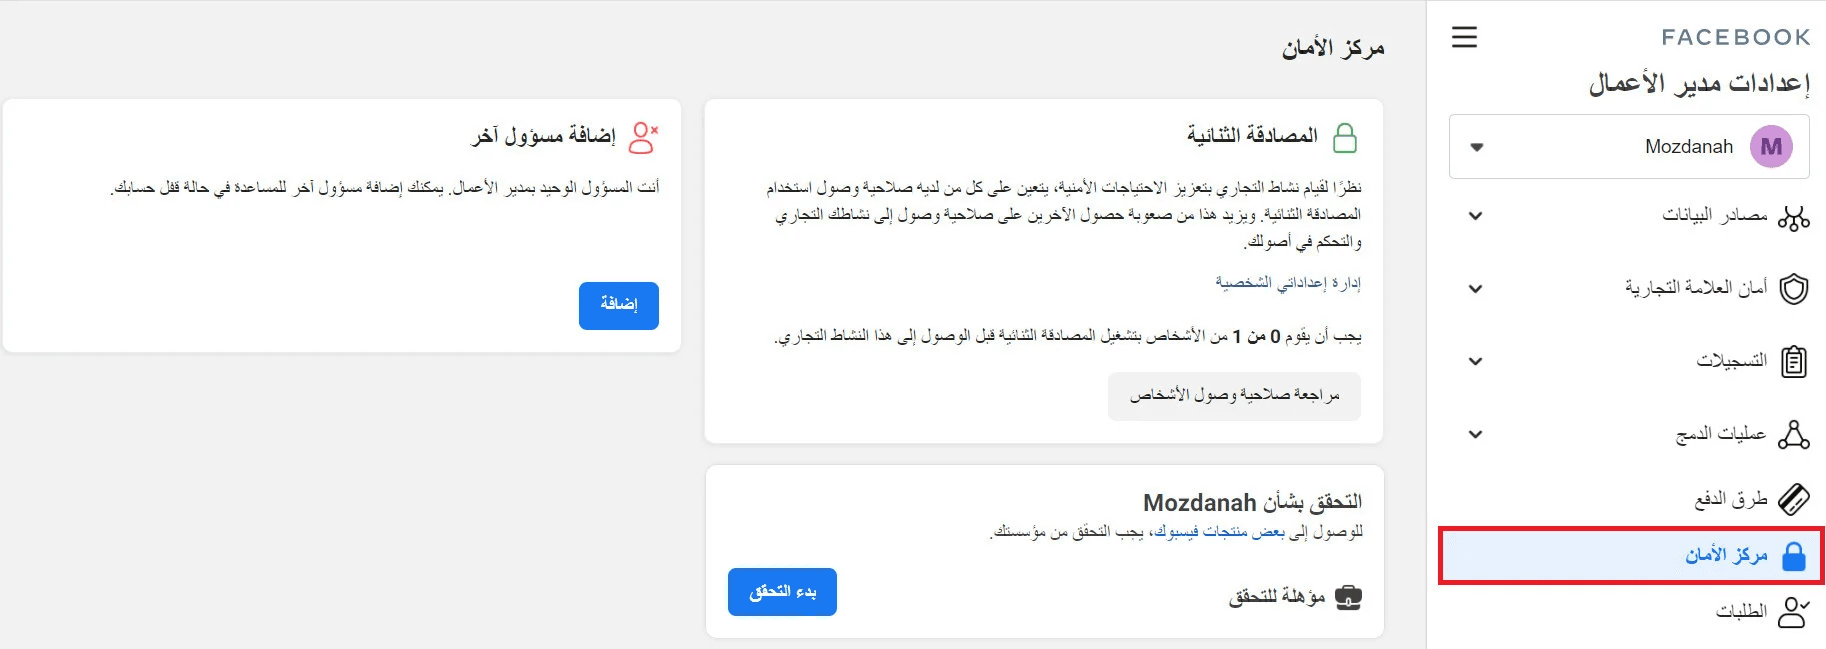
🚧 Make sure two-factor authentication is enabled and a backup admin is added
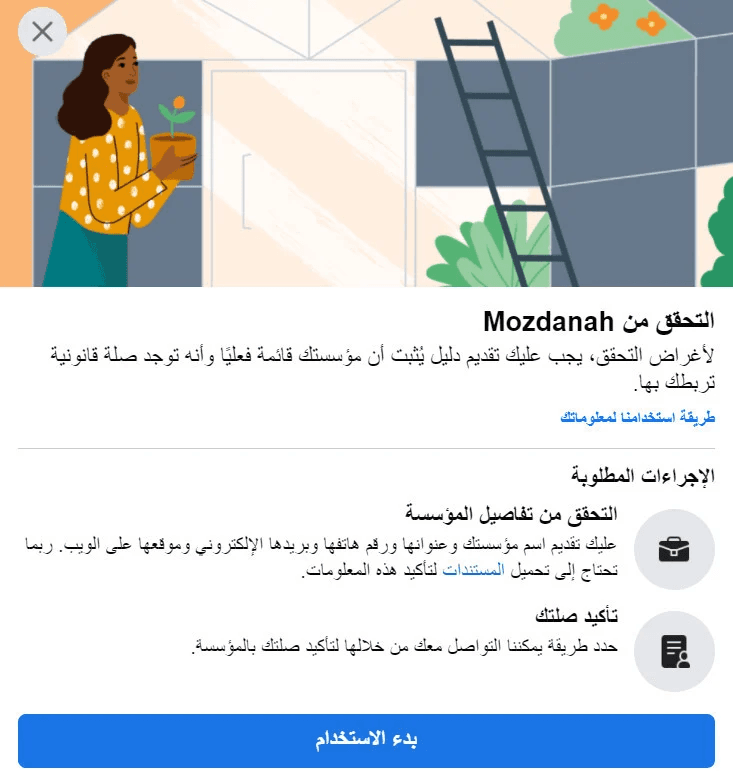
- Click Start Verification (if eligible)

- Click Get Started
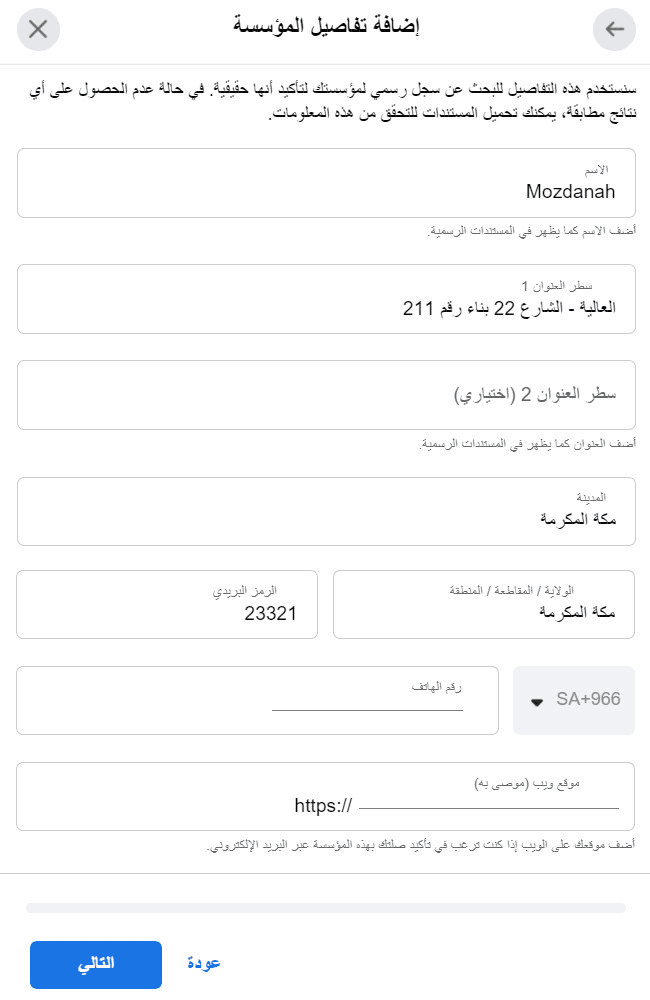
Step 2: Enter business Information
Fill in:
- Business name (exactly as in official documents)
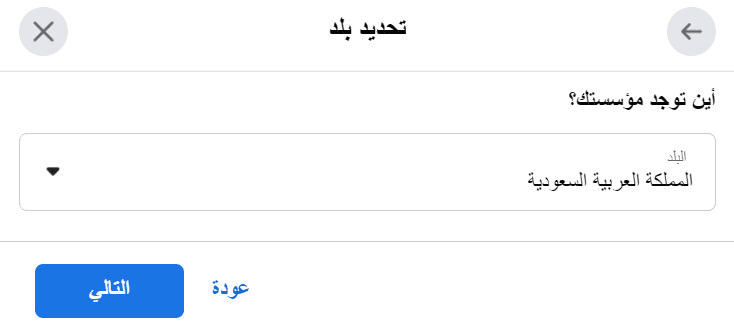
- Country
- Address
- Phone number
- Website (if available)
⚠️ Ensure all details match your official documents exactly
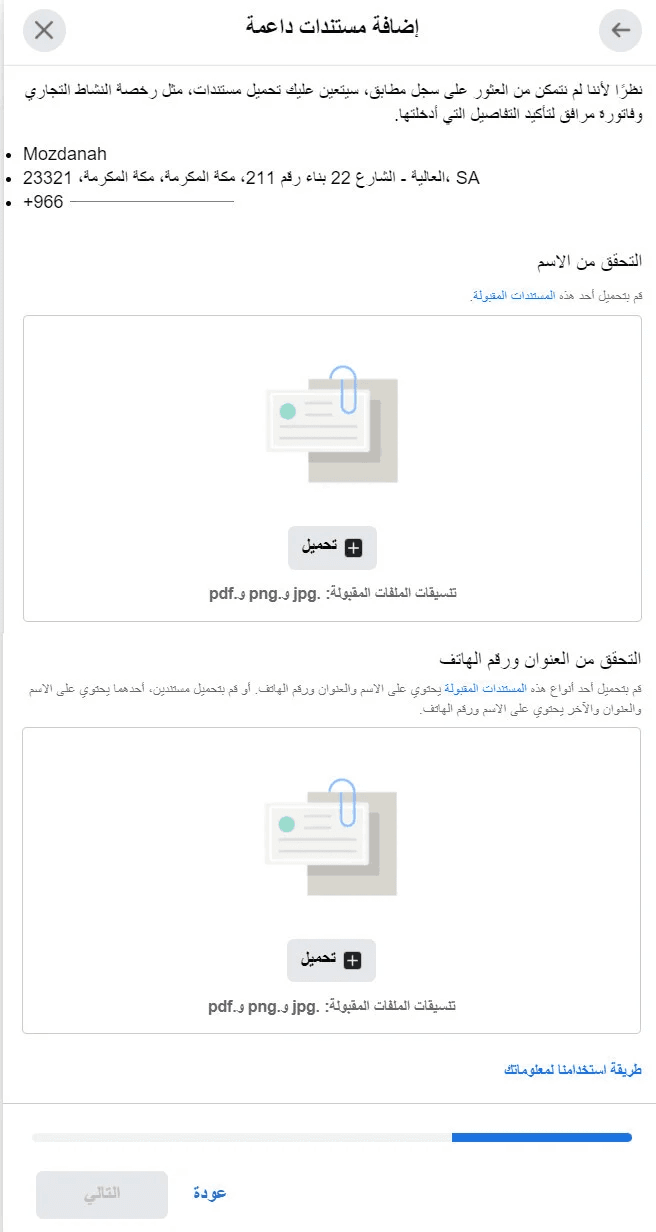
Step 3: Upload documents
Upload one or more of the following:
- Business license
- Utility bill
- Bank statement
- Tax registration certificate
⚠️ Documents must clearly show your business name and status
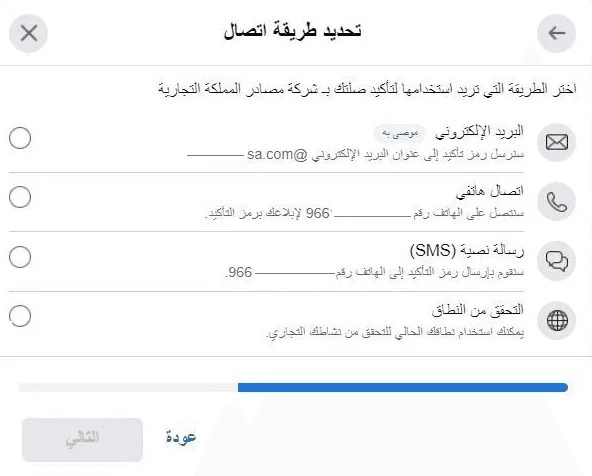
Step 4: Verify contact method
Choose verification method:
- SMS
- Phone call
- Domain verification
Enter the verification code to complete the process
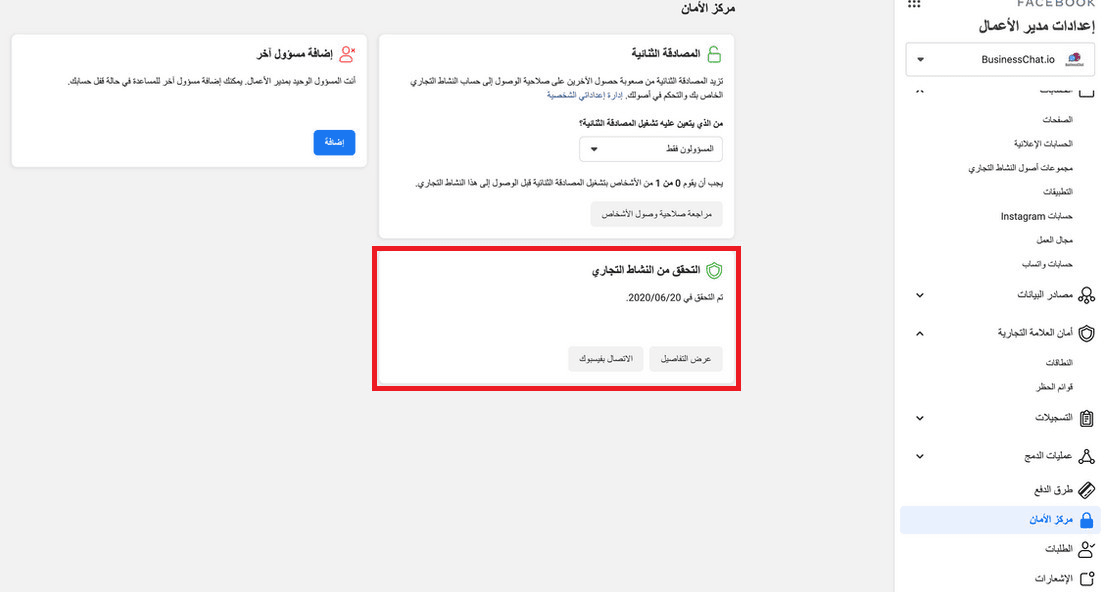
Step 5: Review & approval
- Facebook typically reviews within 1–10 business days
- Track status in Security Center or Business Info
Status may show:
- Under Review
- Verified
- Rejected
Once completed, the verification date will appear
Final takeaway
By adding WhatsApp to your Salla Chat communication channels, you can manage customer conversations from one place and deliver a more professional, seamless support experience.