Are ad blockers and browser cookie limits quietly hiding a share of your store's conversions?
Browser-side tracking loses data every day: scripts get blocked, cookies expire early, and the numbers in your ad platform stop matching the orders in your dashboard. The Stape Server GTM app moves that tracking to the server. It drops the Google Tag Manager snippet into every page of your store, builds a ready-made data layer of ecommerce events, and sends those events through a dedicated server endpoint, which means longer-lived cookies and more reliable reporting. In this guide, you'll learn how to install the Stape Server GTM app, configure each of its settings, and remove it if you no longer need it.
Stape Server GTM is a server-side tagging app for Salla stores. Your store must already be connected to Google Tag Manager. Install the app from the Salla App Store, complete the payment, then enter your web container ID, custom domain, custom loader and data layer settings, and switch on the purchase and refund webhooks.
📌 Article overview
- What the Stape Server GTM app does for your store
- What you need before you start
- How to install and activate the app
- How to configure the connection settings
- How to delete the app
- Frequently asked questions
🎯 What the Stape Server GTM app does for your store
The app simplifies how you track visitors and conversions by embedding the Google Tag Manager snippet across your store and moving measurement to server-side tagging. That gives you more accurate data, better privacy protection, longer-lived cookies and a secure path for sending data through dedicated server endpoints.
- Add tracking scripts without needing a developer.
- Get a ready-made data layer that already includes ecommerce events.
- Send events straight to the server for more accurate reporting in your advertising and analytics tools.
✅ What you need before you start
Your store has to be connected to Google Tag Manager first.
Connecting your store to Google Tag Manager is a single setup task that replaces hours of manual tagging and gives you a much clearer view of how your store and campaigns are performing. Read the article to see how it works before you continue.
🚀 How to install and activate the Stape Server GTM app
Watch the walkthrough video for a step-by-step look at connecting the app and getting the most out of it.
1. From the main menu, click (All), then under helper tools, click (App Store).
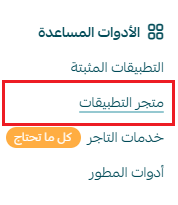
2. Search for the app using the search field.

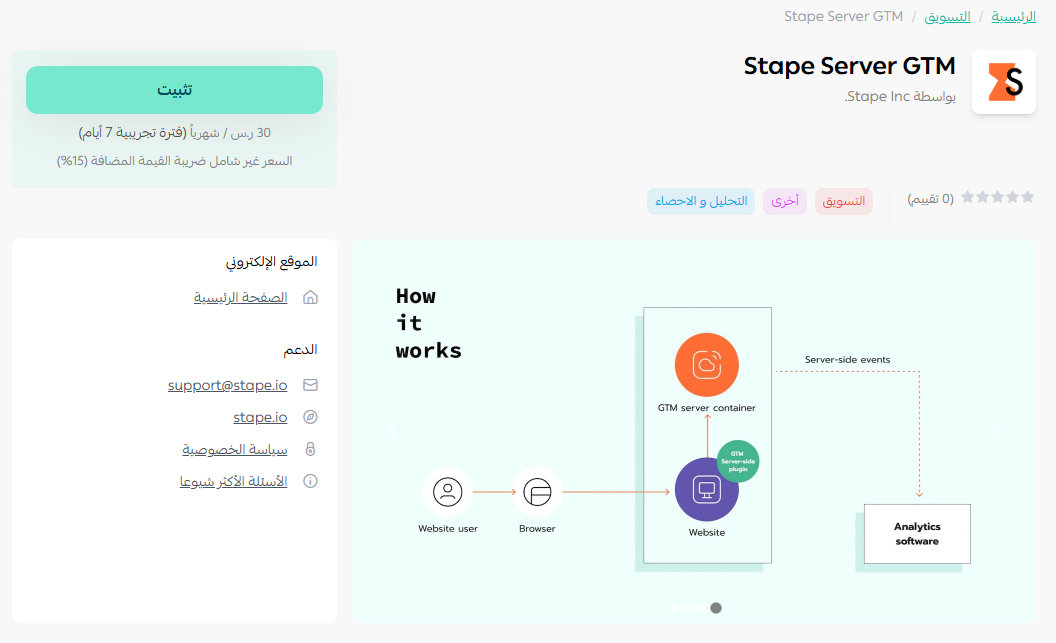
3. On the Stape Server GTM app page, click (Install).
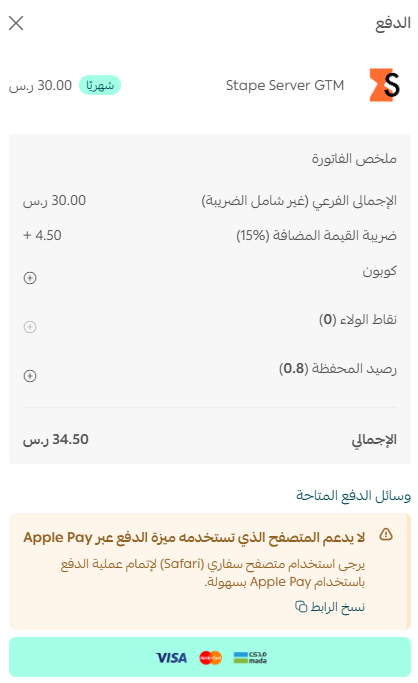
4. Complete the payment.
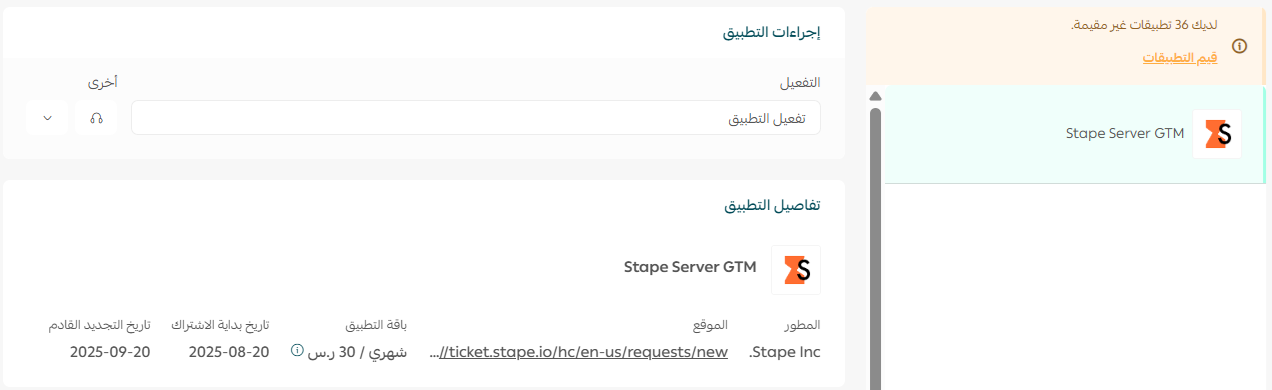
The app then appears under the my apps tab:
👣 How to configure the connection settings
Open the app connection settings from the app page. There are several settings to fill in, and the one that makes the connection work is your Google Tag Manager container ID.
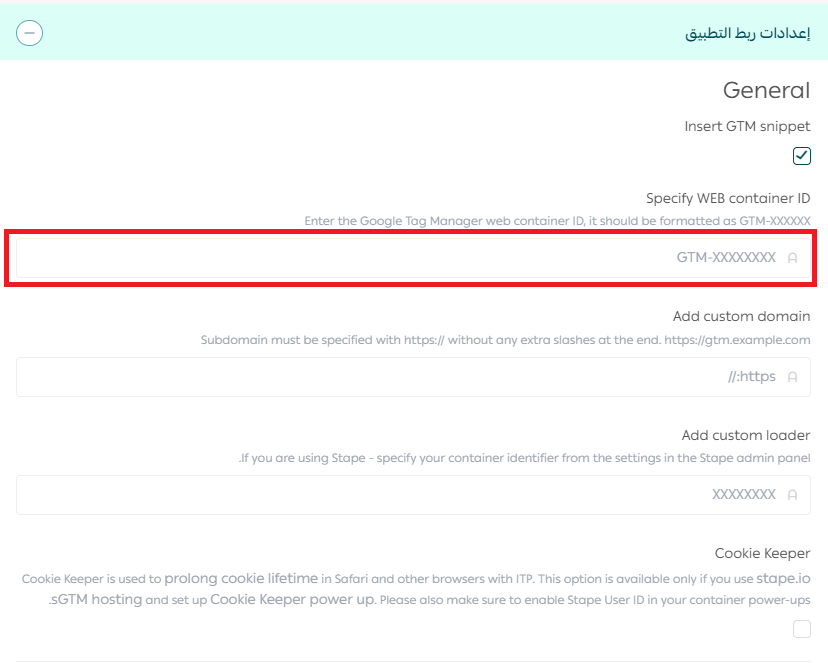
Specify WEB container ID
Sign in to your Google Tag Manager account and copy the container ID from the home page, then paste it here.

Add a custom domain

⚠️ Type the custom domain in your Stape settings exactly in this form, for example https://gtm.example.com.
Do not add a trailing slash (/) at the end of the address. It will break the connection.
"gtm.example.com" is only an example subdomain. You can use your own, such as gtm.yourstore.com, if you have already configured it in your site's DNS.
Add a custom loader

Find your container identifier in the settings of your Stape admin panel, copy it, and paste it here.
Enable Cookie Keeper
Turn this on if you use the Stape cookie management feature. It extends the lifetime of your cookies in browsers such as Safari.

Enable the Data Layer with standard ecommerce events
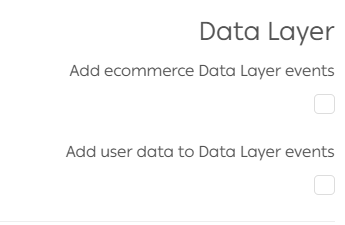
The goal here is to collect data such as products and customers for better analysis.
- Add ecommerce Data Layer events: check this to have the app add standard events such as product view, add to cart and purchase.
- Add user data to Data Layer events: check this to include data such as email address or phone number, which supports more personalized tracking.
Send purchase and refund webhooks to your GTM container
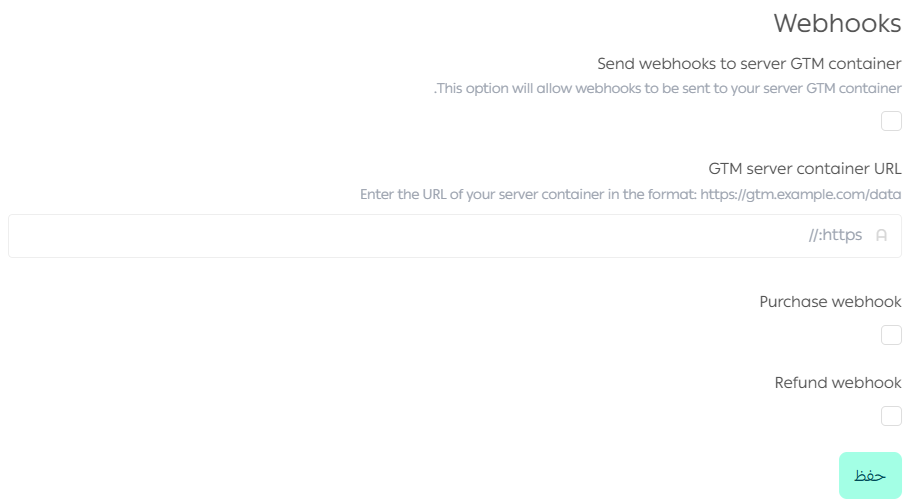
Webhooks are automatic notifications that push order data to Google Tag Manager for accurate tracking.
- Send webhooks to server GTM container: check this.
- GTM server container URL: enter a URL such as https://sst.example.com/data.
- Purchase webhook: check this to send a notification with every purchase.
- Refund webhook: check this to send a notification with every refund.
✅ The app is now active on your store.
🚀 Manage the app
Delete the app
Open the Stape Server GTM app, click ( ), then click (Cancel subscription).

From the same menu, click (Delete app).
📝 Important notes
Connect your store to Google Tag Manager before you install this app. Without a container ID there is nothing for the app to send data to.
The custom domain must be written without a trailing slash, or the connection fails.
The custom loader value comes from your Stape admin panel, not from your Salla dashboard.
❓ Frequently asked questions
Do I need a developer to set this up?
No. The app adds the tracking scripts for you. You only paste values that you copy from Google Tag Manager and from your Stape admin panel.
What is server-side tagging good for?
It sends your tracking events through a server rather than the visitor's browser, which produces more accurate and more reliable data, keeps cookies alive longer, and moves the data through dedicated server endpoints.
Can I use my own subdomain?
Yes. Something like gtm.yourstore.com works, as long as you have already configured it in your site's DNS. Enter it with the https:// prefix and no trailing slash.
What do the purchase and refund webhooks send?
They push order data to your server-side GTM container automatically, one notification when a purchase happens and one when a refund is issued.
For more details, see the Stape Server GTM help desk.