You’re just one step away from fully launching your online store in the UAE. Many merchants successfully set up their products, design their store, and configure shipping, but verification is what unlocks the final layer: payments, compliance, and live operations.
In this guide, you’ll learn how to verify your Salla store in the UAE when the business is owned by a company, ensuring full alignment with local regulations and enabling secure payment processing with confidence.
Store verification steps
Verification is the final milestone in launching your UAE store. Once completed, your business will be fully compliant with UAE e-commerce requirements and ready to accept payments.
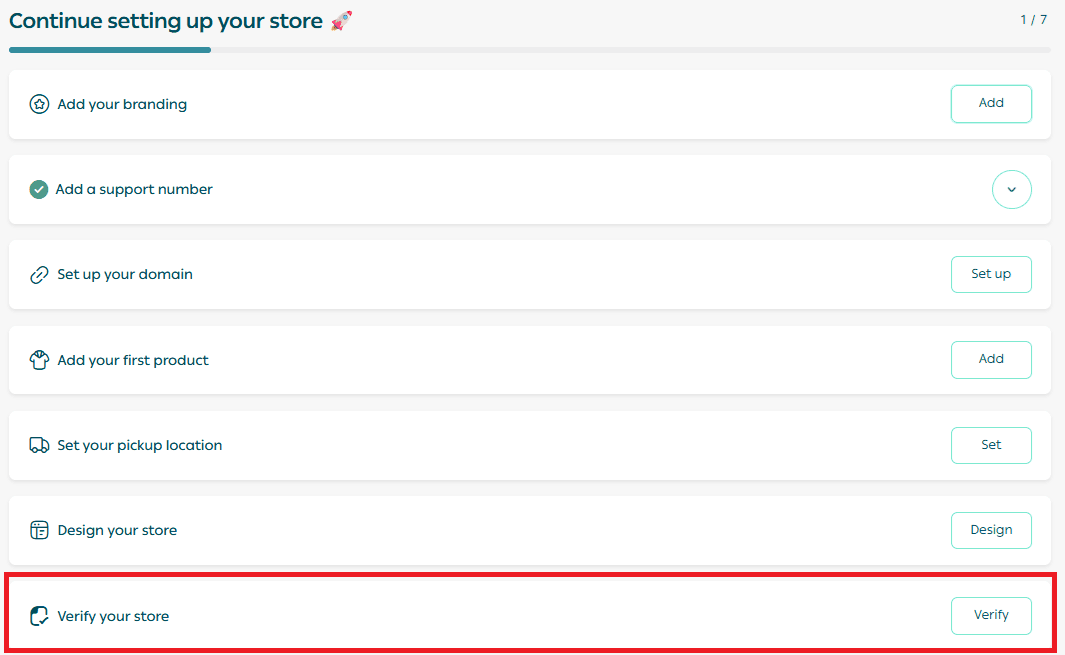
Step 1: Access store verification
From your store’s main dashboard, click Verify your store.
Step 2: Start the verification process
Click Start verifying your store to begin.

You’ll be guided through a structured, step-by-step verification flow.
Step 3: Complete the verification form
Follow each section carefully and complete the required information.
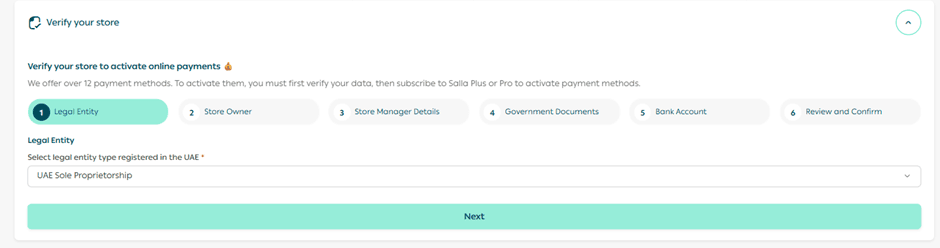
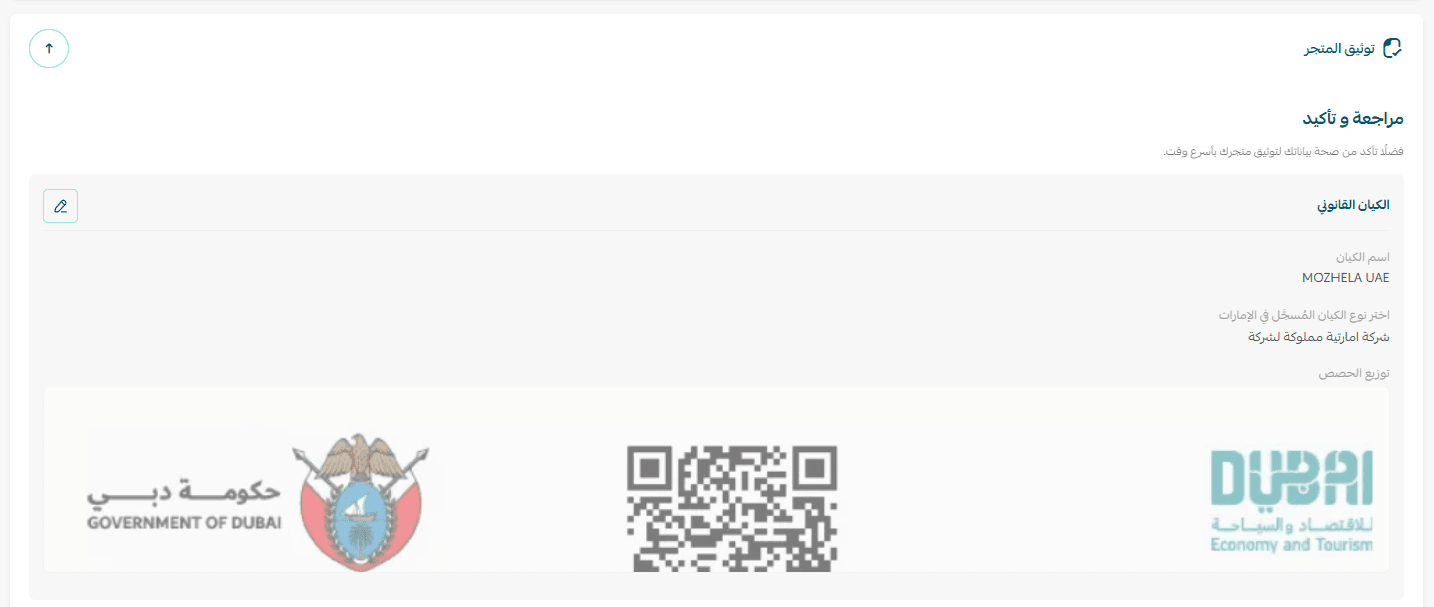
1. Legal entity details
Enter the legal entity name exactly as it appears in official company documents.
Next, select the legal entity type

Click Next to continue.
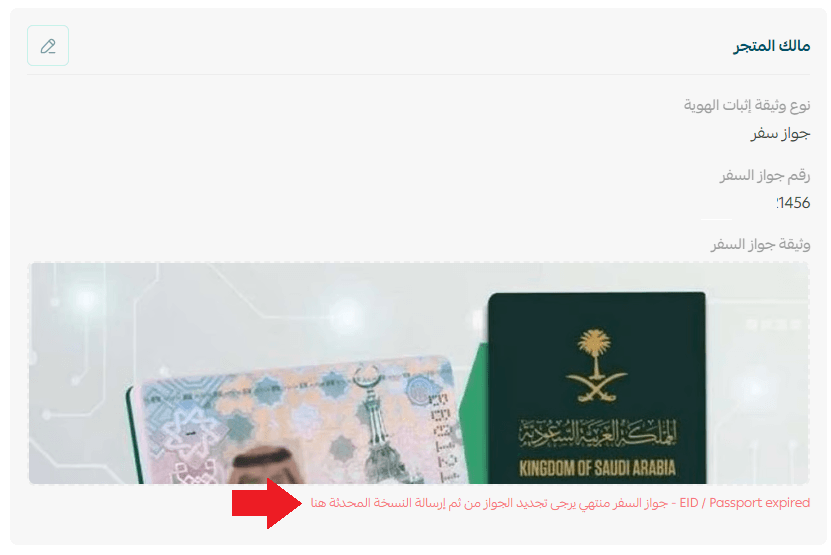
2. Store owner details
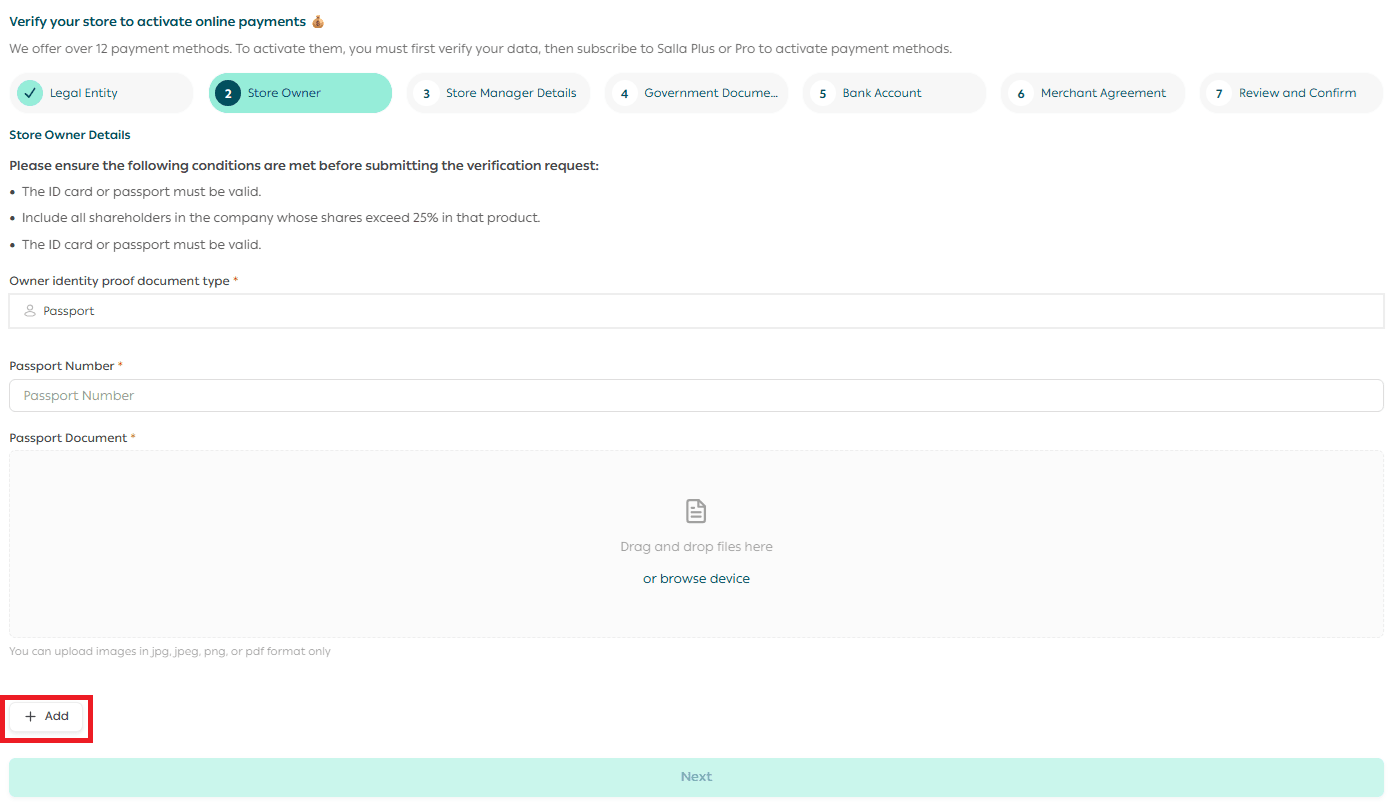
Select the type of identification document for the store owner and upload clear copies of the required files.
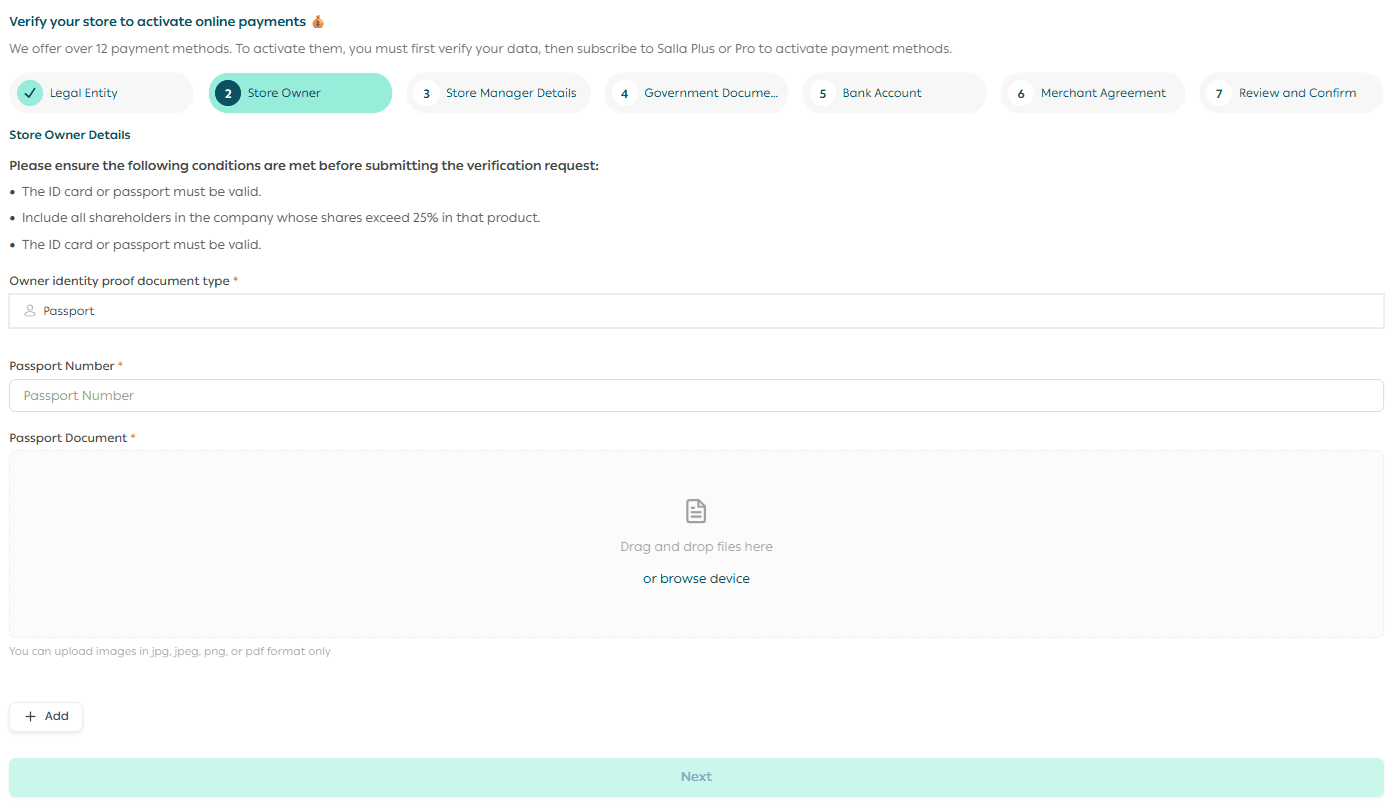
⚠️ Important: All shareholders who own more than 25% of the company must be added and documented.
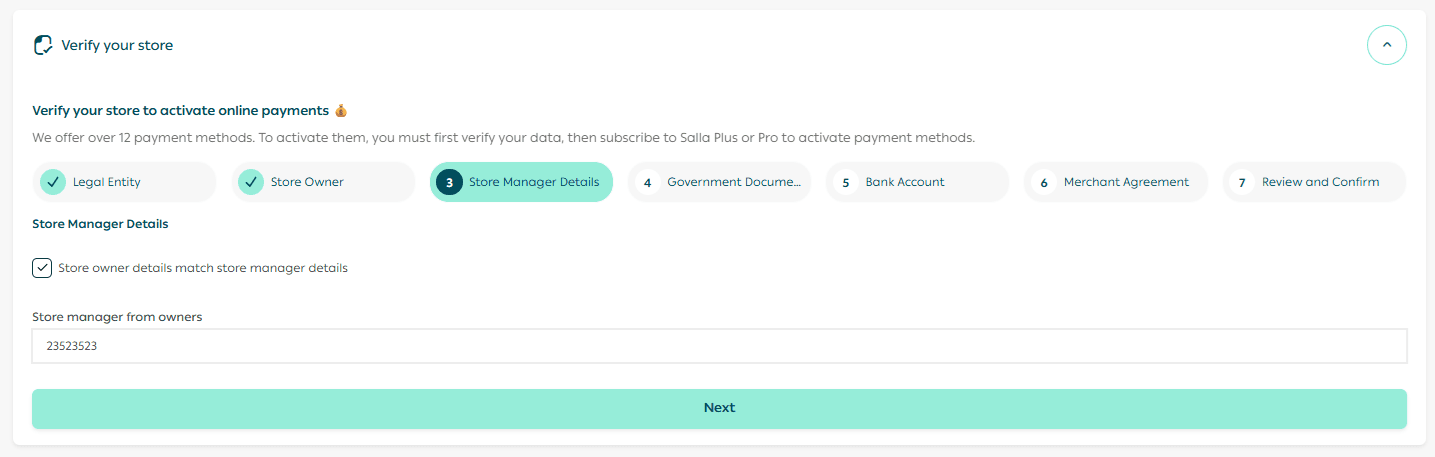
3. Store manager details
Select the store manager, then click Next.
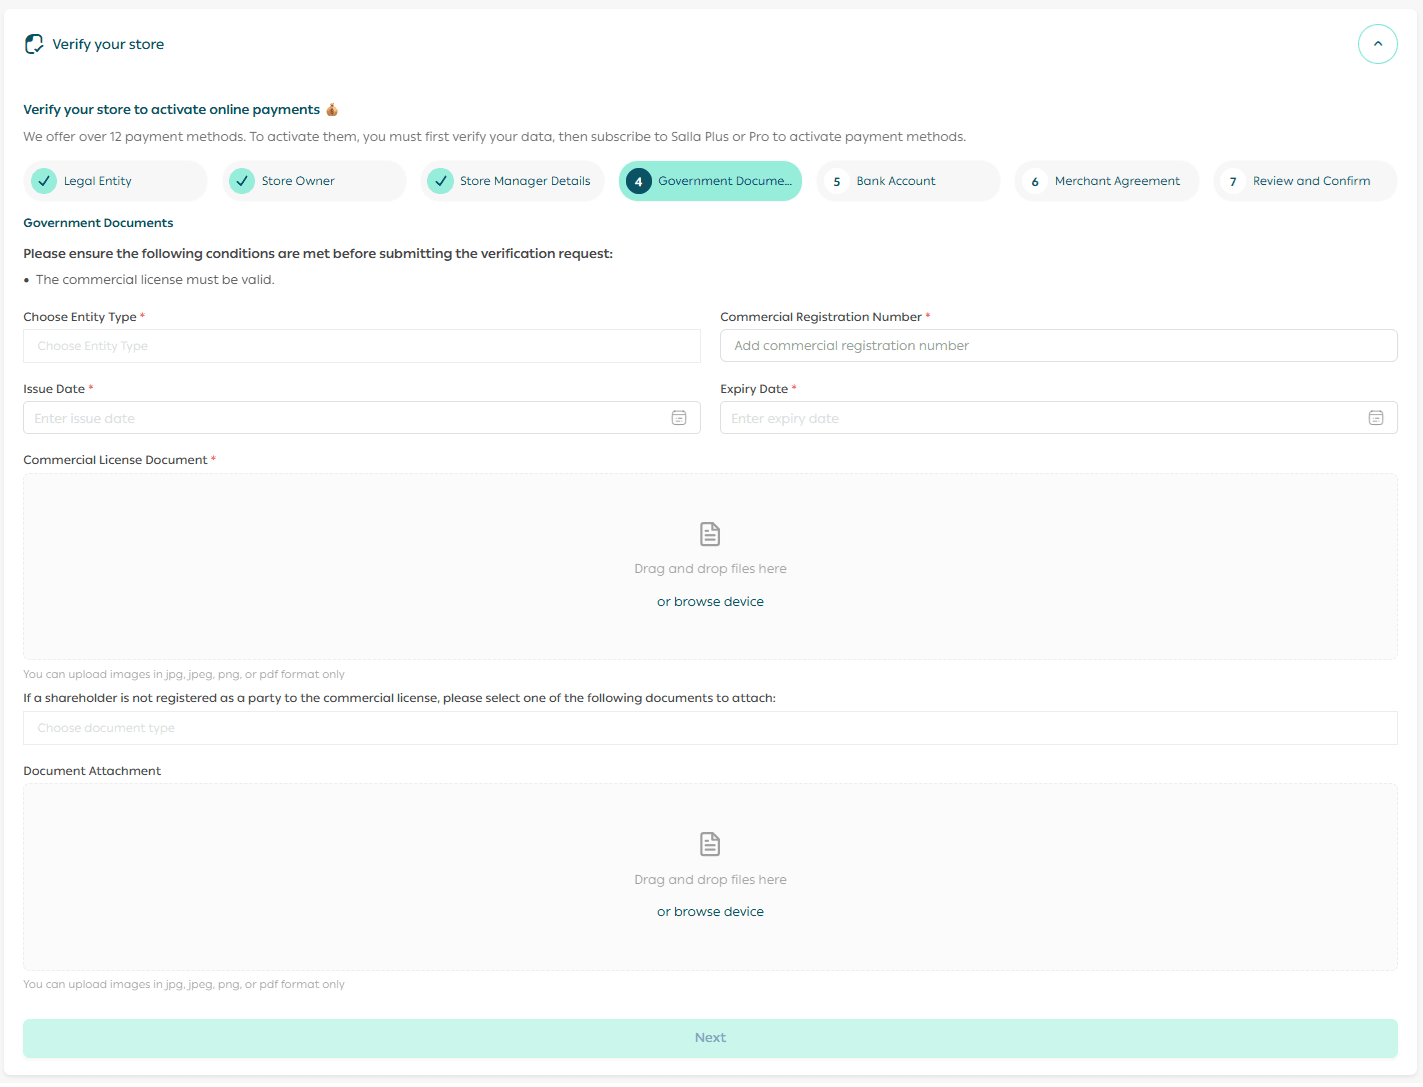
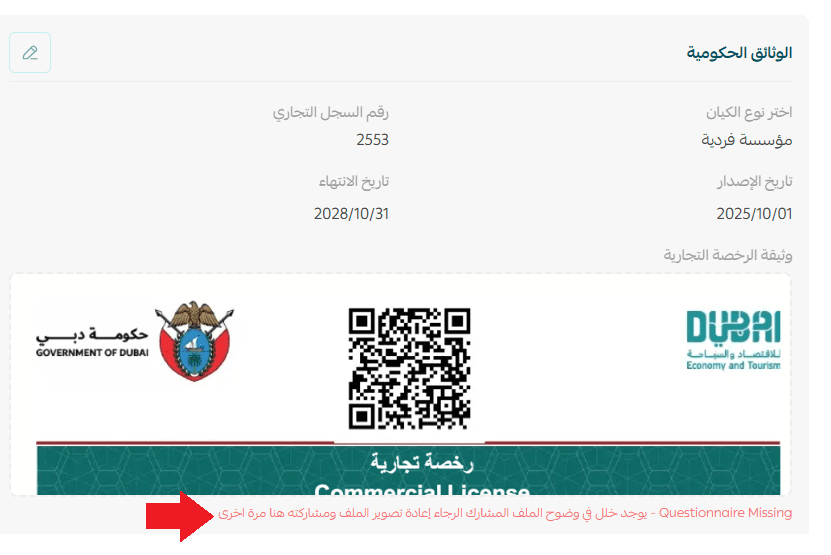
4. Government documentation
Upload all required government documents related to your company.
Before submitting, ensure that:
- Documents are valid and not expired
- Uploaded images are clear and readable
📝 Notes:
- Always choose a legal entity type that matches your official documentation exactly.

- If a shareholder is not listed in the primary document, you’ll be prompted to upload one of the accepted supporting documents.
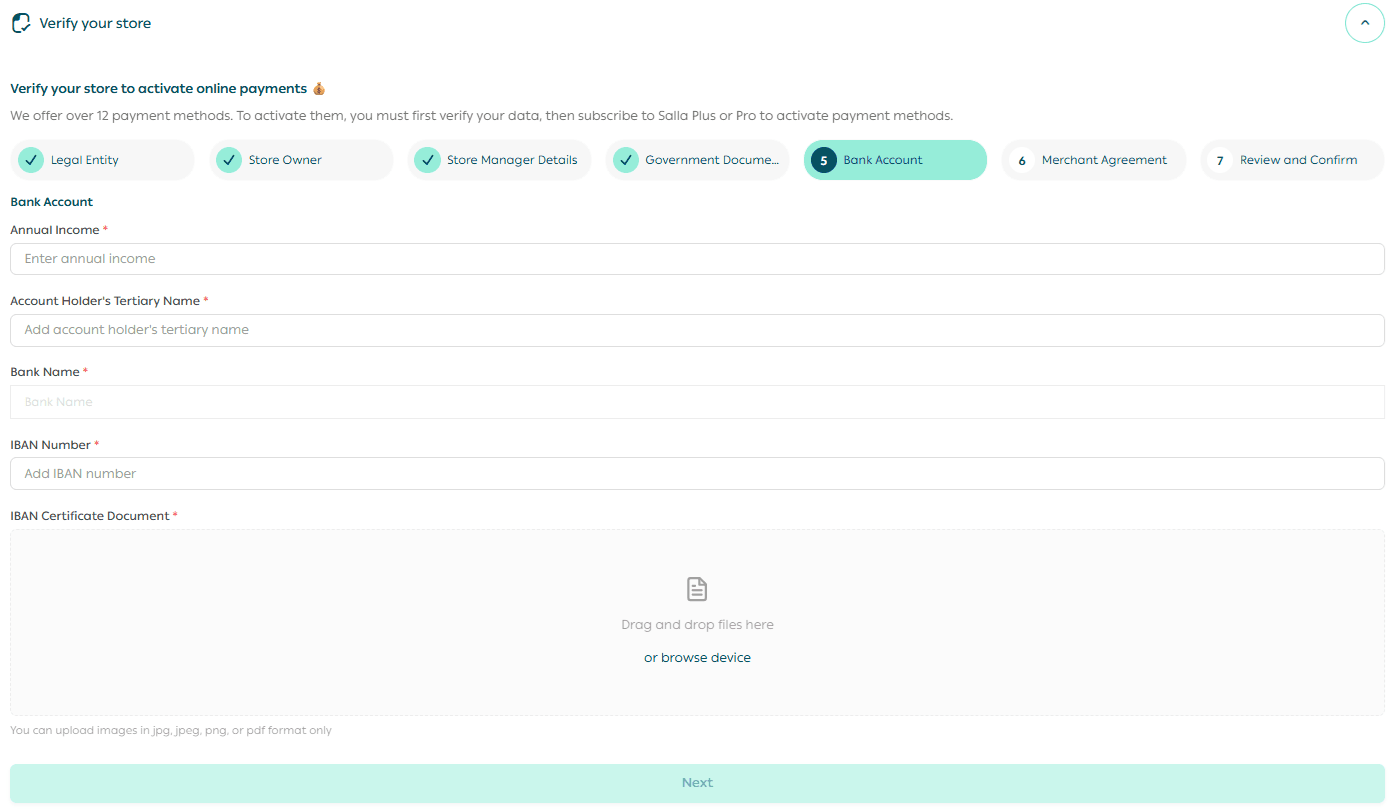
5. Bank account information
Provide the following banking details:
- Estimated annual revenue
- Full legal name of the bank account holder
- IBAN number
Then upload the IBAN certificate to verify ownership.
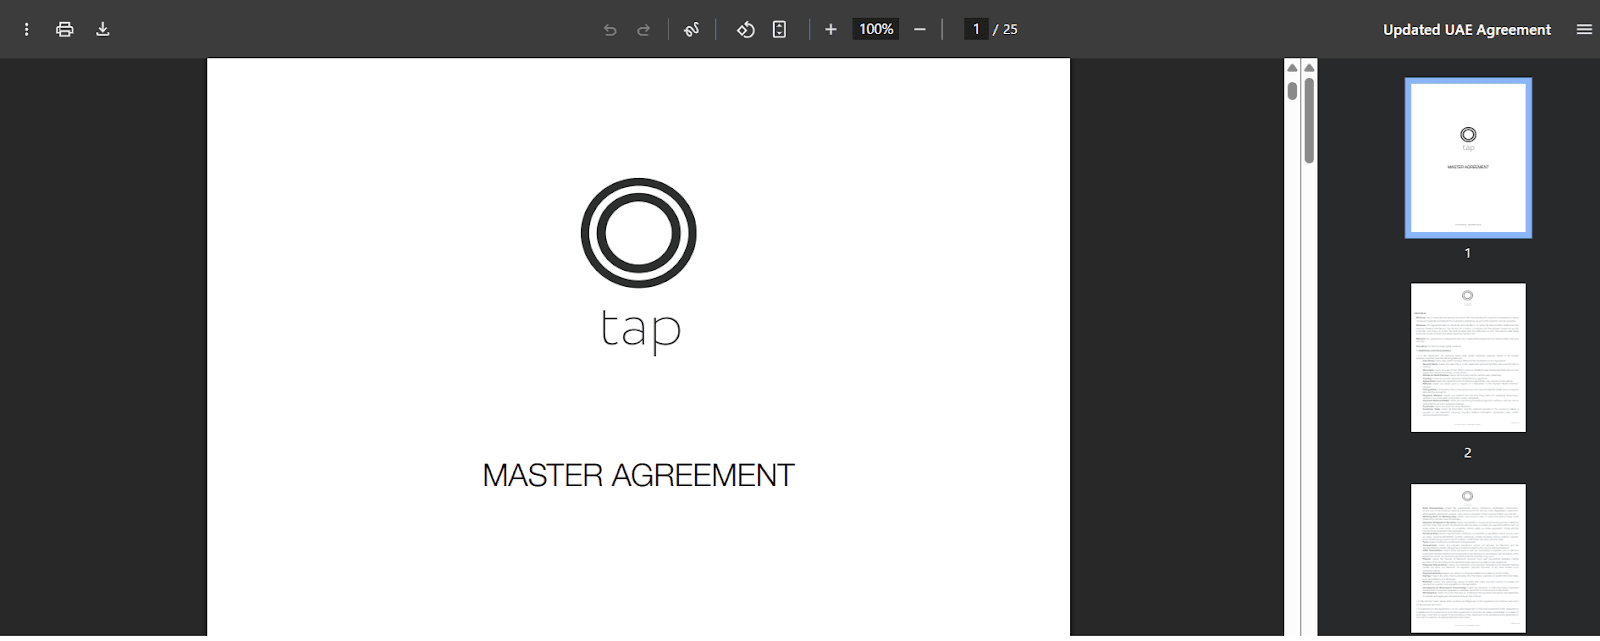
6. Merchant agreement
Click Download Agreement to access the merchant agreement.
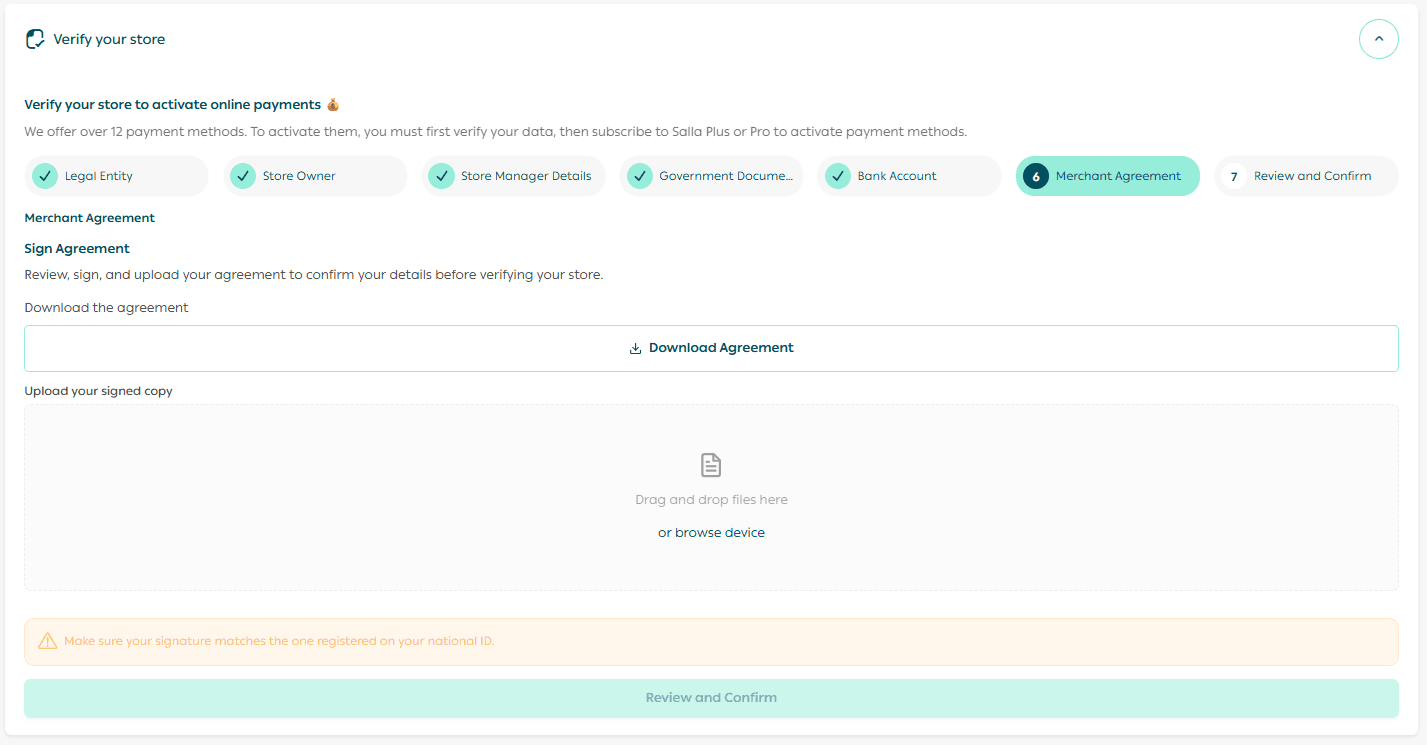
Review it carefully, sign it, then upload the signed copy to continue.
7. Review and submit verification
After uploading all documents:
- Click Review and Confirm
- Review all submitted information
- Confirm that all details are accurate
- Click Submit Verification Request

Your request will be reviewed by:
- The Salla verification team
- The Tap payments team

During the review process
🚨 If any document requires clarification or correction, you’ll be notified:
- Via email
- Through your Salla dashboard
You’ll be able to re-upload corrected documents directly.
Common reasons for revision include:
- Expired documents
- Unclear or incomplete images
Verification completed 🎉
Once approved, your store is officially verified.
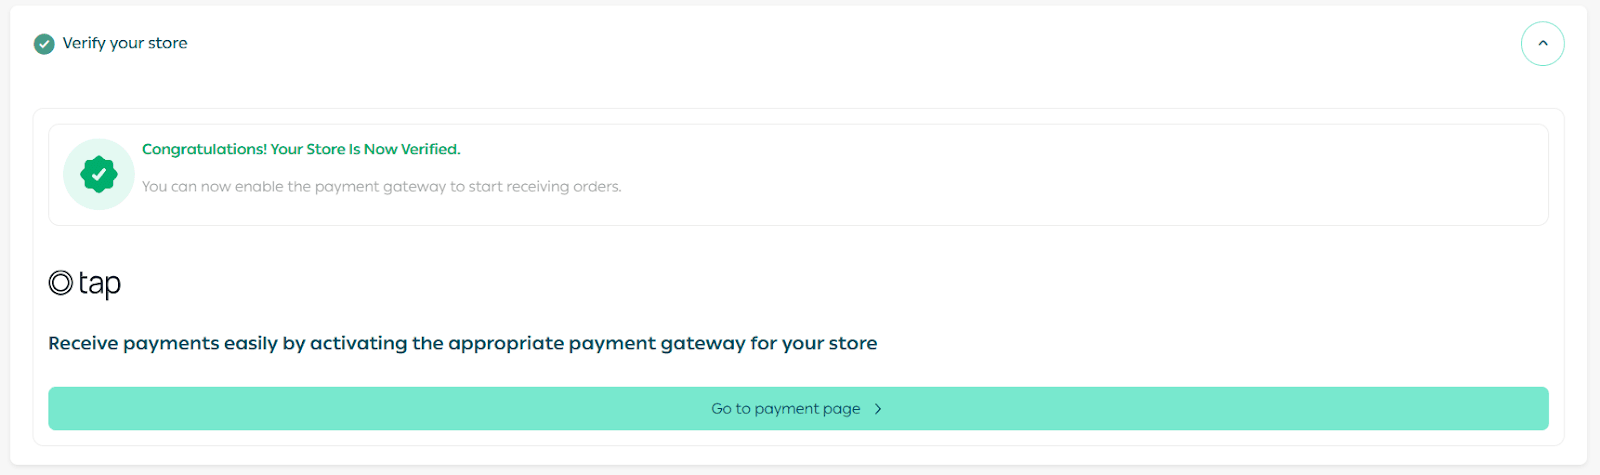
You can now:
- Access payment settings
- Activate the payment methods that fits your business
- Start accepting orders seamlessly
Your store is now fully compliant, payment-ready, and prepared to scale with confidence on Salla.