The Customer Import feature makes it easy to migrate customer data from other platforms into your Salla store quickly and accurately. This helps you centralize customer information, manage data more efficiently, and improve your marketing and customer relationship strategies.
You can import customers either through direct platform integration or by uploading a prepared data file.
In this article, you’ll learn how to import customers step by step, upload data correctly, verify imported information, and avoid common errors.
Importing customers
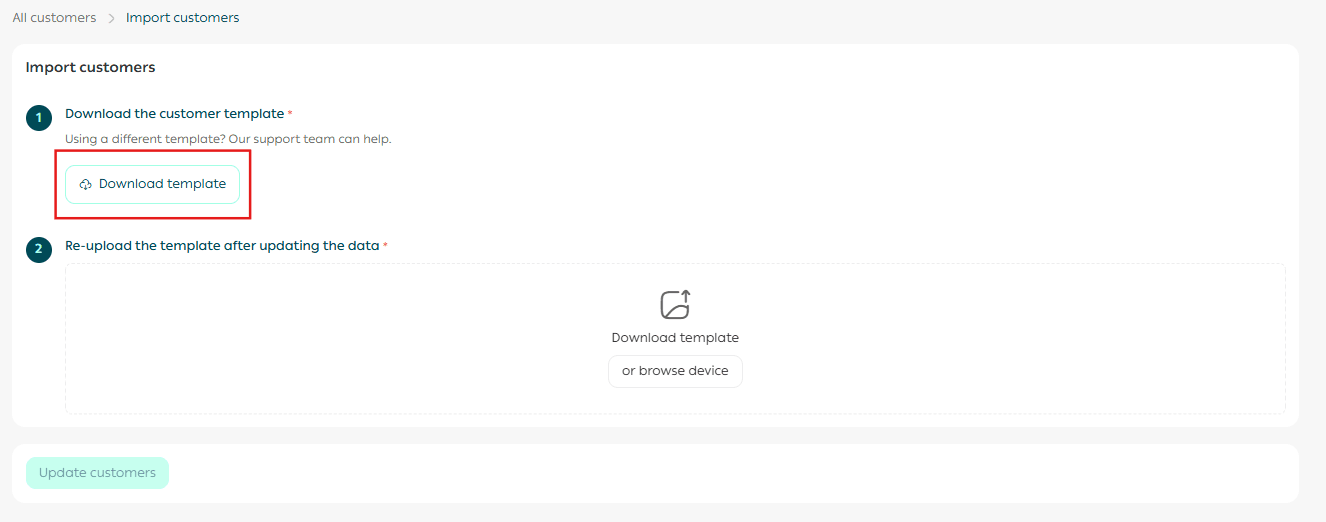
- From the main menu, click All, then under Customers, select Import customers.

2. On the Customer Management page, click the Import Customers tab.

Step one: Download the customer import template
- Click download template.
Supported platforms: Salla – Zid
After downloading the template, you’ll receive an Excel file containing the following columns:
Core fields
Such as:
- First name
- Email address
- Mobile number
- City
- Store registration date
These fields are required to create customer accounts successfully.
Custom fields
If you’ve already created custom customer fields in your store, they will automatically appear as additional columns in the template.
Registration date
Allows you to enter the customer’s original registration date, helping preserve historical accuracy and improve segmentation and marketing targeting.
Supported date formats:
- yyyy/mm/dd
- dd/mm/yyyy
You’ll receive instant validation alerts if the format or date is invalid.

Important notes
- The available columns depend on the fields defined in your store settings.
- The template is automatically updated each time you download it to reflect the latest custom fields.
- You may fill in or leave optional fields empty as needed.
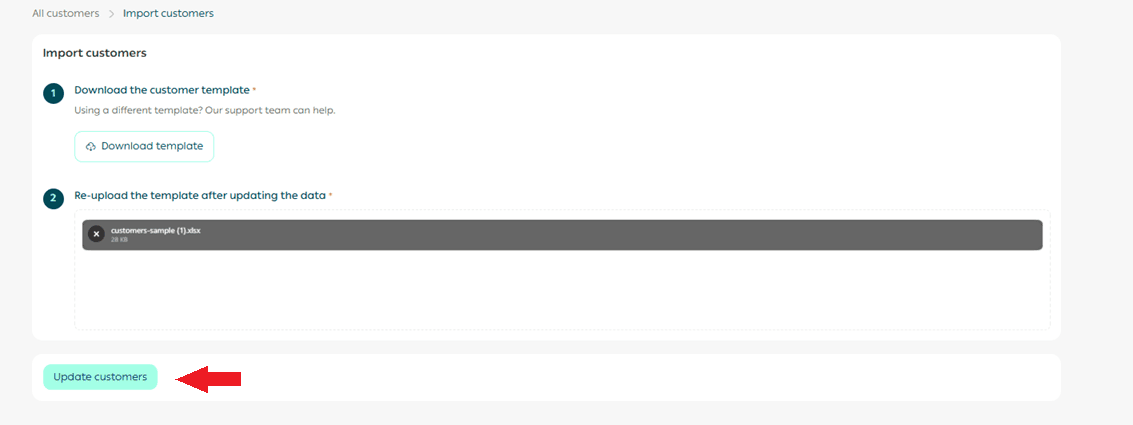
2. Enter customer data and save the file
⚠️ Please make sure to:
- Fill in the template exactly as required (text, numbers, or links).
- Do not delete any columns, even if you don’t need them.
- Cells highlighted in gray must not be edited—any changes made to them will not be imported into your store.
Step two: Upload the updated template
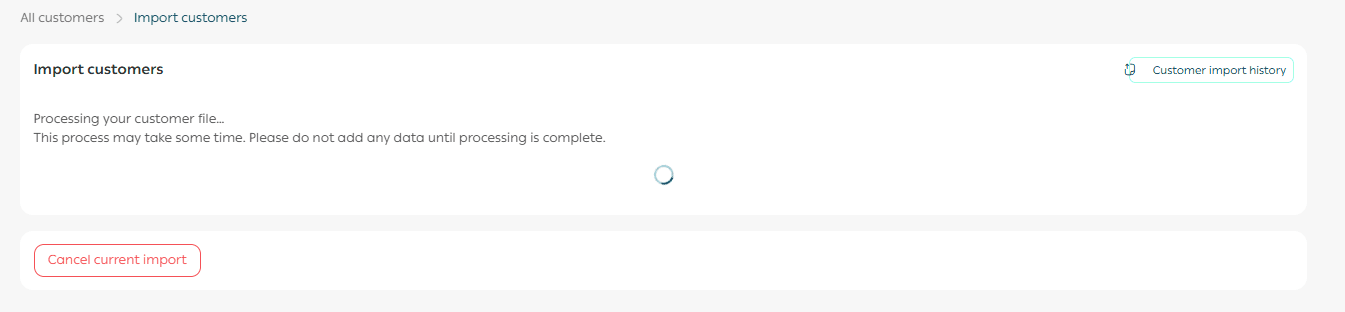
Upload the completed file to start the import process.
Please be patient while the system processes and imports customer data.
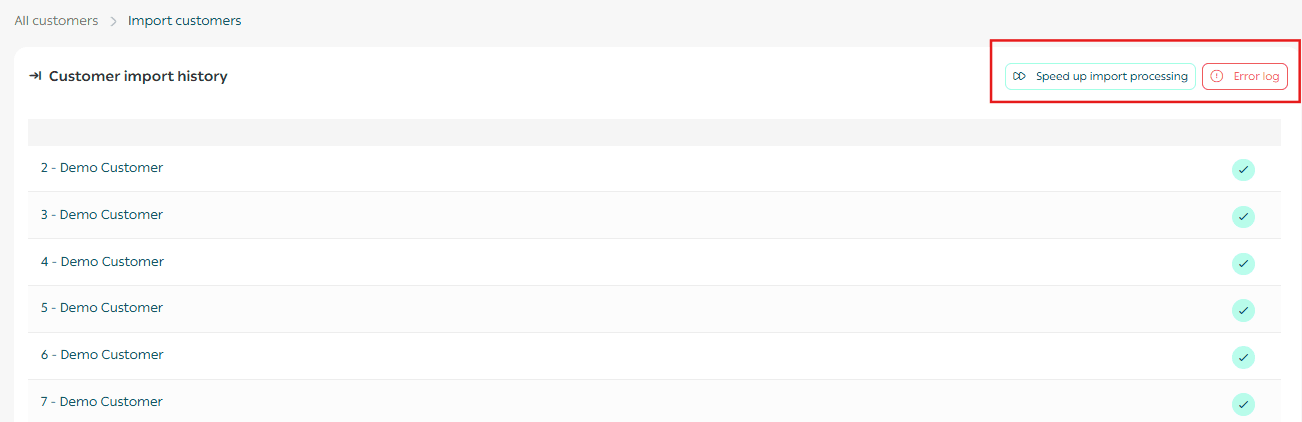
Once completed, you’ll see a summary message outlining the import results.

To review the details, click Customer import history.

From there, you can:
- Speed up the import process
- Review and resolve any errors listed in the error log
Frequently asked questions
Can I run multiple customer imports at the same time?
No. You must wait 24 hours after one import is completed before starting another import, regardless of the import method.
How are existing loyalty points handled?
If a customer already has loyalty points, they will be automatically replaced by the points included in the imported data.
Can errors occur during the import process?
Yes. Errors may occur, and the total number will be shown in the import completion report.

What happens if a custom field has an invalid format?
- The customer will still be imported successfully.
- The error will be logged in the Error Log, clearly indicating the affected field.
- You can correct the issue later directly from the customer’s profile page.

🎯 Tip: A clean, accurate customer database powers better segmentation, smarter campaigns, and stronger customer relationships.
By using the import feature correctly, you save time while maintaining high data quality.