Effective product category management helps you organize your store, improve navigation, and enhance the shopping experience. By grouping products into clear categories, you can control how they are displayed, managed, and sold based on production, logistics, inventory, and sales strategies.
Well structured categories also play a major role in SEO, helping search engines understand your store content and making it easier for customers to find what they are looking for.
📌 Article overview
- What are product categories
- Assigning a product category from the Products page
- Category management
- Viewing existing categories
- Adding a new category
- Deleting a category
- Hiding a category from sales channels
- Displaying categories in the store
What are product categories
Product categories are a way to group products into logical sections. Each category can have specific attributes and organizational rules.
Products can be categorized based on production type, logistics, inventory management, or sales and display needs. This structure improves internal management and creates a smoother browsing experience for customers.
Assigning a product category from the Products page
- From the product basic information page, click the Category field on the product card.
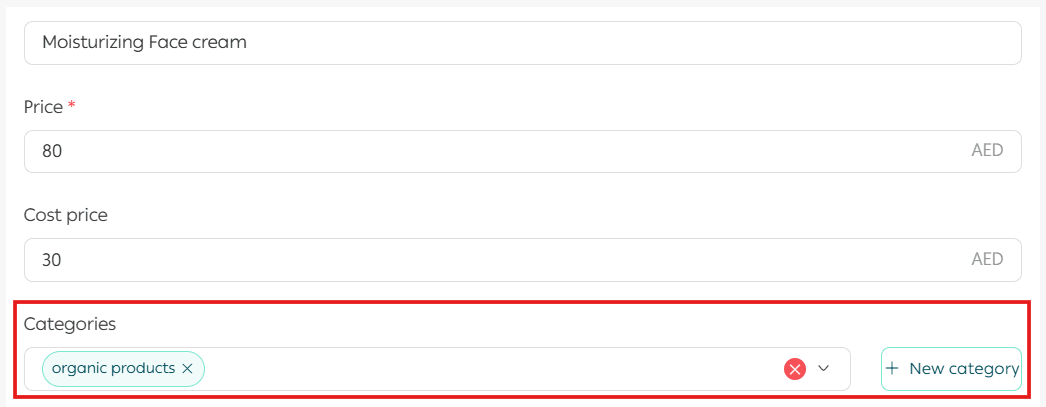
2. Select one or more categories from the list. You can assign up to 15 categories per product.
To remove a category, click on its name.
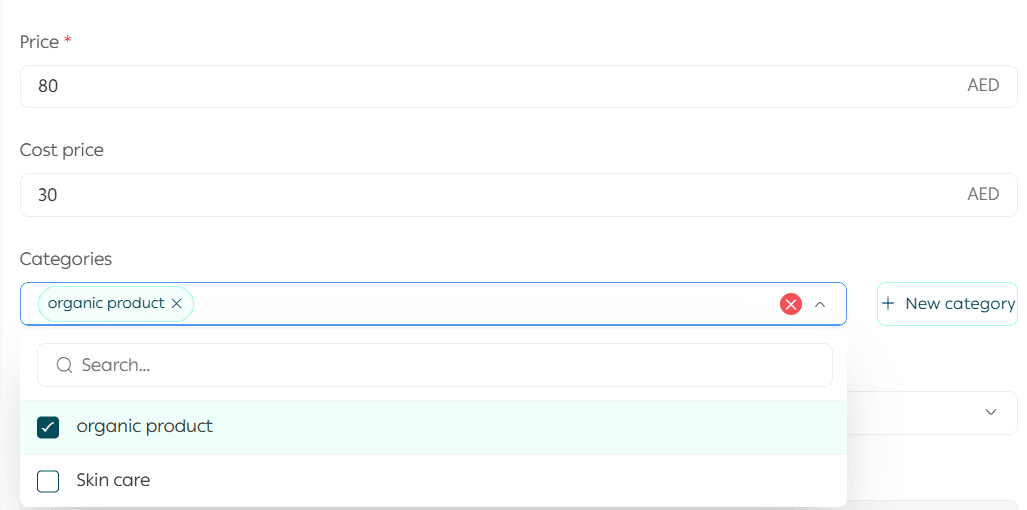
Click Save to apply the selected categories.
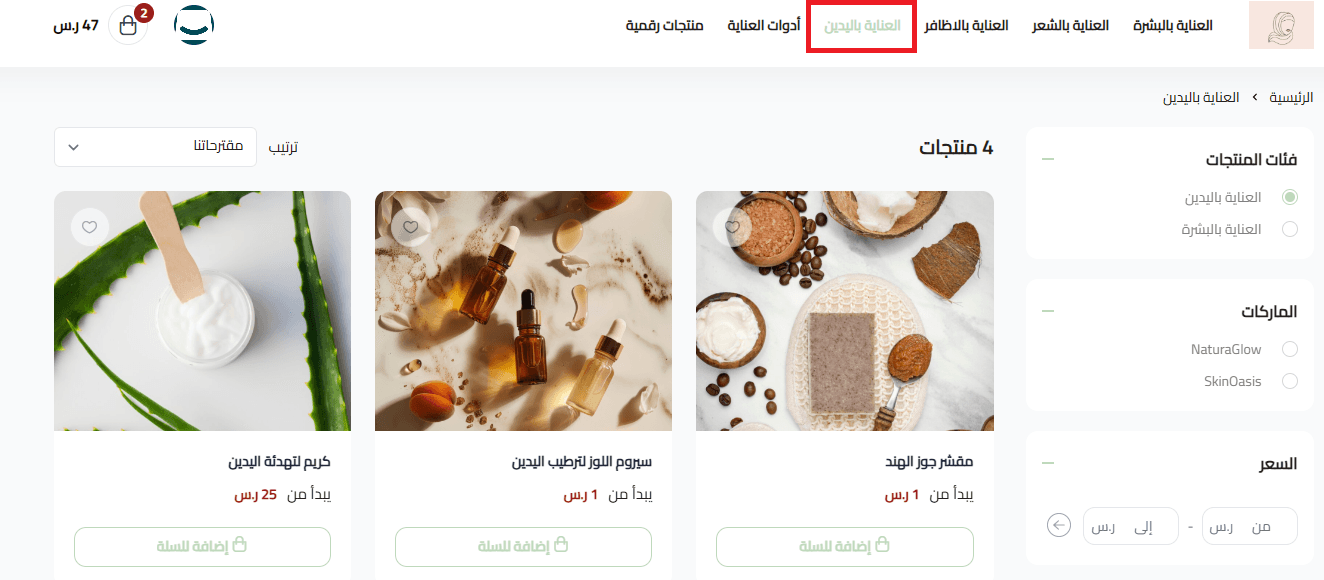
Once saved, products will appear under the selected category in the store as customers see it.
Note: If you remove a category from a product, the product will automatically be removed from that category across all markets when the Multi-Markets feature is enabled.
For more details, see the guide on activating and managing multi-markets.
Category management
1. Viewing existing categories
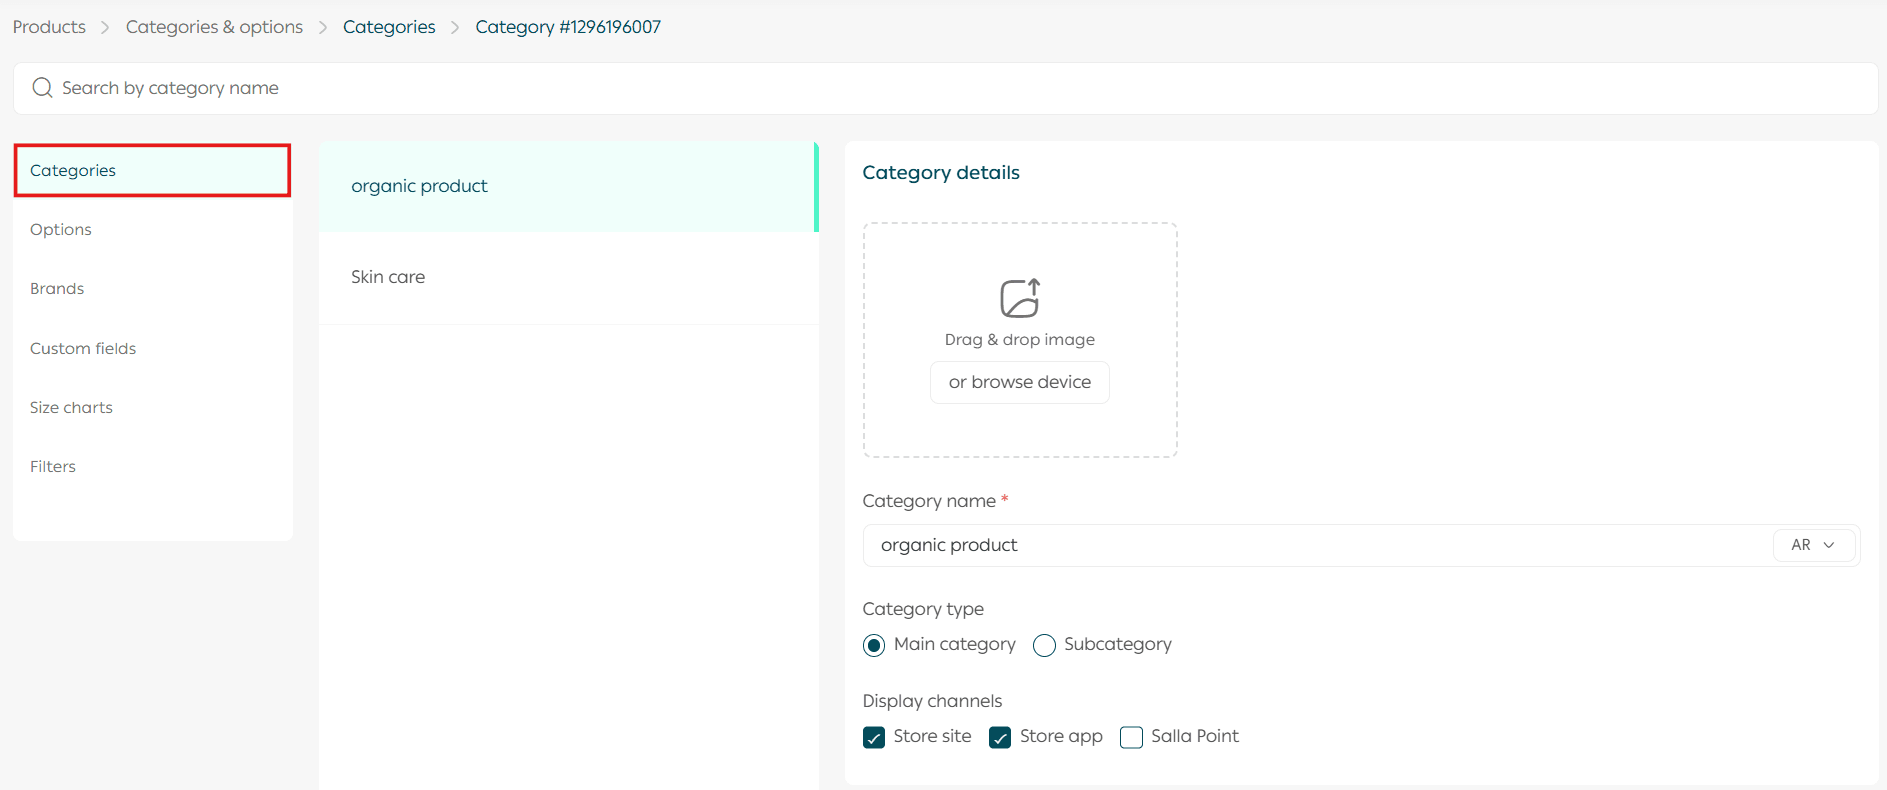
- From the main menu, click Products.

2. Under product sections, click Categories & options.

3. From the Categories & options page, click Categories to view and manage existing categories.
Important note: Salla Point is currently available only for stores in Saudi Arabia.
You can create up to two category levels:
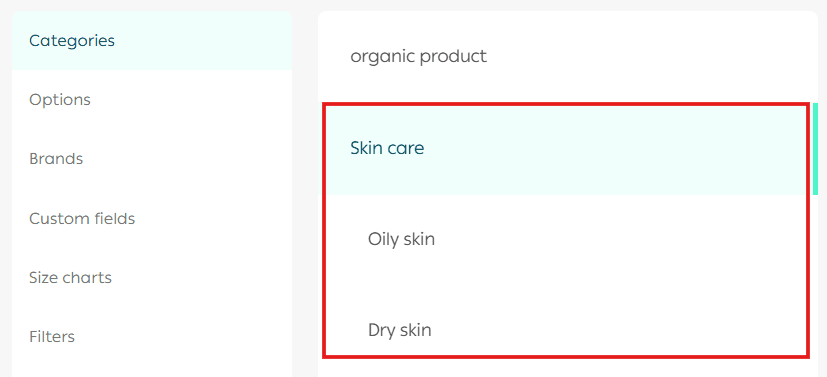
- Main category, for example Skincare
- Subcategory, for example Sensitive Skin or Normal Skin
2. Adding a new category
- From the Product Categories page, click Add New Category.
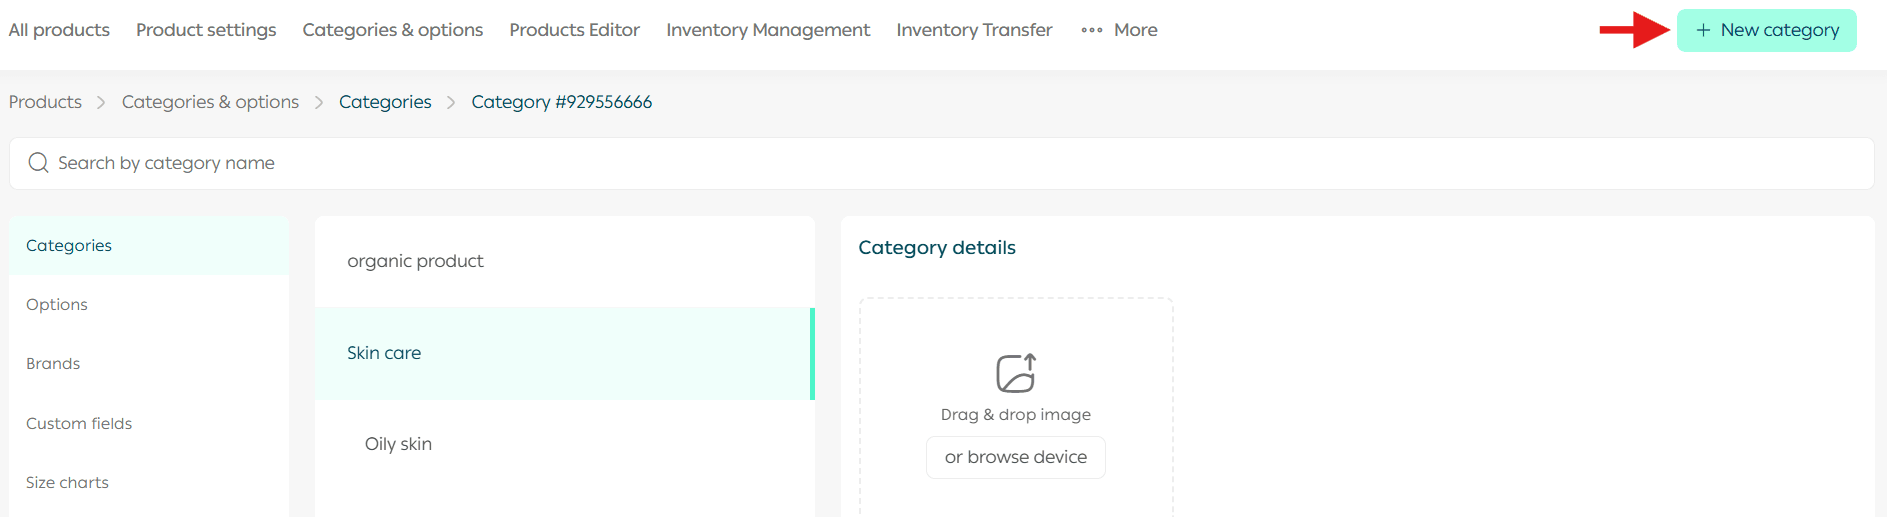
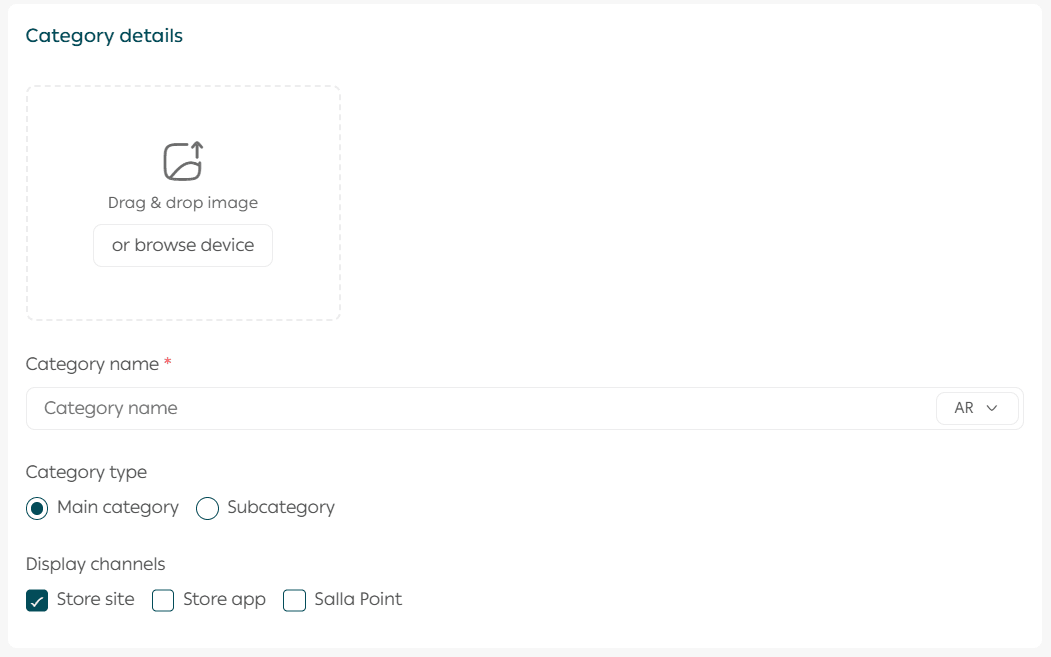
2. Enter the category details.
Important note: Salla Point is currently available only for stores in Saudi Arabia.
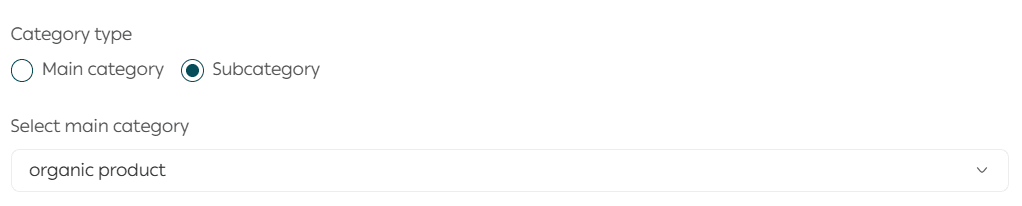
If the category is a subcategory, select the main category it belongs to.
You can also add images for both main and subcategories. Category images will appear in the store and help customers visually browse your categories.

This feature is supported when using the Digital theme or the Raed theme in store design.
3. SEO settings for categories
Enter SEO information to improve category visibility in search engines.
- Page title
Use the category name and make it attractive, for example:
Shop {Category Name} Products at the Best Prices
- Custom URL
Use a clean and simple URL that includes the category name, for example:
yourstore.com/{category-name}
- Page description
Write a clear description with relevant keywords, such as:
Discover high quality {Category Name} products with exclusive offers
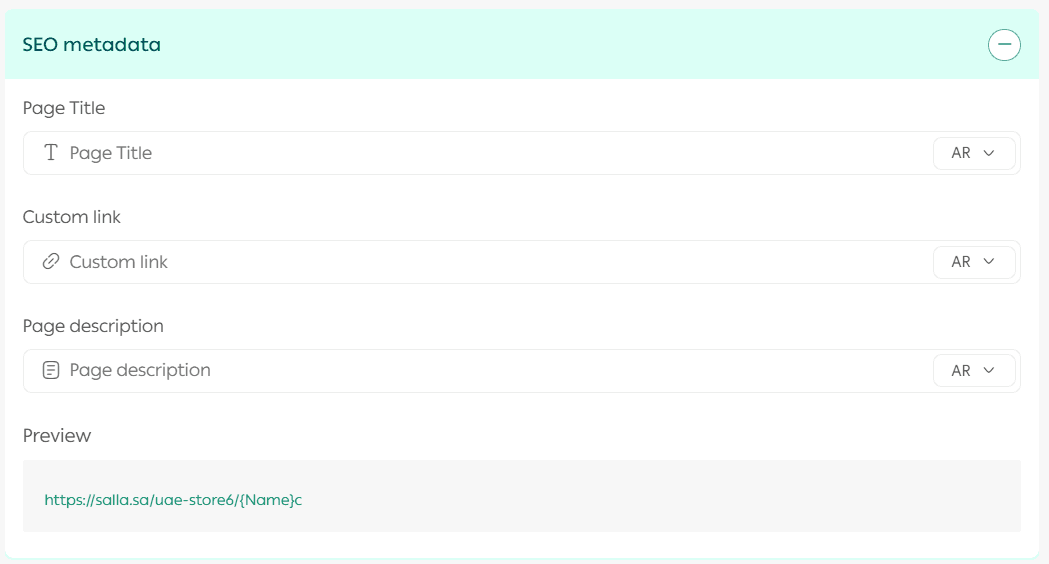
Important note: You must add the category name before editing SEO settings. These fields improve search engine visibility without appearing directly in the store interface.
4. Adding products to a category
Search for products and add them to the selected category.
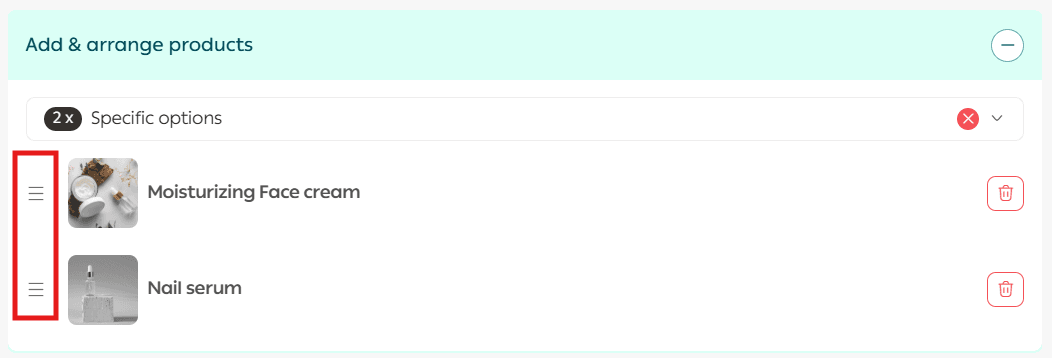
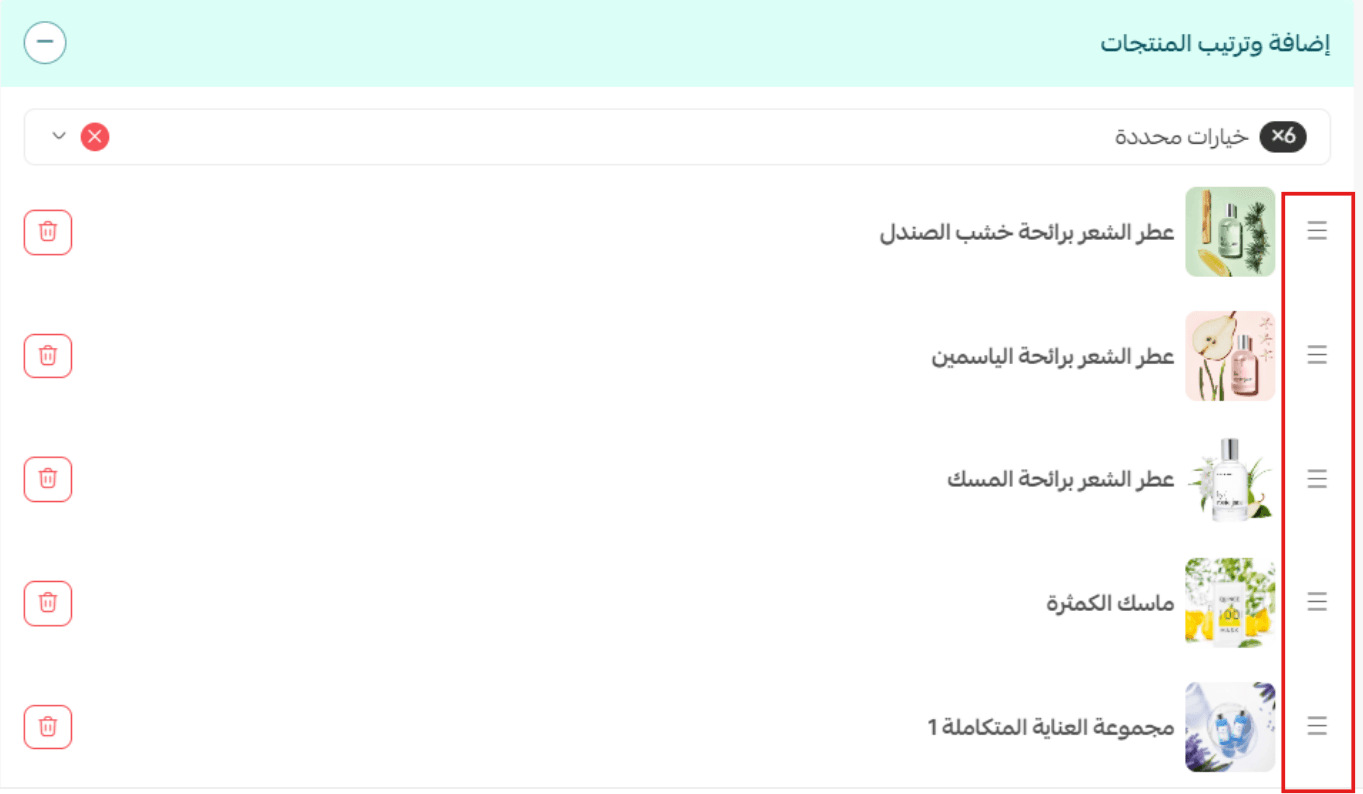
You can also control the order in which products appear to customers by using drag and drop sorting.
5. Deleting a category
From the bottom of the category card, click Delete.

6. Hiding a category from sales channels
You can hide a category from all sales channels by disabling it across all channels.

Important note: Salla Point is currently available only for stores in Saudi Arabia.
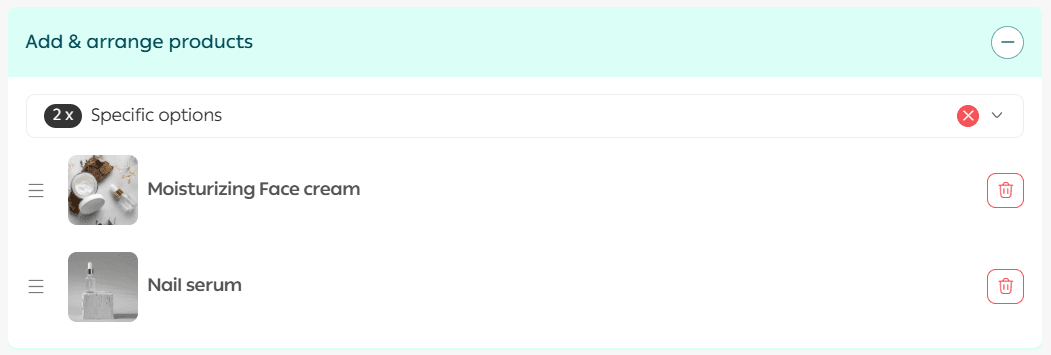
7. Adding and arranging products within a category
From the Product Categories page, you can add, remove, or rearrange products inside a category.
- From the Category Details page, click Add & Sort Products.

2. Drag products up or down to change their order within the category.
Additional information: If a sub-category contains products that are not included in the main category, the products will appear on the main category page in the following order:
- First, all products assigned directly to the main category
- Then, the products from the sub-category
Important: If there are products shared between the main category and the sub-category, they will appear only once, based on their order in the main category.
When multi-markets is enabled
There are two ways to manage product ordering across multiple markets:
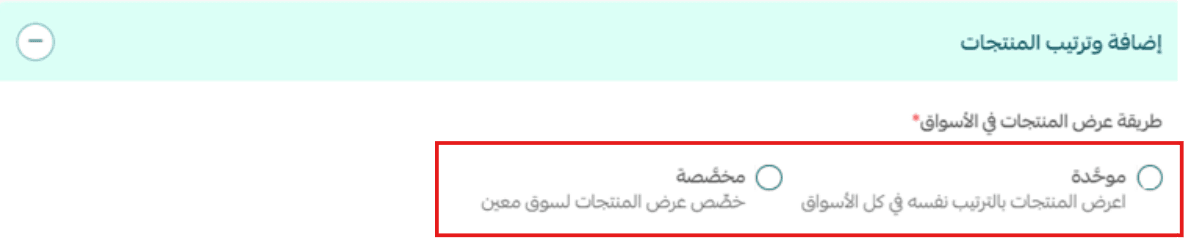
Unified
This option allows you to organize products within the category once.
Any changes you make will automatically apply to all markets.
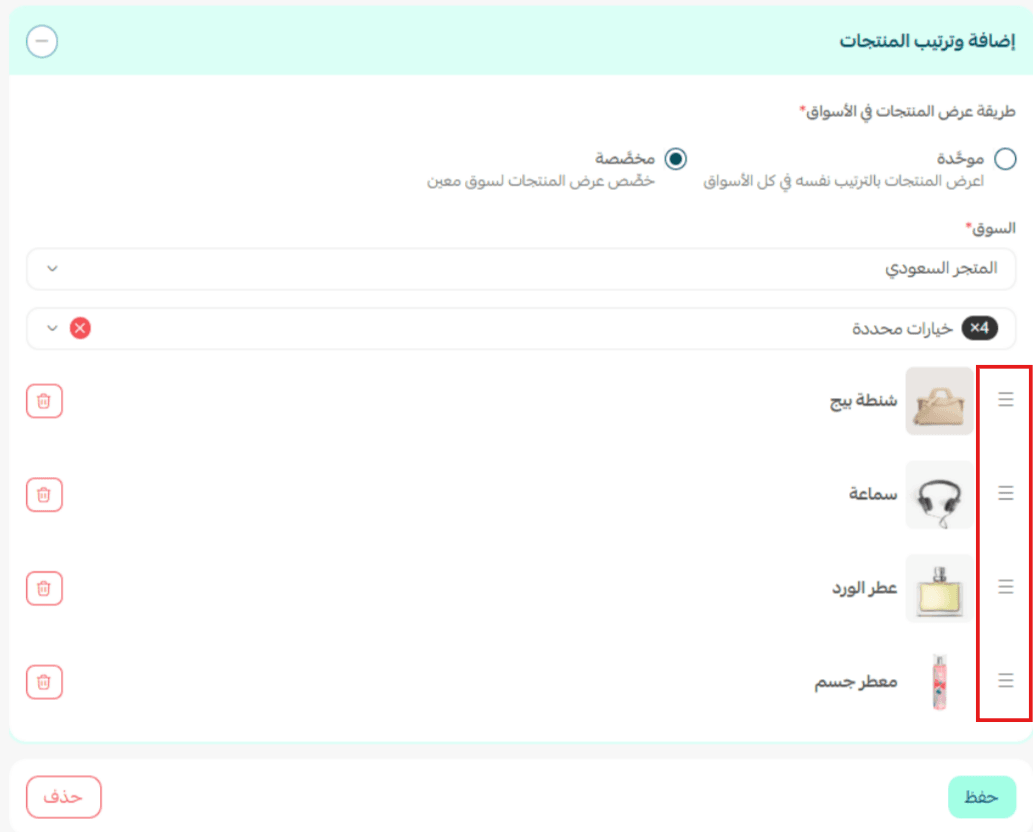
Custom
This option gives you full control over product order in each market separately.
Steps:
- Select the market where you want to arrange products.

2. Drag the products to reorder them within the category for that specific market.
For more details, see the guide on activating and managing multi-markets.
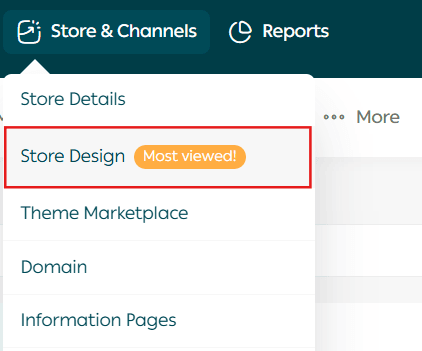
8. Displaying categories in the store
- From the main menu, click Store & Channels, then click Store Design.
2. From the theme card, click Customize.
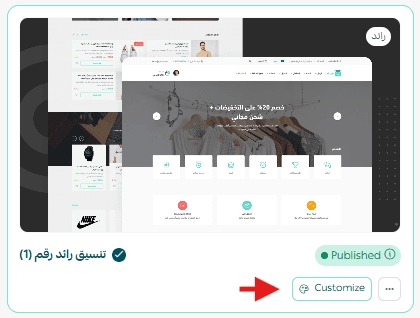
3. Open the Header and Footer Customization tab.
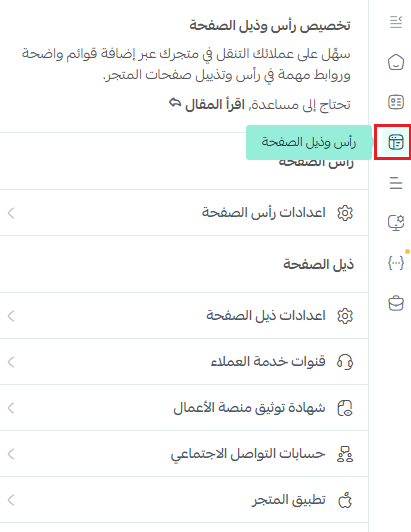
4. Select the category menu you want to display.
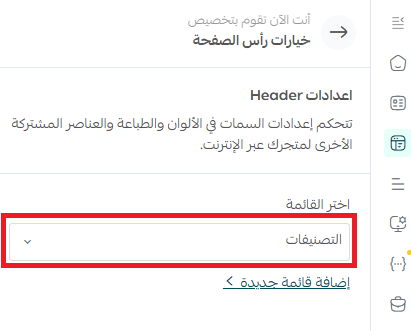
Customizing your header and footer helps make your store more organized and visually appealing, with a direct impact on customer experience.
Support services

If you need help managing categories, you can benefit from the Store Category and Section Creation service available through Merchant Services.
This service helps you structure your store professionally and save time while setting up your product categories.