Efficient product management goes beyond basic details. Customers want clear, structured information that helps them understand the product quickly and confidently. Custom product fields allow you to add extra details such as dimensions, packaging type, or user guide links, making your product pages more informative and easier to trust.
In this guide, you will learn how to create, manage, and display custom fields in your store to improve the customer experience and support better purchasing decisions.
📌 Article overview
- What are custom fields
- Custom fields page
- Managing custom fields
- Adding a custom field
- Assigning a custom field to a product
- Displaying custom fields on the product page
- Editing a custom field
- Deleting a custom field
What are custom fields
Custom fields allow you to add structured, additional product data and choose whether it appears to customers on the product page in your store.
Example
If you sell product bundles, you may want to clearly display packaging type, box dimensions, or wrapping details in a separate section rather than mixing them into the product description. This helps highlight key specifications and improves readability for customers.
Custom fields page
- From the main menu, click Products.
- From the products list, select Categories and Options.

3. Click Custom Fields.

This page allows you to create, organize, and manage all custom fields used across your products.
Managing custom fields
1. Add a custom field section
- From the Custom Fields page, click Add New Section.
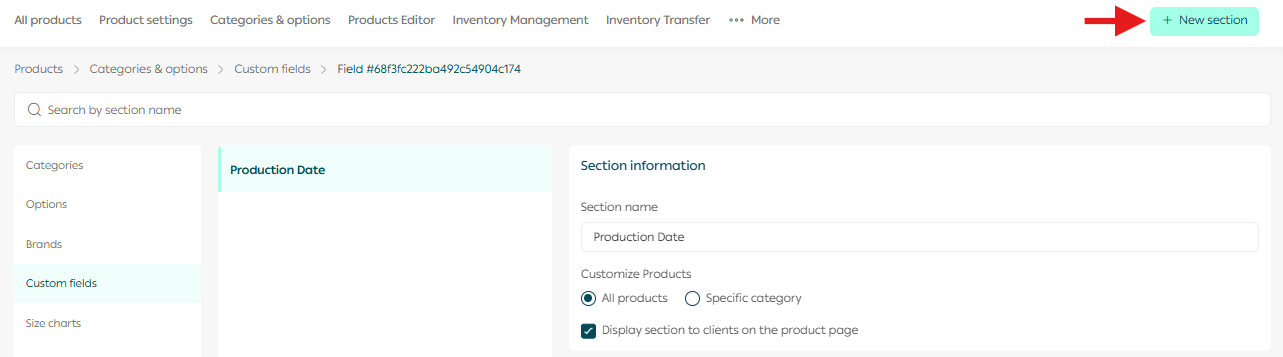
2. A new section setup page will appear. Enter the required details and click Add.
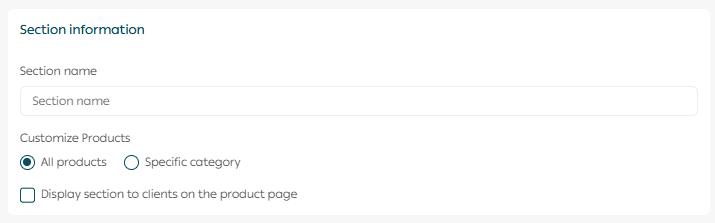
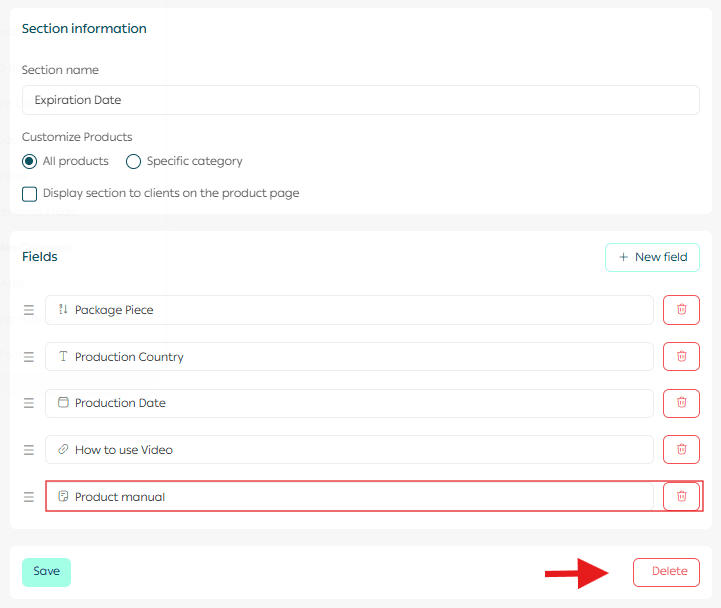
You can configure the section as follows:
- Section title
Enter a clear title that describes the information included in this section.
- Applicable products
Choose All products to apply the section to every product, or Selected categories to limit it to specific categories. You can select multiple categories or use search to find them.
- Customer visibility
Choose whether this section should appear on the product page for customers.
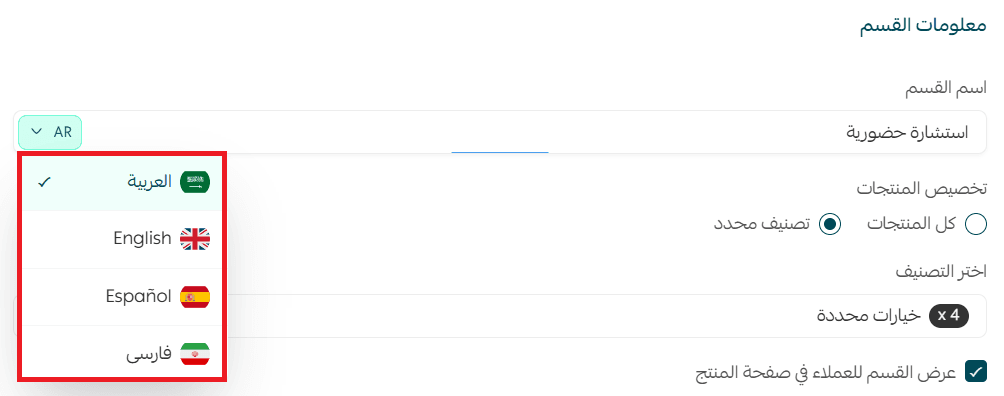
📝 Note: You can add the section title in another language by switching the language from the custom fields settings.
2. Add custom fields to a section
After creating a section, add the fields you need. You can add up to 10 fields per section.
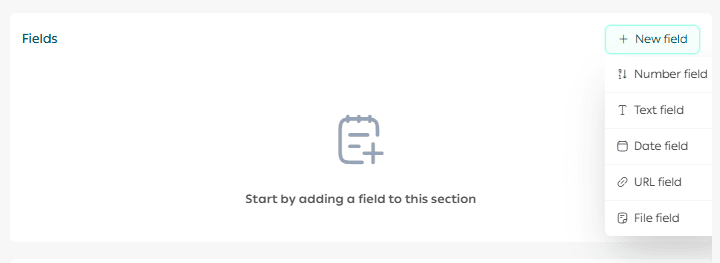
Example fields you can add:
- Numeric field: Number of packages
- Text field: Packaging material
- Date field: Production date
- Link field: YouTube usage video
- File field: Product user manual
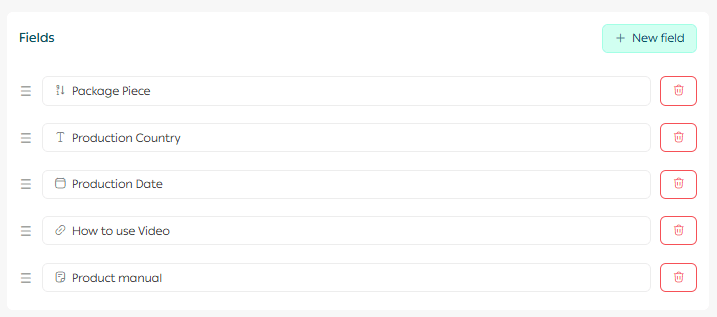
These fields help present product details in a structured and professional way.
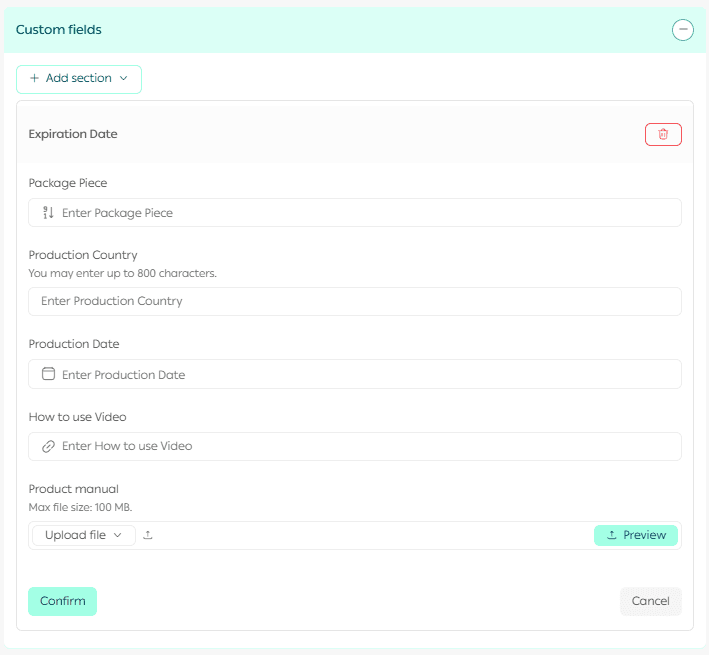
3. Assign a custom field to a product
From the product page, add the relevant custom field that you previously created.
After confirming that the field matches the product, click Confirm.
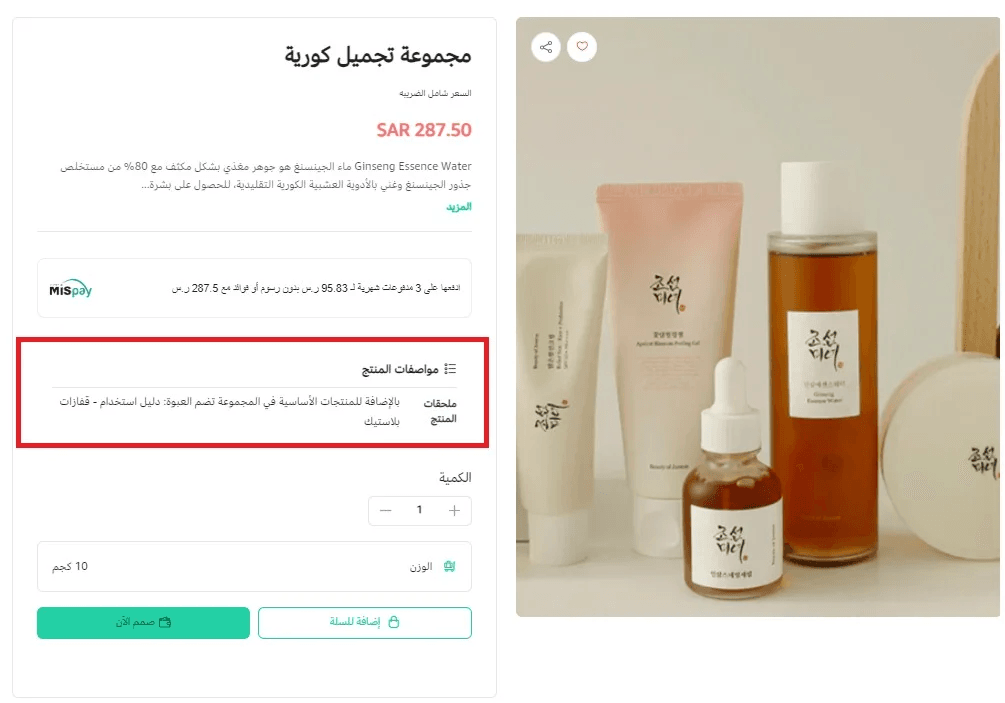
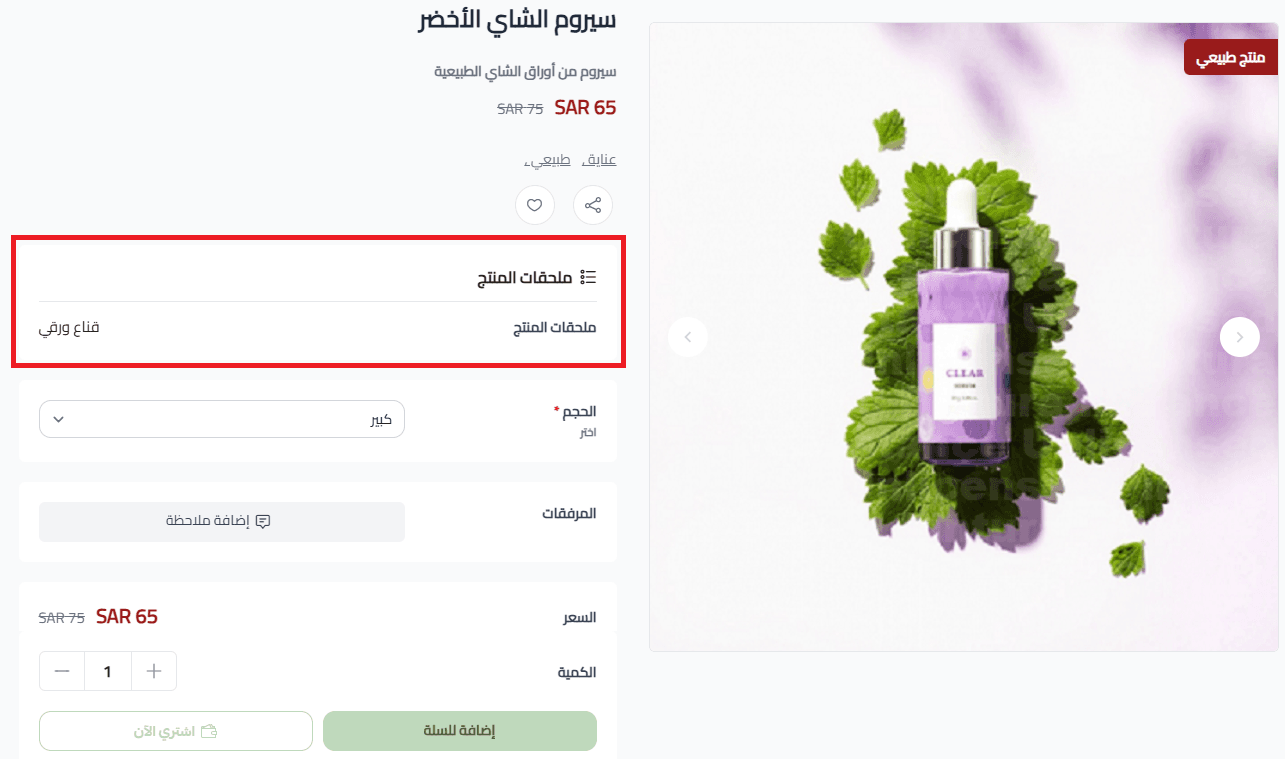
4. Display custom fields on the product page
Once added, a dedicated custom fields section will appear within the product details. Customers will see the information exactly as you configured it, improving clarity and transparency.
5. Edit a custom field
From the Custom Fields page, you can edit any field or section at any time.
After making your changes, click Save to apply them.

6. Delete a custom field
From the field details page, click Delete to remove the entire field or delete a specific value within the field.
Frequently asked questions
How many custom fields can I add per section?
You can add up to 10 custom fields within a single section.
Can I add more fields beyond the maximum limit?
To add a new field, you must first delete an existing field within the same section.
Is this feature supported in the App Maker?
Currently, custom fields are supported in the store only. Support for the App Maker will be added soon.
If you want customers to see custom fields, make sure the product is visible in the store.
Which plans support custom fields?
The custom fields feature is available on the Pro and Special plans.
Well-structured custom fields make your product pages clearer, improve SEO, and help customers make faster and more confident purchasing decisions.