How many email campaigns have you sent without ever knowing whether they reached your customers — let alone whether they sold anything?
Most stores send a newsletter, watch a few orders arrive, and never connect the two. Connecting Mailchimp to your Salla store closes that gap. Your customers, customer groups, products, coupons and orders sync across automatically, so every campaign you build is aimed at real buying behavior, and every open and click is reported back to you. In this guide, you'll learn how to create a Mailchimp account, install the Mailchimp app on your store, and confirm that your data is syncing.
Mailchimp is an email marketing platform that connects to Salla through the Mailchimp app in the App Store. Create a Mailchimp account, install the app from your dashboard, click (Go to complete activation), sign in to Mailchimp and allow access. Your customers, products, coupons and orders then sync automatically.
⚠️ Note: the Mailchimp connection is available on the Pro plan only.
📌 Article overview
- What Mailchimp does for your store
- How to create a Mailchimp account
- How to install and activate the Mailchimp app
- Frequently asked questions
🎯 What Mailchimp does for your store
Mailchimp is one of the best-known email marketing platforms. It manages your subscriber list, shows you how many people open and click your emails, builds custom reports, and tracks the performance of everything you send.
Once your store is connected to Mailchimp, you can:
- Send personalized newsletters to your customers automatically.
- Import your customer and order data without manual exports.
- Track open and click rates accurately through interactive reports.
- Segment your audience by behavior or interest for sharper results.
- Design attractive emails using ready-made templates or AI tools.
👣 How to connect your Salla store to Mailchimp
Stage one. Create a Mailchimp account
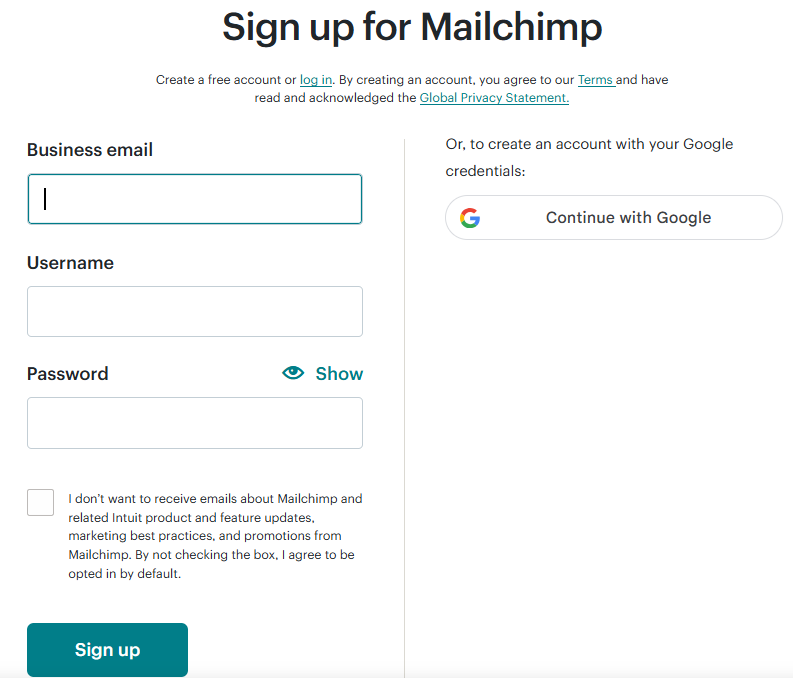
1. Go to the Mailchimp sign-up page and enter your email address, a username and a password, then click (Sign Up).
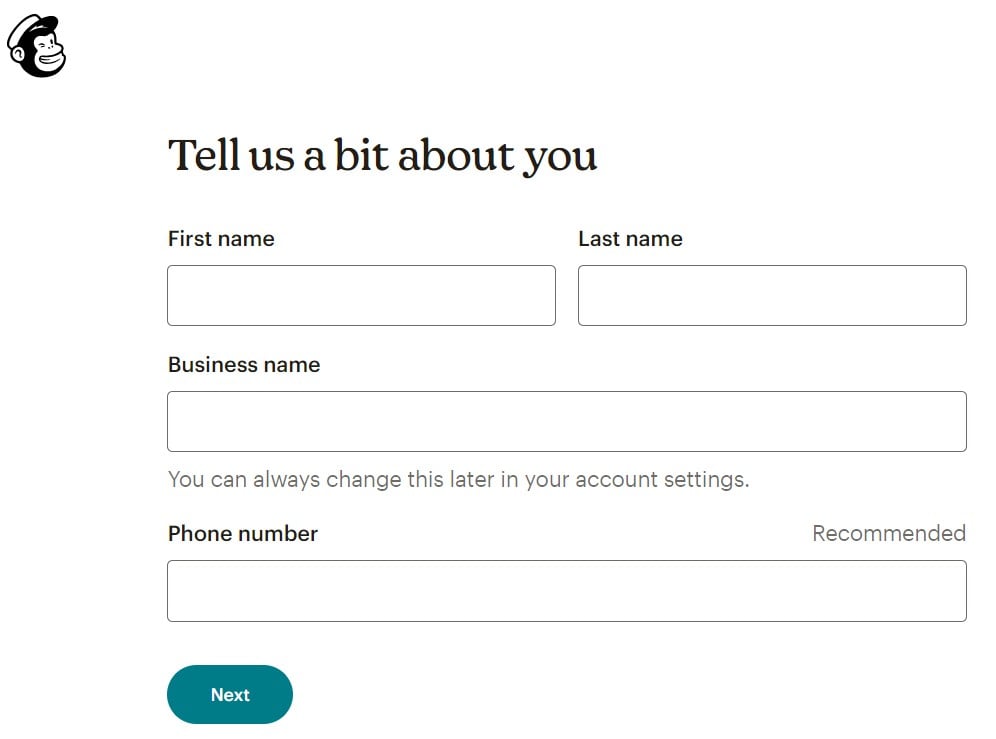
2. Enter your account details: first name, last name, store name and phone number, then click (Next).
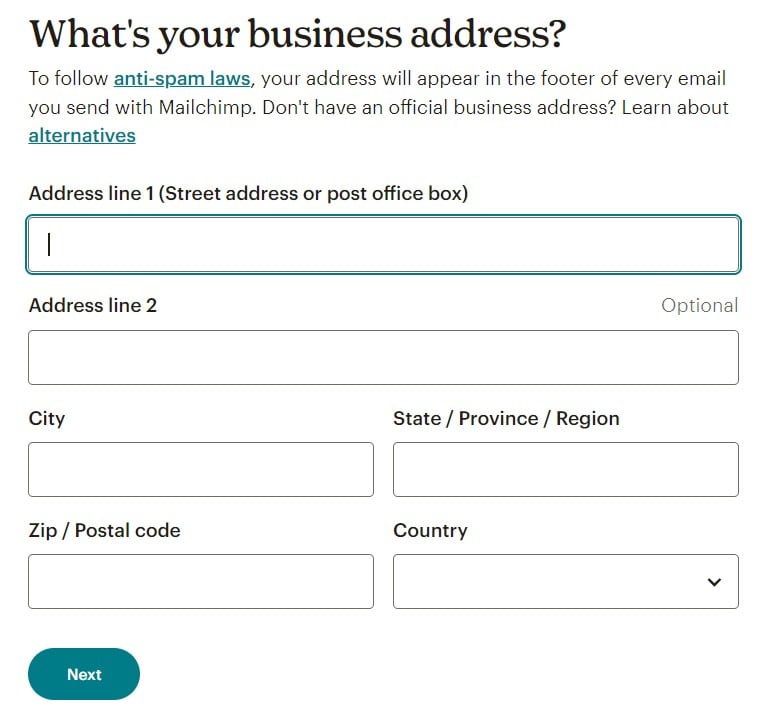
3. Enter your business address, then click (Next).
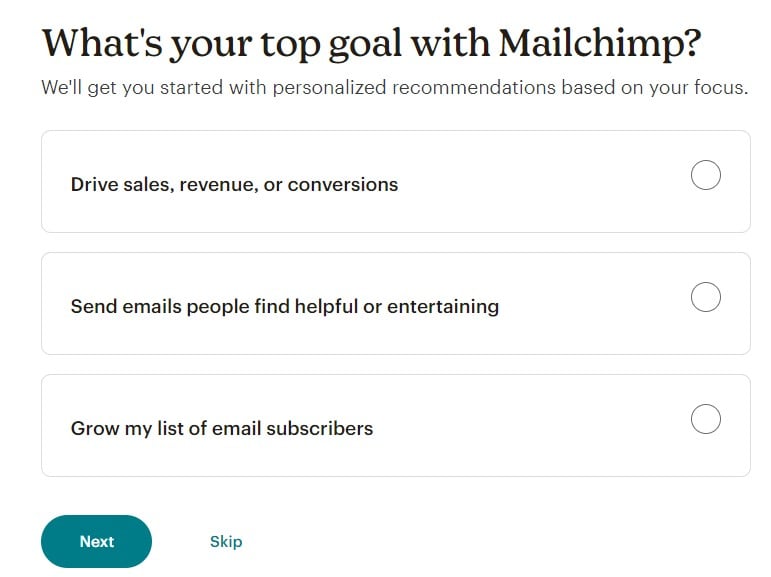
4. Choose your main goal for using Mailchimp:
- Increase sales, revenue or conversions.
- Send emails people find useful or entertaining.
- Grow my email subscriber list.
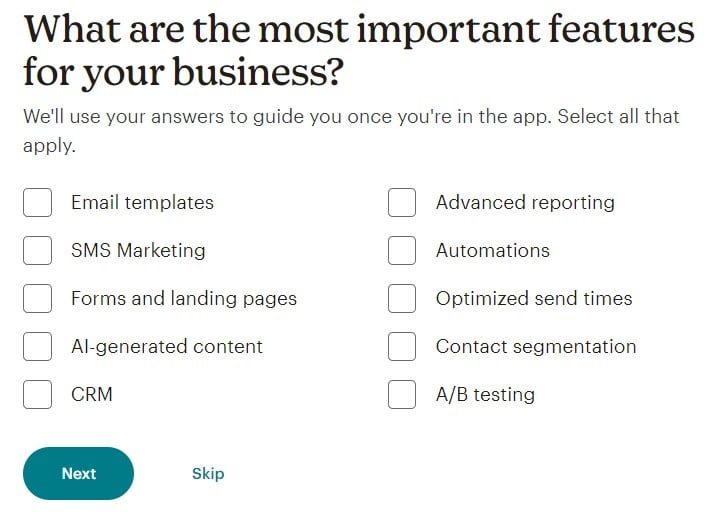
5. Select the features that matter most to your business. Mailchimp uses your answers to guide you once you're inside the app, so choose everything that applies.
- Email templates
- Advanced reporting
- SMS marketing
- Automation
- Forms and landing pages
- Send-time optimization
- AI-generated content
- Contact segmentation
- Customer relationship management
- A/B testing
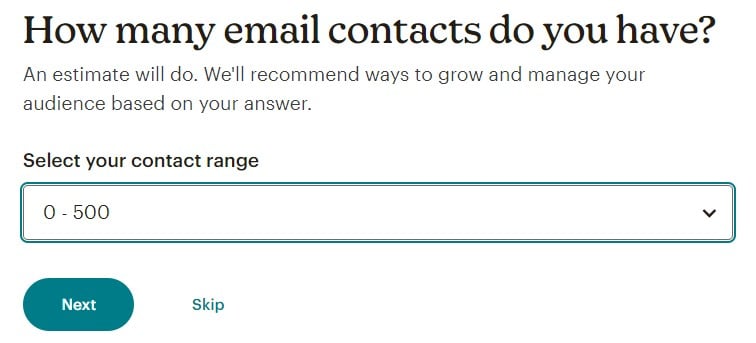
6. Tell Mailchimp how many email contacts you already have.
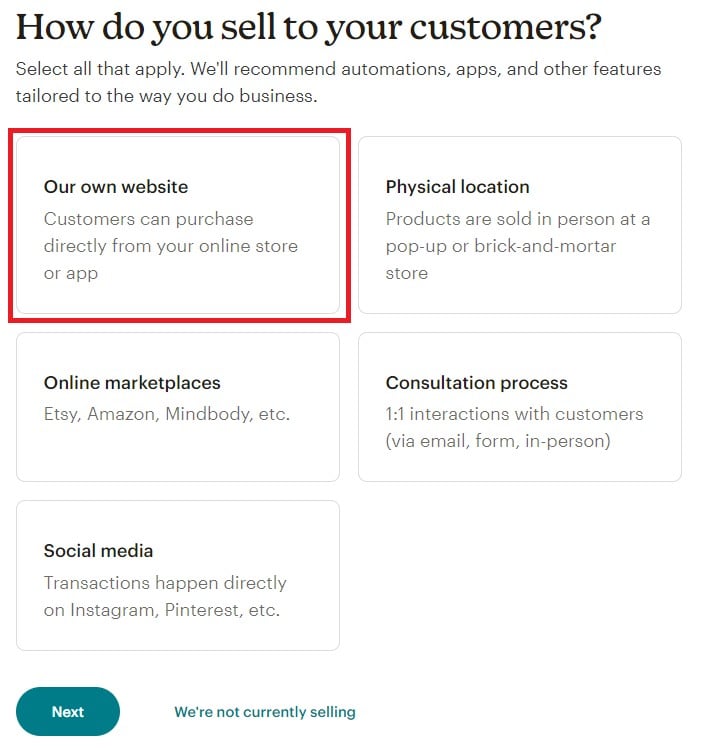
7. Choose how you sell to your customers. Mailchimp recommends automations, apps and features based on this answer.
- Our own website — customers buy directly from your online store or app.
- Physical location — products are sold in person at a pop-up or a physical shop.
- Online marketplaces — Etsy, Amazon, Mindbody and similar.
- Consultative process — one-to-one interactions by email, form or in person.
- Social media — transactions happen directly on Instagram, Pinterest and similar.
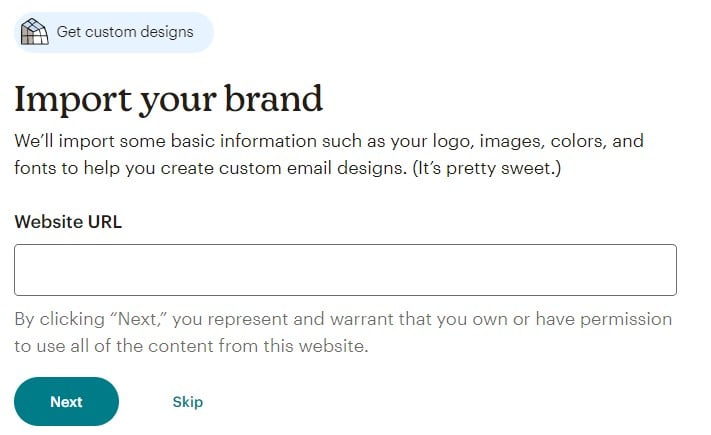
8. Enter your store URL and click (Next). Mailchimp imports basic brand details such as your logo, images, colors and fonts so your email designs match your store.
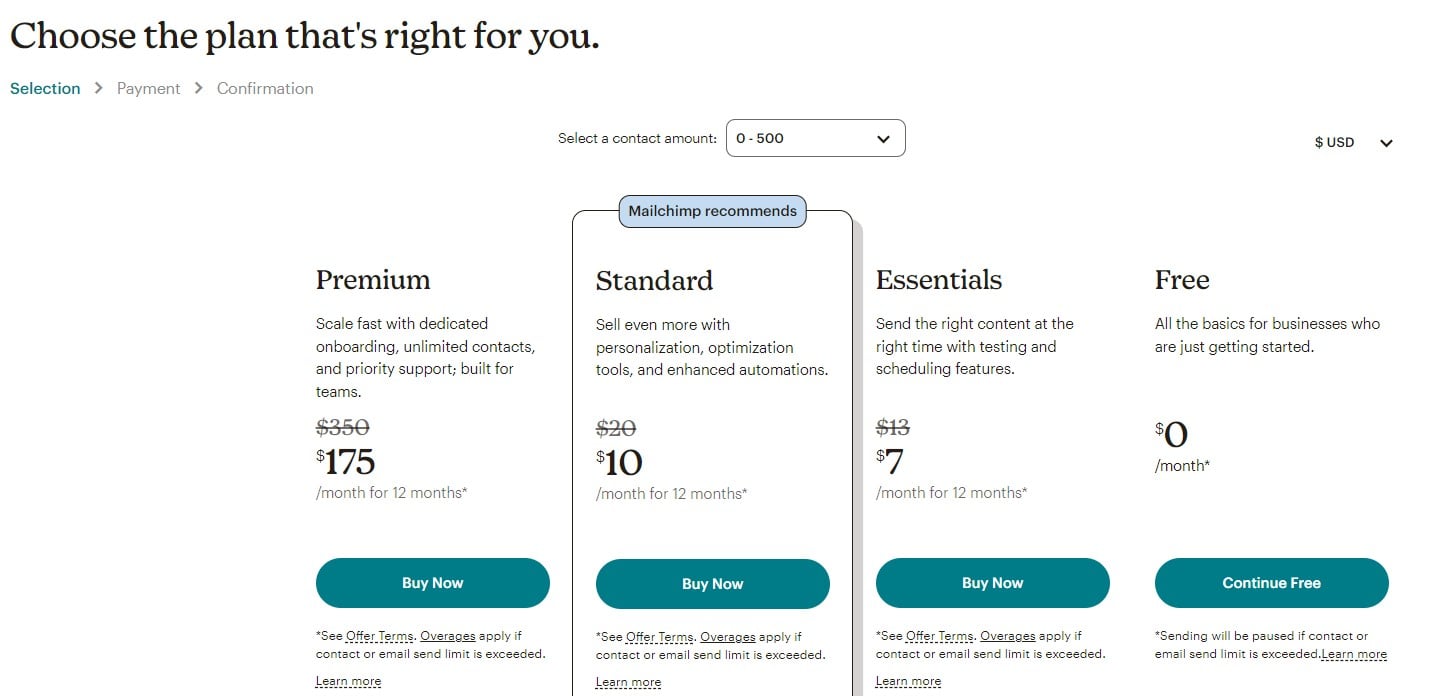
9. Choose the plan that fits the size of your business. The free plan includes 1,000 emails per month.
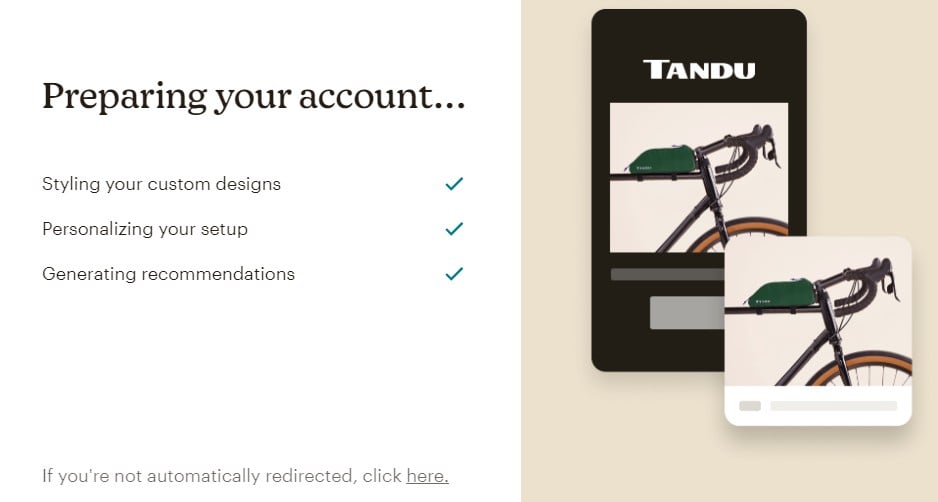
Mailchimp then prepares your account.
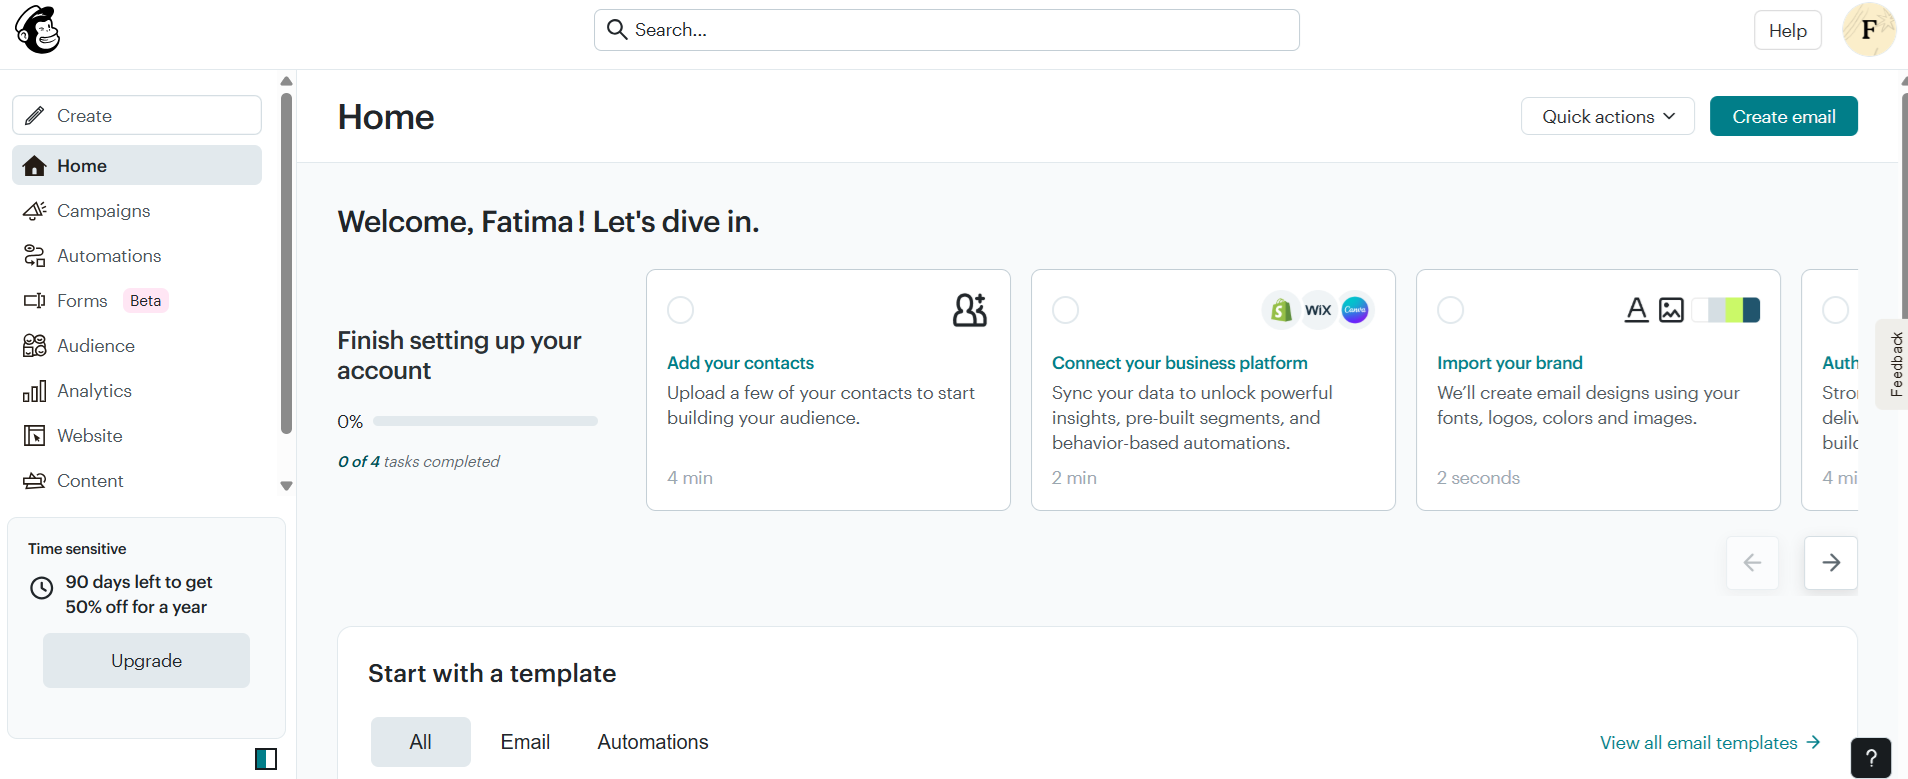
Your Mailchimp home page looks like this:
Stage two. Install and activate the Mailchimp app
1. From the main menu, click (All), then under helper tools, click (App Store).
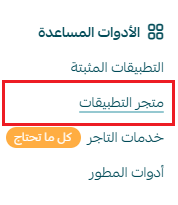
2. Search for the app using the search field.

3. On the Mailchimp app page, click (Install for free).
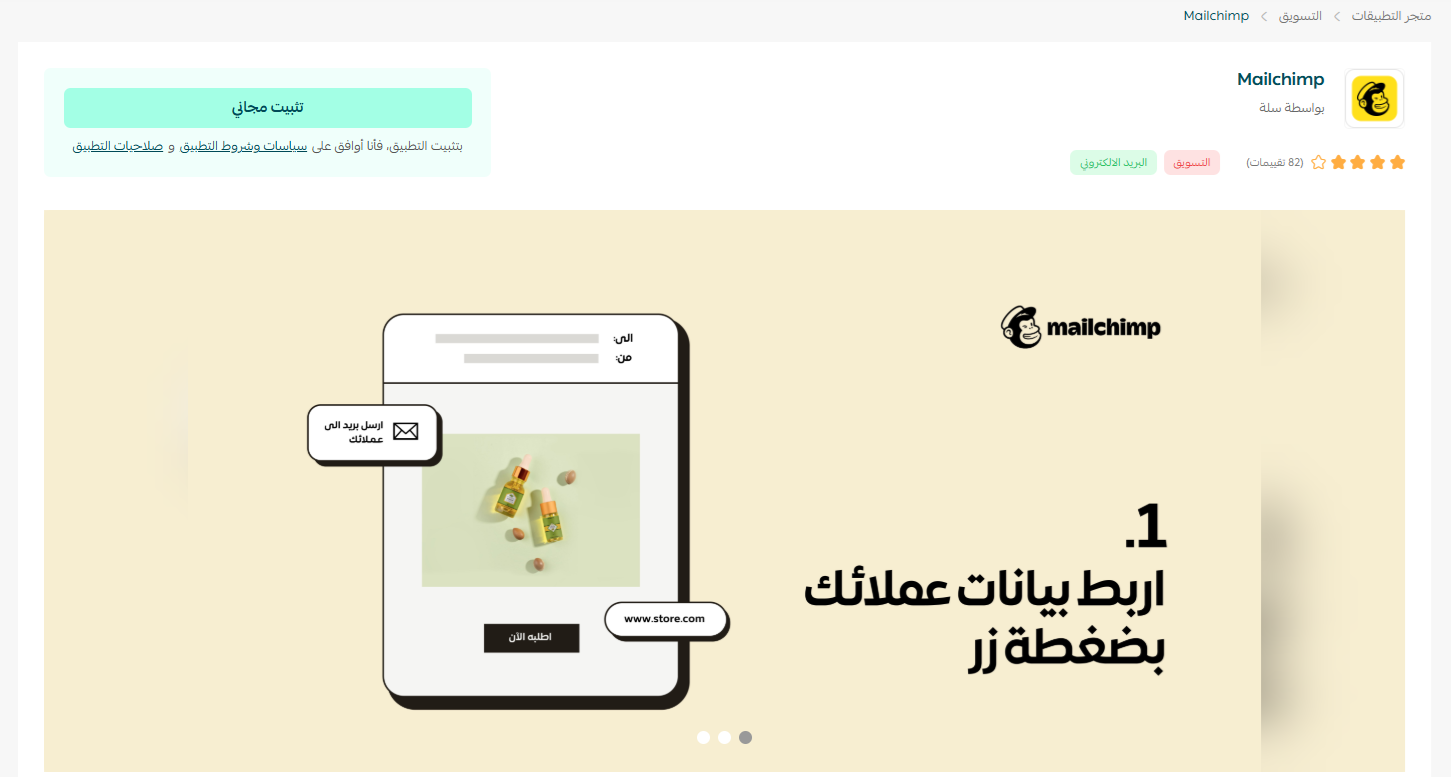
The Mailchimp app is now installed.
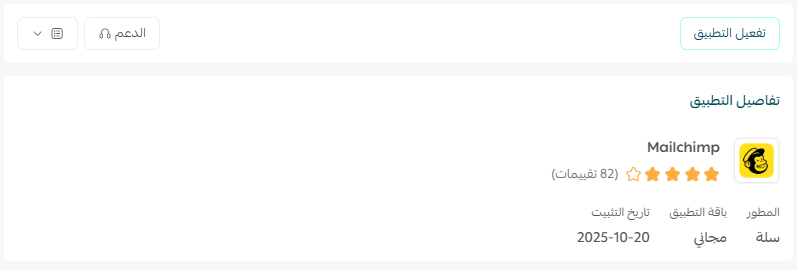
4. To finish the connection, open the Mailchimp app details and click (Go to complete activation).
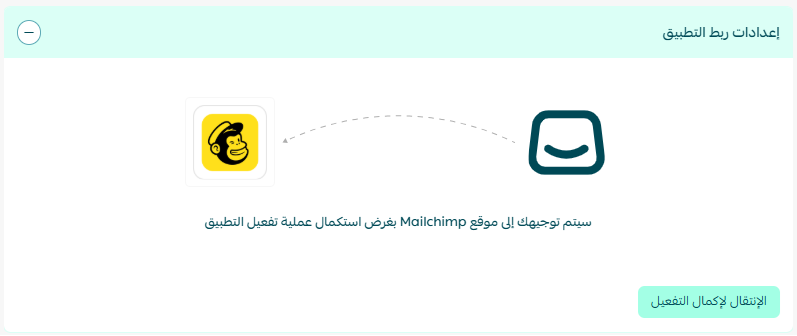
5. Sign in to your Mailchimp account.
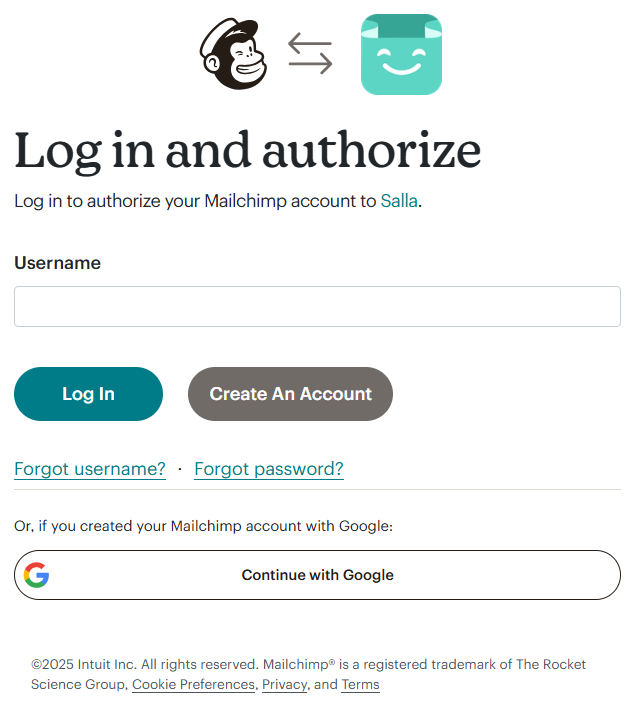
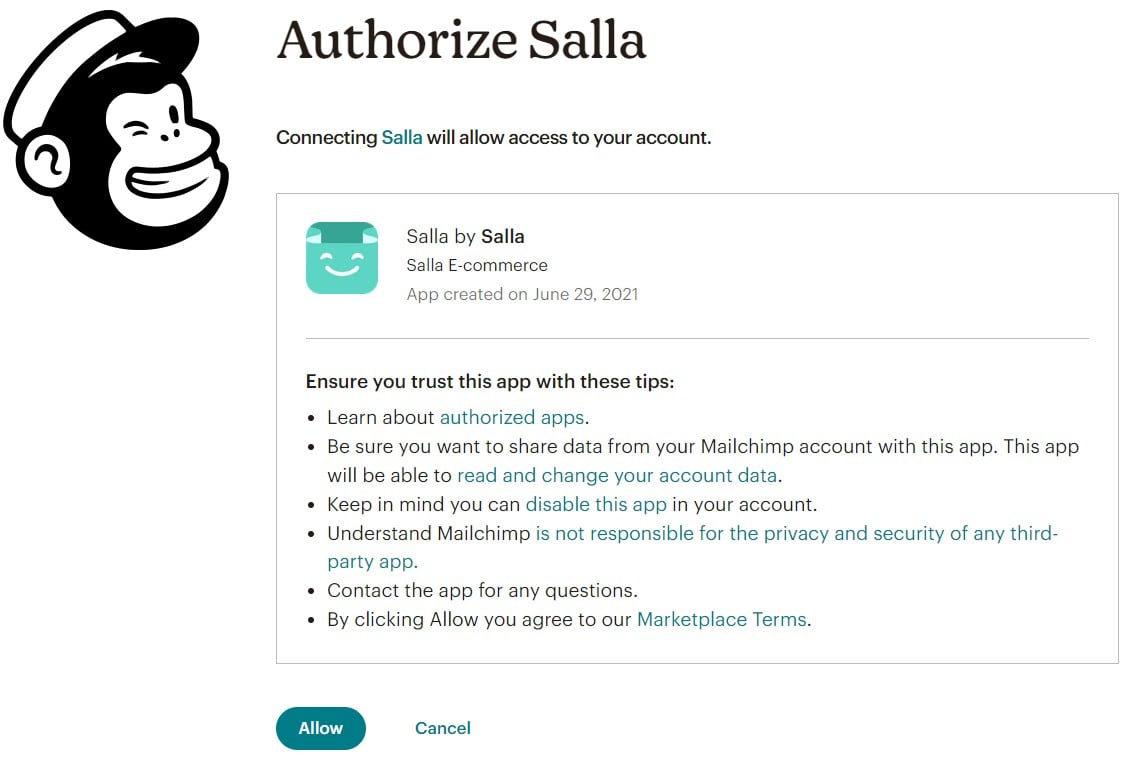
6. Review the permissions the app is requesting, then click (Allow) to authorize it.
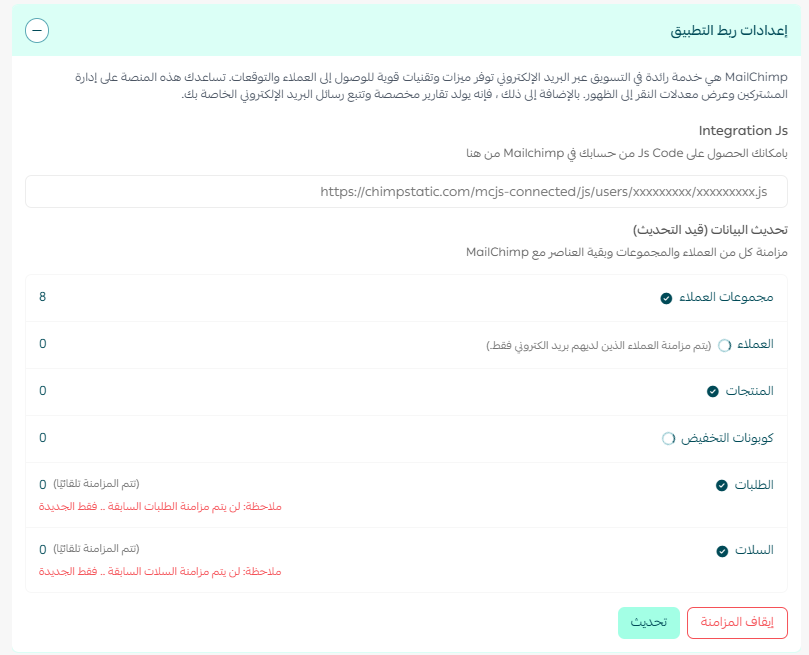
The app connection settings then appear like this:
📝 Important notes
- Syncing runs automatically. To push your customers, groups and other items across again, click (Sync).
- The first full sync can take up to 24 hours to complete.
❓ Frequently asked questions
What does the Mailchimp connection actually send, and how do I benefit from it?
Your store sends the following data to Mailchimp:
- Customer data.
- Customer groups.
- Products.
- Discount coupons.
- Orders.
That is what lets you build segments and campaigns around real purchase history instead of a plain contact list.
Which Salla plan do I need?
The Mailchimp connection is available on the Pro plan only.
How do I copy the JS code from Mailchimp if I need it?
Connecting your store to Mailchimp does not require a JS code. If you need one anyway, follow these steps:
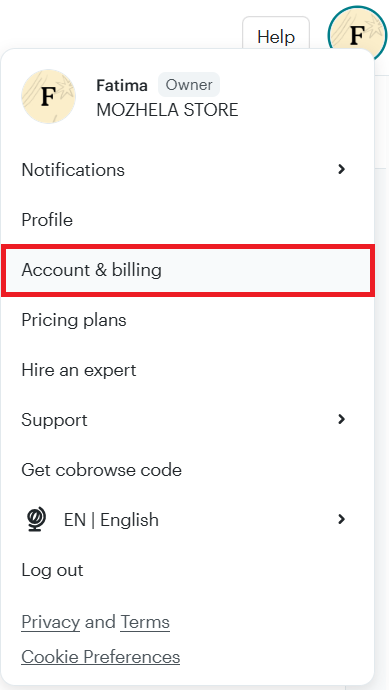
1. In your Mailchimp account, open the user account menu and click (Account & billing).
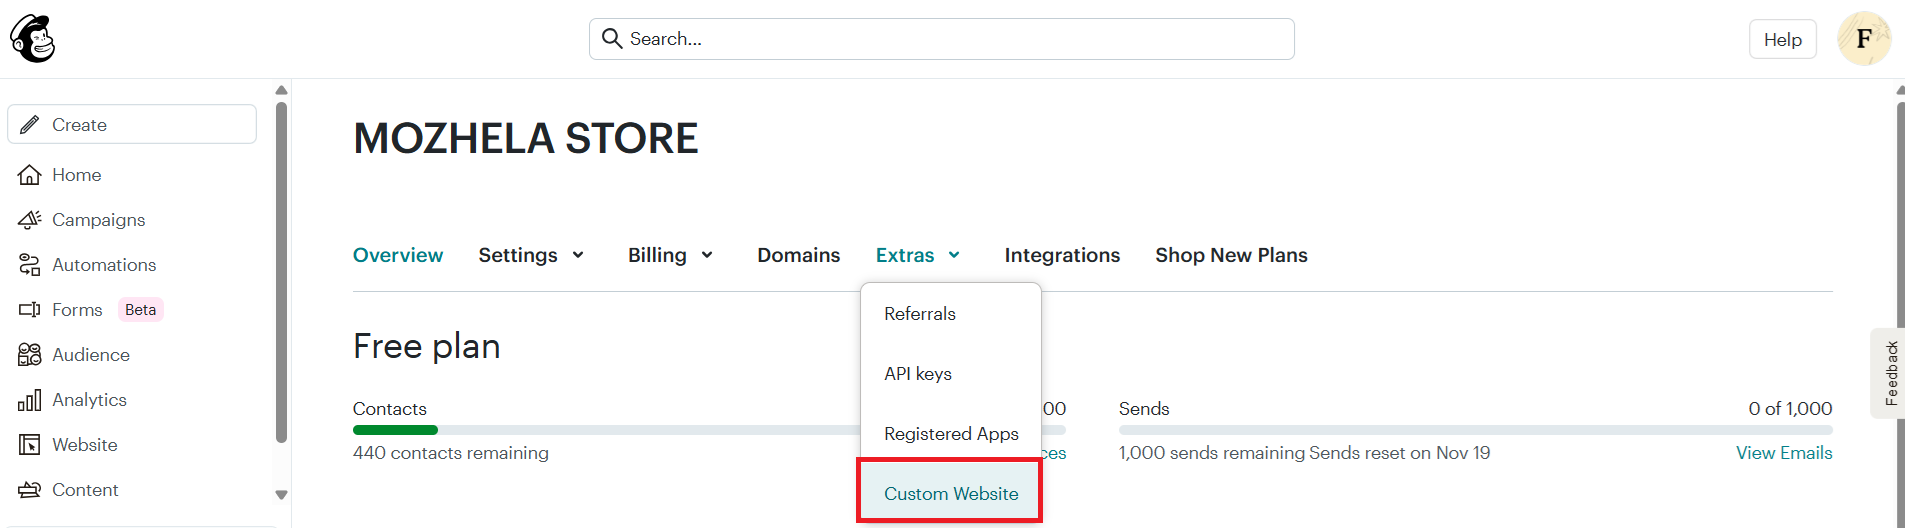
2. On the (Extras) tab, click (Custom Website).
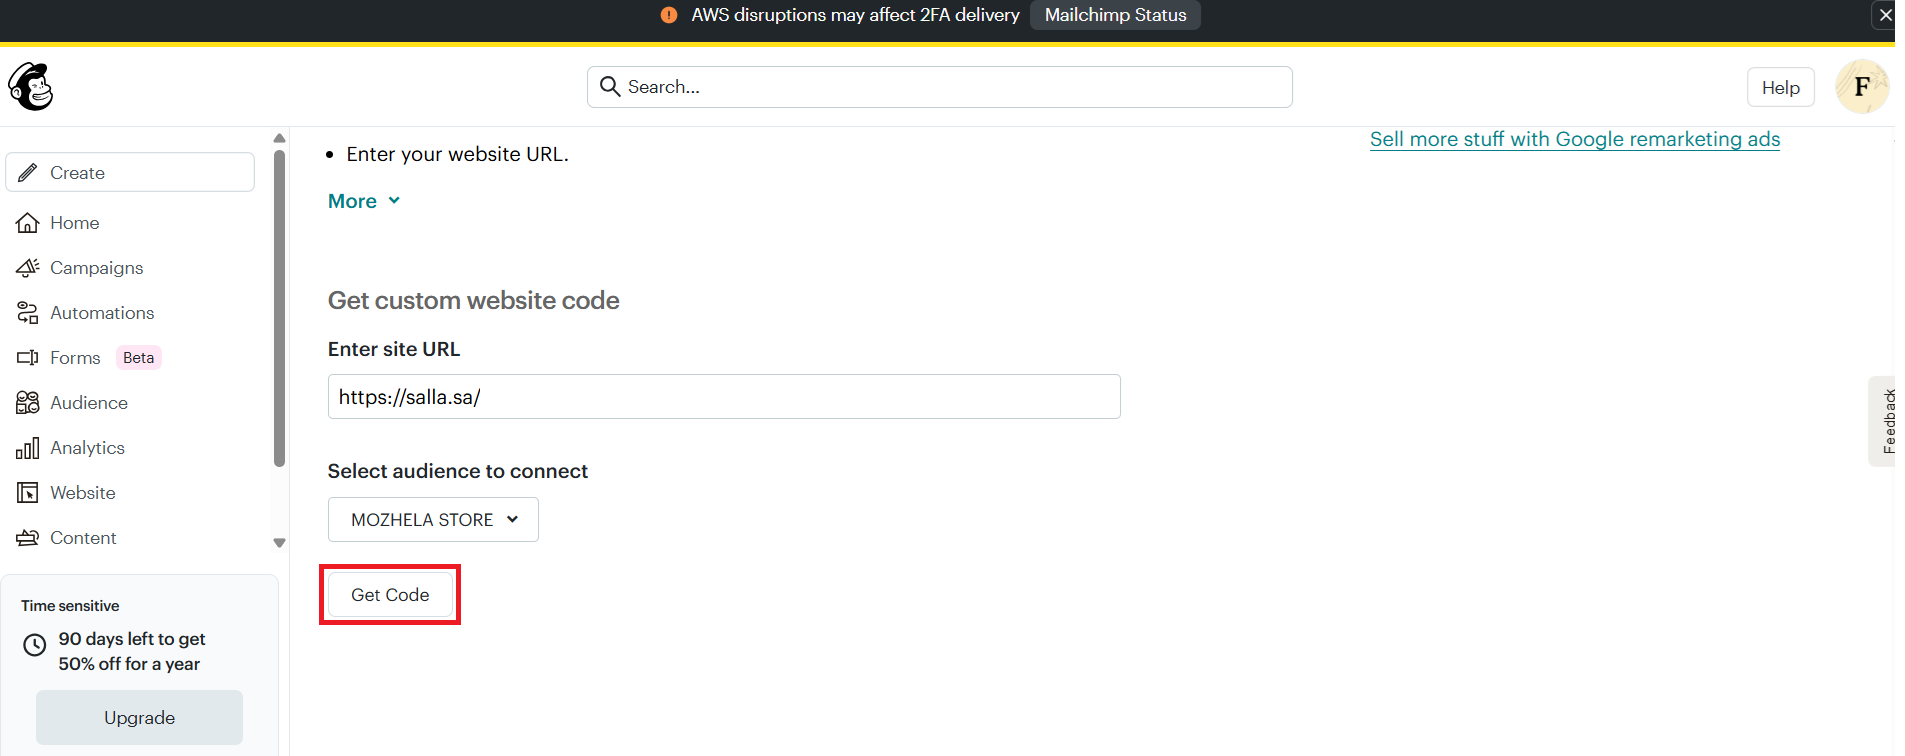
3. At the bottom of the page, under Get custom website code, paste your store URL into the field and click (Get code).
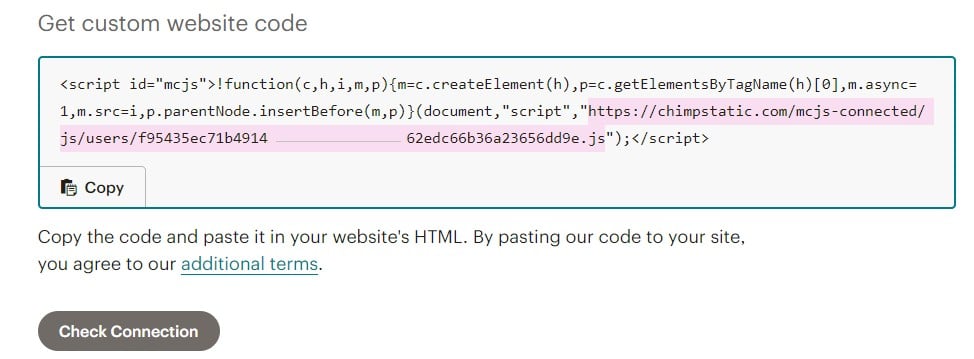
4. The connection code appears. Copy only the part between https:// and .js.
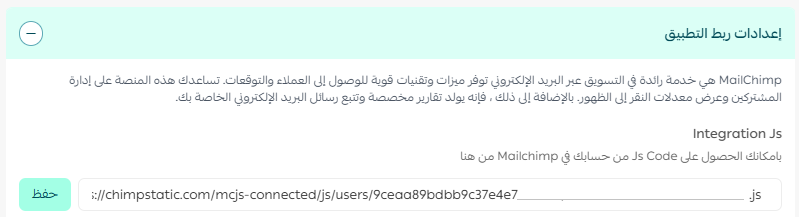
5. Paste the code into the app settings in your store and click (Save).
How long before my data appears in Mailchimp?
Syncing starts on its own once the app is authorized, and a full sync can take up to 24 hours depending on how much data your store holds.
🔗 Connect your store to Mailchimp today and turn email marketing into a real growth channel rather than a monthly guess.
📩 Before you send your next email, make sure it earns its place in the inbox. These guides show you how to turn email from a one-off message into a channel that builds loyalty and sales:
- Email marketing strategies and tips
- Best practices for writing a persuasive email, with examples