How many sales opportunities have you missed simply because your customer did not receive the right notification at the right time?
In e-commerce, timing is everything. Delayed communication can mean abandoned carts, missed promotions, and lost revenue. OneSignal helps you solve this by sending real-time, targeted push notifications that increase engagement, drive repeat visits, and boost conversions in your store app.
In this guide, you will learn how to connect OneSignal to your store step by step and start sending high-impact push notifications with confidence.
📌 Article overview
- What is OneSignal
- How to connect OneSignal to your store
- Step 1: Create a OneSignal account
- Step 2: Configure Apple iOS (APNs)
- Step 3: Configure Google Android (FCM)
- Install and activate the OneSignal app
- Send push notifications using the OneSignal dashboard
- Frequently asked questions
What is OneSignal?
OneSignal is a customer engagement platform that allows store owners to send personalized push notifications to users through their mobile app.
With OneSignal, you can communicate directly with your customers by sending:
- Promotional offers
- Order updates
- Important announcements
- Re-engagement reminders
One of the key advantages of OneSignal is its seamless integration with store apps, enabling push notifications on both iOS and Android, along with detailed analytics to measure engagement and performance.
How to connect OneSignal to your store
Step 1: Create a OneSignal account
- Visit the OneSignal homepage and click Get started now.
2. Choose the subscription plan that fits your needs.
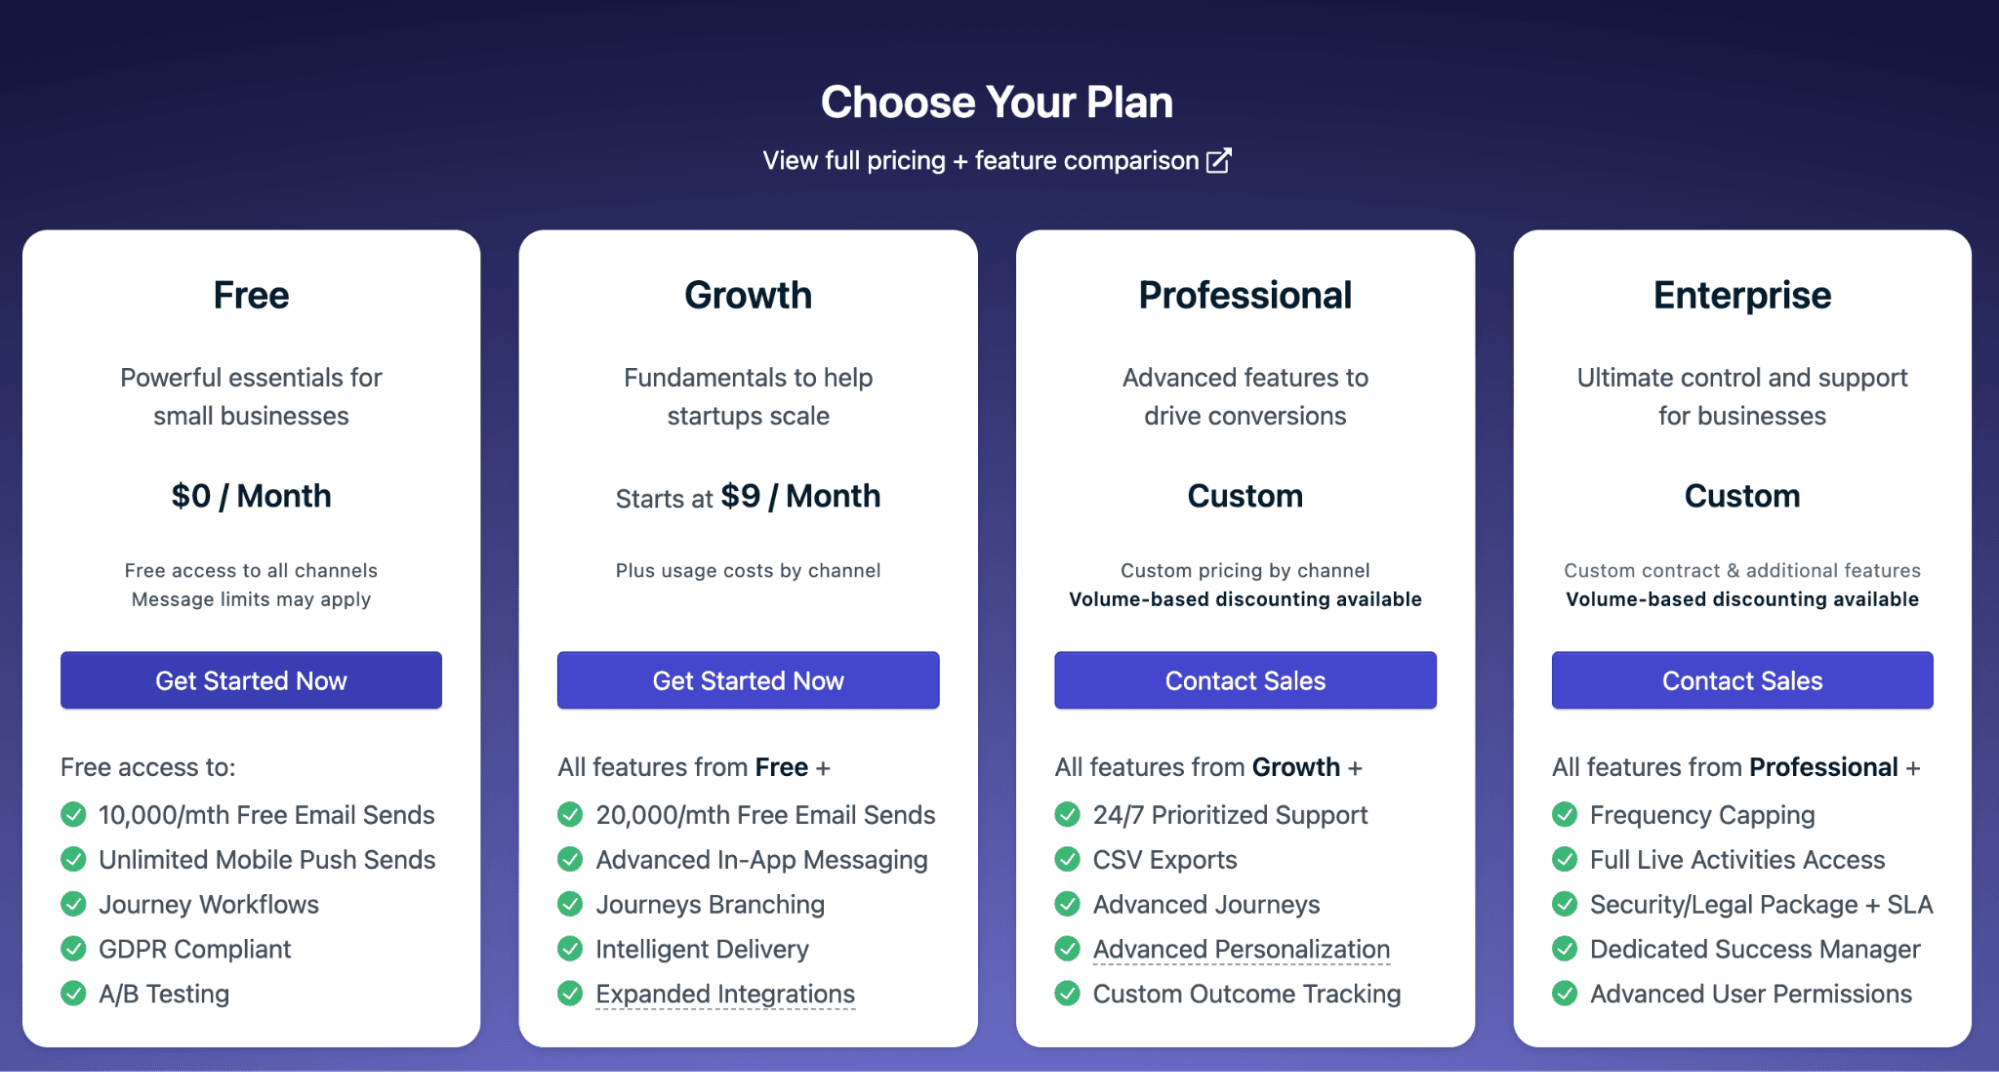
📝 Note: You can start with the free plan.
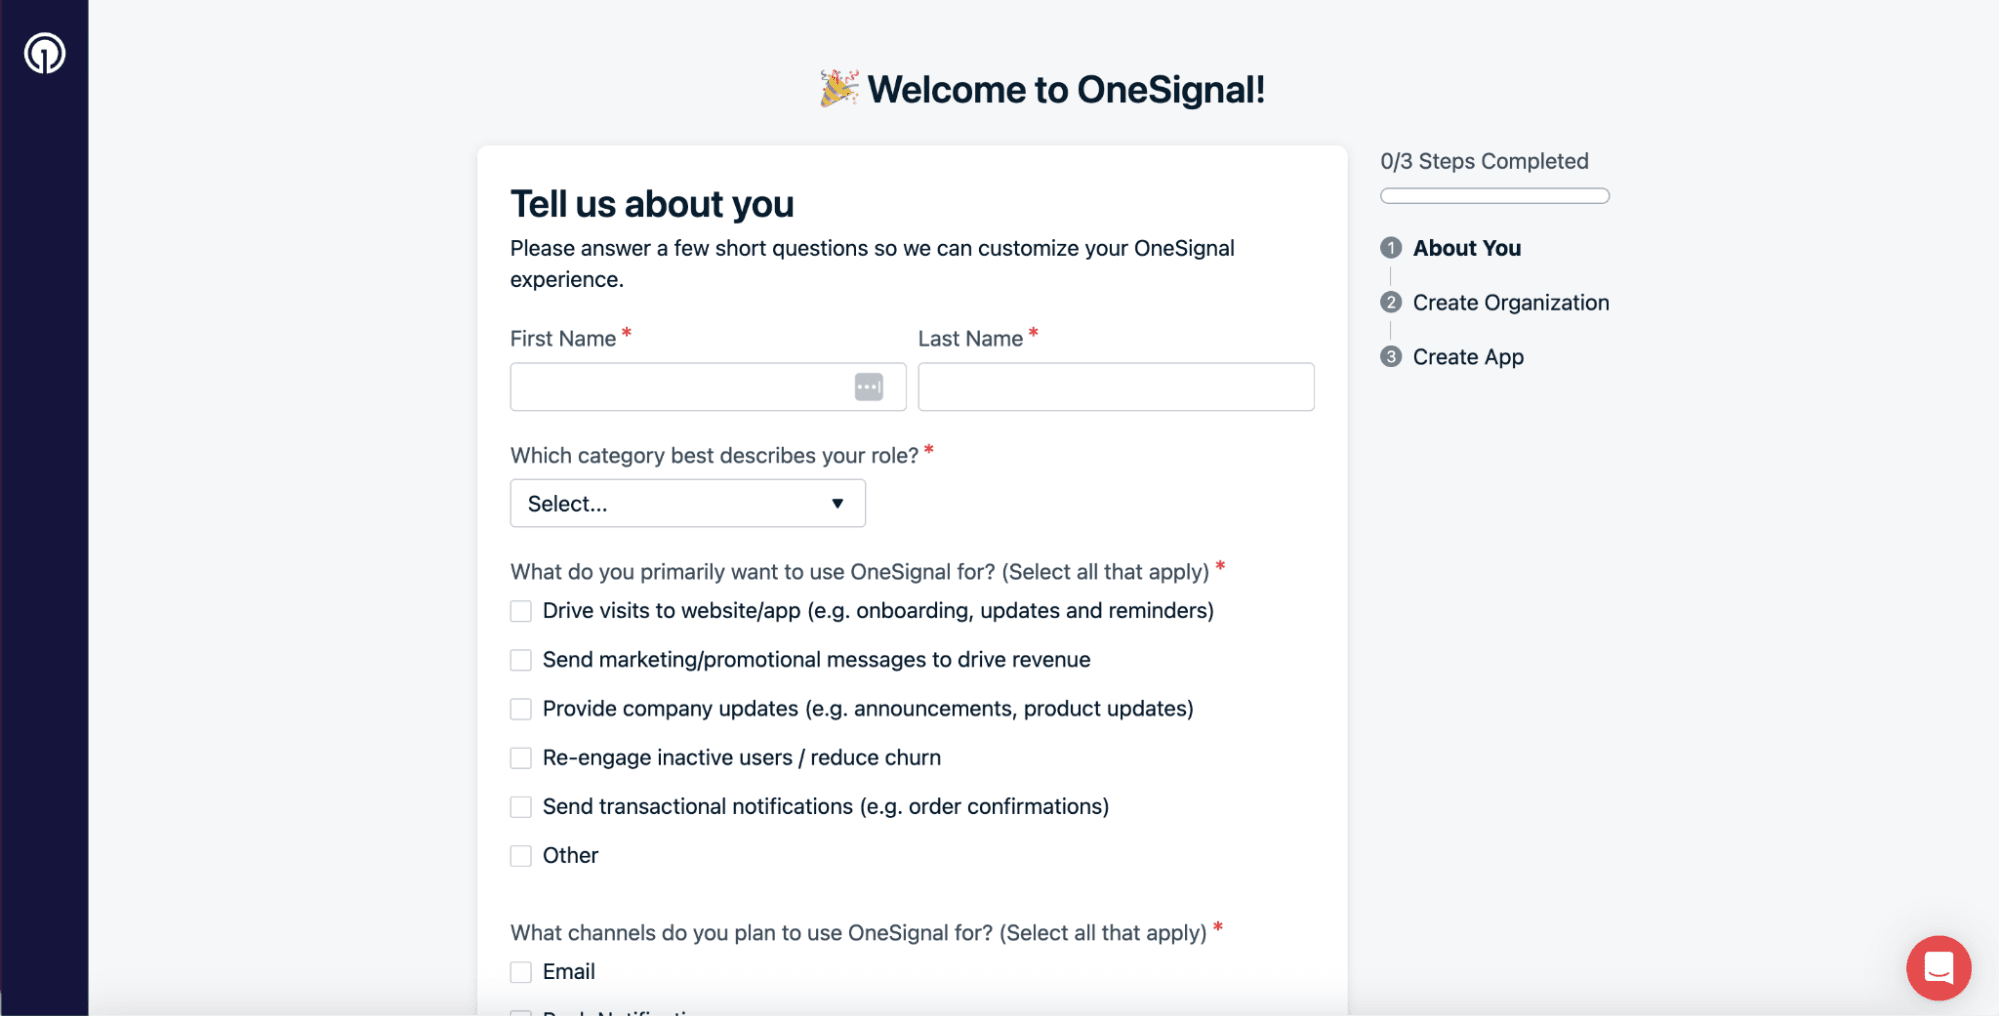
3. Enter your basic personal details.
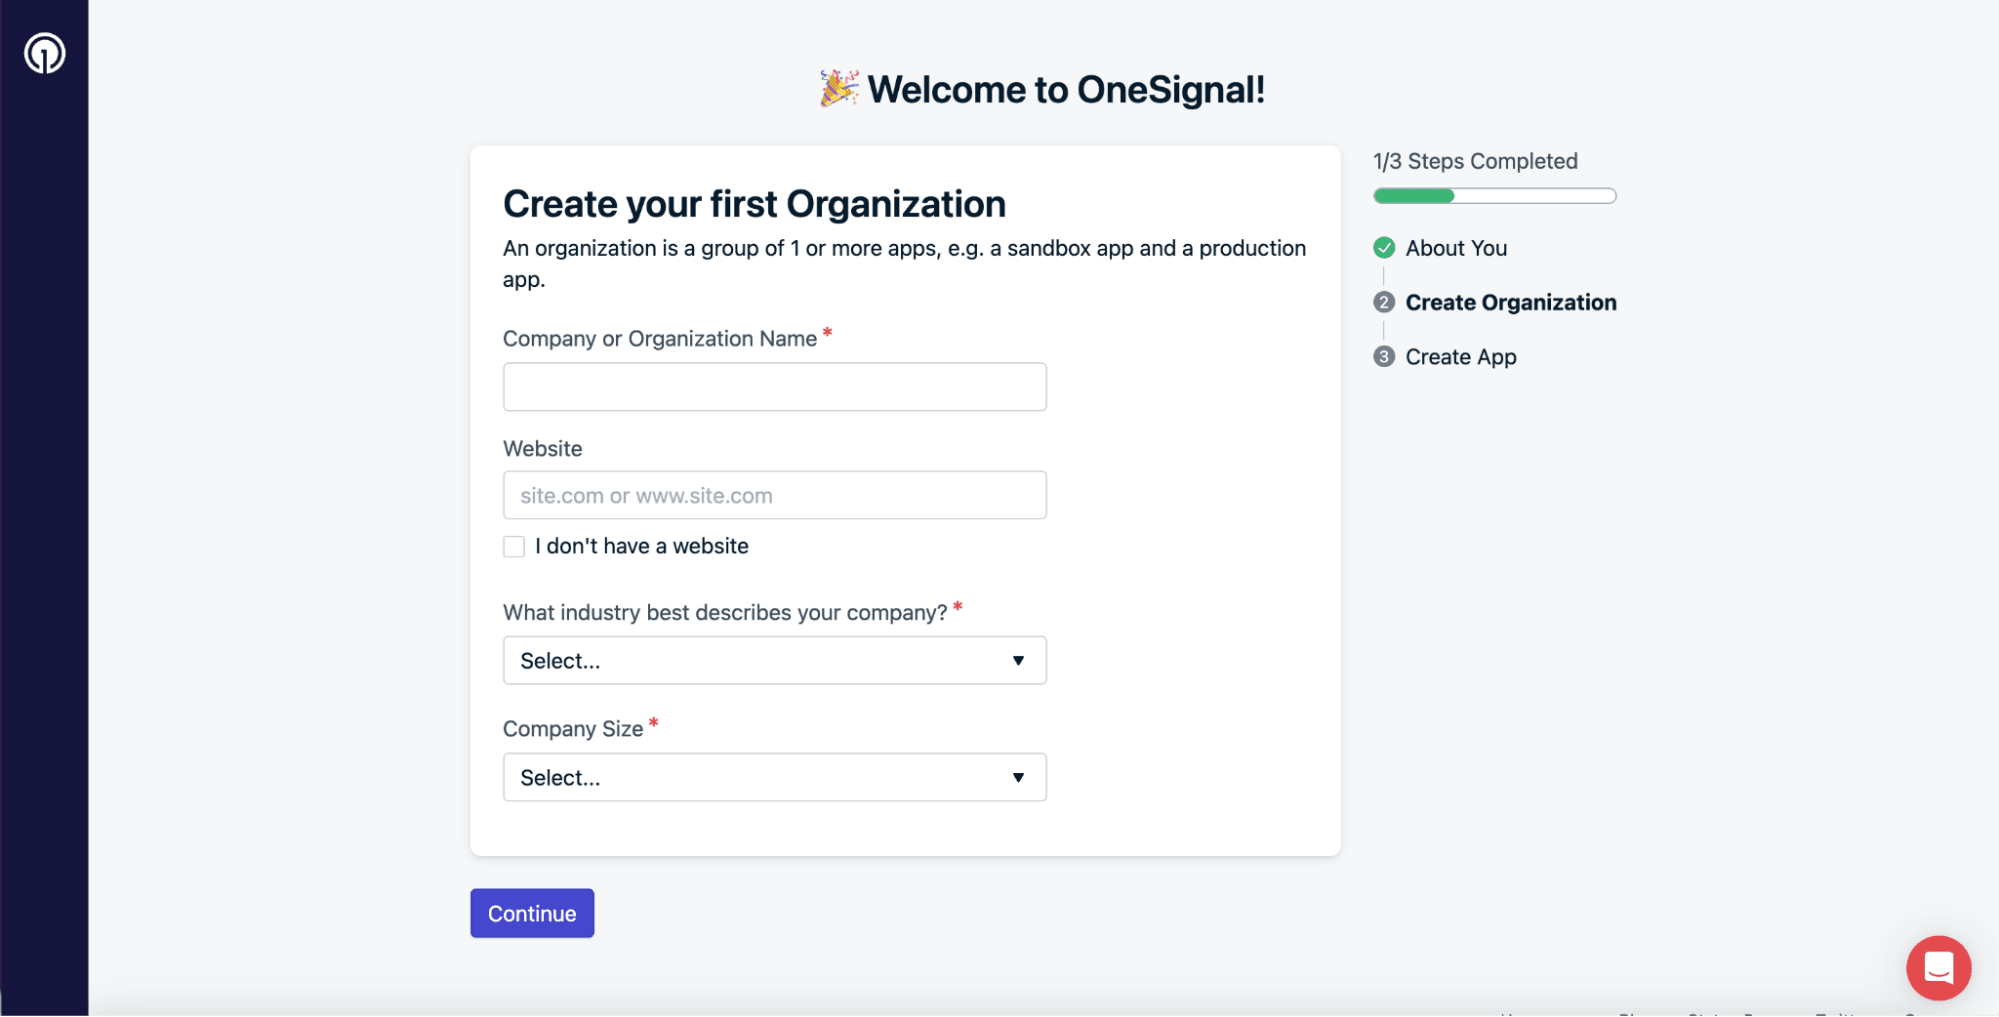
4. Enter your company information.
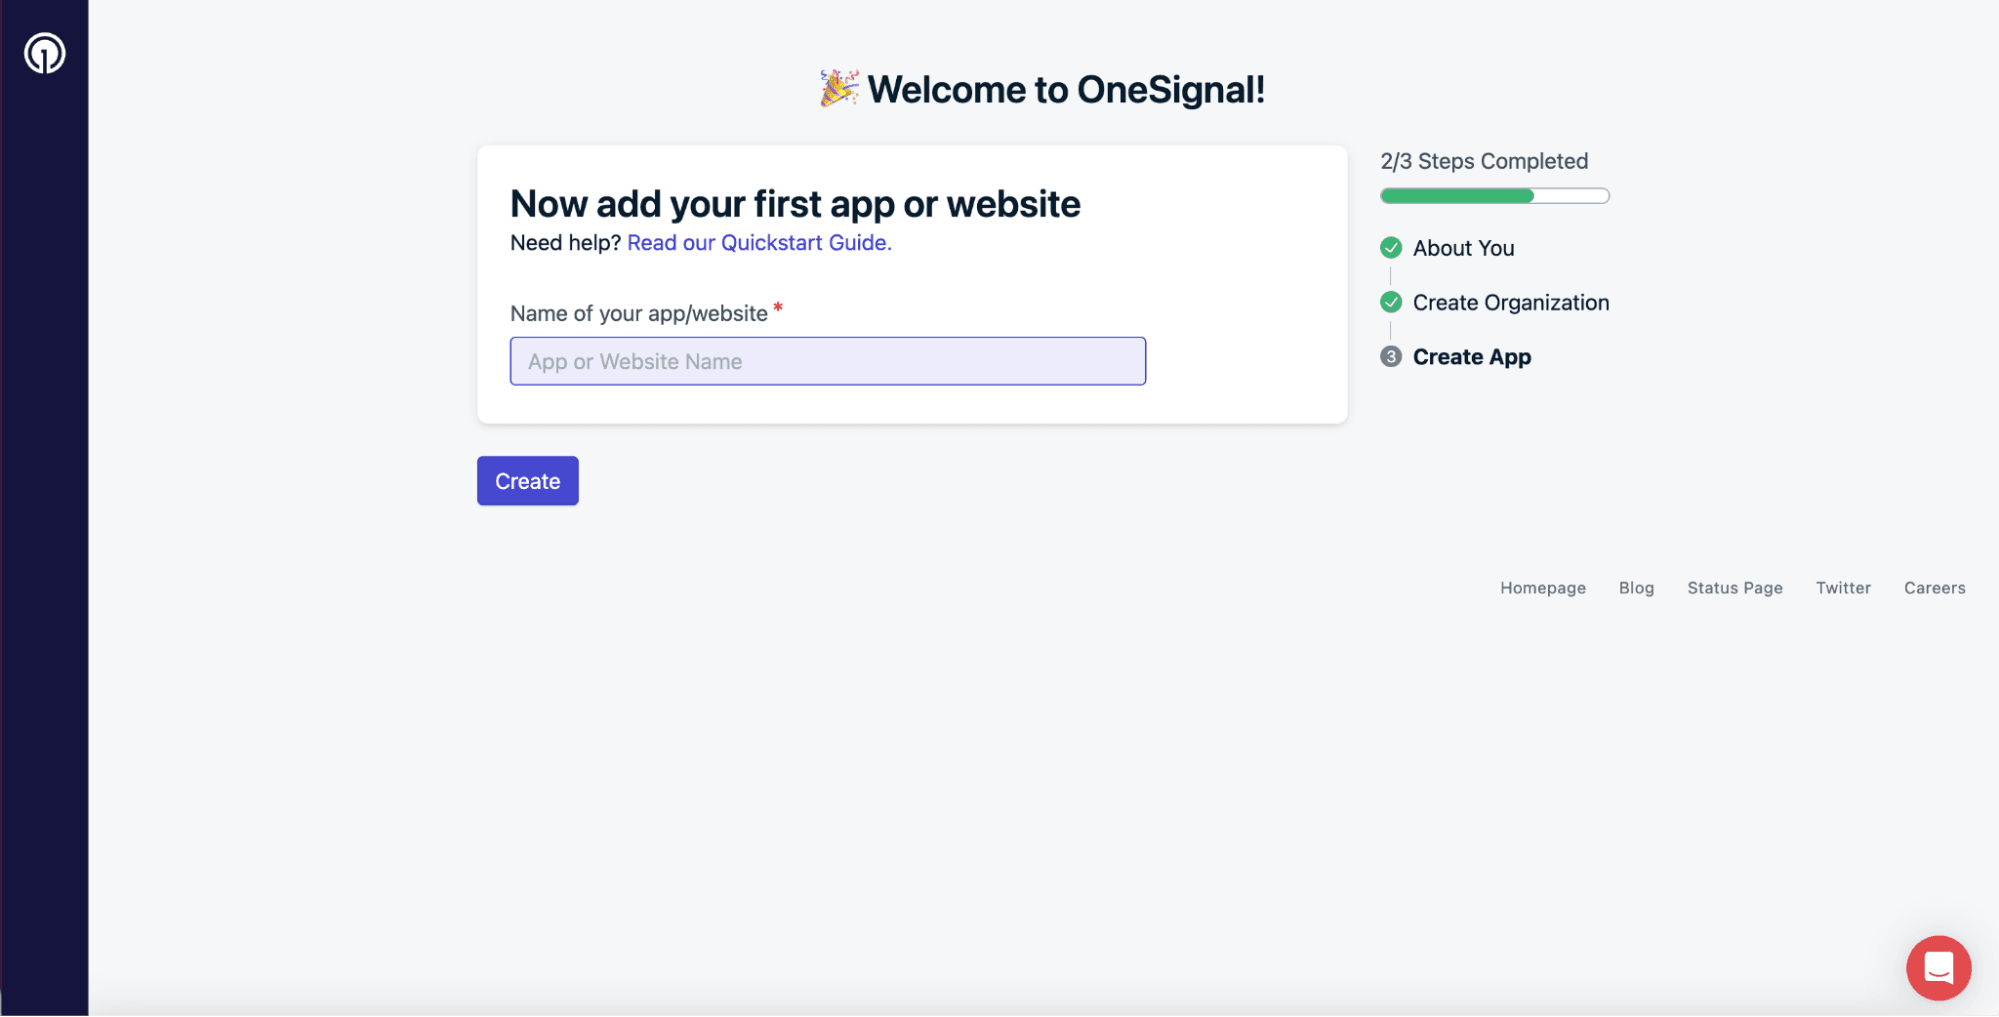
5. Add details about the app you want to connect.
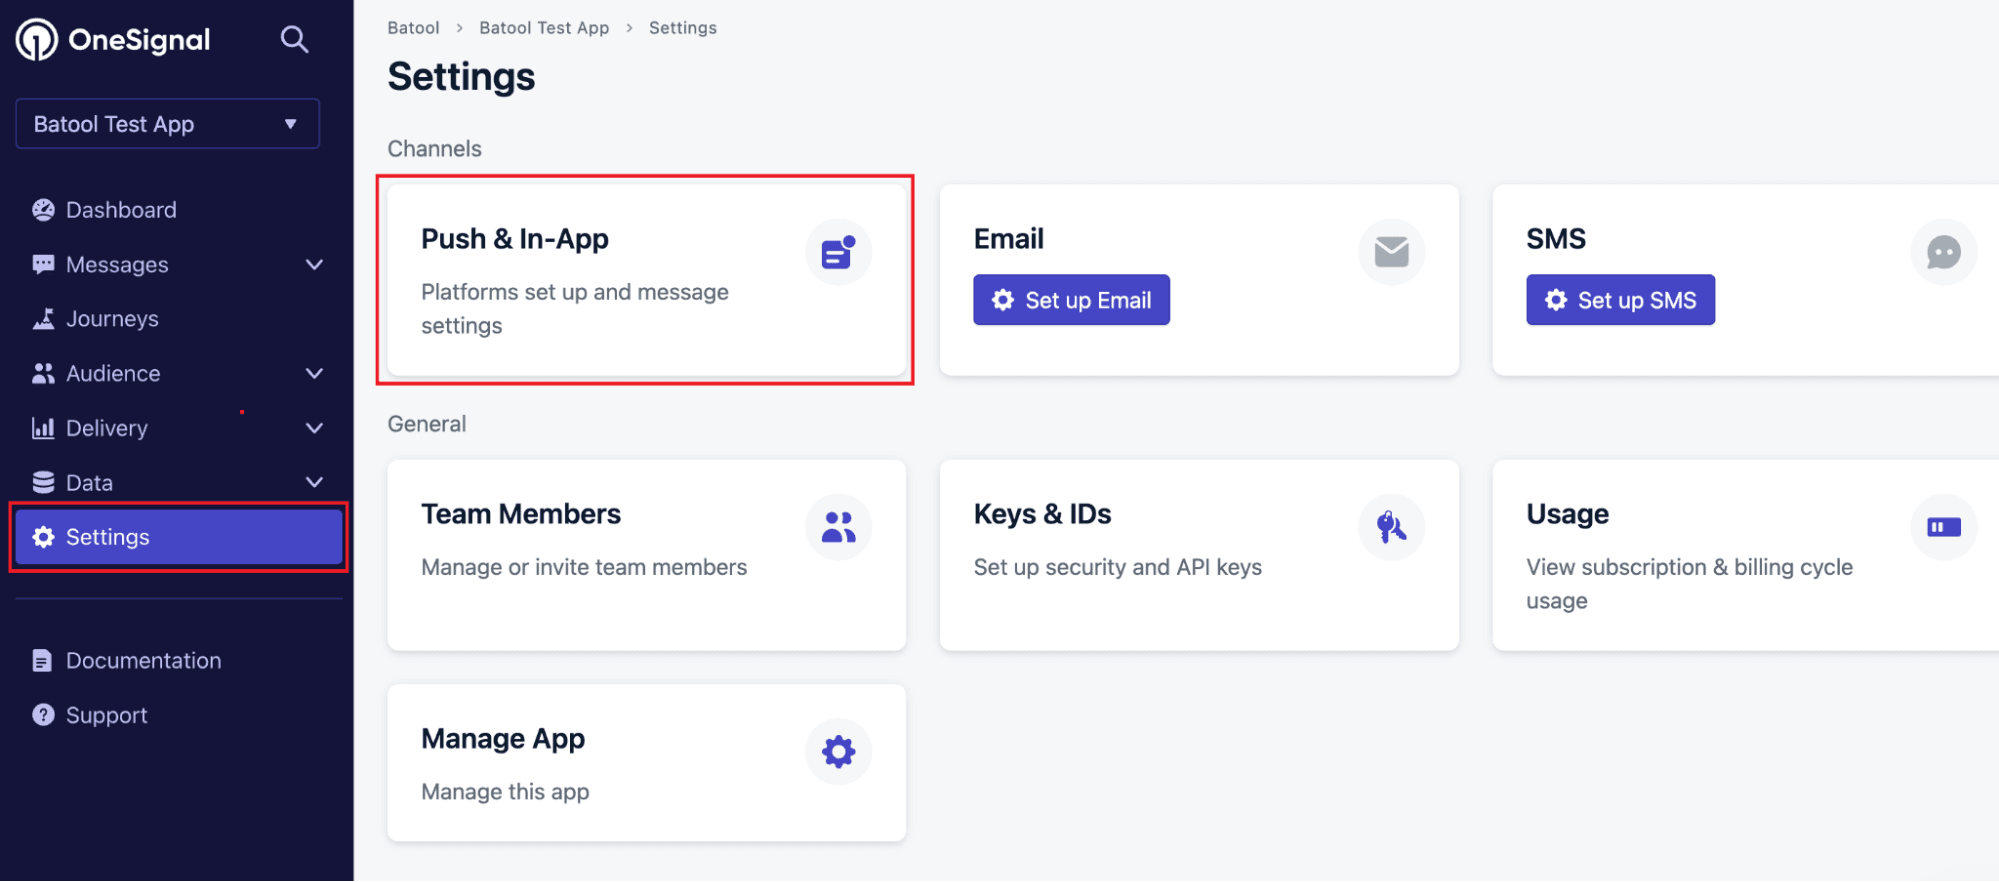
6. From the left sidebar, go to Settings, then select Push & In-App.
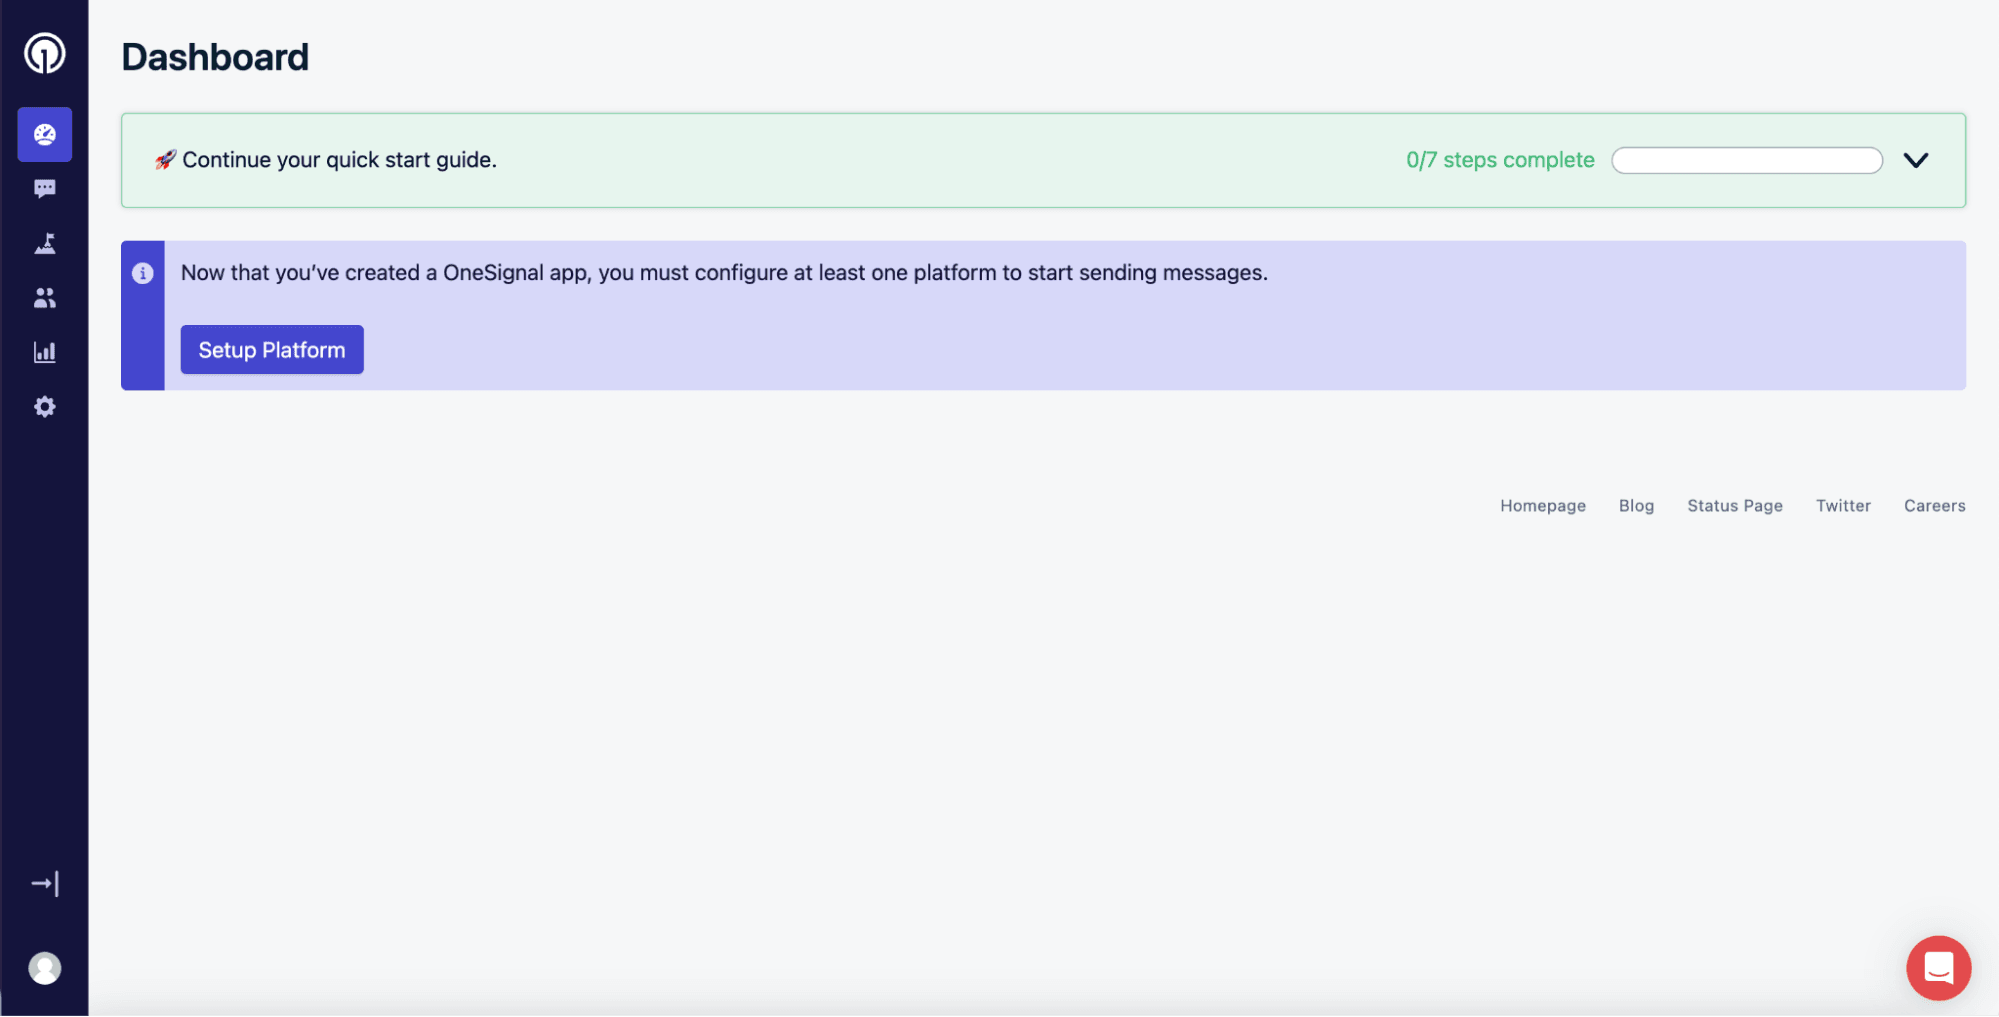
7. Choose the platform type and click Activate.
8. Complete the initial configuration to enable push notifications and subscriptions.
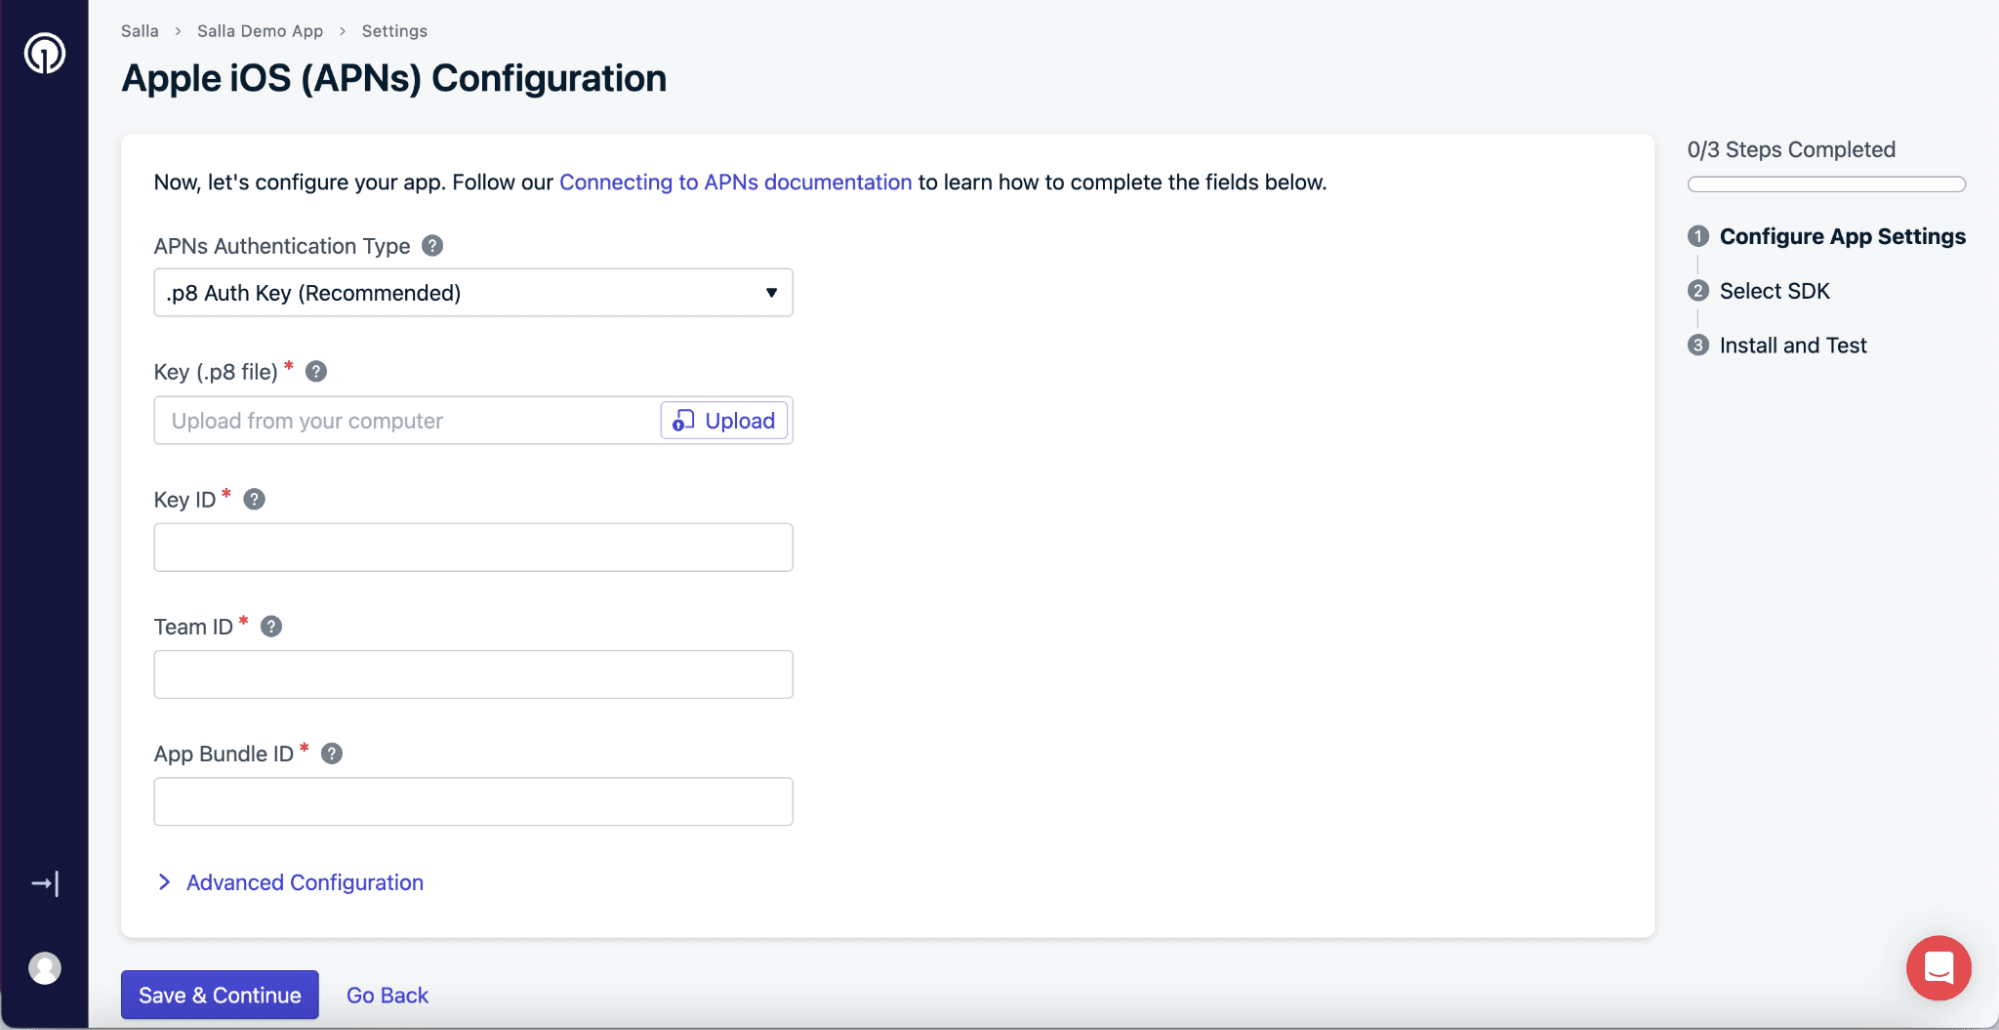
Step 2: Configure Apple iOS (APNs)
After completing the required fields, click Save & Continue.
How to obtain the required Apple keys
Create the APNs Key (p8)
- Log in to your paid Apple Developer account.
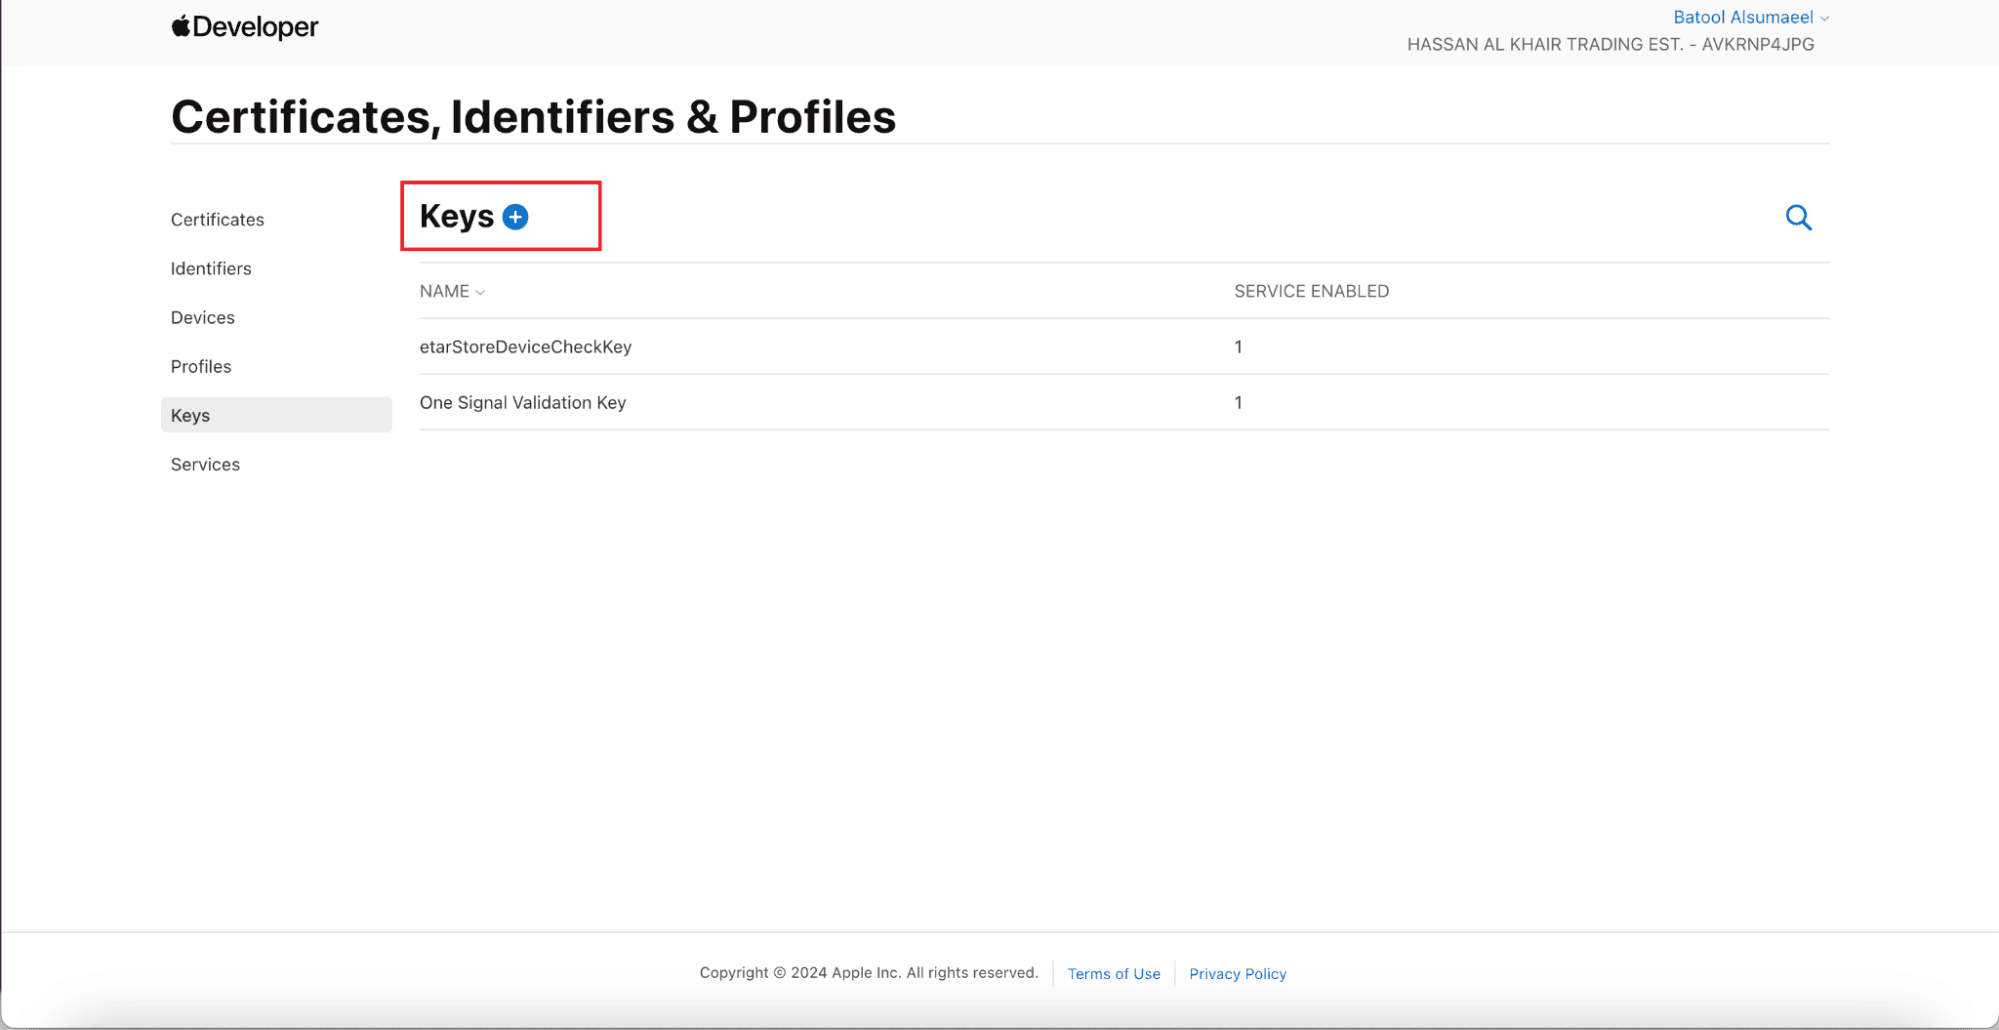
Go to Certificates, Identifiers & Profiles, then click Keys.
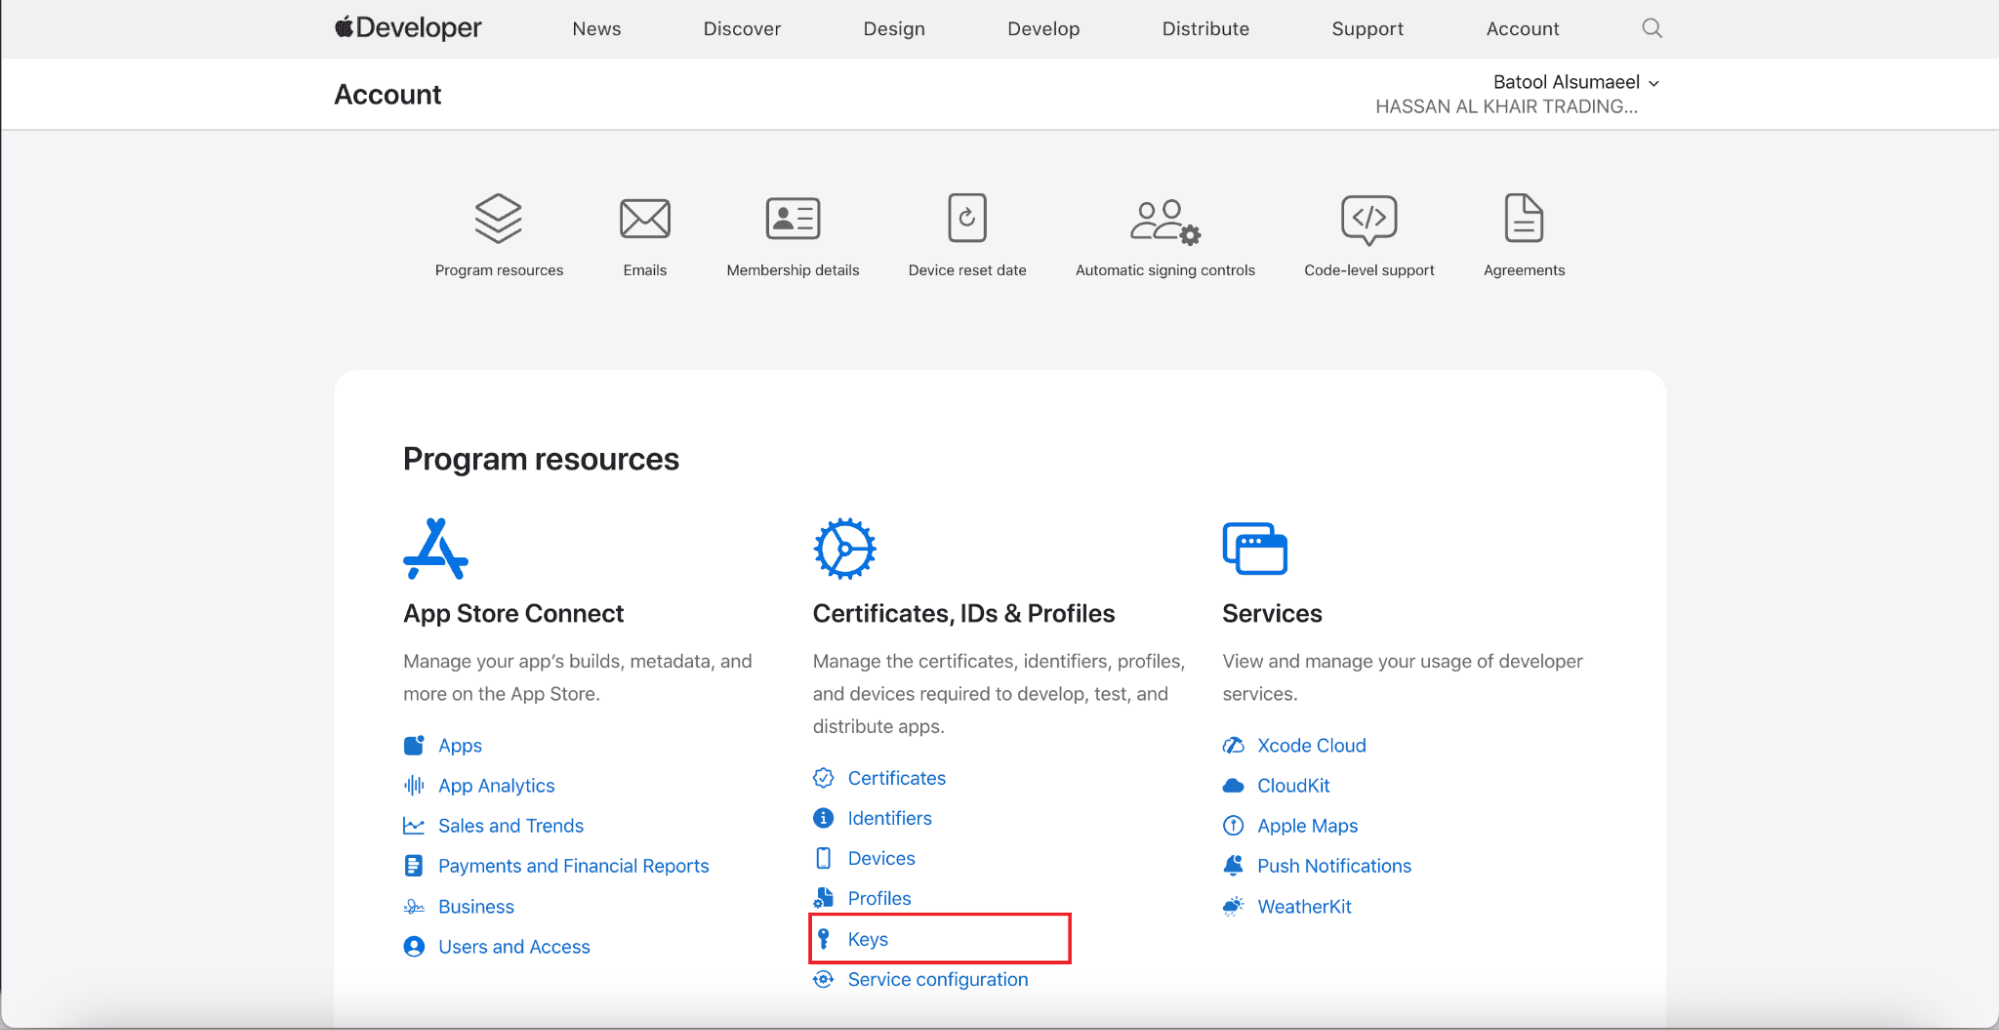
2. Click + to create a new key.
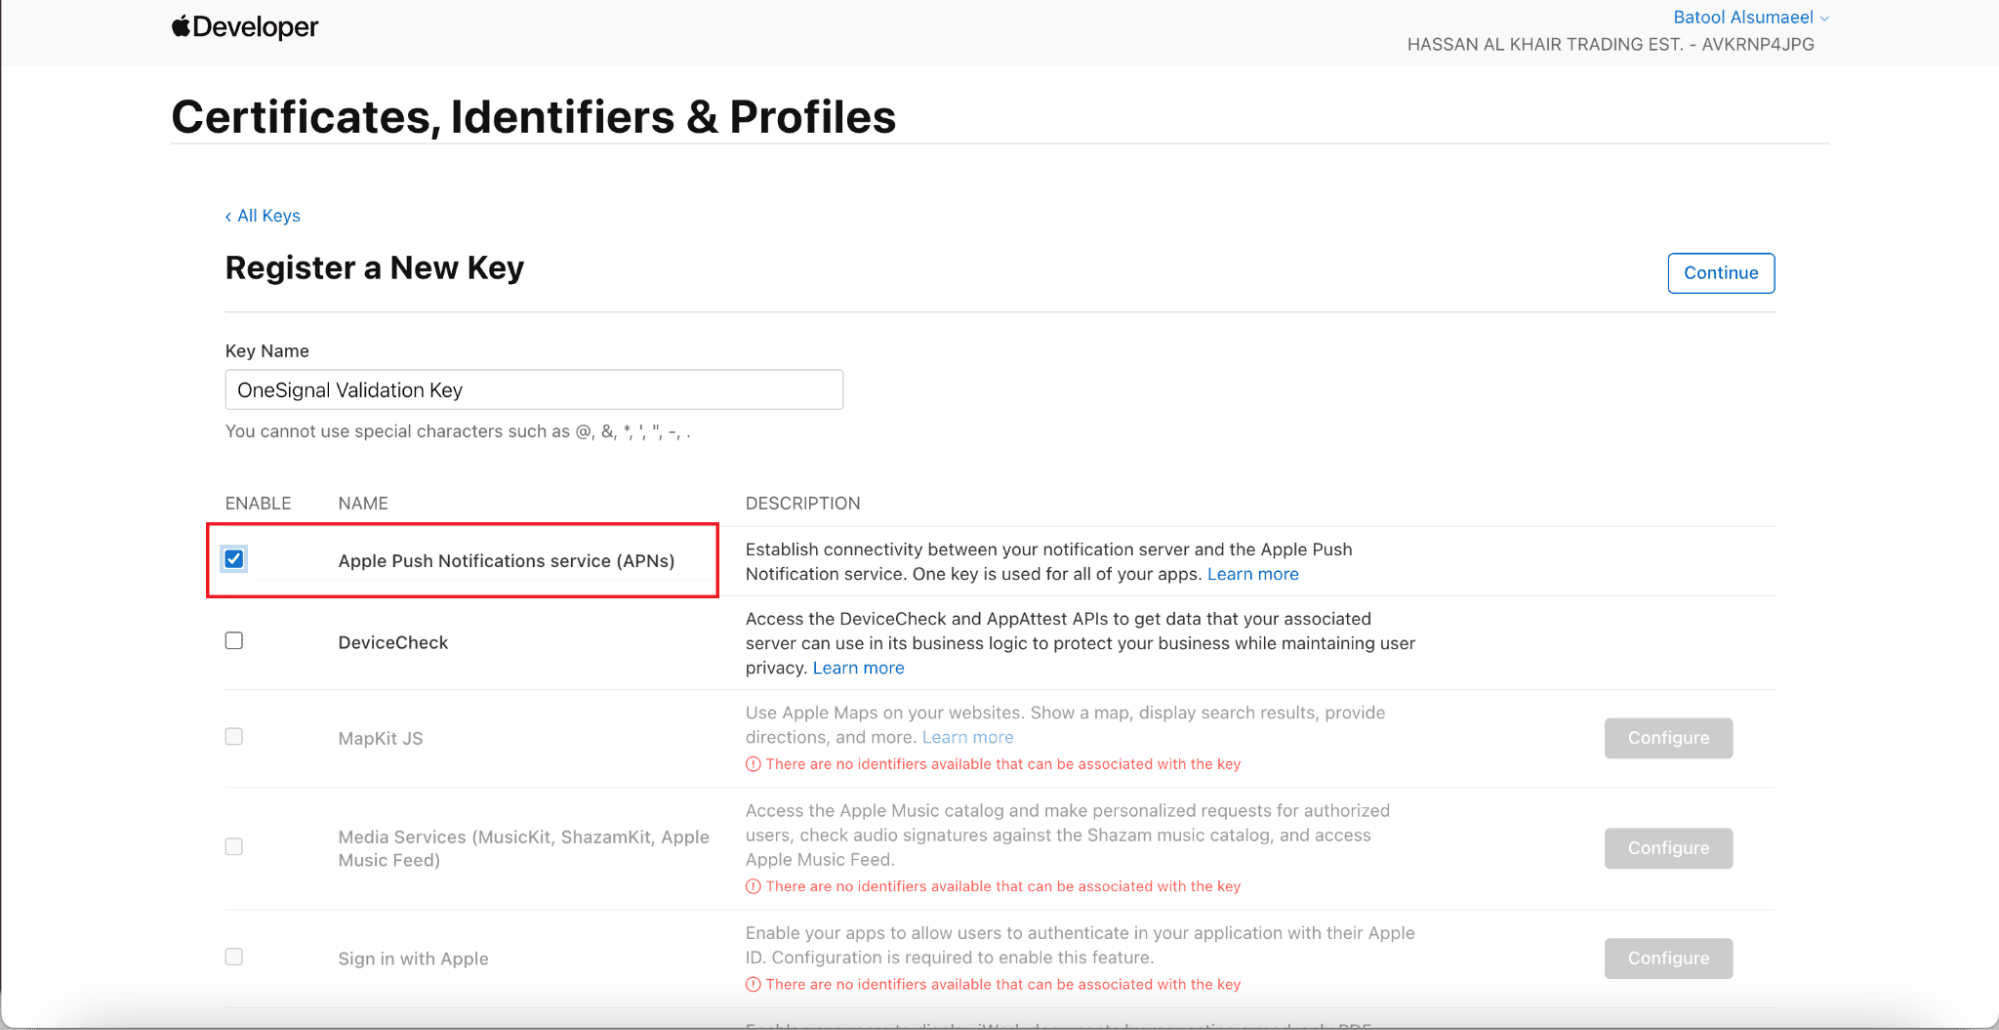
3. Enter a name for the key and enable Apple Push Notifications (APNs).
Click Continue.
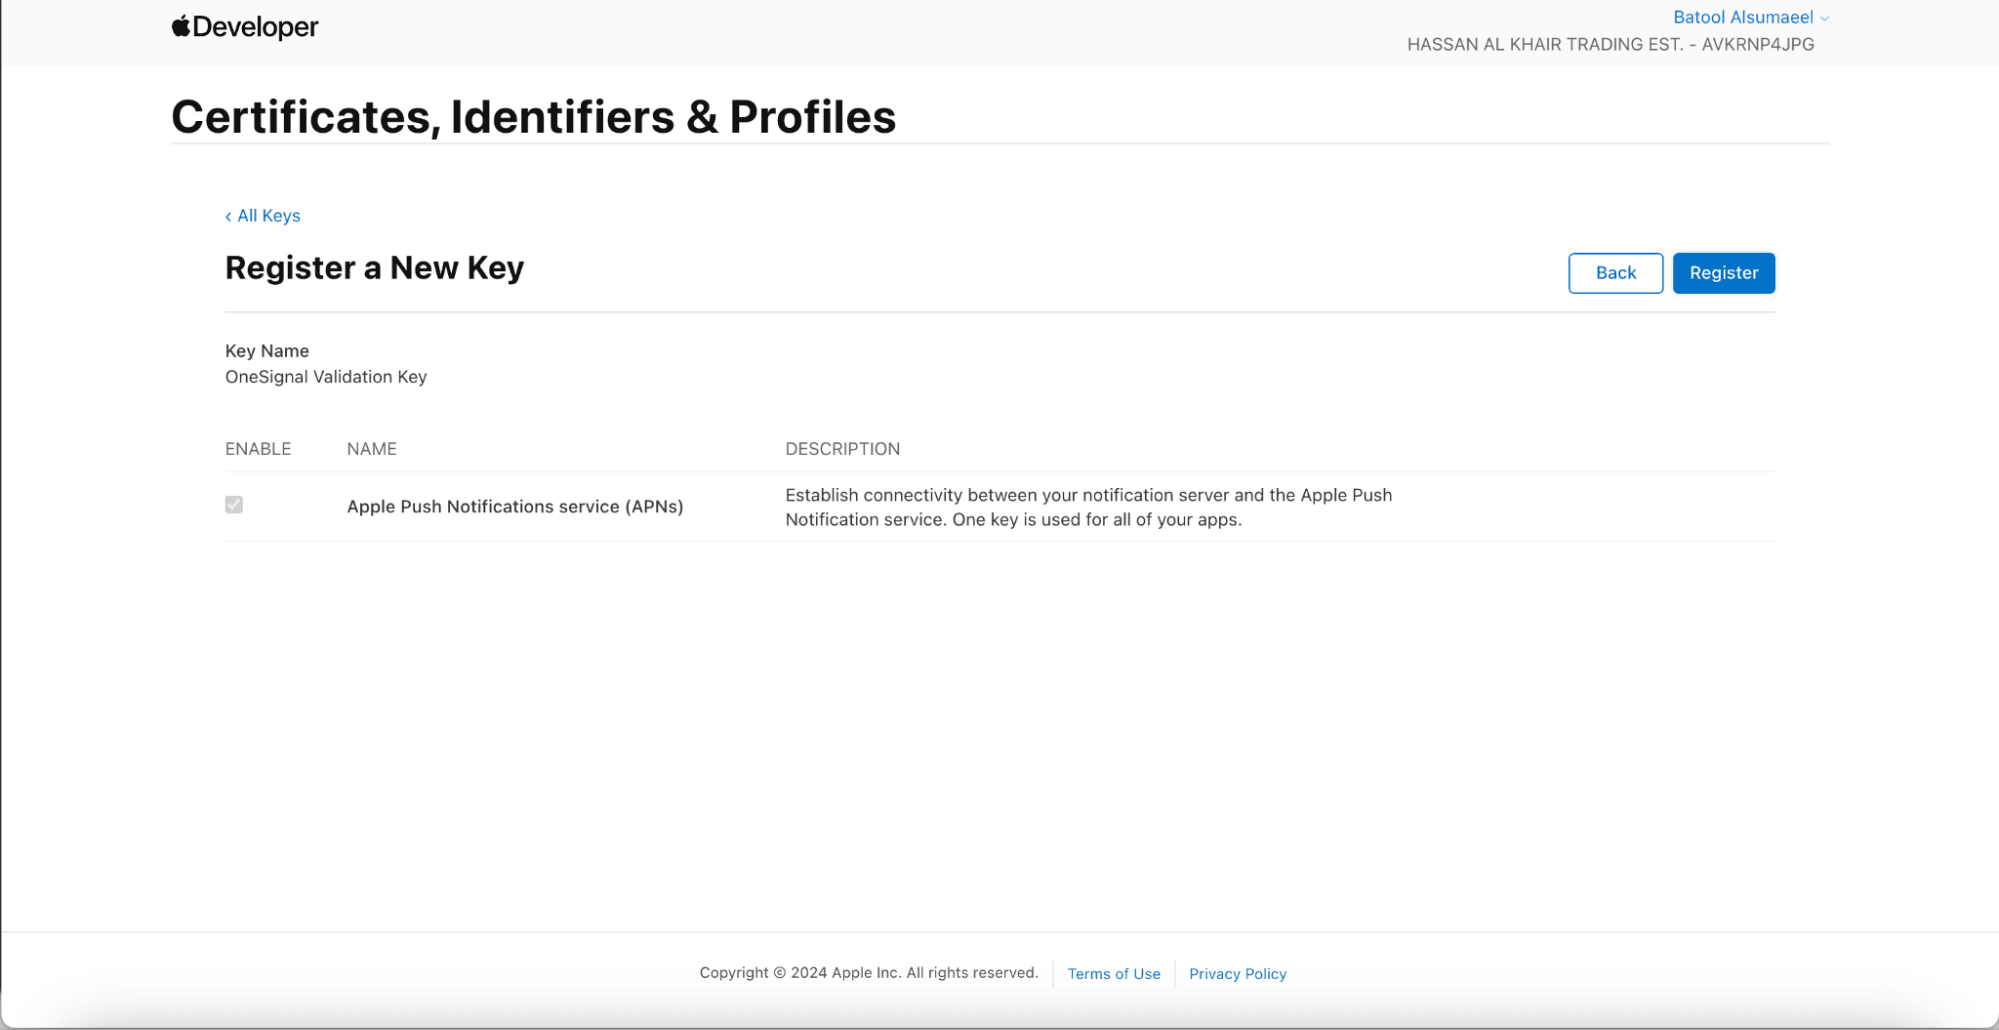
4. Click Register.
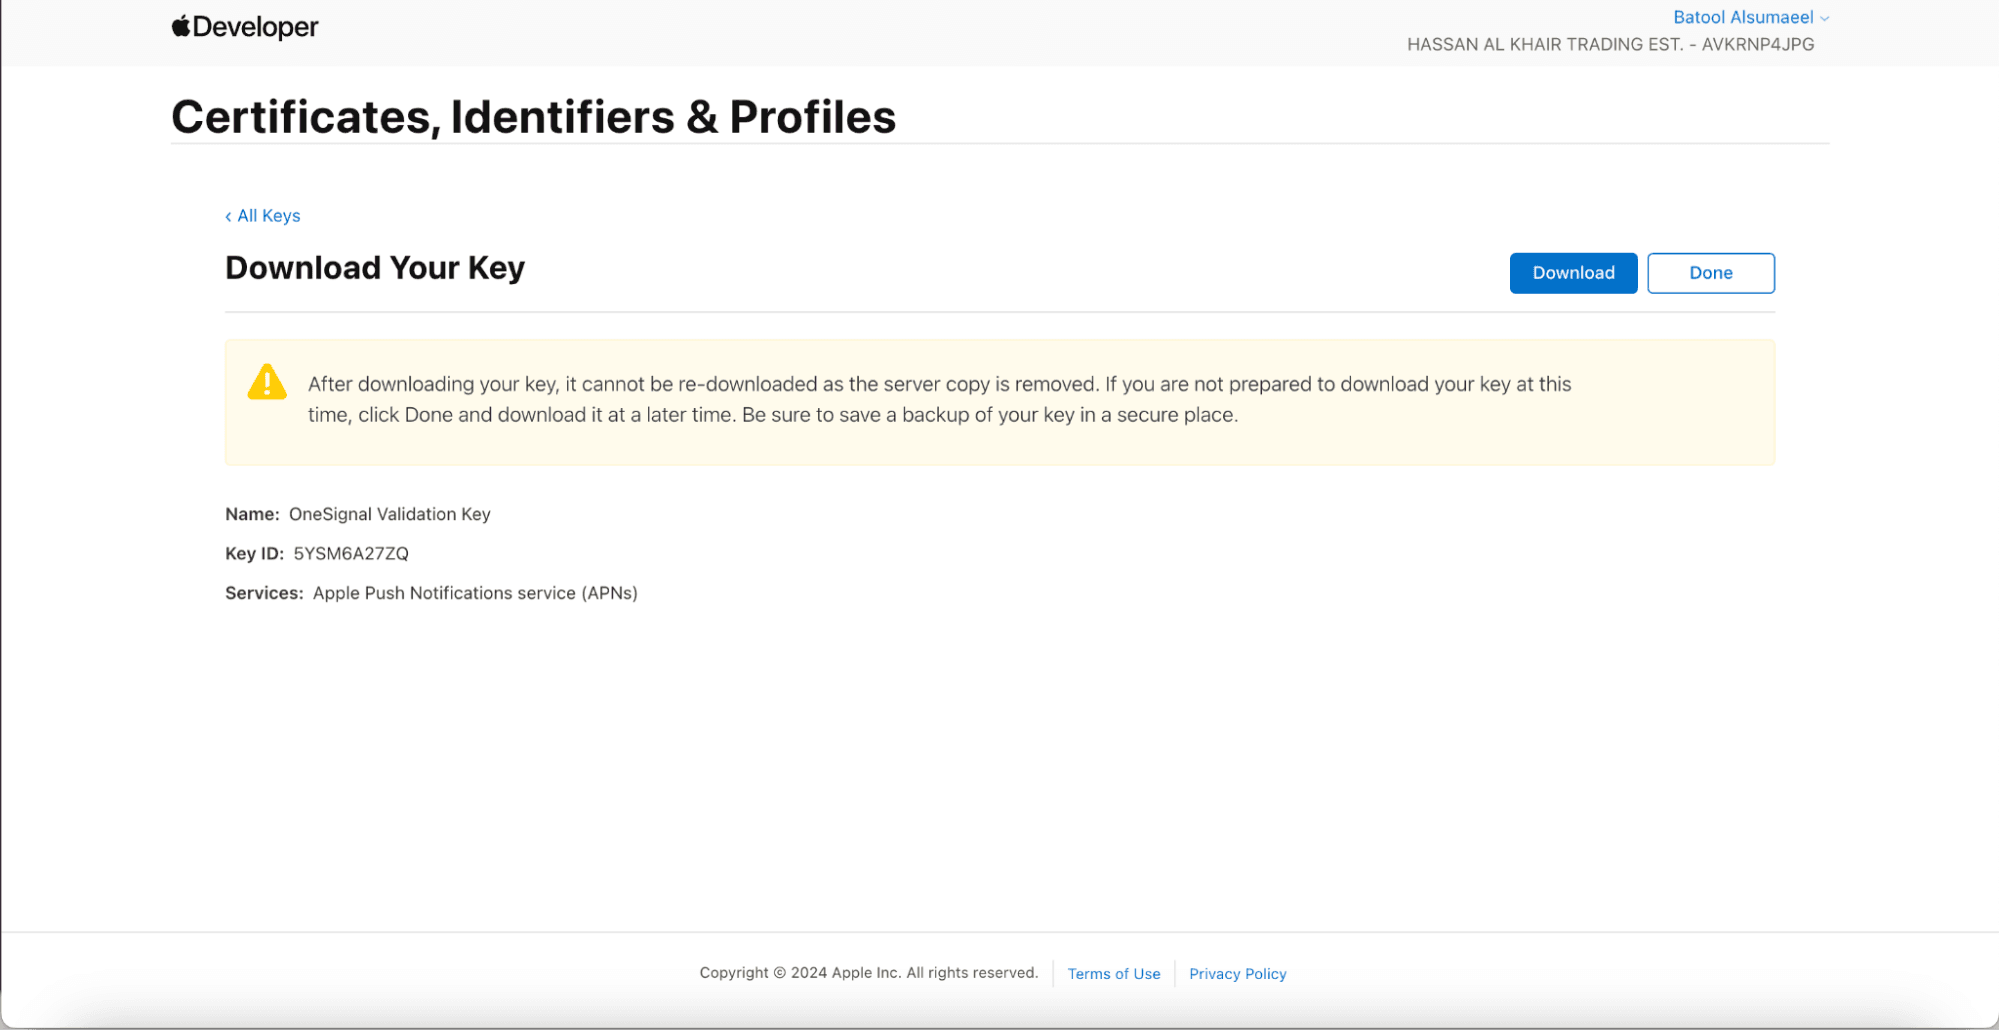
5. Download the p8 key and store it securely.
⚠️ Important: This key can only be downloaded once. Save it in a secure location.
Key ID and Team ID
- Key ID: The unique identifier for the p8 key. You can find it in the Keys section of your Apple Developer account.
- Team ID: Generated by Apple for your developer account and visible in the top-right corner of the Apple Developer dashboard.
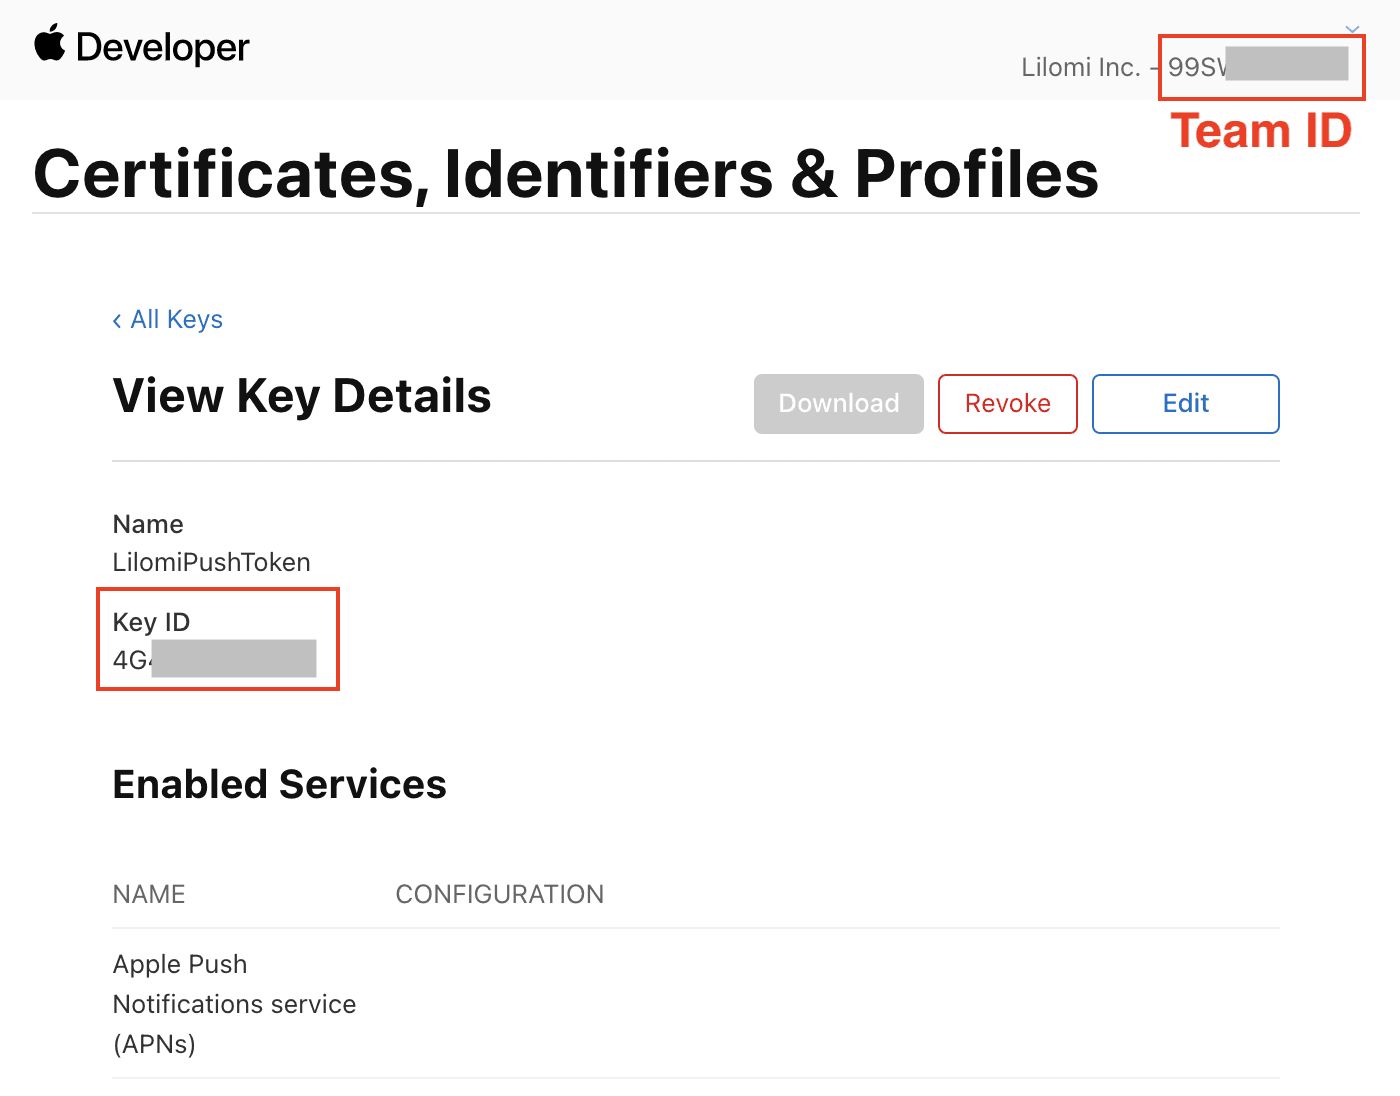
Make sure the Key ID matches the p8 key you downloaded.
App Bundle ID
To find your iOS App Bundle ID:
- Open App Store Connect.
- Select the app you want to connect to OneSignal.
- From the left menu, open App Information.
- Copy the Bundle Identifier.
Paste it into the iOS Bundle ID field in OneSignal and click Save & Continue.

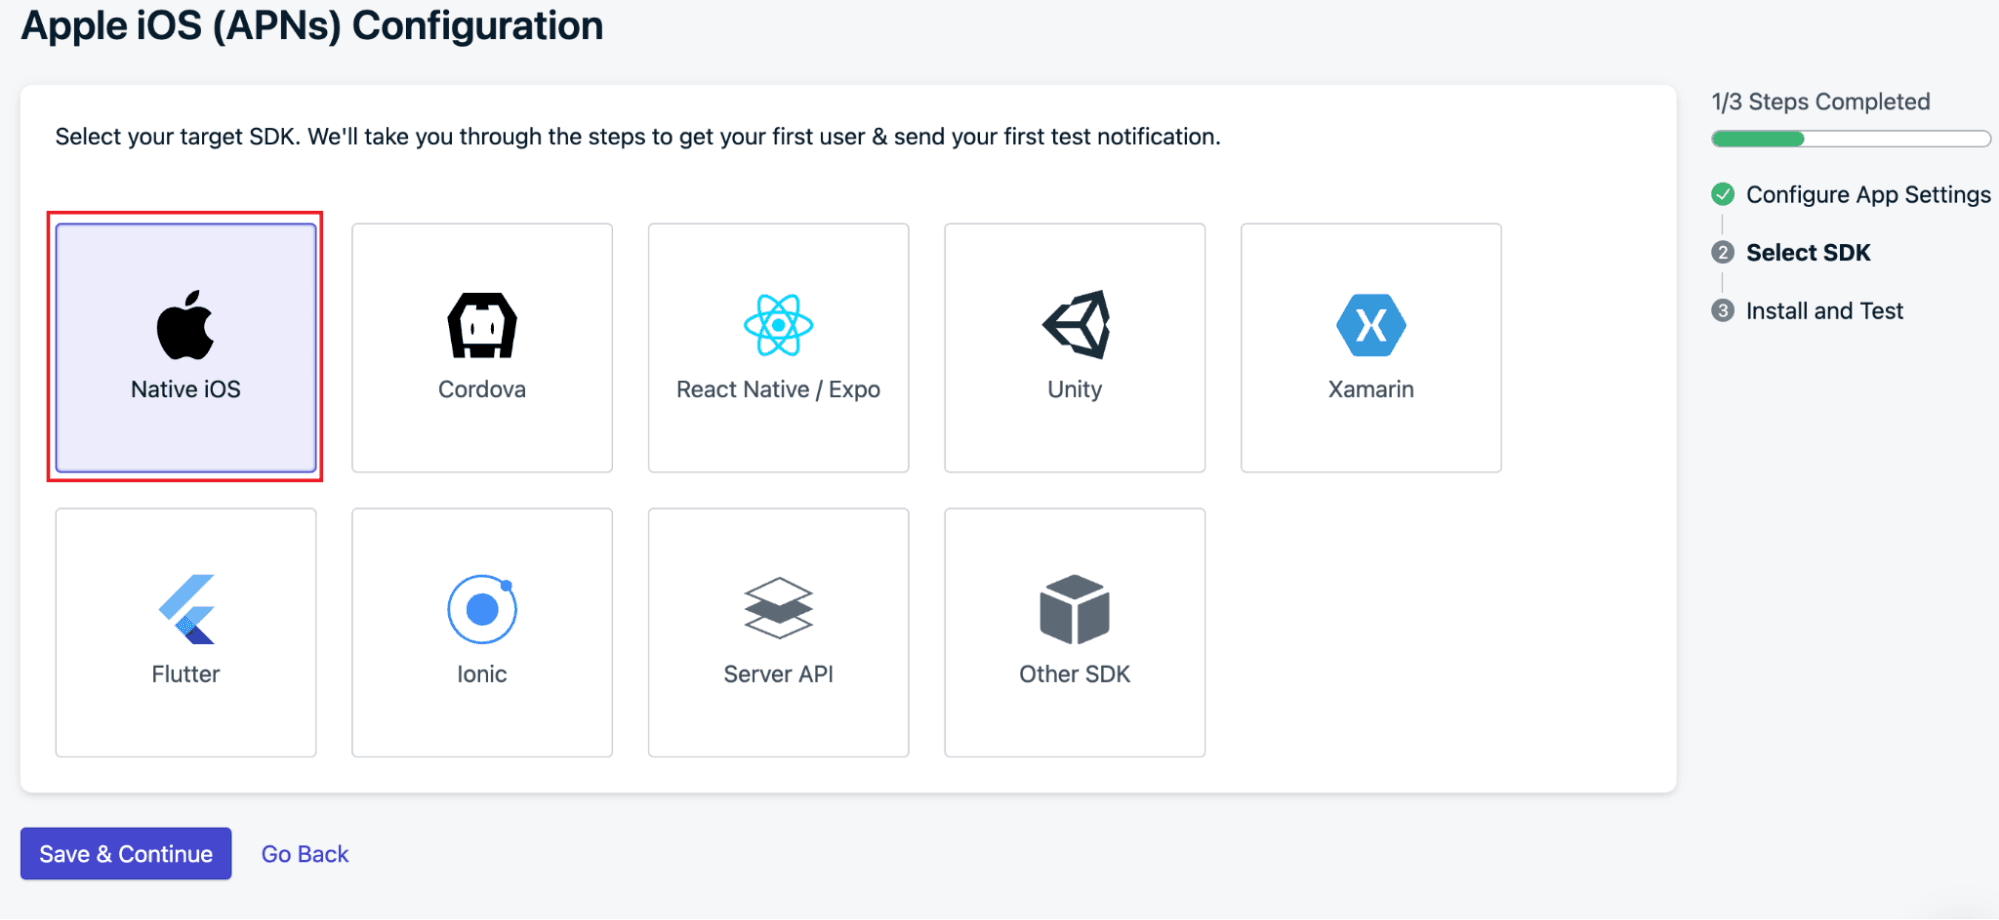
5. Choose Native iOS, then click Save & Continue.
6. Click Done.
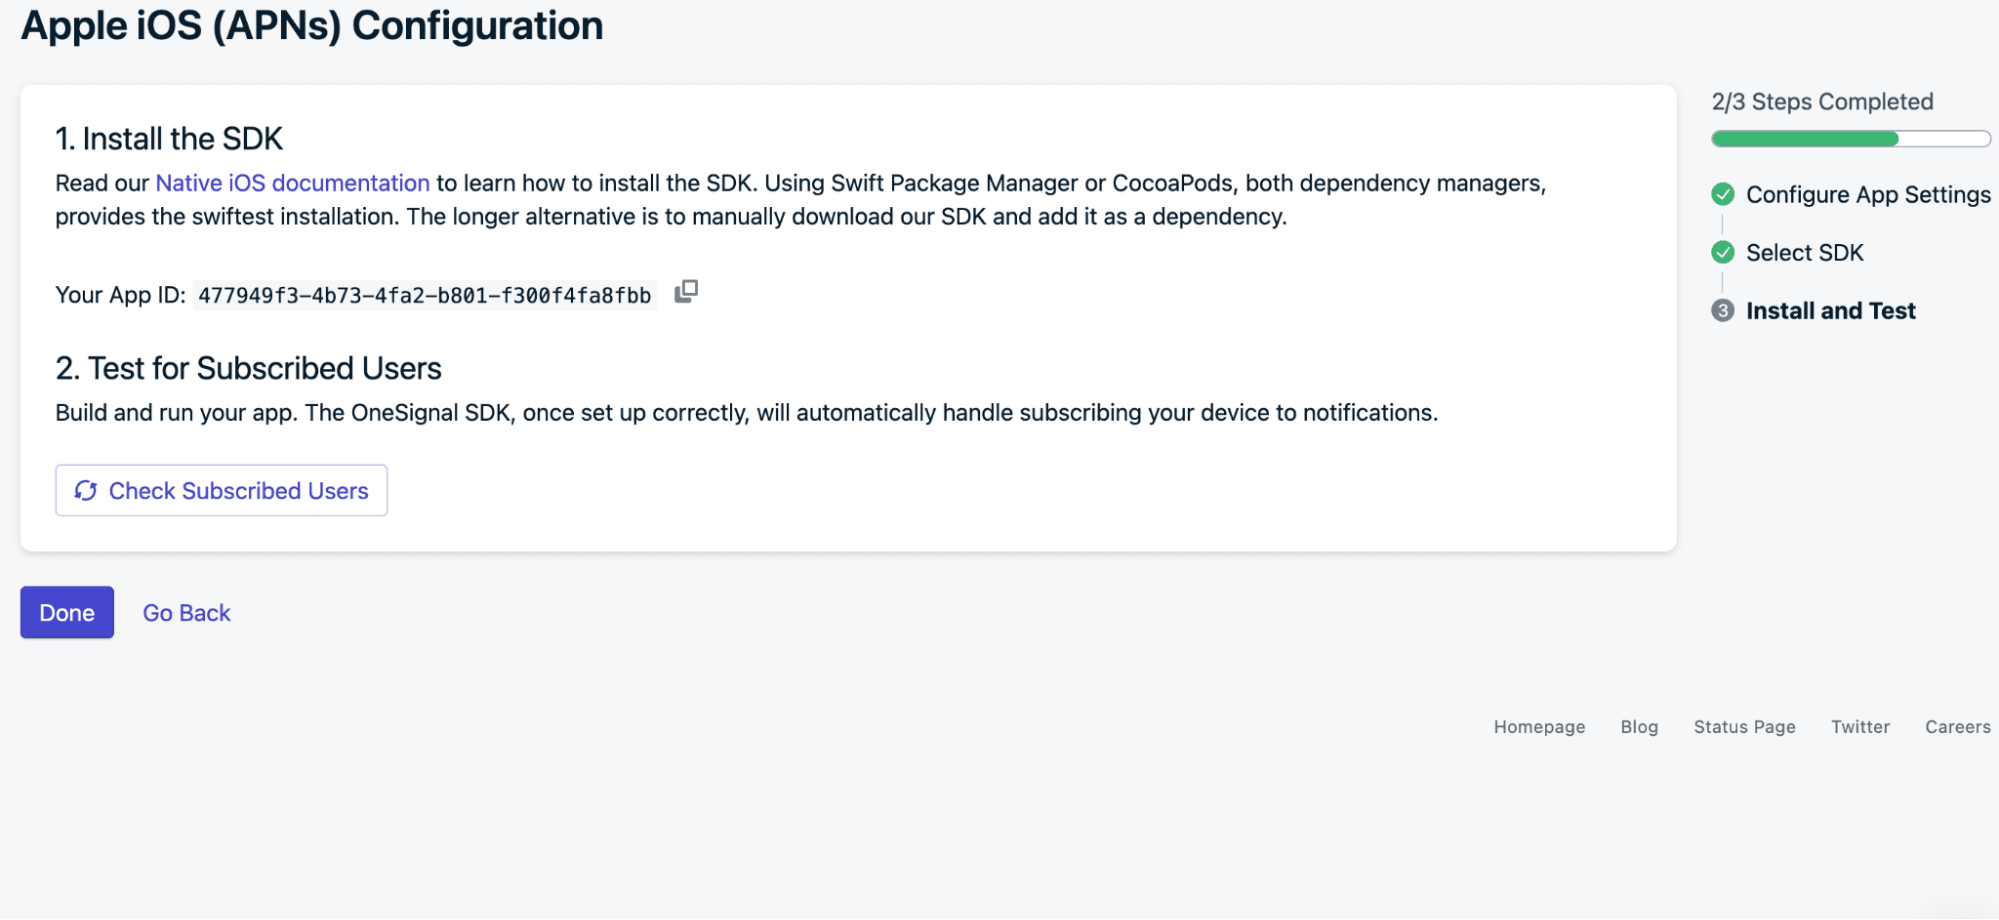
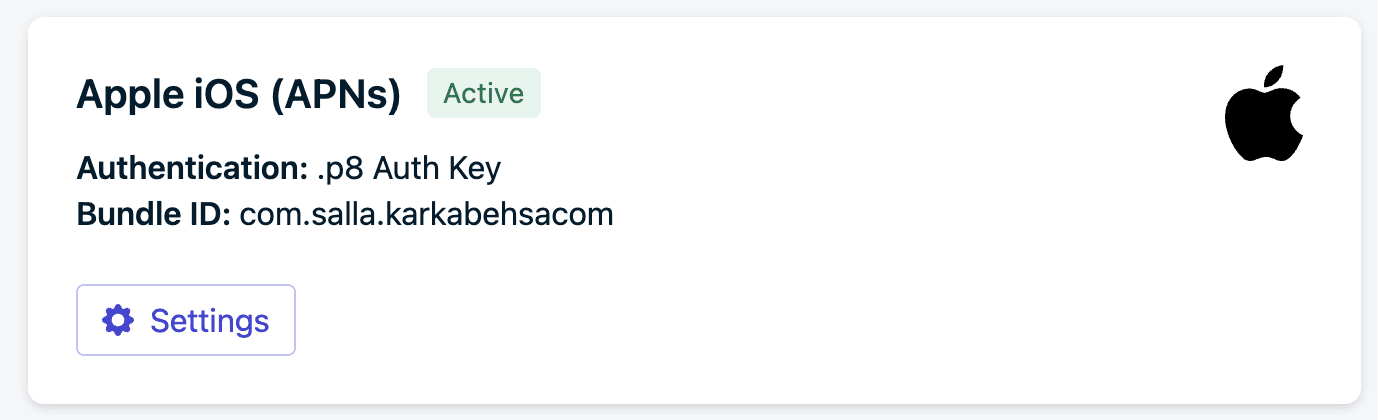
Your Apple iOS (APNs) integration is now active.
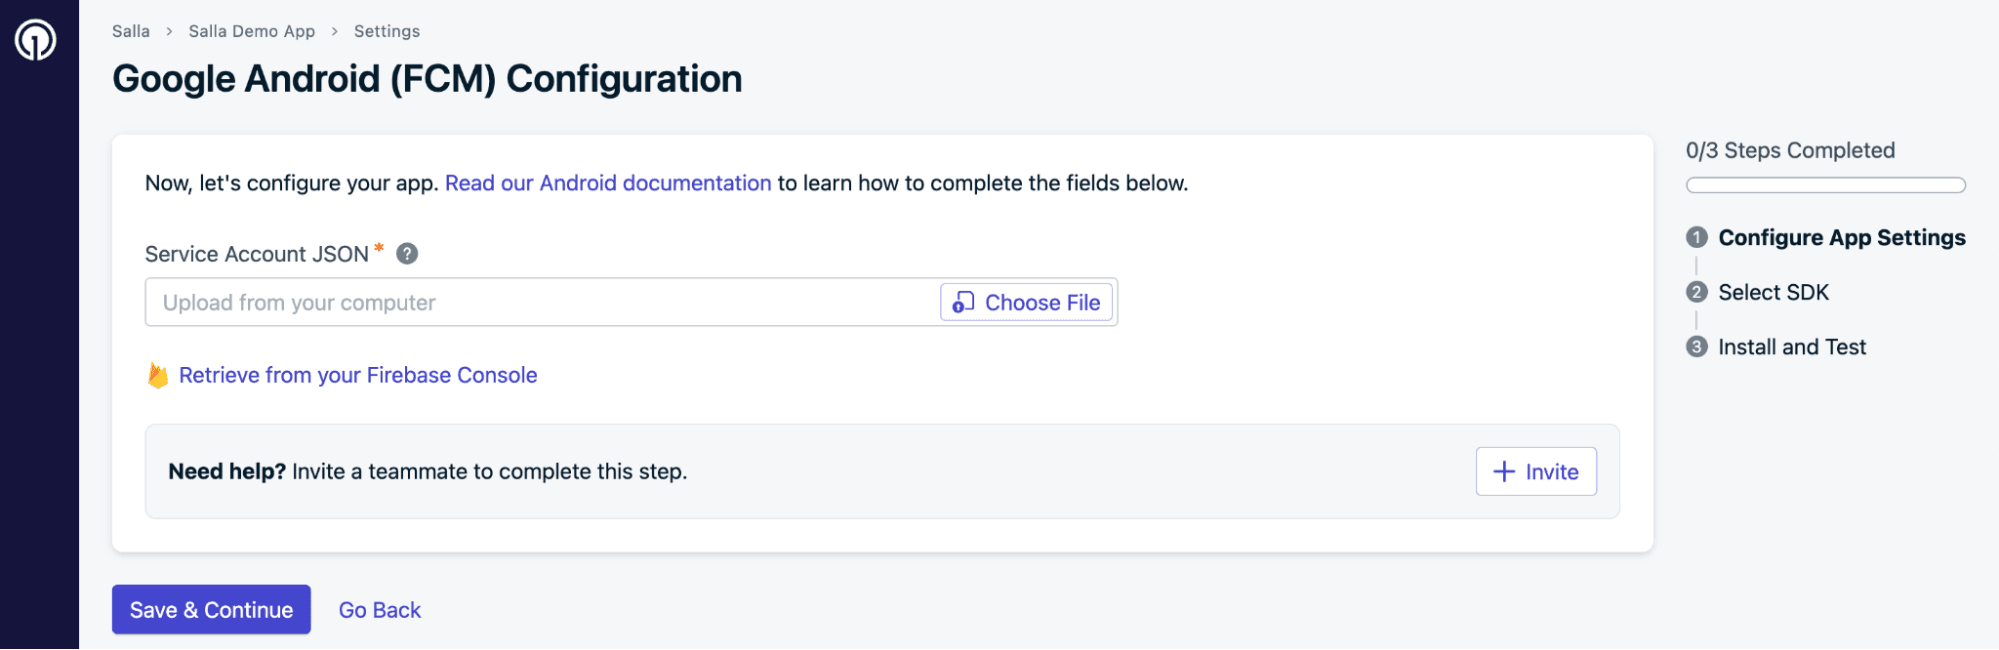
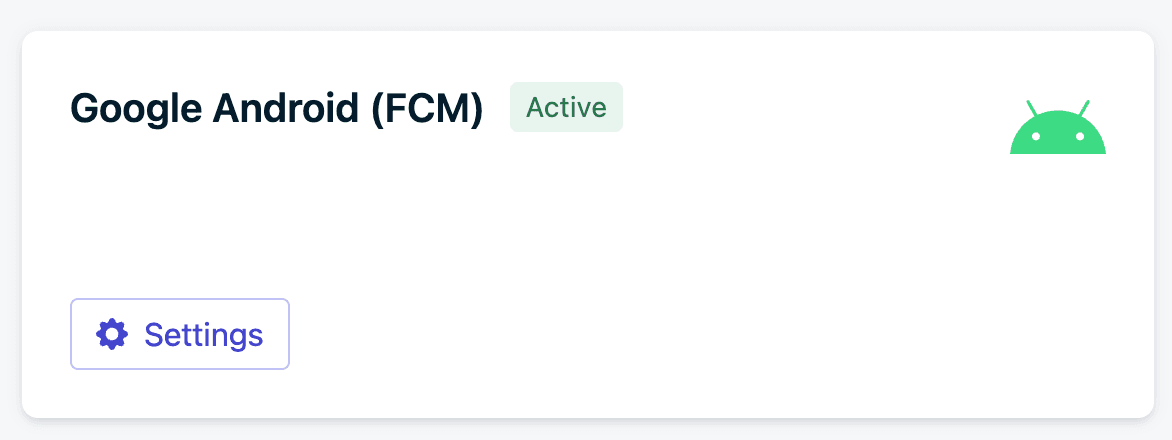
Step 3: Configure Google Android (FCM)
- Click Activate, then open your Firebase project.
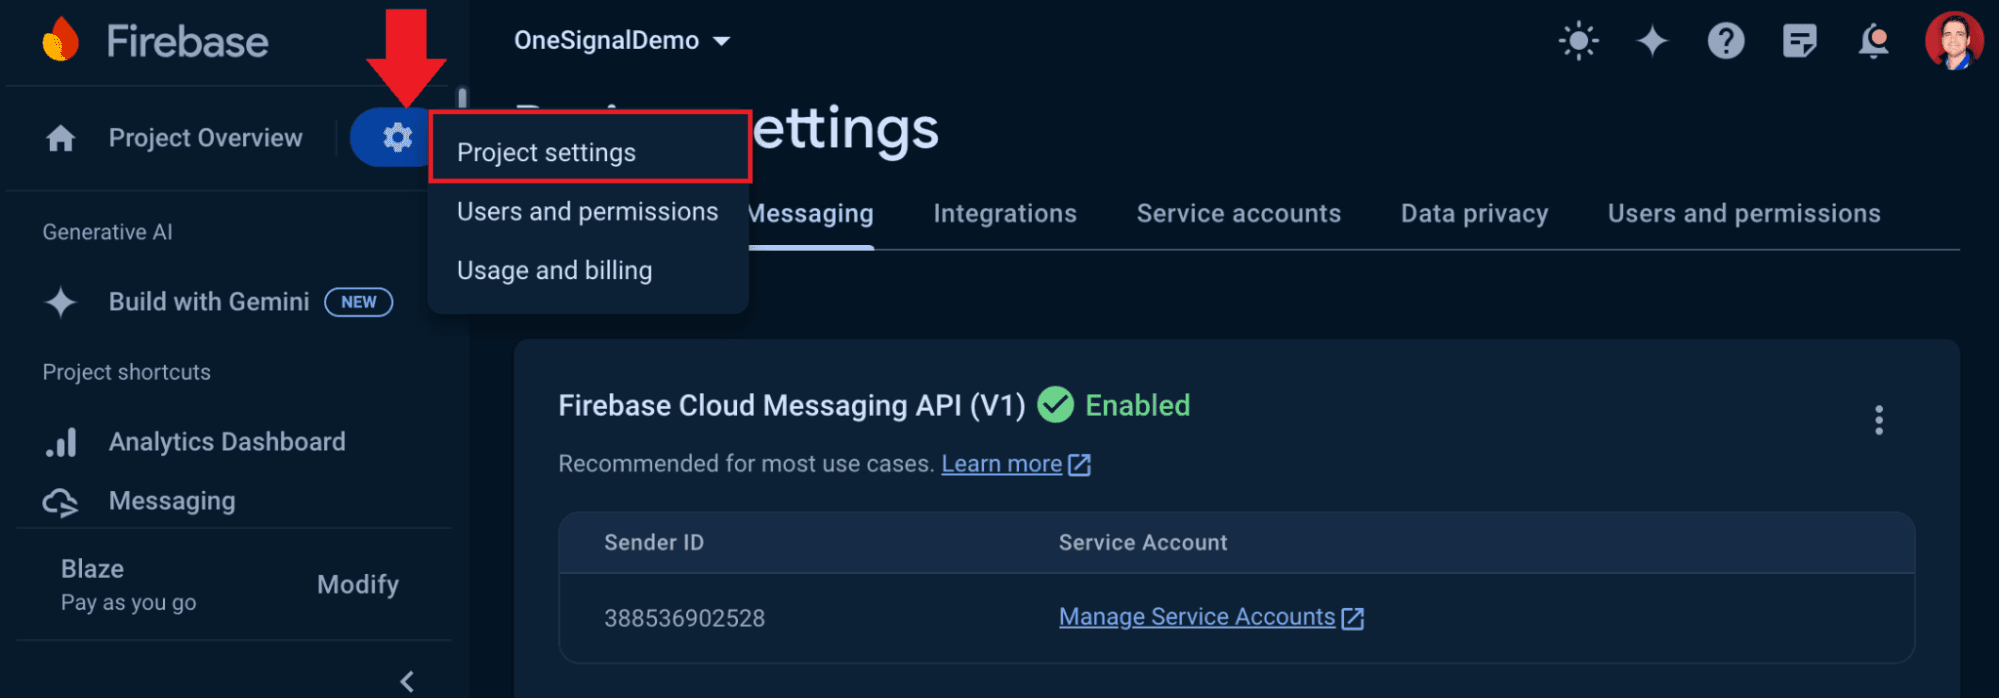
2. Make sure Firebase Cloud Messaging API (V1) is enabled.
From Project Settings, open the Cloud Messaging tab.
📝 If the API is disabled:
- Click the three dots
- Open the provided link
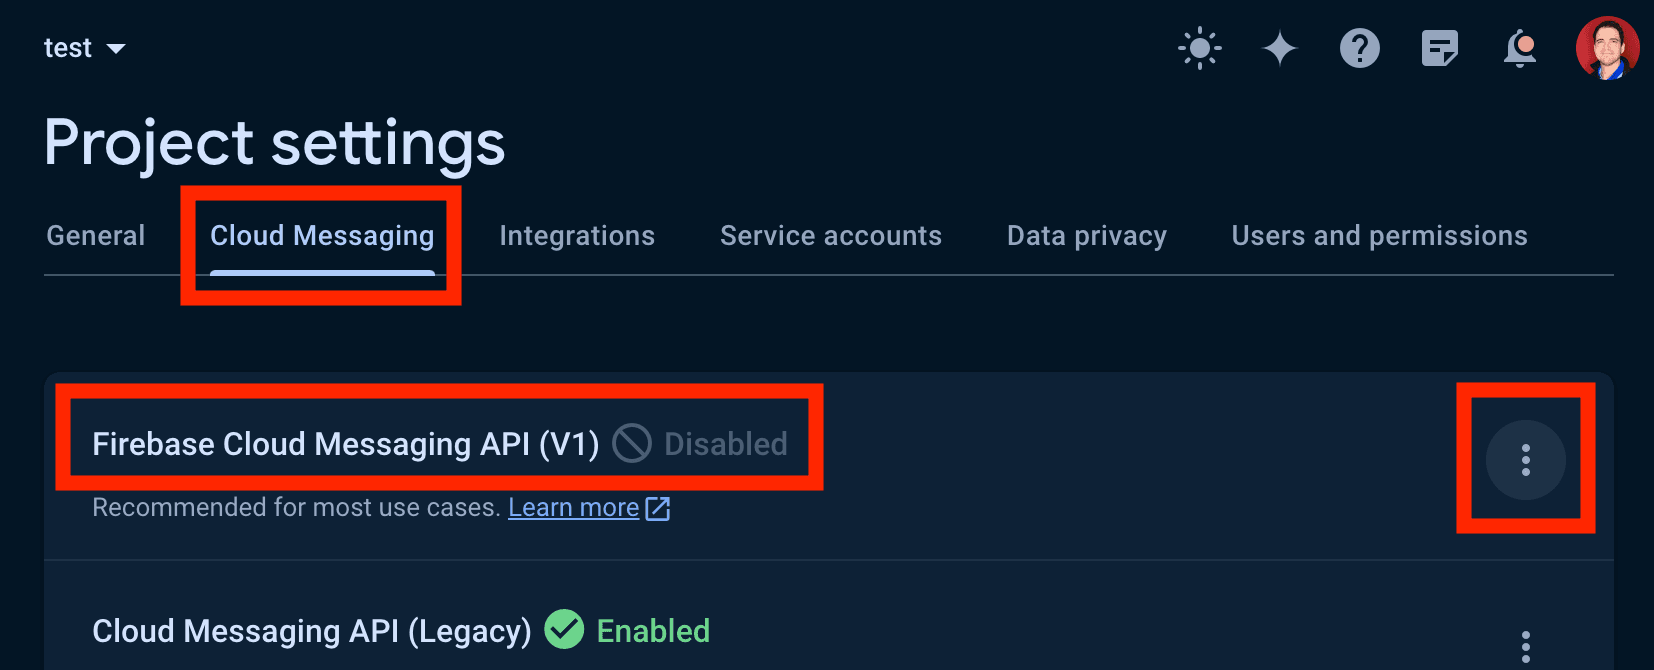
- Click Enable
You may need to wait a few minutes for the changes to apply.
3. Create the private key JSON file:
- Go to Project Settings
- Open Service Accounts
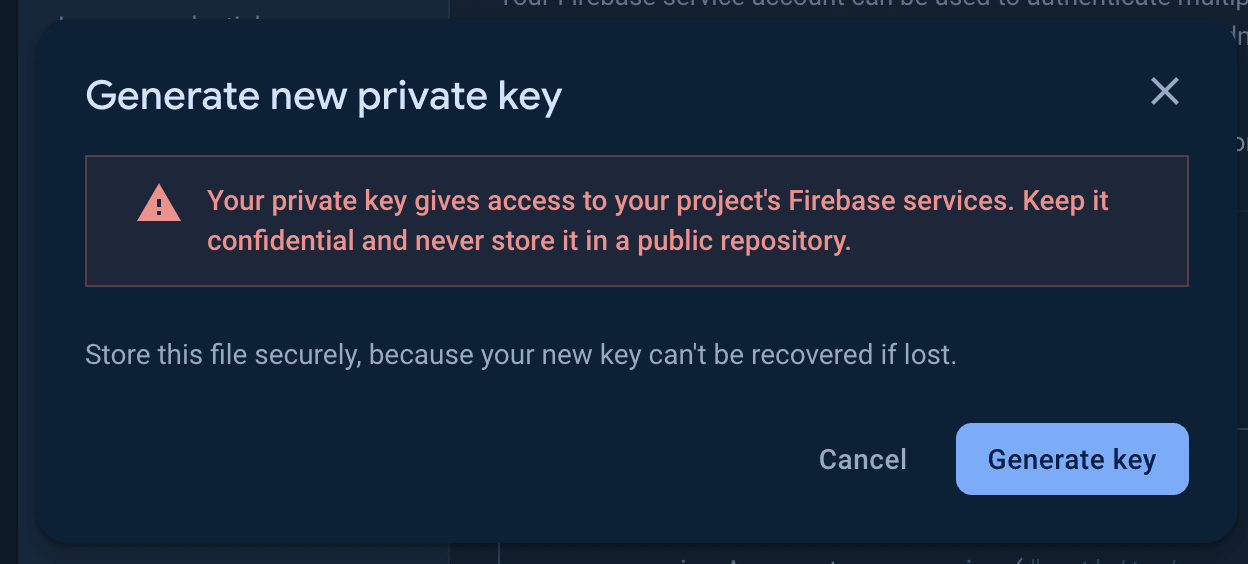
- Click Generate new private key
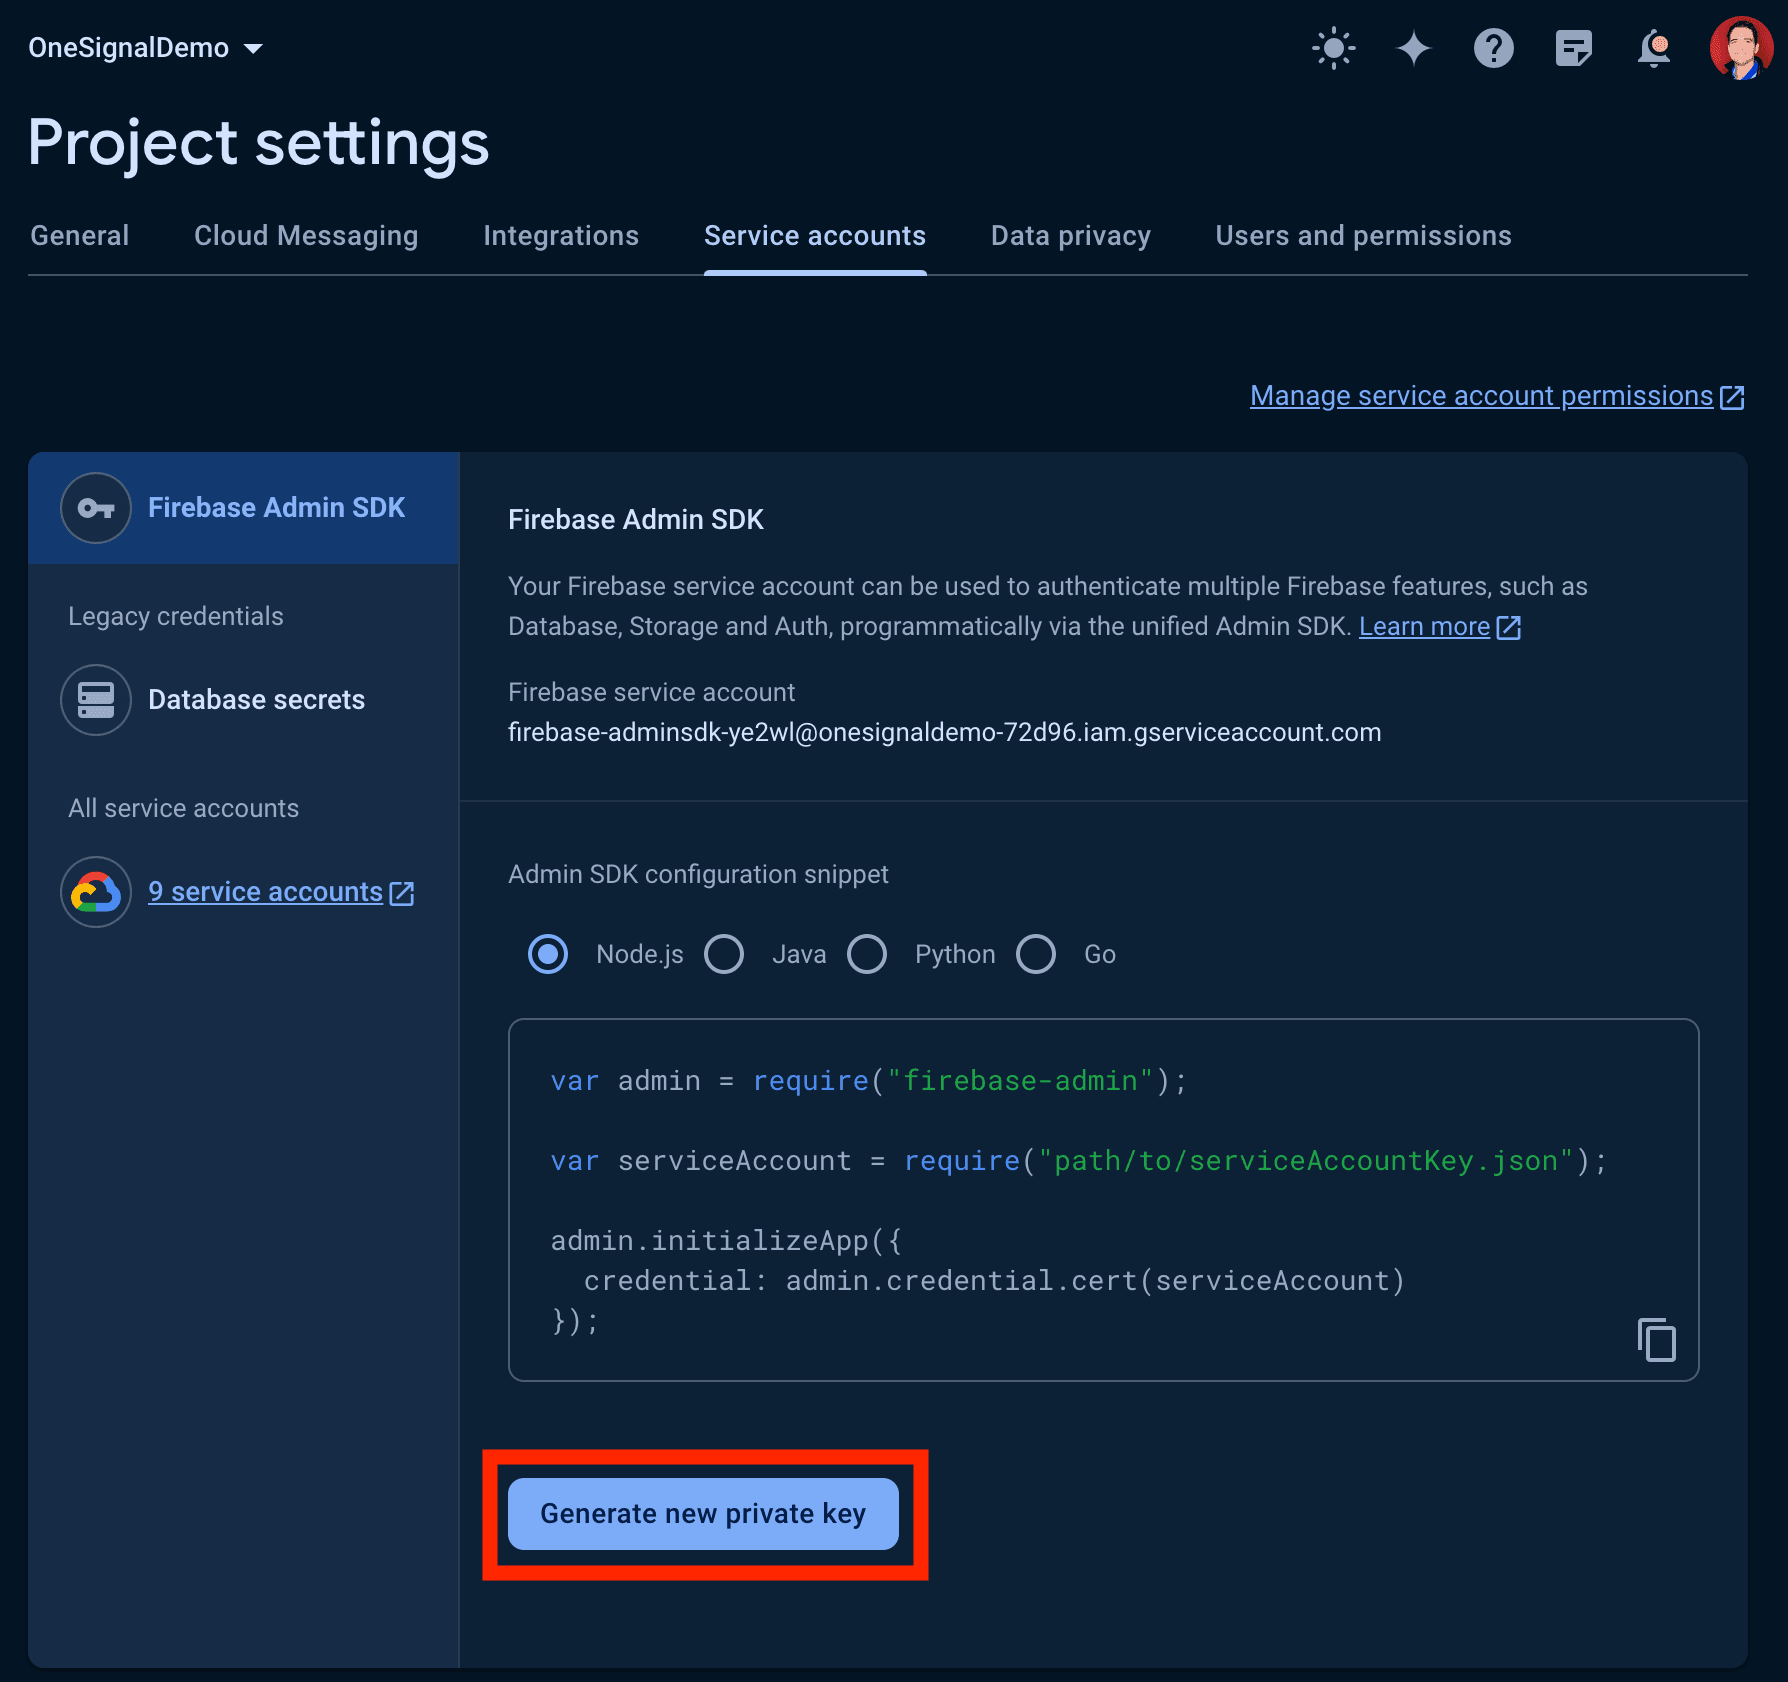
- Click Generate key
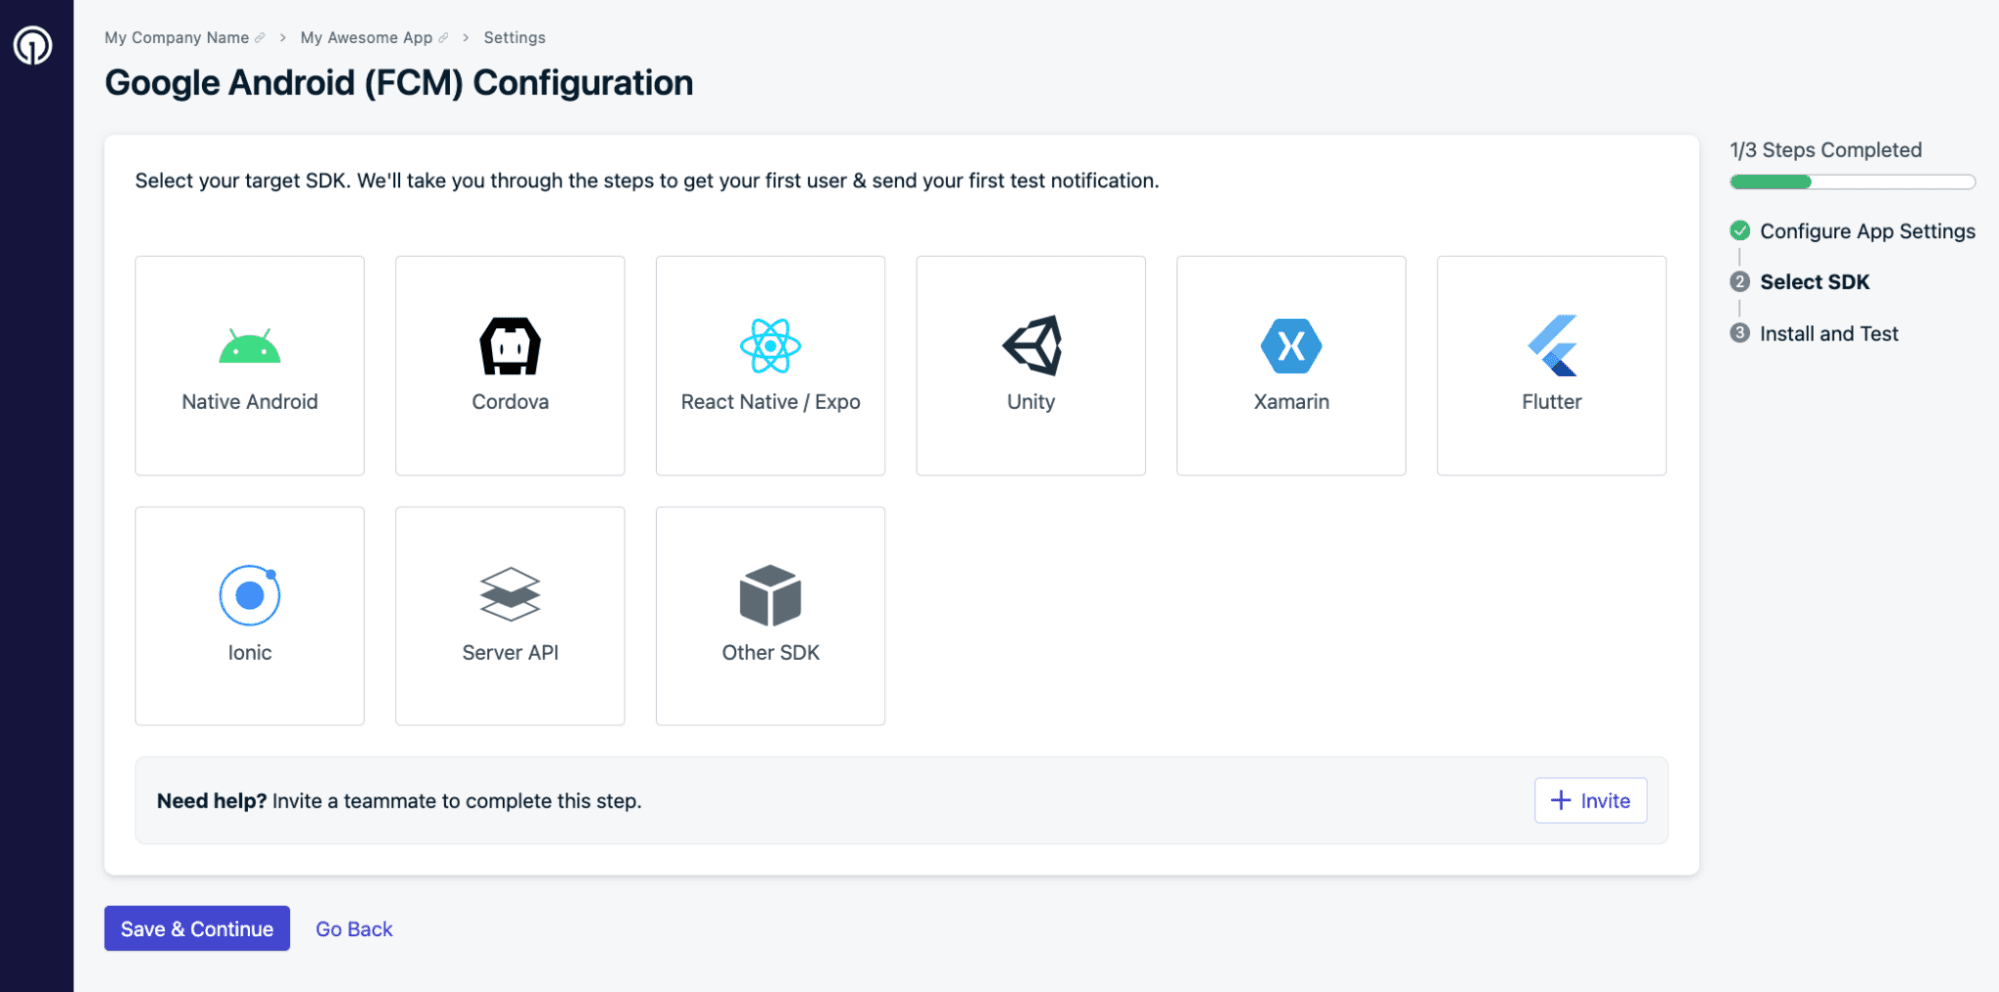
4. Select Native Android, then click Save & Continue.
5. Click Done.
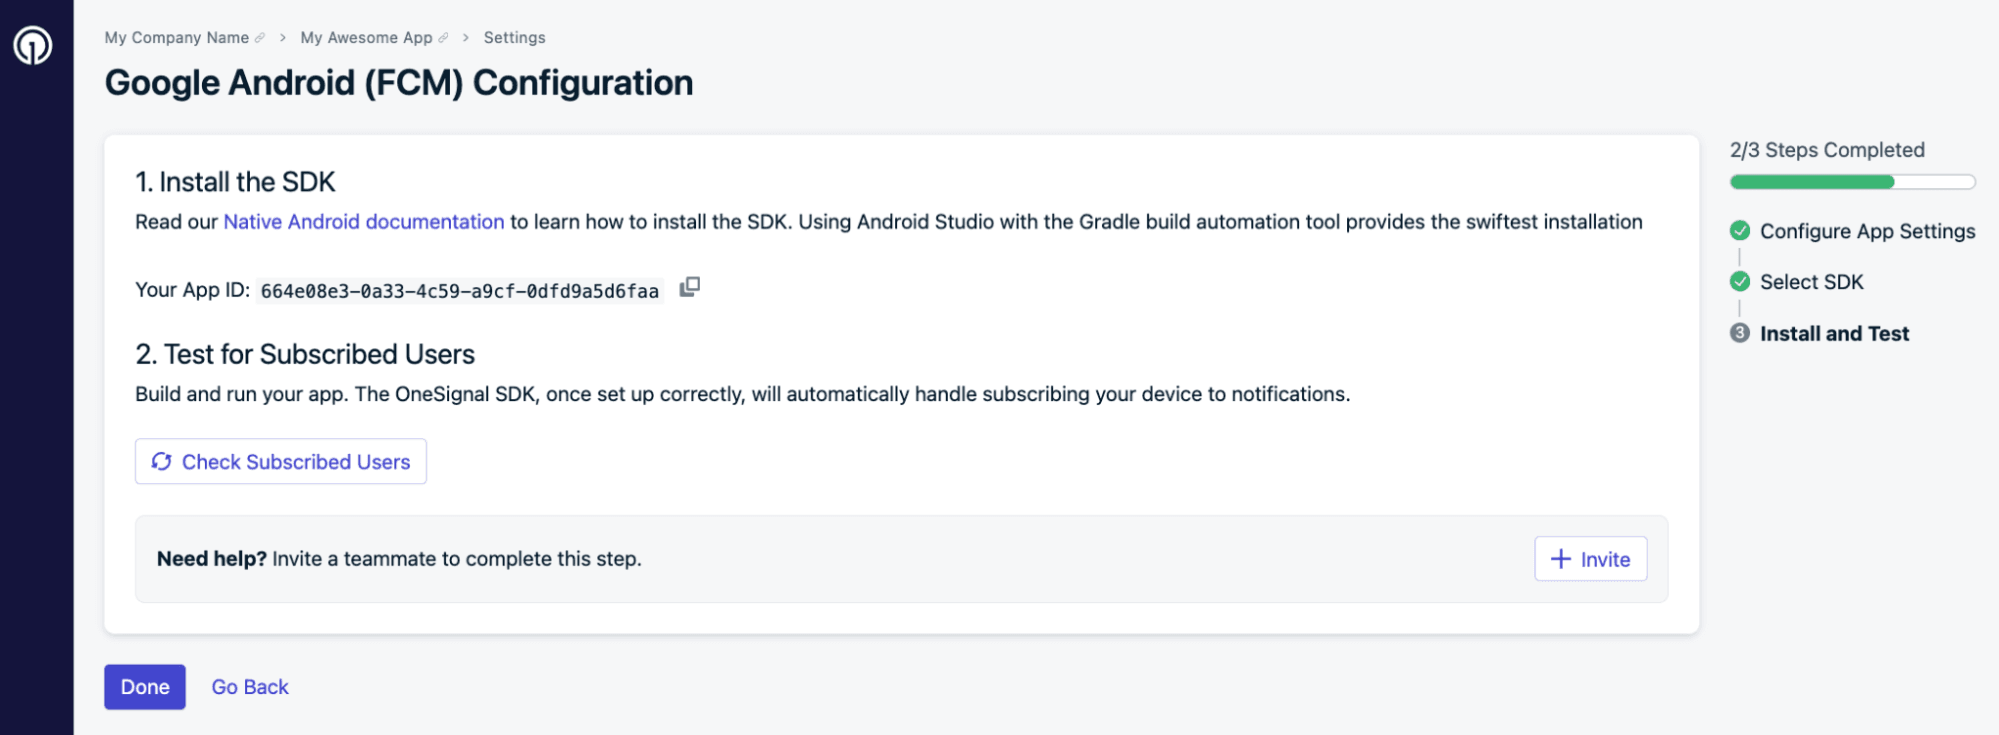
Google Android (FCM) is now successfully connected to OneSignal.
Install and activate the OneSignal App
- From your All main menu, go to App Store
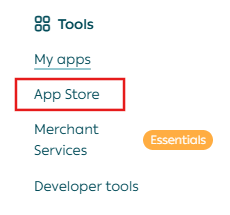
2. Click Browse Apps.

3. Find OneSignal and click Install.

4. From the installed apps page, Open OneSignal App.

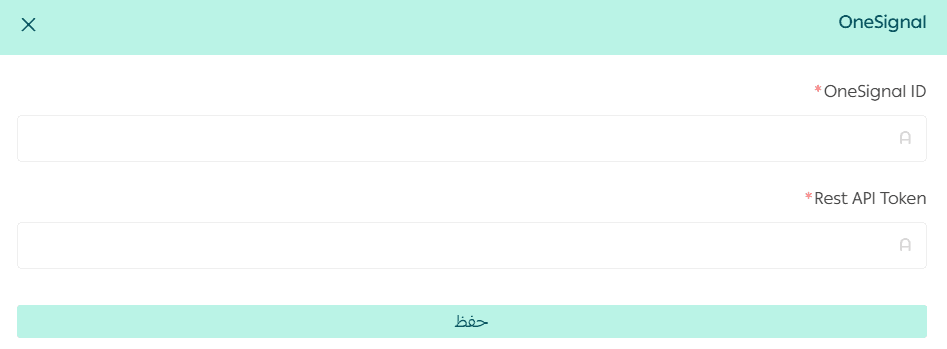
5. Enter the required fields:
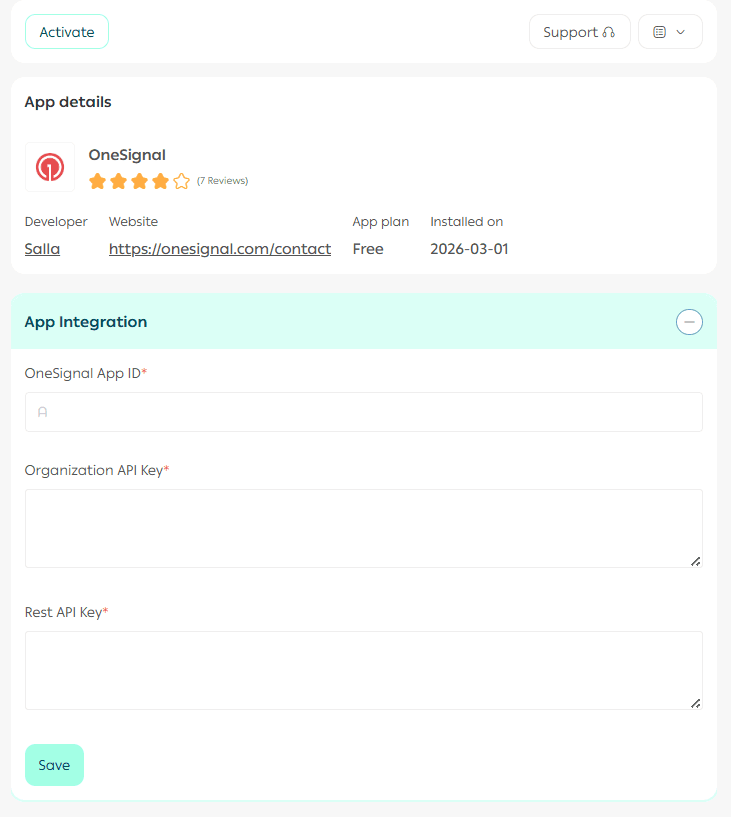
- OneSignal App ID
- REST API Token
Click Save.
How to get the OneSignal App ID and REST API Token
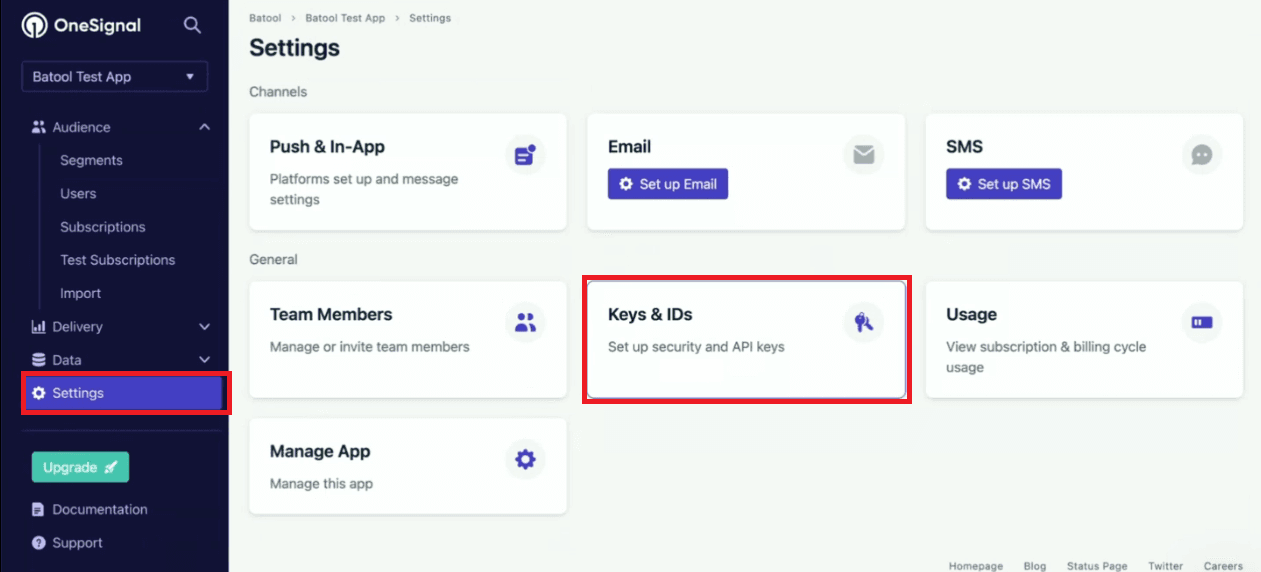
- In OneSignal, go to Settings, then Keys & IDs.
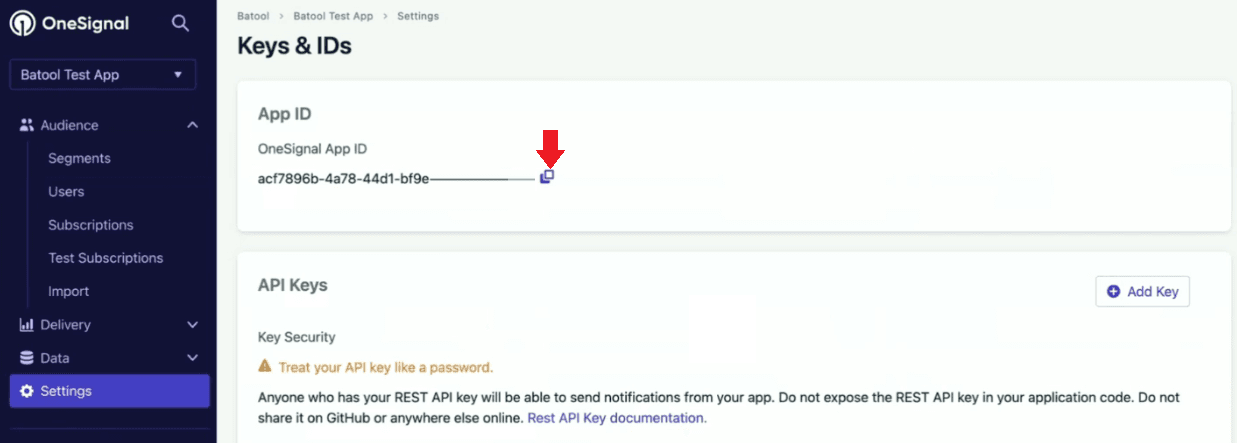
2. Copy the App ID and paste it into your store settings.
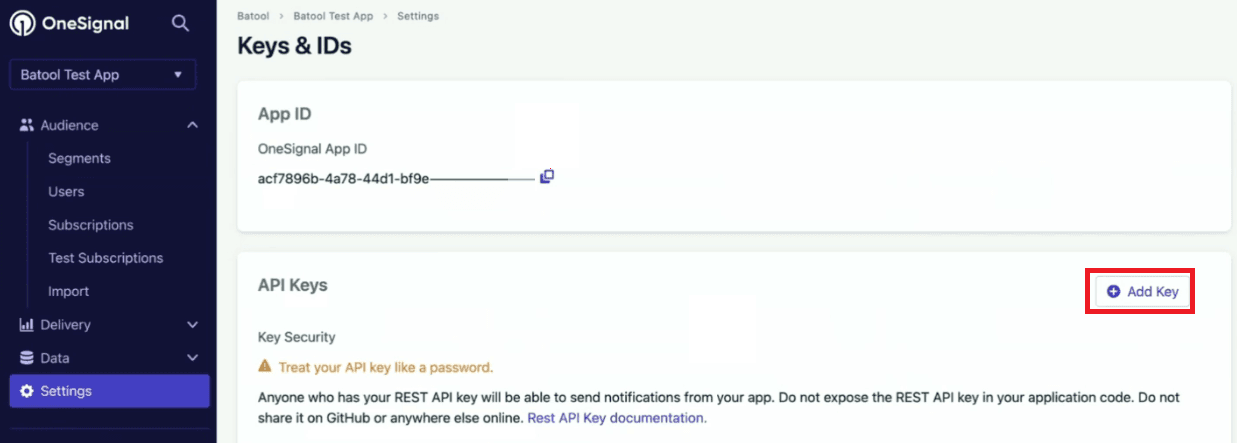
3. To generate a REST API key, click Add key.
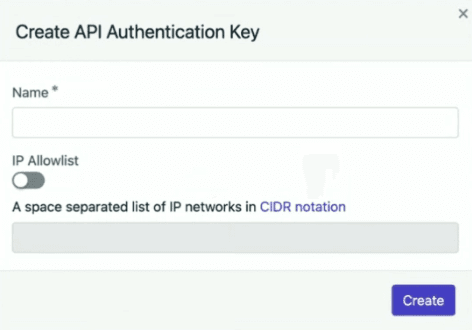
4. Name the key and click Create.
5. Copy the REST API key and paste it into your store settings.
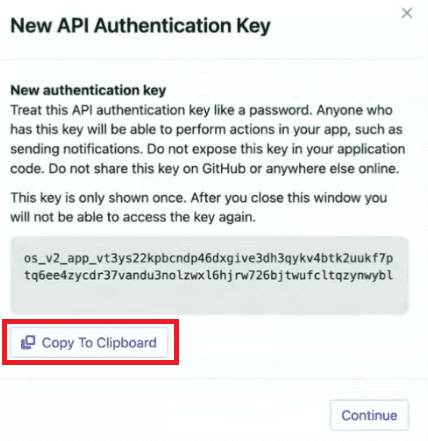
⚠️ Important: Save this key securely. It will only be shown once.
📝 Note: After completing this step, you must request an app update through the App Builder.
Sending push notifications with OneSignal
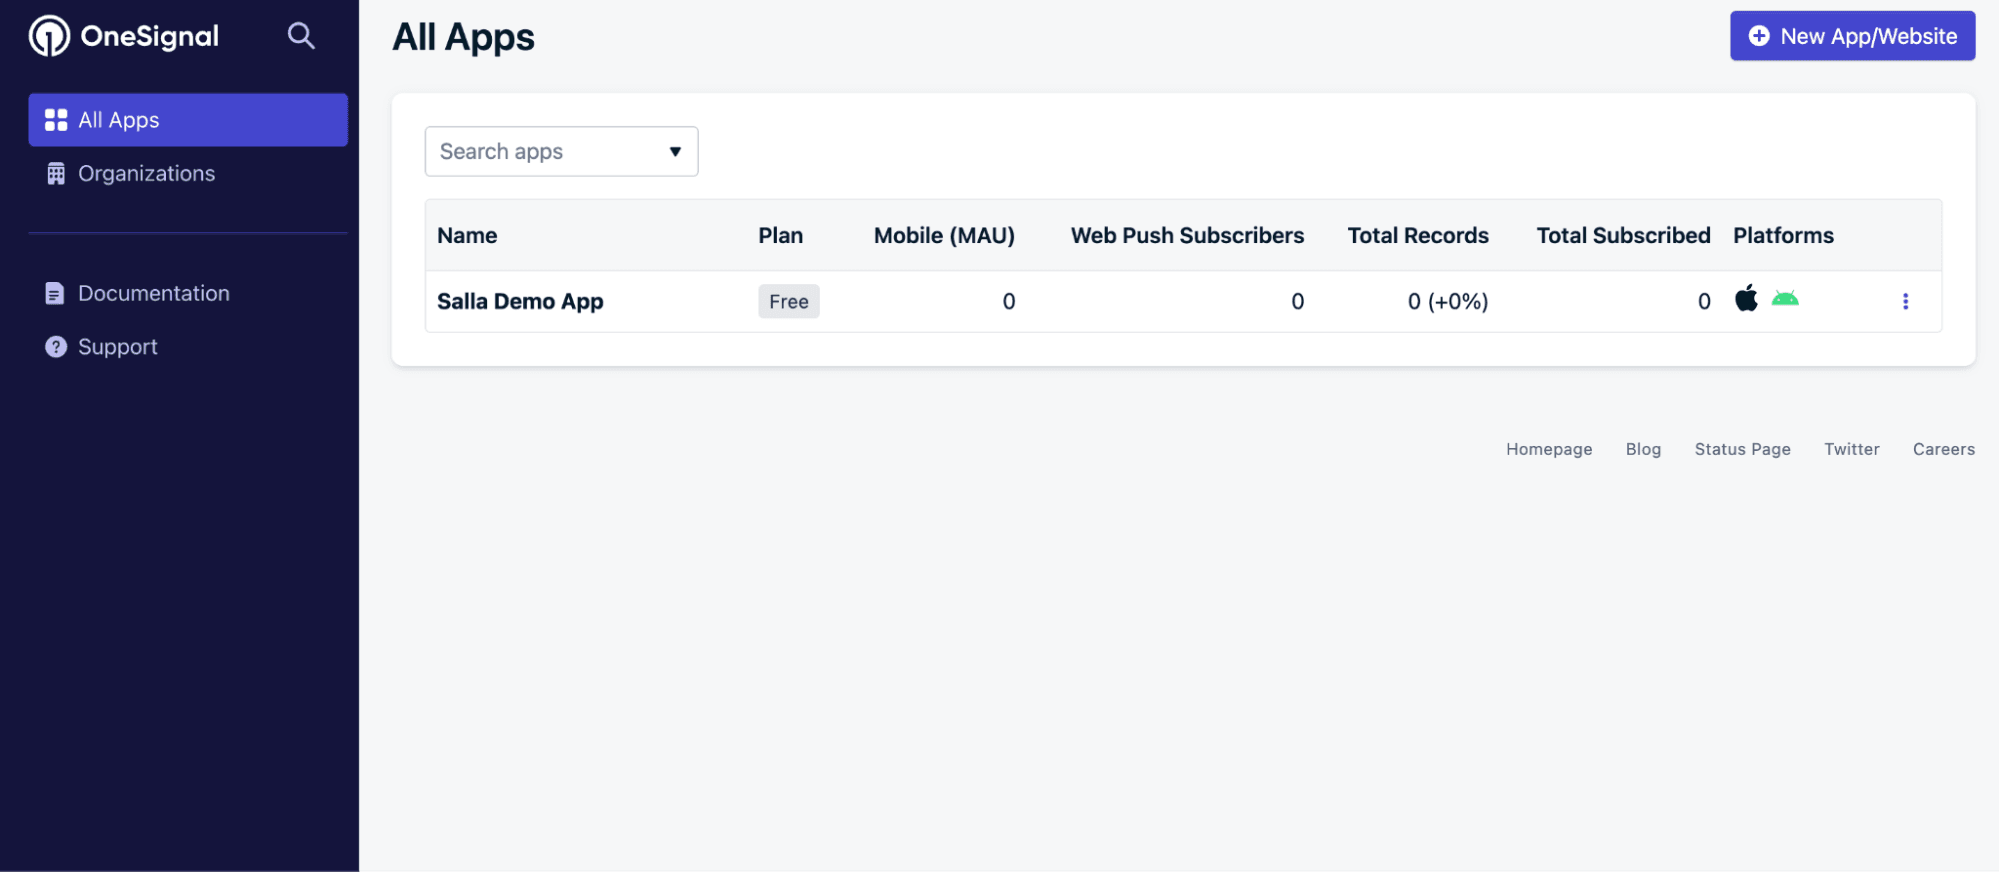
- Select your app
Log in to the OneSignal dashboard and choose your app.
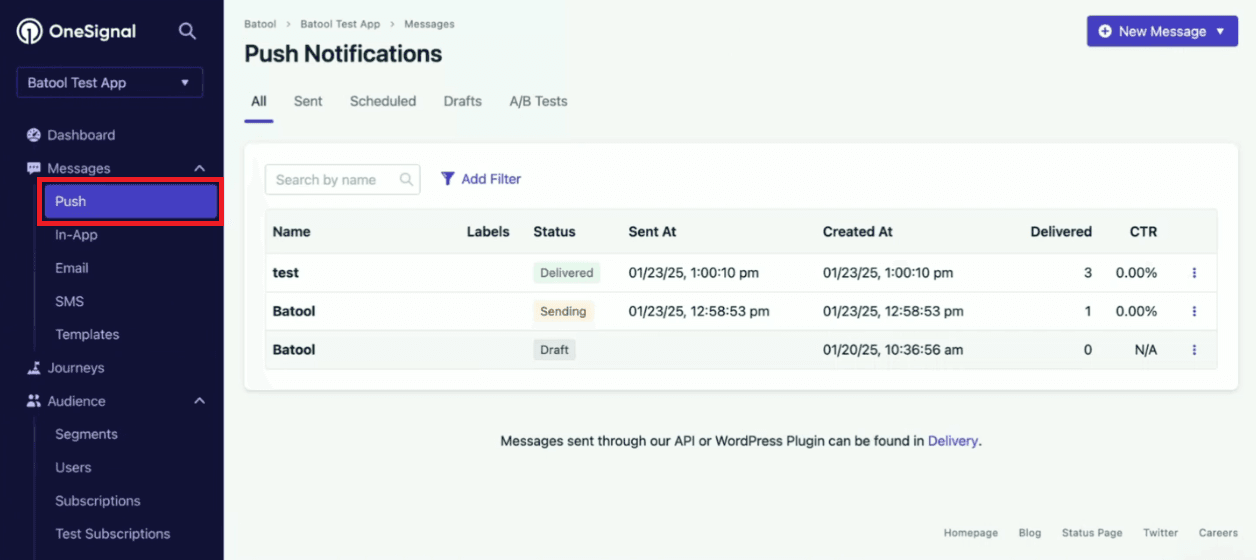
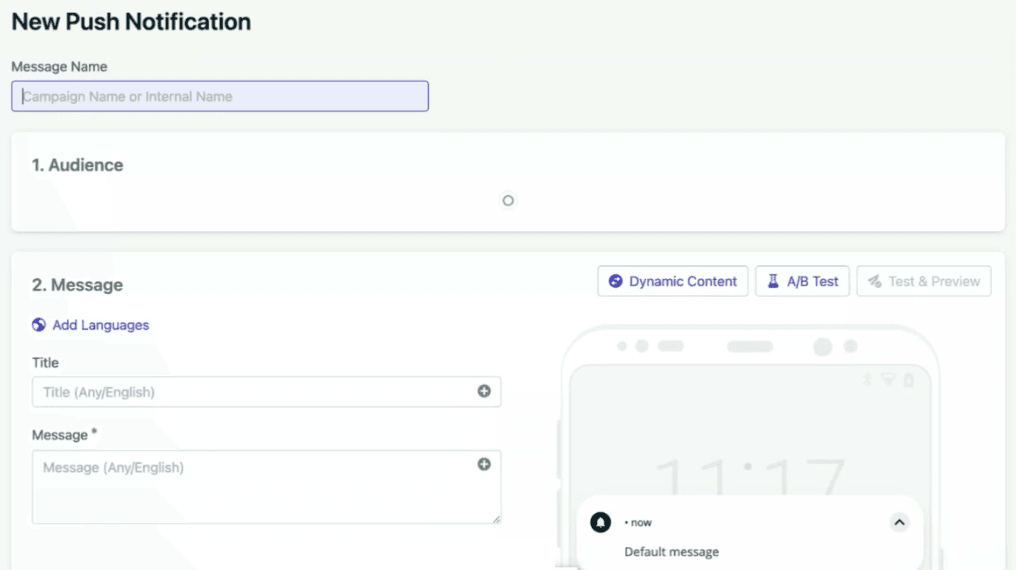
2. Create a new push message
From the sidebar, click Messages, then Push.
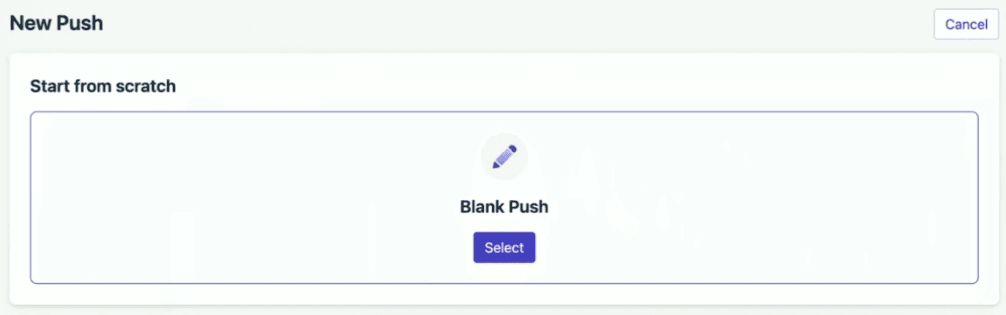
Click New Message, then New Push.
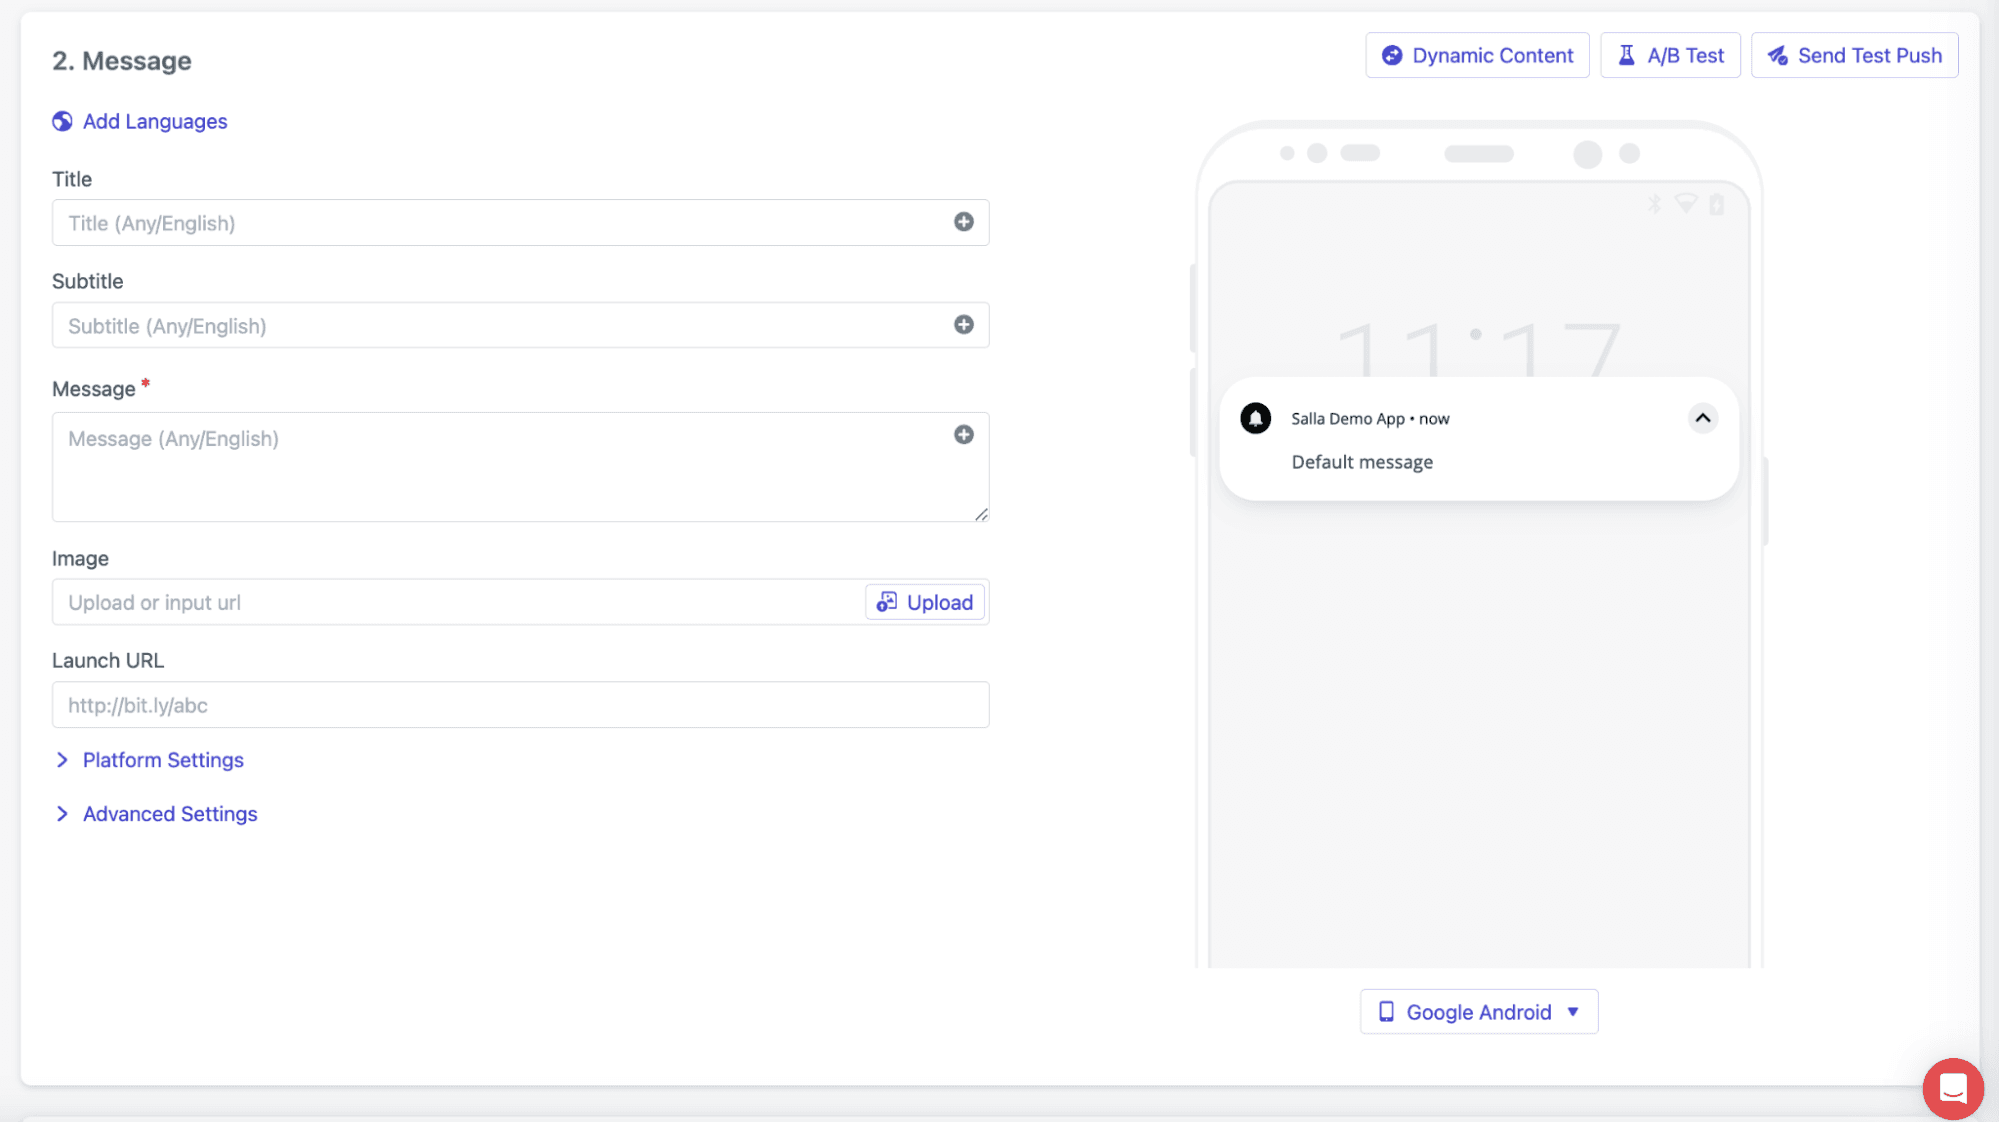
3. Build your notification
You can configure:
- Title and subtitle
- Message content
- Image or icon (optional)
- URL link (optional)

Advanced options include:
- iOS and Android settings such as badge count, sound, priority, vibration
- Action buttons like “Shop Now” or “View Details”
- Intelligent delivery powered by AI
4. Choose your audience
- All users
- Segments such as active users or returning customers
- Filters based on tags, location, language, or behavior

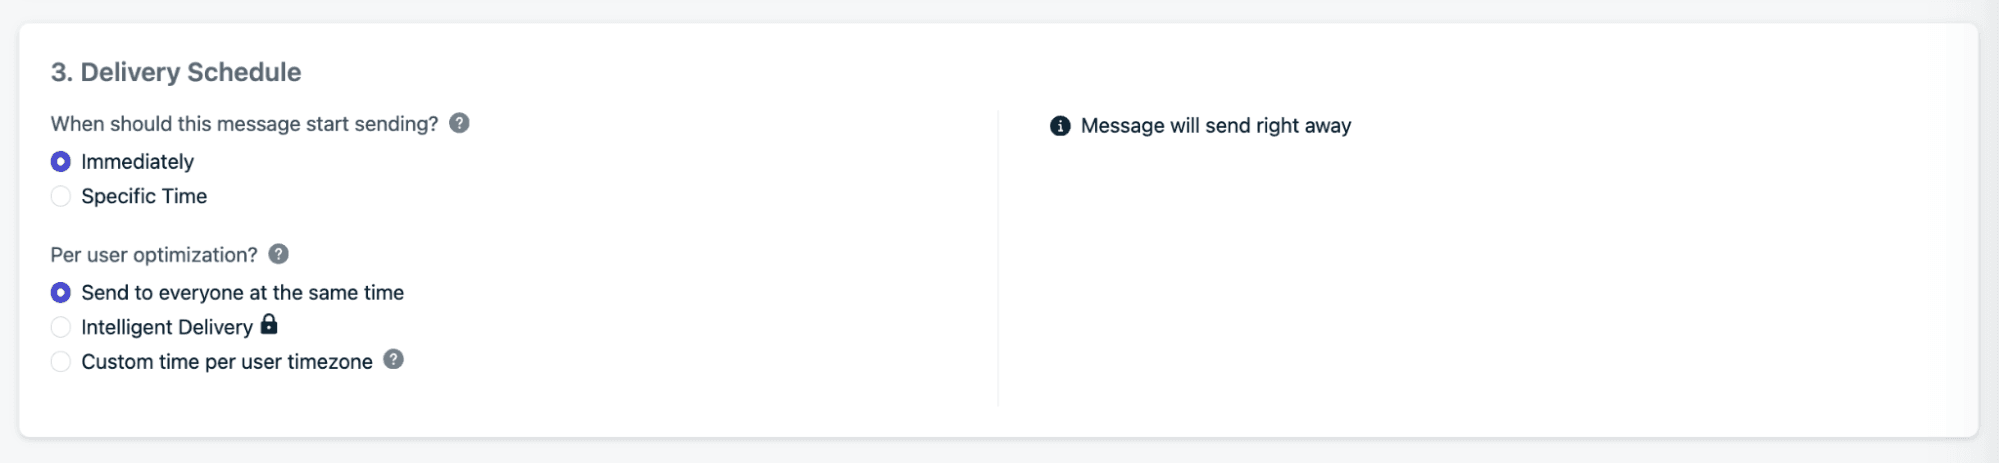
5. Set delivery options
- Send immediately or schedule for later
- Deliver based on user time zone
- Control delivery rate for large audiences
6. Preview the notification
Check how the notification appears on iOS and Android before sending.
7. Send or schedule
Click Confirm, then choose Send Now or Schedule.
8. Monitor performance
After sending, track:
- Delivery rate
- Open rate
- Click-through rate
These insights help you optimize future campaigns.
Frequently asked questions
Which events are tracked?
The following events are supported:
- ADD TO CART: Item added to cart
- ADD TO WISHLIST: Item added to wishlist
- LAST PURCHASE: Most recent purchase
- LAST LOGIN: Last store login
- TOTAL CART AMOUNT: Total cart value