Adding products is the foundation of every successful online store. A well structured product setup does not only improve the shopping experience, it also plays a major role in increasing visibility, trust, and sales.
Managing ready products professionally requires attention to details, from basic information to advanced settings, product options, and custom fields. In this guide, you will learn how to add and manage a physical ready product efficiently while optimizing it for customers and search engines.
📌Article overview
- Add basic product information
- Configure advanced settings
- Add product options
- Use custom fields
Add and manage ready products
1. Access the products section
From the main menu, click Products.

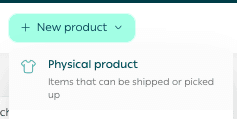
2. Create a new physical product
From + New Product, click Physical Product.
Add Basic Product Information
Enter the basic product details, then click Save.
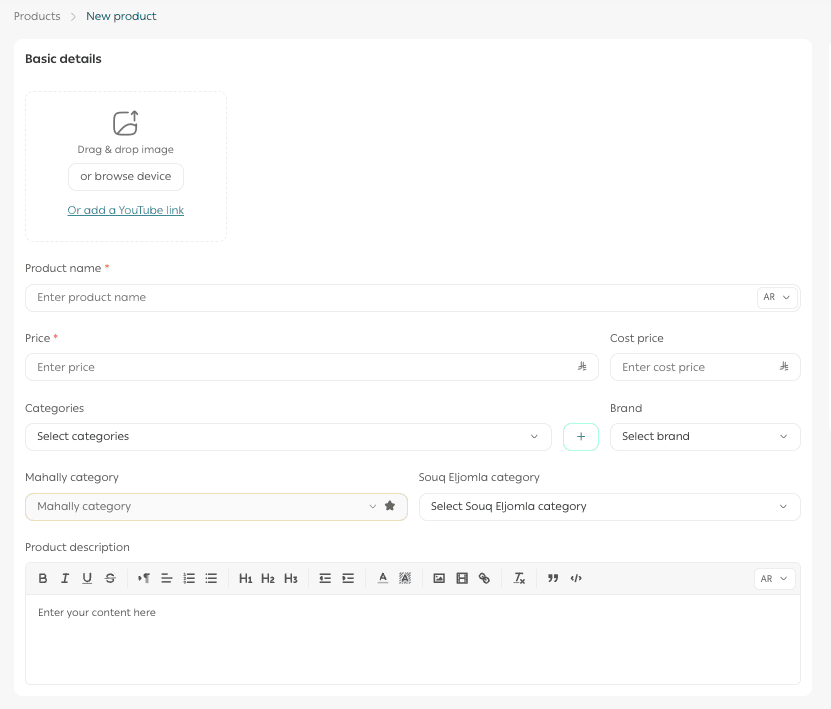
Required basic information
- Product images
Add one or more images of the product. High quality images improve conversion and SEO.
2. Product name
This is the name displayed to customers in your store.
3. Product price
Set the selling price and cost price to track profit margins accurately.
4. Product category
Categories help organize products, improve browsing, and enhance reporting.
5. Brand
Select the brand associated with the product.
6. Mahally and Souq Eljomla category
Assign the product to Mahally or Souq Eljomla categories if applicable.
7. Product description
Write a detailed description using formatted text, images, videos, and links to clearly explain features and benefits.
Important note: Mahally and Souq Eljomla categories are currently available only for stores in Saudi Arabia.
Advanced Product Settings
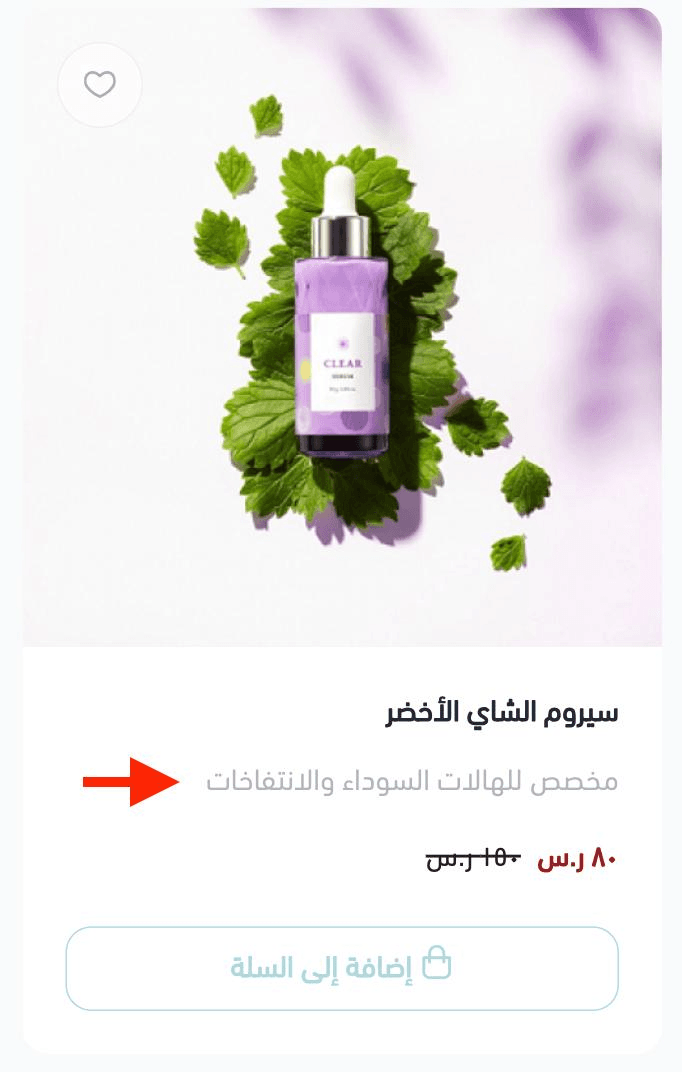
1. Product subtitle
A short descriptive line that highlights a key detail.

It appears below the product name in the store.
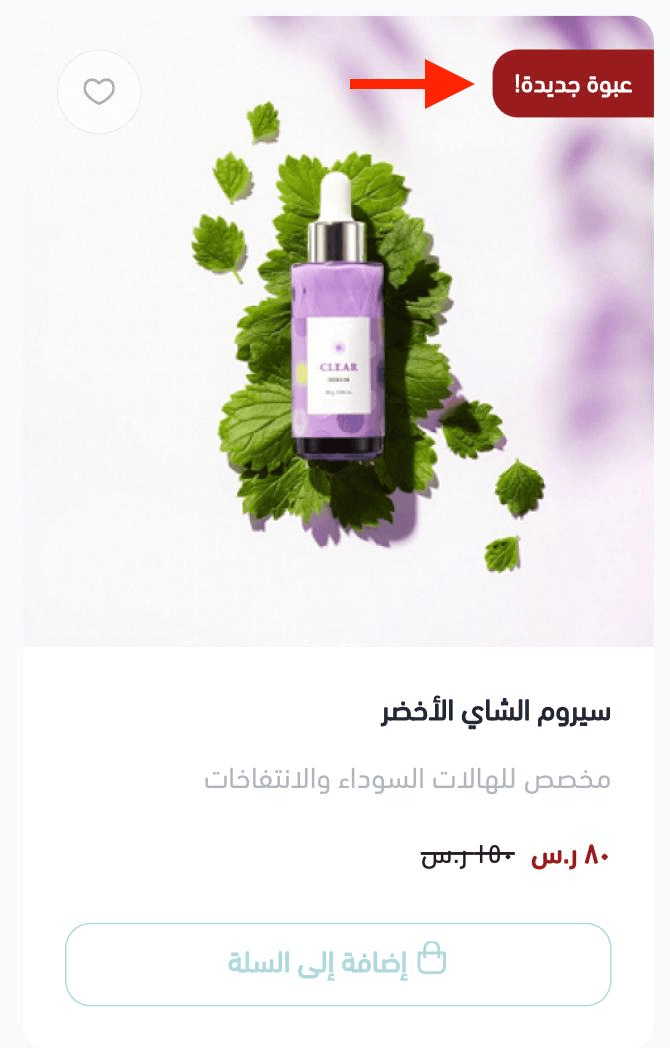
2. Promotional title
A label displayed on the product image to highlight offers, features, or special messages.
3. Discounted price and schedule
Set a discounted price and define start and end dates for promotions.

4. Product display channels
Control where the product appears, such as the website, store app, or Mahally marketplace.
You can also choose which branches display the product.

Important note: For now Mahally is available only for stores in Saudi Arabia.
5. Product requirements

File upload on order
Allow customers to upload files when ordering. Useful for custom products such as printed designs or personalized items.
Customer notes
Allow customers to add notes with their order for customization or instructions.

6. Tax settings
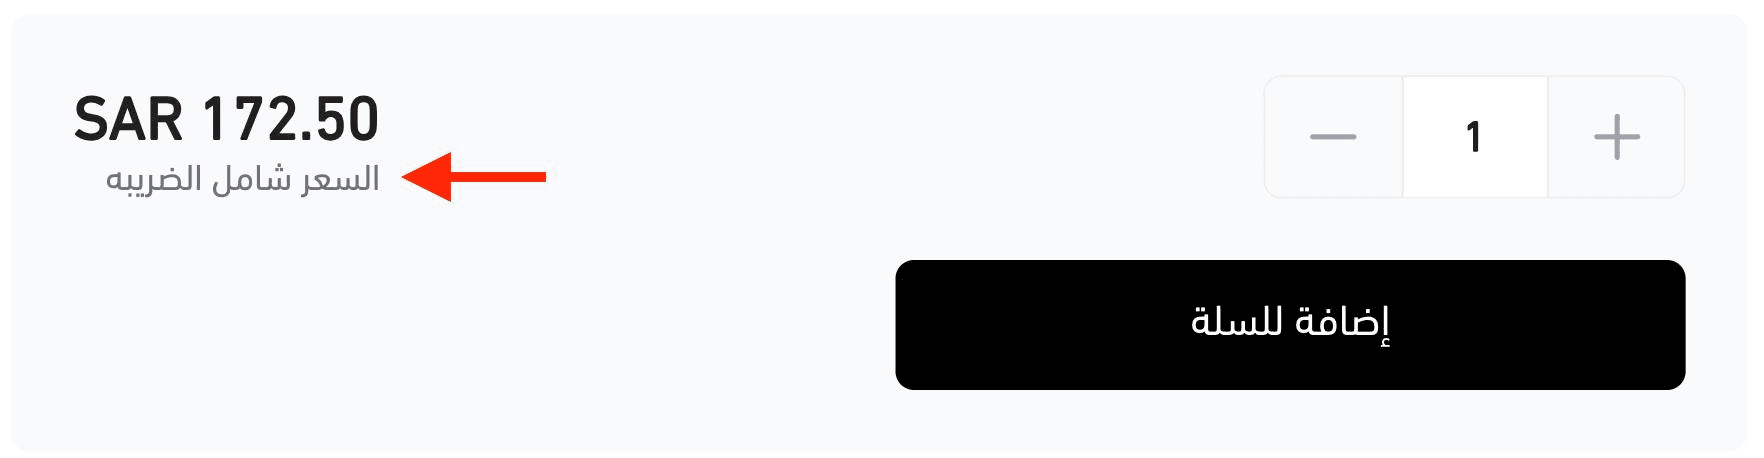
Define whether the product is taxable.
A tax note will appear next to the price for customers.
7. Product tags

Add multiple tags to help categorize products and improve discovery.
Clicking a tag shows customers all products with the same tag.
8. Shipping requirements
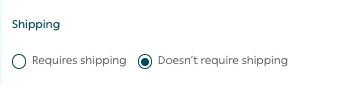
Choose whether the product requires shipping.
- Requires shipping
Customers must select a shipping company during checkout.
- Does not require shipping
Customers proceed directly to payment without selecting a shipping provider.
Note: Selecting “does not require shipping” does not mean the product is not delivered. It means a shipping company is not required.
9. Product weight
Enter the product weight and unit.
This is required by some shipping providers to calculate shipping costs.
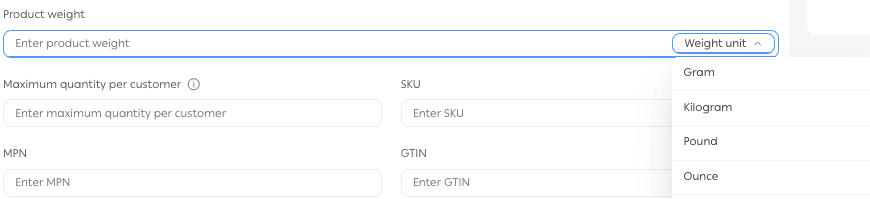
10. Maximum quantity per order
Optionally set a maximum quantity a customer can purchase per order.

11. Product identifiers
- SKU
Used for inventory tracking and warehouse management.
- MPN
Manufacturer Part Number, searchable by customers.
- GTIN
Global Trade Item Number, improves search engine visibility and product discovery.
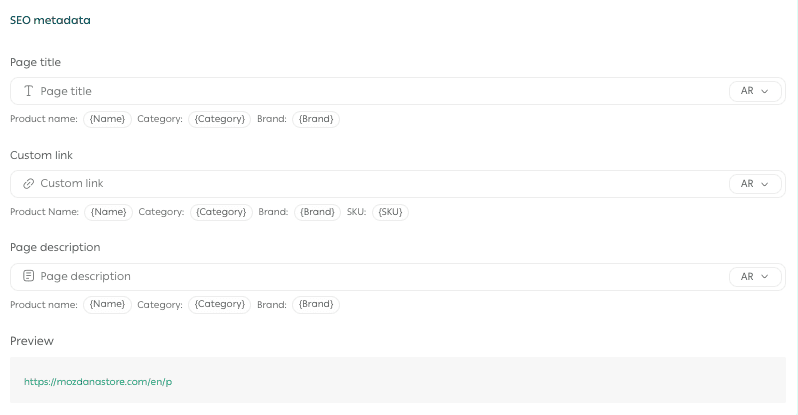
12. SEO optimization settings
Improve your product’s visibility in search engines using built in SEO tools:
- Product page title
Include product name, category, and brand.
- SEO friendly URL
Customize the URL using product name, category, brand, and SKU.
- Meta description
Write a clear description including product name, category, and brand.
Why adding SKU to the URL matters
- Improves indexing accuracy
- Differentiates similar products
- Helps customers find products faster
Clear URLs improve both user experience and search performance.
Product Quantity Management
Add the available product quantity and assign quantities per branch if needed.
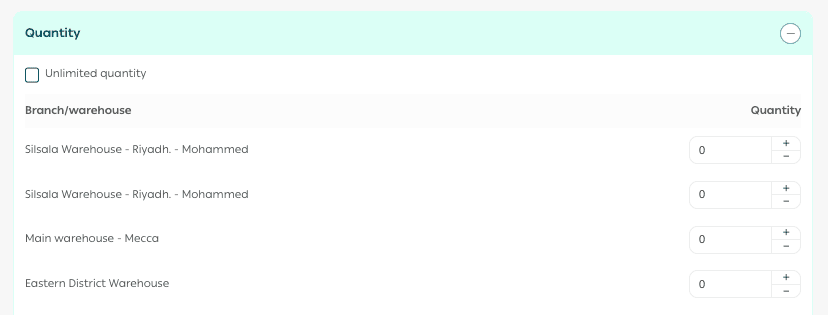
You can update quantities at any time.
Product Options
Choose existing options or create new ones.
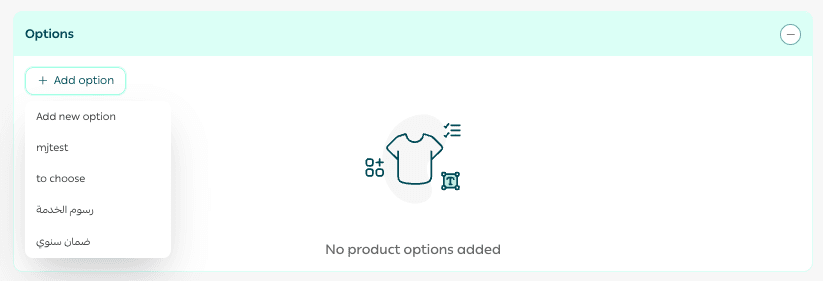
1. Add a new option
From the Options tab, click Add New Option.
Enter the option details:
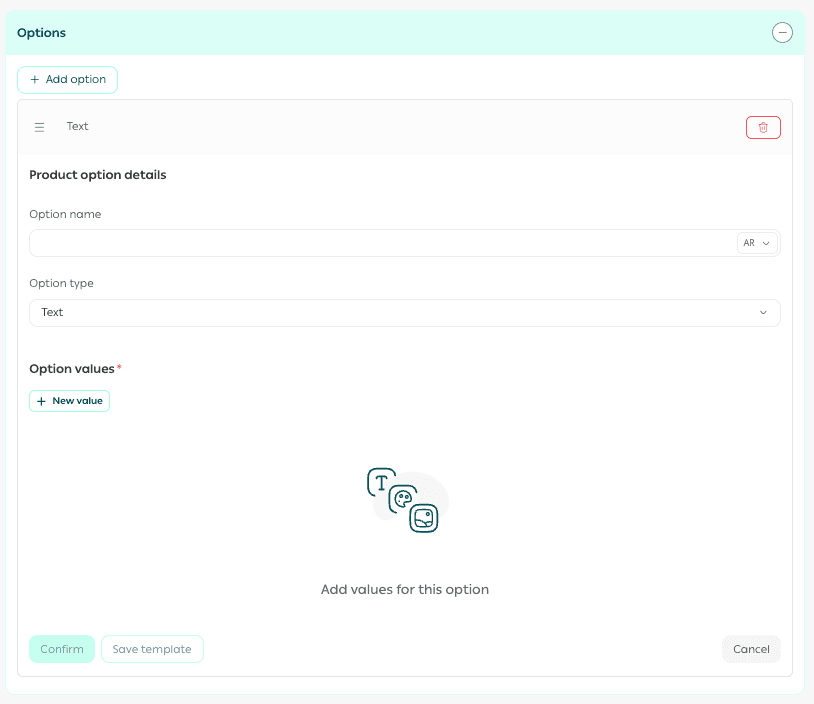
- Option name, such as size or color
- Option type, text or color
- Selection type
- Option values, such as small, medium, or color variations
Click Confirm.
2. Edit options
After adding options, click Edit.
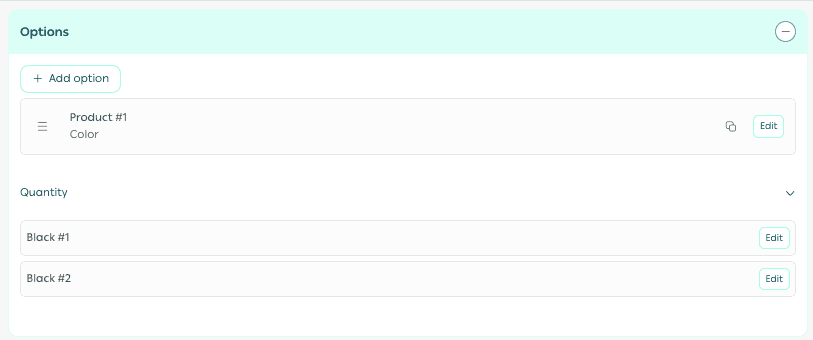
Update quantities for each option as needed.
3. Duplicate options
Click Duplicate to create a copy of an option.

Edit the duplicated option and save.
4. Delete options
From the option details, click Delete.

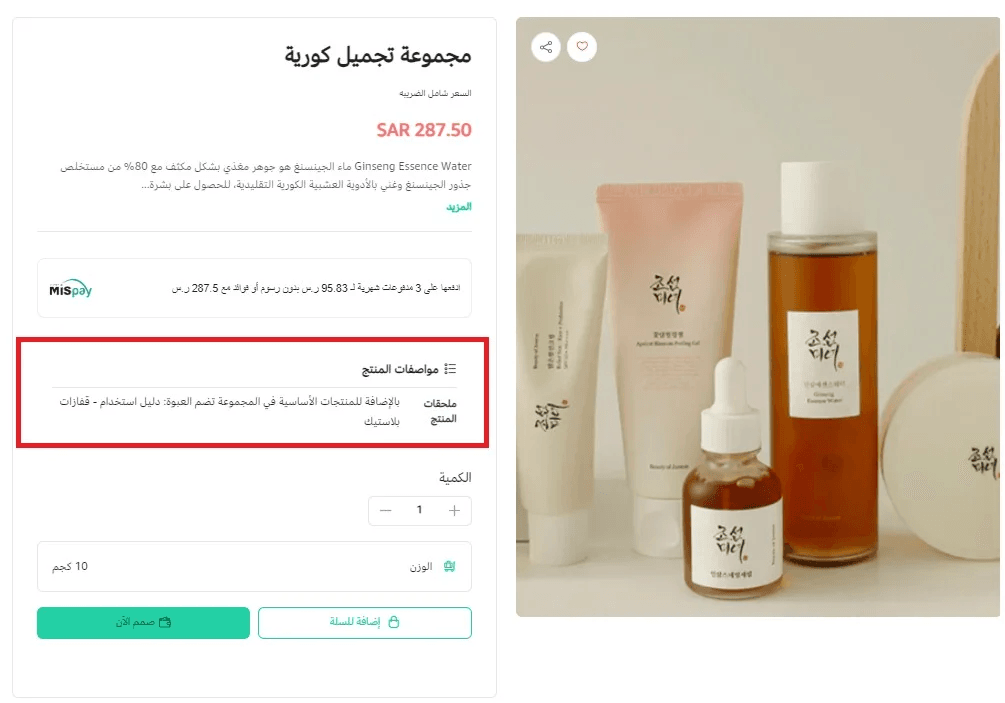
Custom Fields
Custom fields allow you to display additional product information separately from the description.
Example
For bundled products, you may want to show packaging type, dimensions, or material details in a dedicated section.
Add custom fields
- From Custom Fields, click new product custom field.
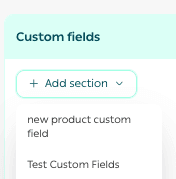
2. Choose the field type.
3. Enter the required data and save.
Final takeaway
Adding a physical ready product correctly sets the stage for higher conversions, better organization, and stronger search visibility.
By using advanced settings, SEO tools, options, and custom fields, you create a professional product experience that builds trust and drives sales.