Feeling overwhelmed managing your store team? You’re not alone. As your store grows, it’s common to run into issues like unclear responsibilities, conflicting permissions, unexpected changes, or simply losing track of who has access to what.
A successful store isn’t built on products and sales alone, it also depends on organized staff management and well-defined access permissions. In this article, you’ll learn how to add staff members, control how they log in, manage their roles, and disable or remove accounts when needed, so your operations stay secure and smooth.
📌 Article overview
- Add new staff members
- Choose how invitation links are delivered
- Manage staff roles and permissions
- Enable/disable or delete staff accounts
- Log out multiple staff members at once to reset access
⚠️ Important note
A staff member cannot access your store’s admin panel unless they are assigned a job role.
If a staff member is added without a role, they will:
- Be unable to sign in, and
- Their account will be deleted automatically after 15 days
Always assign a job role immediately when adding any staff member.
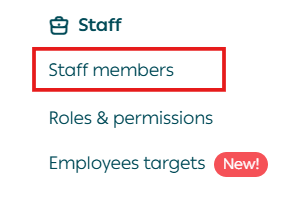
Staff page
- From the All menu, under staff click Staff members.
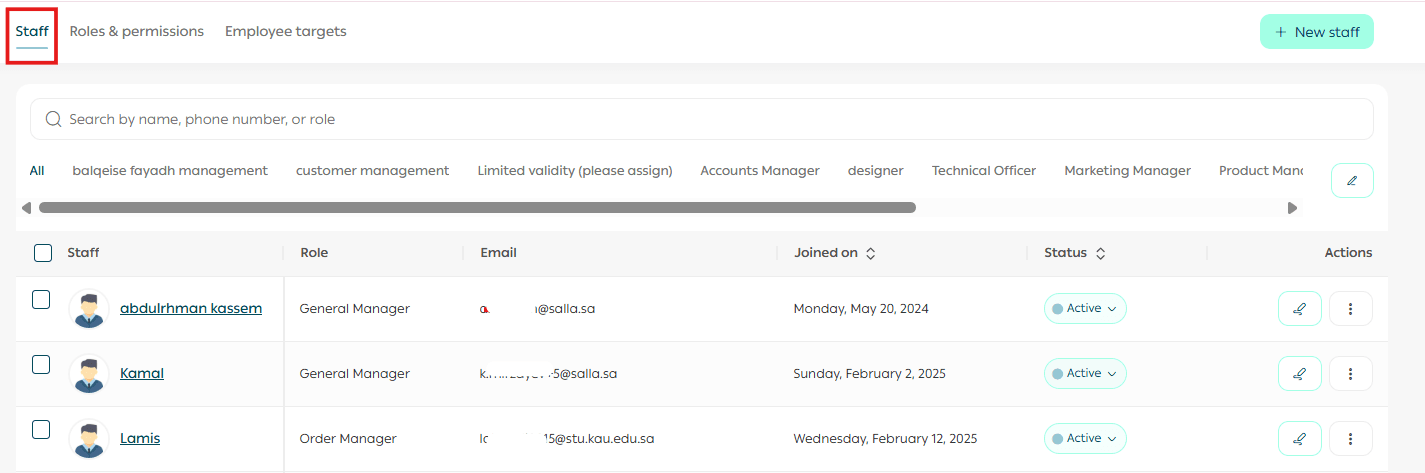
2. The Staff page will appear with key sections, including:
- A list of job roles in your store
- A list of staff members under each role
- Staff profile details and an Actions section
Managing store staff
Add a new staff member
- In the Staff members tab on the Staff page, click + New staff.

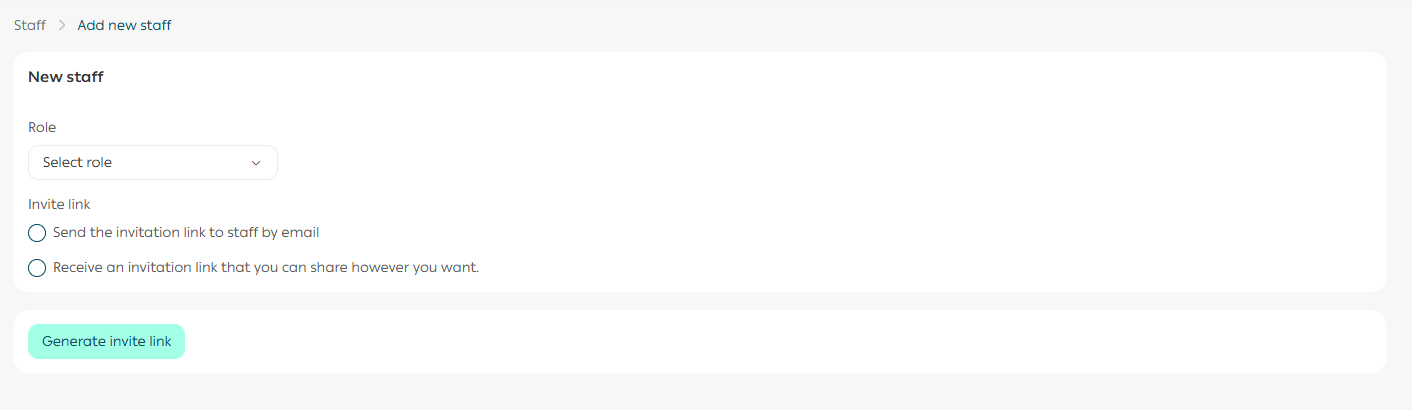
2. On the New staff page:
- Select the staff member’s job role
- Review the role permissions that will apply
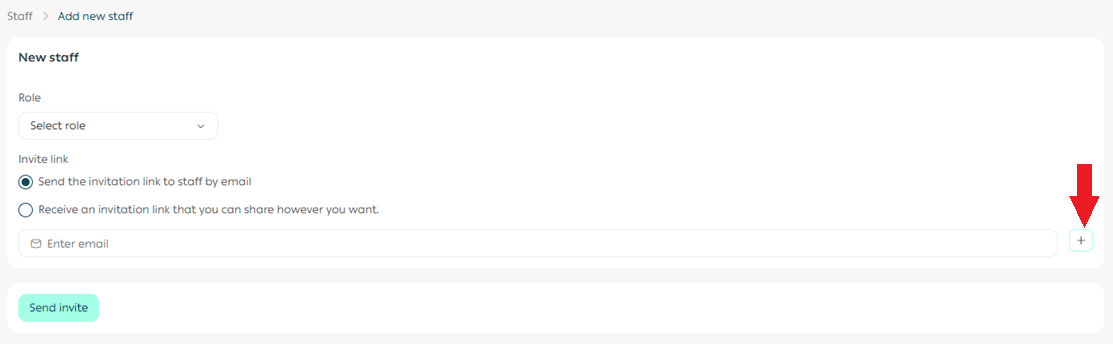
- Choose how the invitation link will be delivered:
Option A: Send the invitation link by email
Enter the staff member’s email address.
To add more than one email address for the same staff member, click +.
Option B: Generate an invitation link
Choose this option to generate a shareable invitation link.
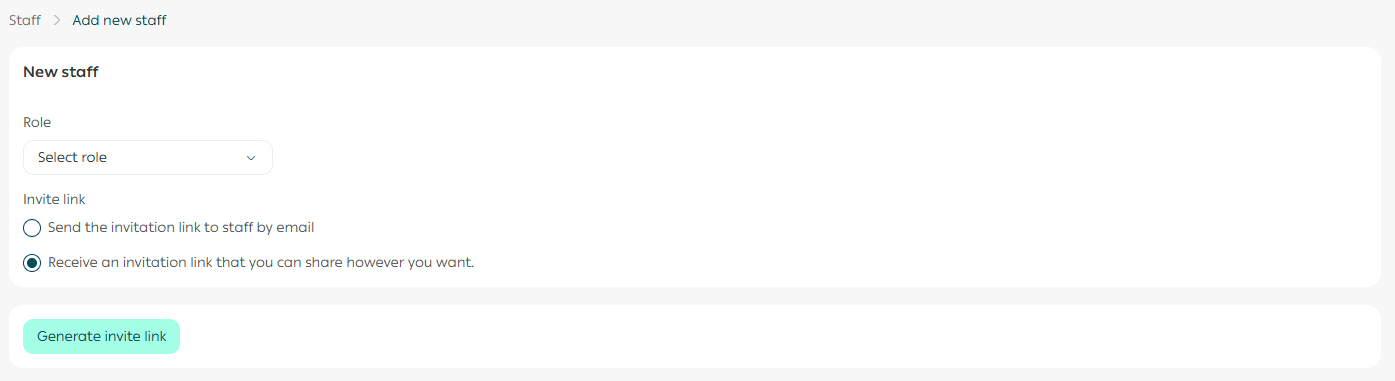
Copy the invitation link and send it to the staff member using any channel you prefer (SMS, WhatsApp, etc.).
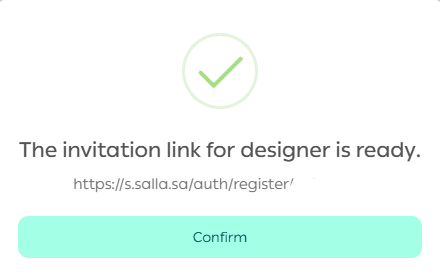
Note: The invitation link is valid for 7 days only from the date it’s created.
Activate the staff member after they sign in
When the staff member signs in using the invitation link, they will initially appear as Not Active.
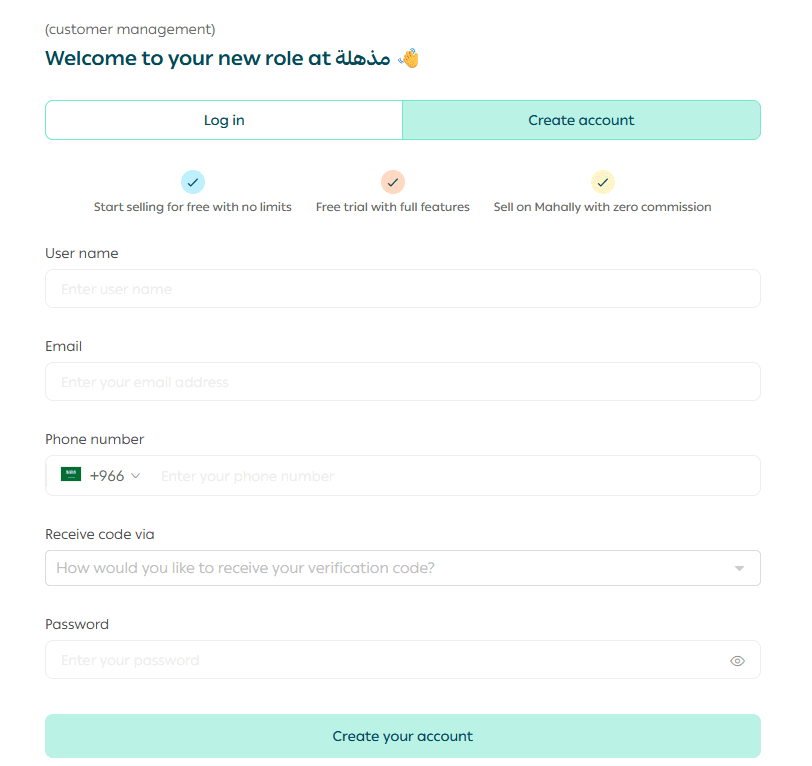
To allow access:
- Change the staff member’s status to Active
Note: We recommend using email delivery for staff members outside Saudi Arabia to ensure they receive the verification code successfully.
✅ If you assign a staff member as a General Manager, they will have full store permissions.
The store owner can now change the verification method without submitting a support ticket:
- Go to Staff Management
- Select the Store Owner
- Click Edit Staff Details

4. Change the verification code delivery method as needed

This gives you more flexibility and saves time when updating your own access settings.
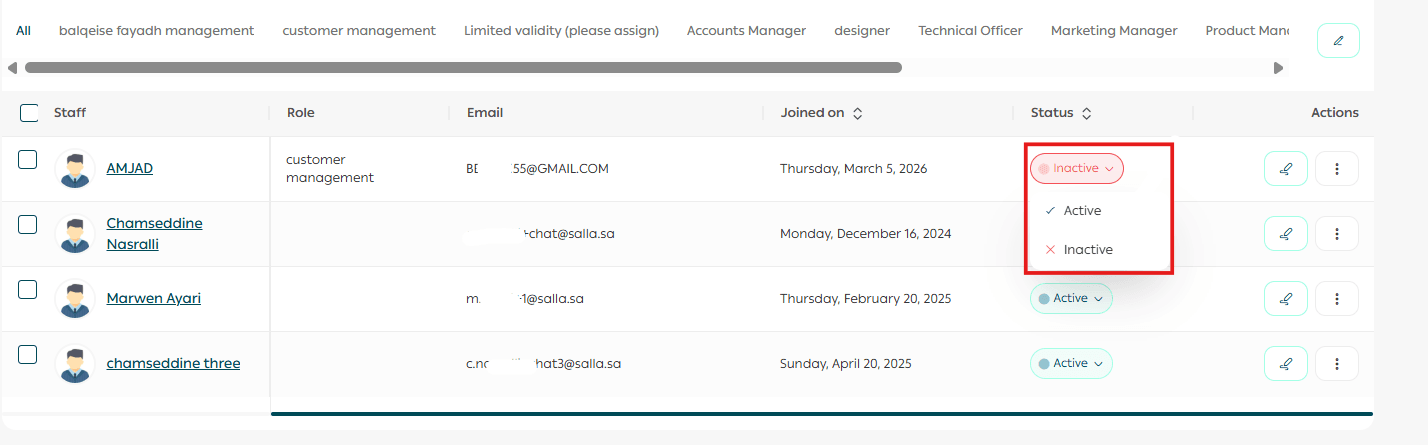
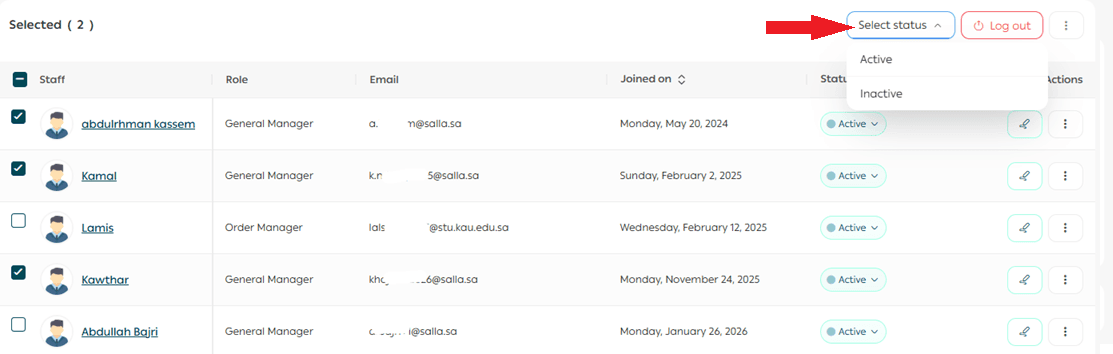
If you need to temporarily stop a staff member’s activity:
- Go to the Store Staff tab
- In the staff member’s Actions section, open the Status menu
- Choose Activate or Disable as needed

Disabling a staff member prevents access until you re-enable them.
Delete a staff member
If an employee resigns or their role is no longer needed, you can remove them from your staff list:
Delete one staff member
From the staff member’s Actions section, open More, then click Delete

Delete multiple staff memebers
- Select the staff members you want to remove
- From the Actions section, click Delete Staff
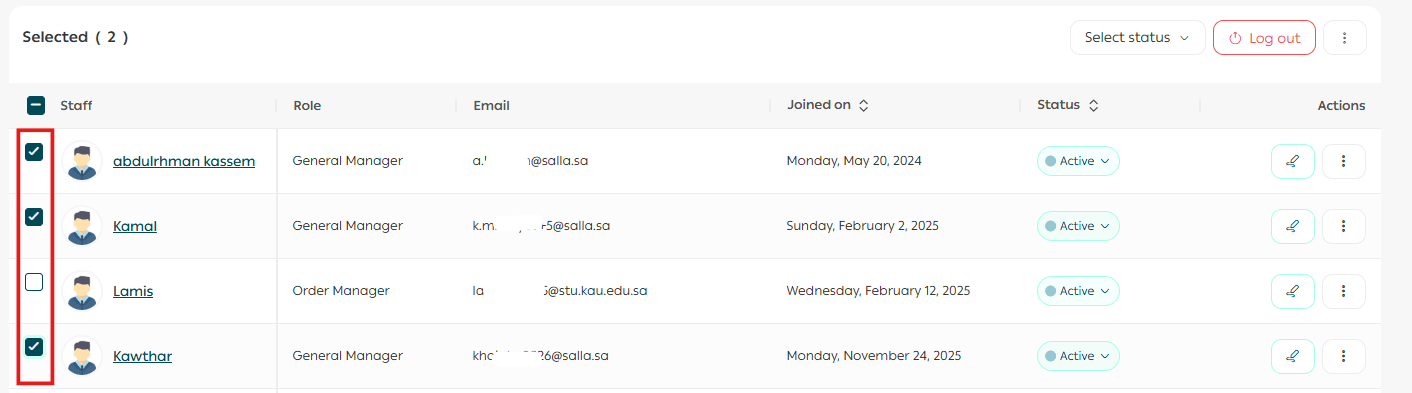
Log out multiple staff members
If you need to reset access (for example, after changing permissions):
- Select the staff members
- From the Actions section, enable Log Out
- Click Apply Actions
This will force the selected accounts to sign out.
Frequently asked questions
Can a staff member access the admin panel if I don’t assign a job role?
No. A staff member will not be able to access the admin panel unless a job role is assigned.
How many users are included in each plan?
- With Salla Plus, you have 1 user (Store Manager only).
- With Salla Pro, you have 10 users.
What if the invitation link is received by someone else?
No worries. If someone else receives the invitation link and signs in using it, your admin panel will show that the staff account has signed in and is waiting for your approval.
From the staff options, you can:
- Approve the join request, or
- Reject it
If you reject the request, the person will see a rejection message and will not gain access.

Can I increase the number of users in my store?
Yes. You can purchase additional user accounts from the Salla Store.
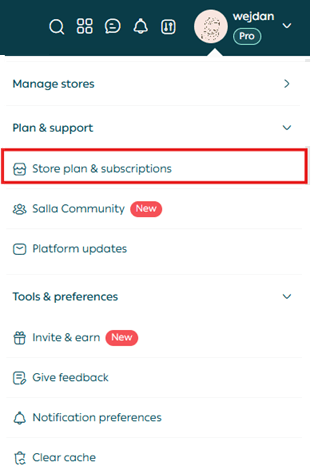
- From the account menu, click Store Plan.
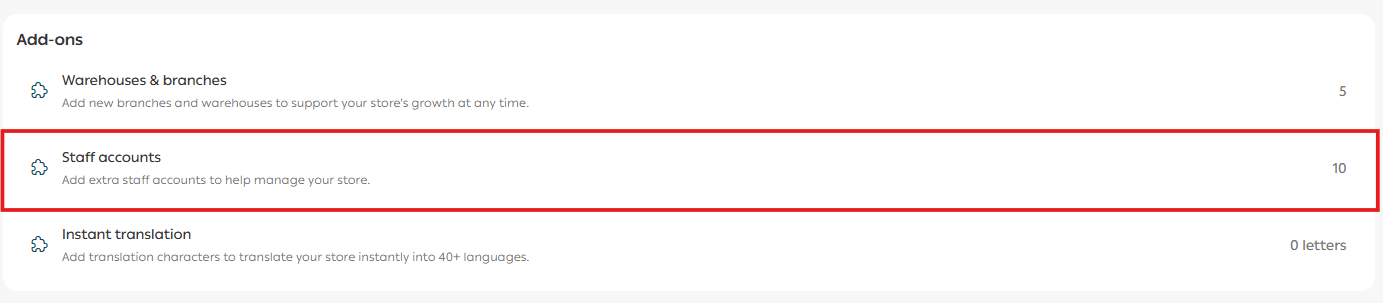
- In Salla Store, under Add-ons, go to Increase Users and click +.
- Select the number of users you want to add, choose your payment method, then click Confirm Payment.
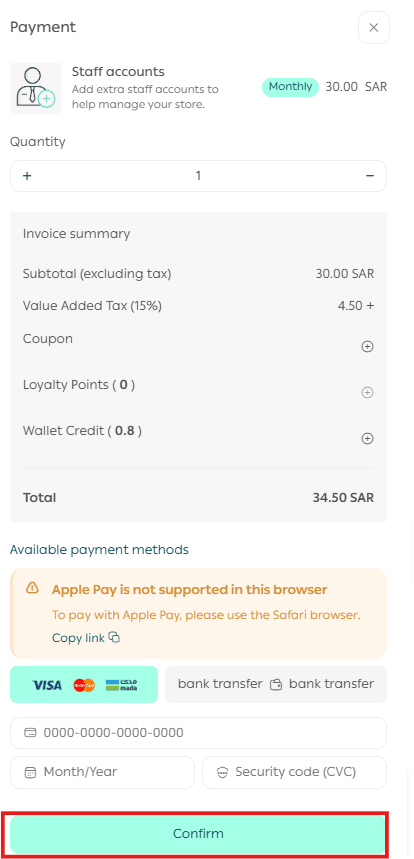
Notes:
✅ The purchase cost depends on the remaining duration of your current plan subscription.
✅ Renewal happens automatically if you have a card saved in the wallet or sufficient wallet balance.
What if the staff member didn’t receive the activation message?
You can resend the activation code by email, but only after 24 hours from the previous attempt.

Can I assign orders to a specific staff member?
Yes.
- Go to Orders
- Select the orders you want to assign
- From the Actions section, select the staff member (or multiple staff members) to assign the orders to

Can I mention a staff member in an order comment?
Yes. While writing a comment on an order, type @ and select the staff member’s name from the list.
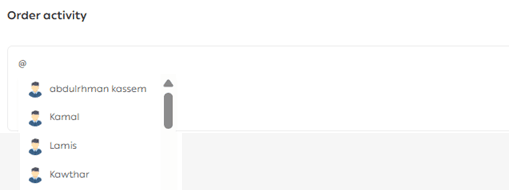
An email notification will be sent to the mentioned staff member with the comment.
Why this matters
When your team is organized and permissions are clear, you can:
✔ Reduce mistakes
✔ Protect store data
✔ Improve operational efficiency
✔ Make tracking and accountability easier
✔ Build a professional structure ready for growth
Get started
Open the Staff page today, add the team members you need, activate the right people, and disable access when someone leaves.
A well-managed team keeps your store secure, efficient, and ready to scale.