Want your store to live at store.example.com rather than on the root domain?
A subdomain gives a store, or one section of it, its own address without touching the main website. If you want to connect a subdomain such as store.example.com to your Salla store, you can do it straight from the dashboard, or route it through Cloudflare when you also want Cloudflare to issue the SSL certificate. In this guide, you'll learn what a subdomain is, both ways to connect one, the requirements for the Cloudflare route, and how long activation takes.
To connect a subdomain to your Salla store, open Store and sales channels, then Store domain, choose + New domain and Connect external domain, enter the subdomain, pick CName, and add the values Salla shows you at your DNS provider. Cloudflare is the alternative route when you also need an SSL certificate.
📌 Article overview
- What a subdomain is
- How to connect a subdomain from the dashboard
- How to connect a subdomain through Cloudflare
- Frequently asked questions
🎯 What is a subdomain?
A root domain normally looks like this: Example.com
A subdomain looks like this: store.Example.com
🚀 How to connect a subdomain to your store
There are two ways to do it. Use the dashboard route unless your root domain already sits behind Cloudflare.
Method 1: directly from the dashboard
1. From the (Store and sales channels) tab in the main menu, click (Store domain).

2. From the (+ New domain) tab, choose (Connect external domain).

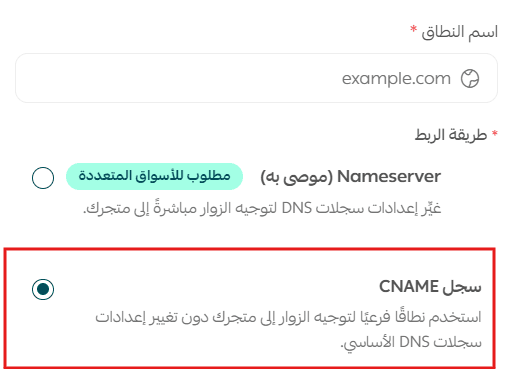
3. Enter the domain you want to connect, choose (CName) as the connection method, then click (Confirm).
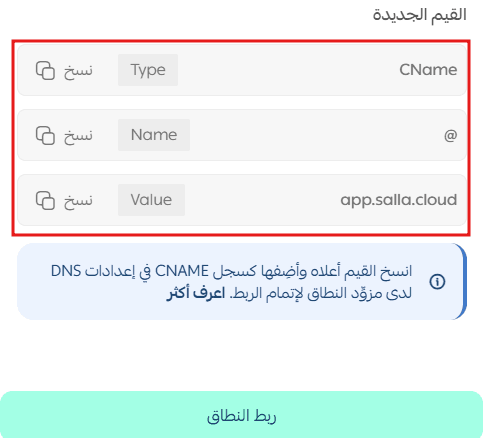
4. Copy the values Salla gives you, add them at your domain provider, then click (Connect domain).
Method 2: through Cloudflare
Requirements
- The root domain must already point to Cloudflare.
- The root domain must be registered outside Salla.
Create a Cloudflare account and connect the domain
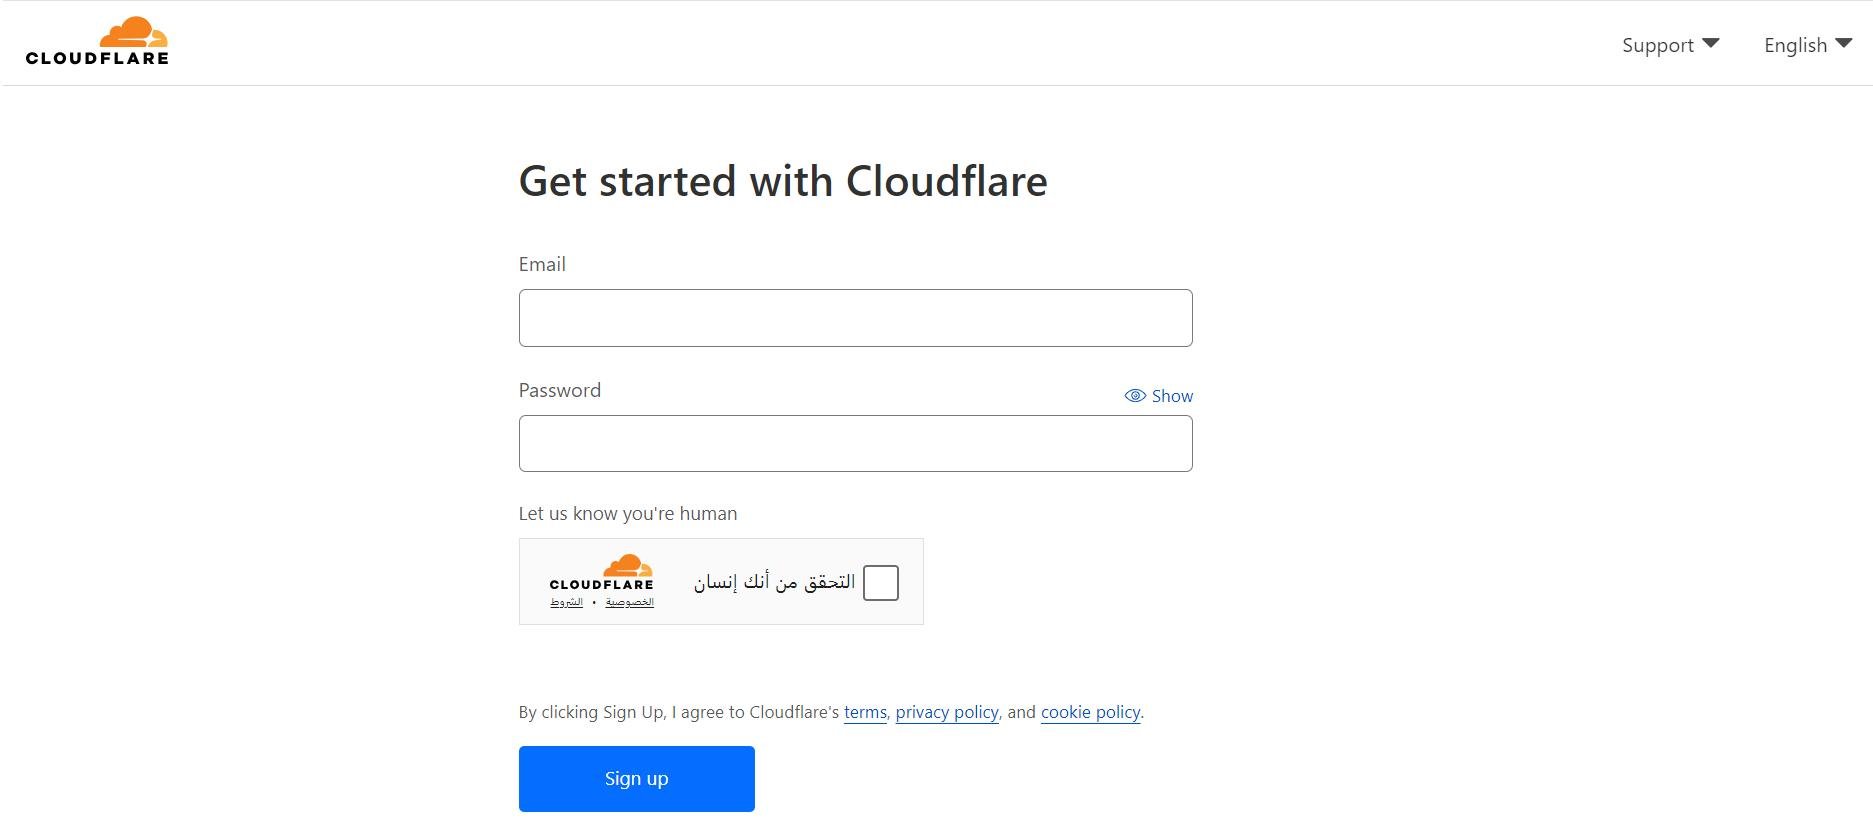
1. On the Cloudflare sign-up page, enter your new account details and click (Sign up).
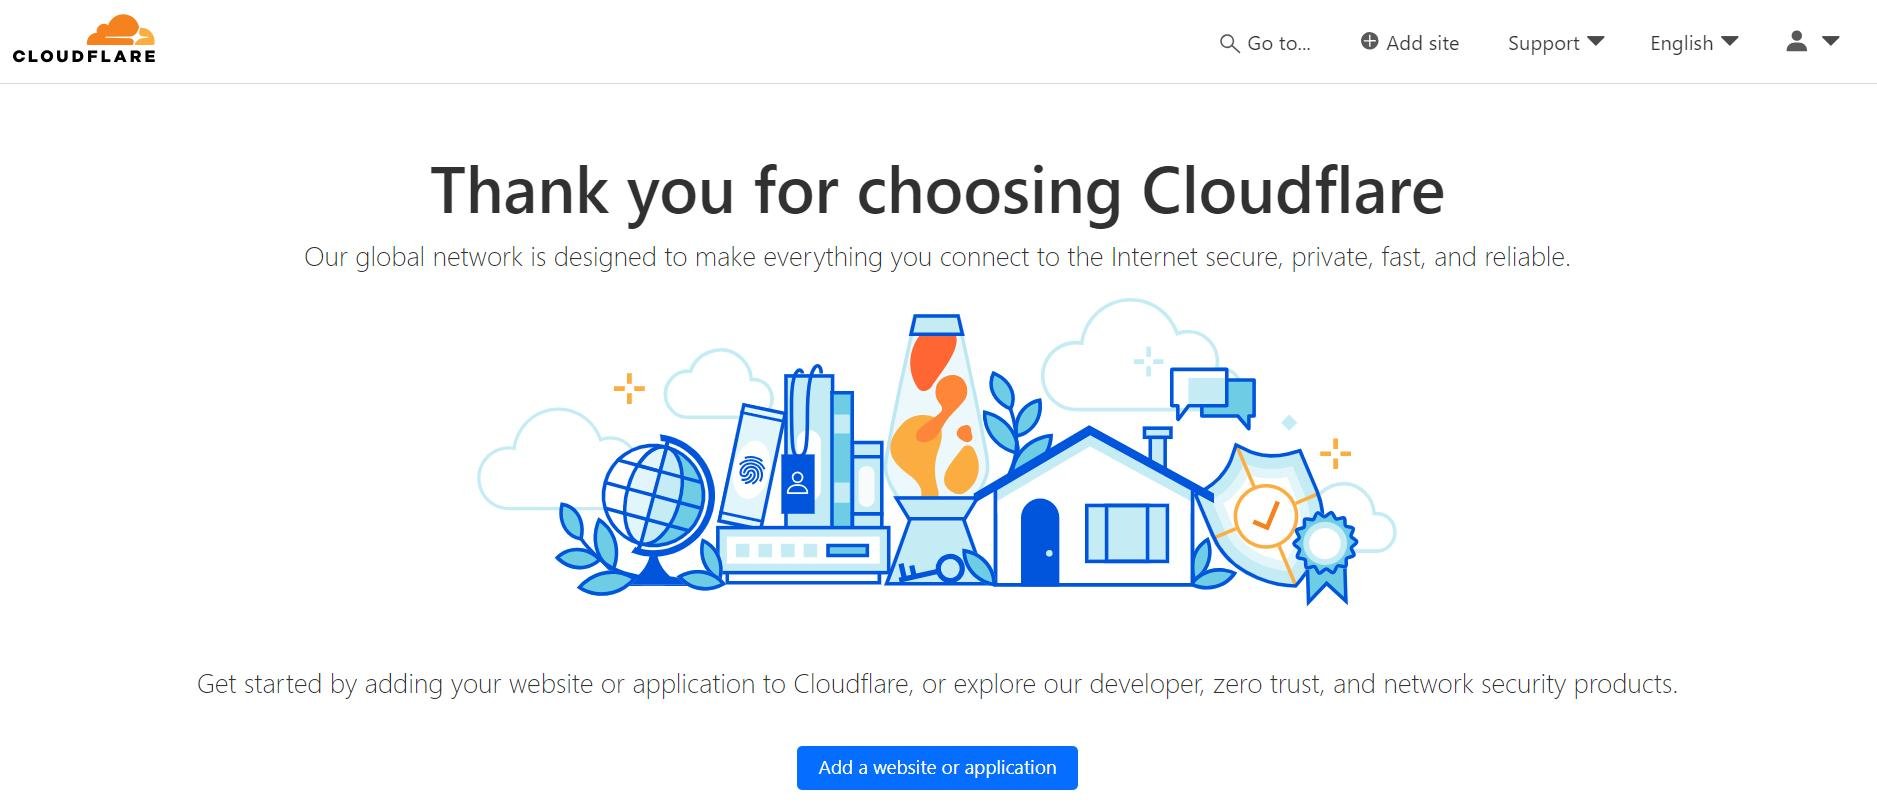
2. From the Cloudflare home page, click (+ Add site).
3. Enter the domain name and click (Continue).
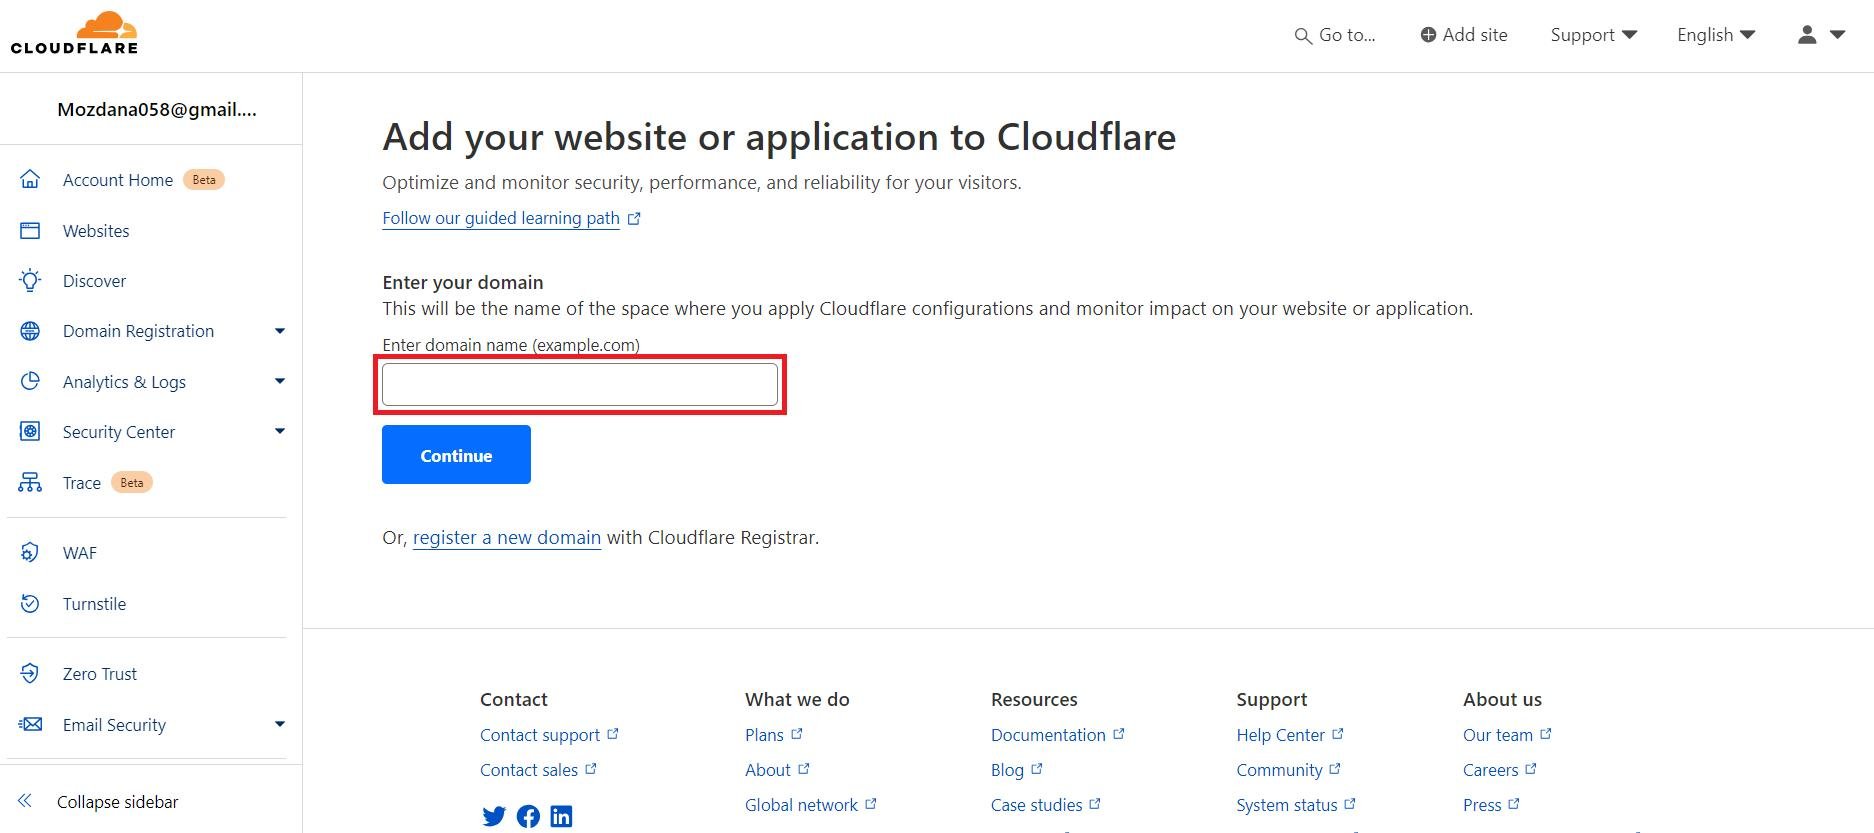
4. Choose the free plan and click (Continue).
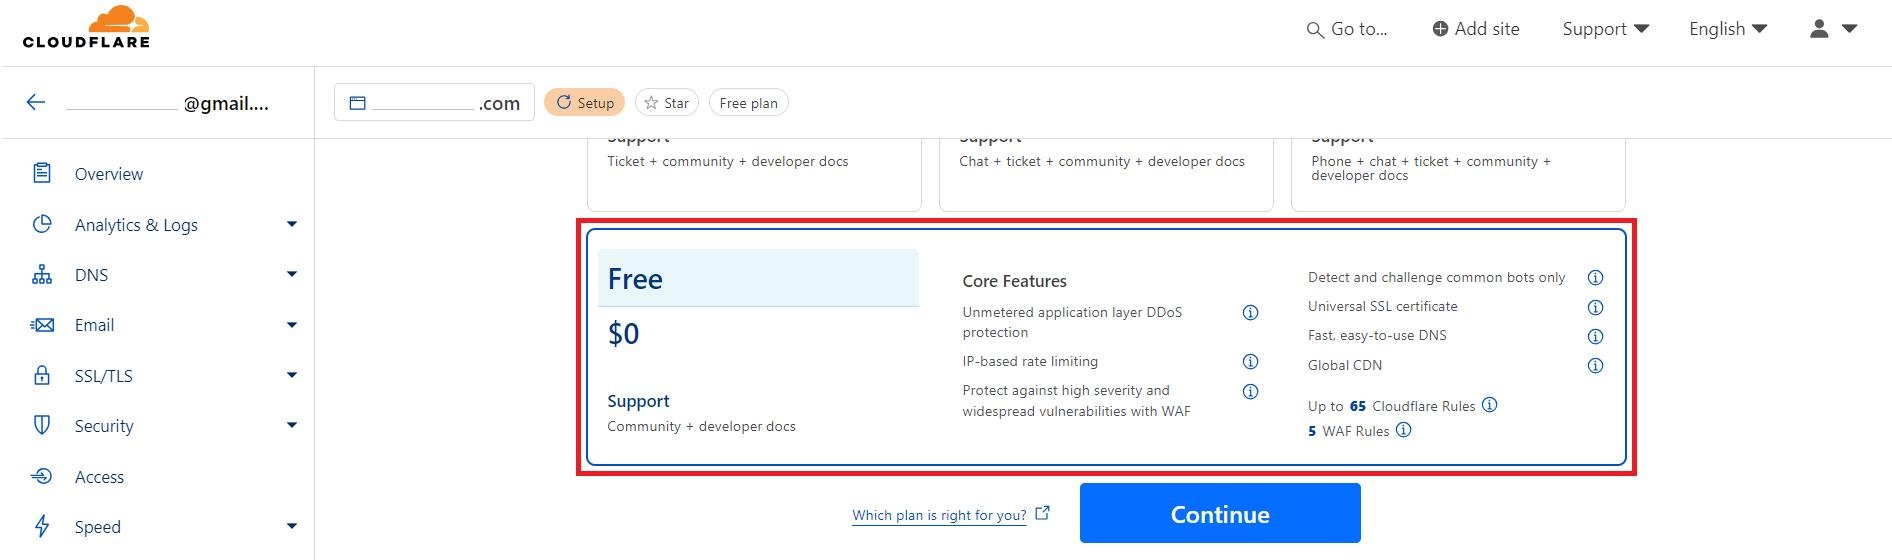
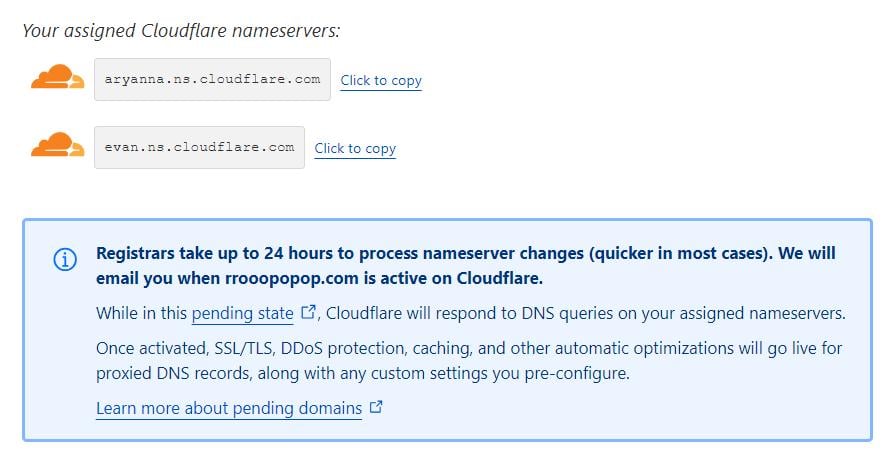
5. Copy Cloudflare's nameserver values from the DNS settings, then add those values at the host where the root domain is registered.
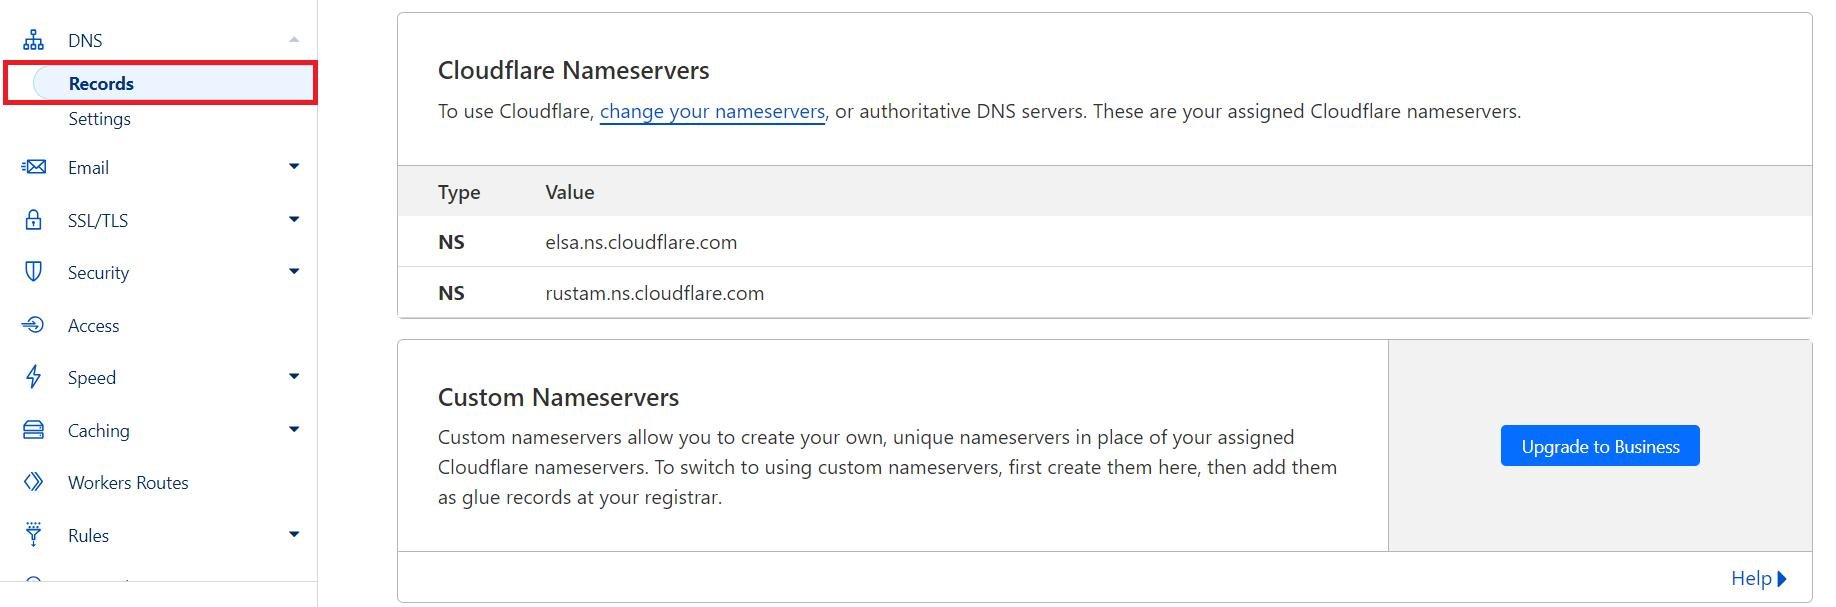
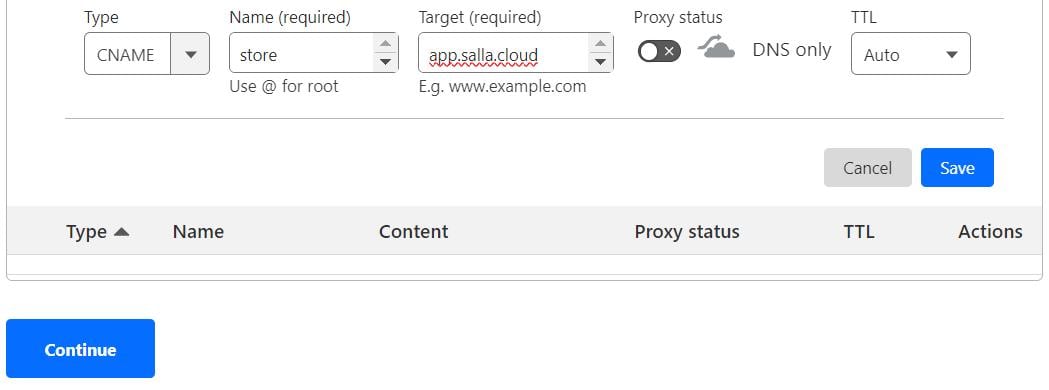
6. To add a record, click (Add record).
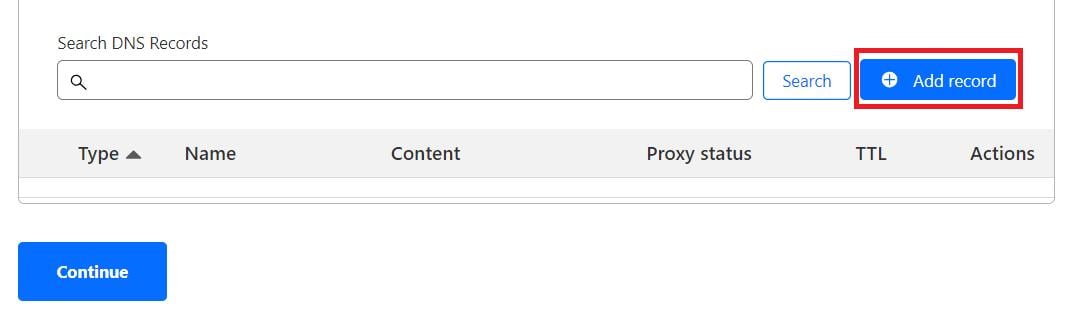
7. Enter the record exactly as Salla gives it to you. You get those values in the dashboard under domain settings: start connecting a new domain and click (Confirm), and the required values appear. Fill in these three fields:
- Type
- Name
- Target
Make sure (Proxy status) is turned off.
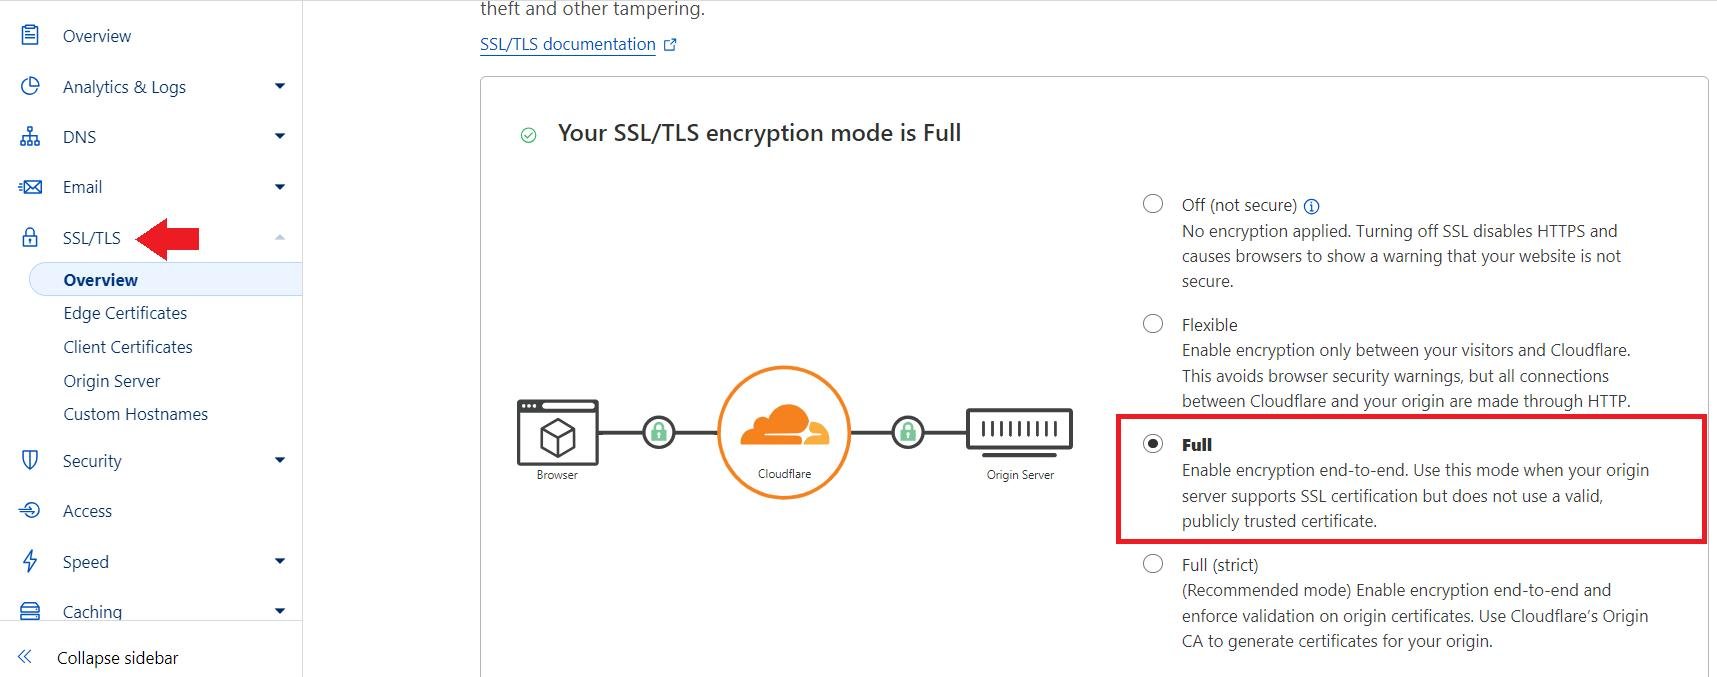
8. From the side menu, click (SSL/TLS) and confirm the security certificate is set to (Full).
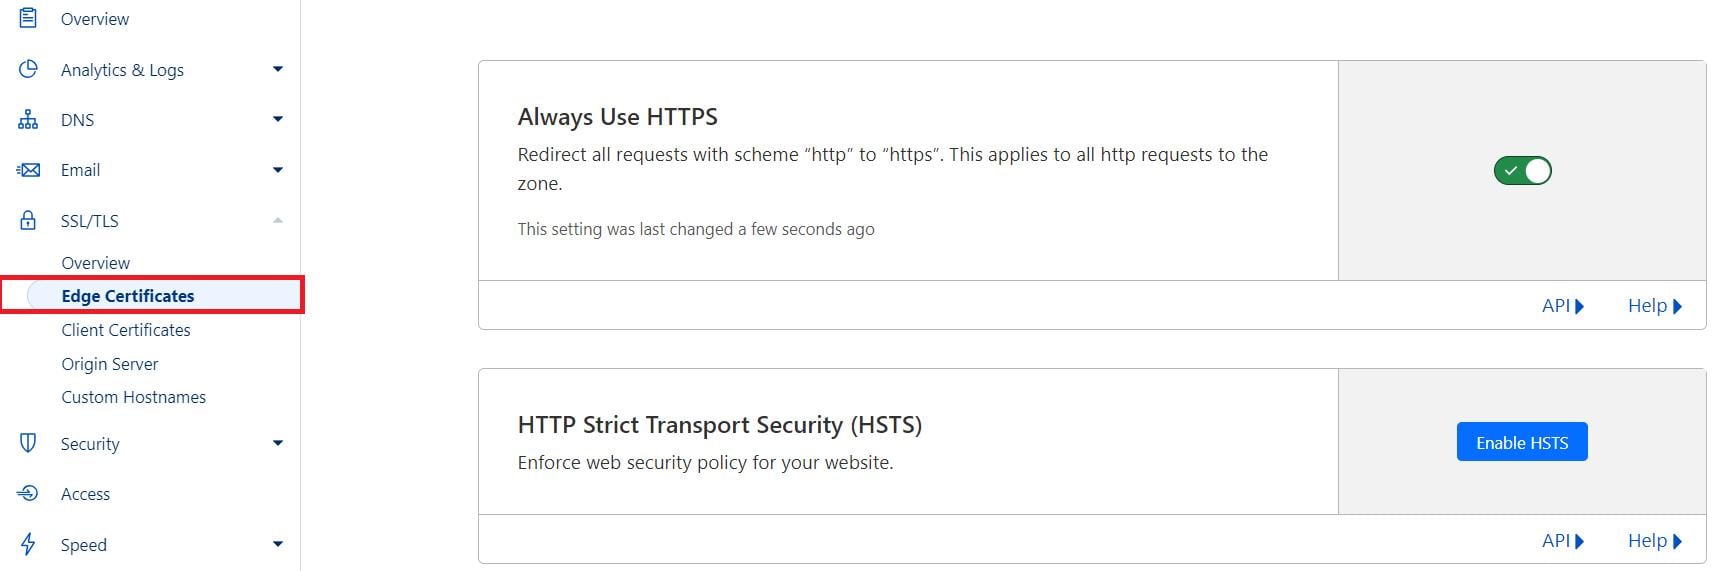
9. From the side menu, click (Edge Certificates), then confirm (Always Use HTTPS) is enabled.
10. From the side menu, click (Overview). Cloudflare confirms that the domain settings completed successfully.
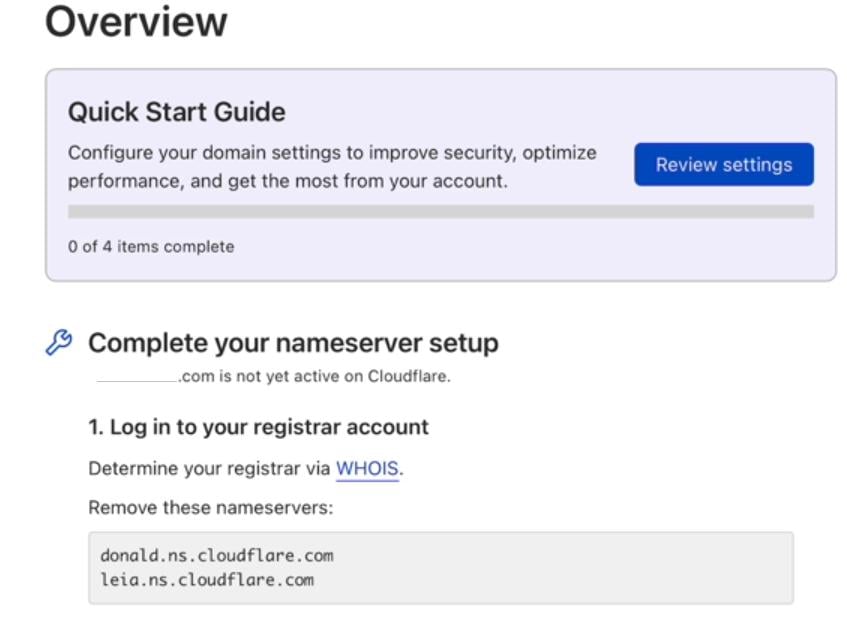
At the bottom of that page you can copy the Cloudflare nameserver details.
📝 Important notes
A subdomain takes roughly 24 to 48 hours to activate, depending on the security certificate at Cloudflare.
Leave (Proxy status) disabled on the record. Proxying the subdomain through Cloudflare interferes with the connection to Salla.
❓ Frequently asked questions
Why connect the domain to Cloudflare at all?
To issue the security certificate. That is the reason for the Cloudflare route.
Why do I see the message (This site can't provide a secure connection)?
Because the security certificate is not active yet. It can take up to 24 hours to become active.

Which method should I use?
Use the dashboard method if your root domain is managed anywhere other than Cloudflare. Use the Cloudflare method when the root domain already points to Cloudflare and is registered outside Salla.
What connection method do I choose in Salla?
Choose (CName) when you enter the subdomain on the Connect external domain screen, then add the values Salla displays at your DNS provider.
🌟 Connect a subdomain to your store and give it a dedicated address that looks more professional and makes browsing smoother for your customers.