Are your customers seeing unsuitable shipping options? Or do you find it difficult to customize shipping based on order type or location?
Overcome these challenges by creating custom shipping routes that allow you to control when and how shipping companies are displayed during checkout.
In this article, we guide you step by step to create a new route that ensures a more flexible shipping experience and better alignment with your store and customer needs.
📌 Article overview
- Available shipping route types
- Creating a route (Company Selection type)
- Creating a route (Auto-Assign type)
- Creating a route (Custom Naming type)
- Creating a default shipping route
🔔 This feature is available for Pro and Special plans only
Available shipping route types
There are three types of shipping routes available:

Summary of differences:
🔔 Note: An exclusive custom route or auto-assign route overrides any lower-priority routes.
Creating a company selection route
When should you use this type?
- To control the order of shipping companies
Example: Show express delivery first, then an economical option like Saudi Post
Helps customers decide quickly without confusion
- To customize shipping based on product or category
Example: Show a carrier that handles liquids for perfumes or oils
Ensures compatibility with shipment type
- To hide unsuitable companies in specific cases
Example: Exclude a weak carrier for remote areas
Avoids poor delivery experiences
- To provide special experience for specific customer groups
Example: Show premium shipping only for VIP customers
Enhances loyalty and exclusivity
- To limit international shipping to trusted companies
Example: Show only DHL and Aramex for Gulf countries
Improves delivery reliability and reduces issues
Steps to create the route:
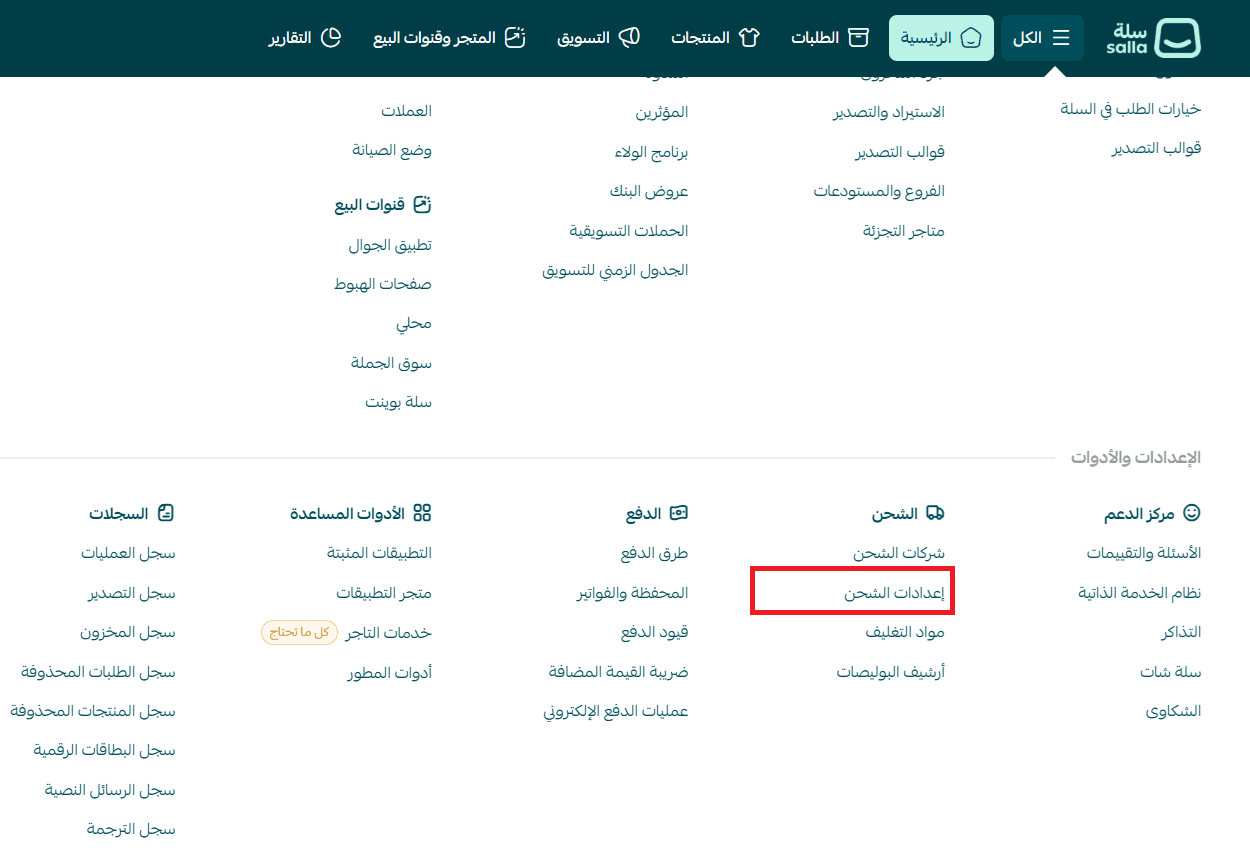
- From the main menu, click All, then Shipping Settings.
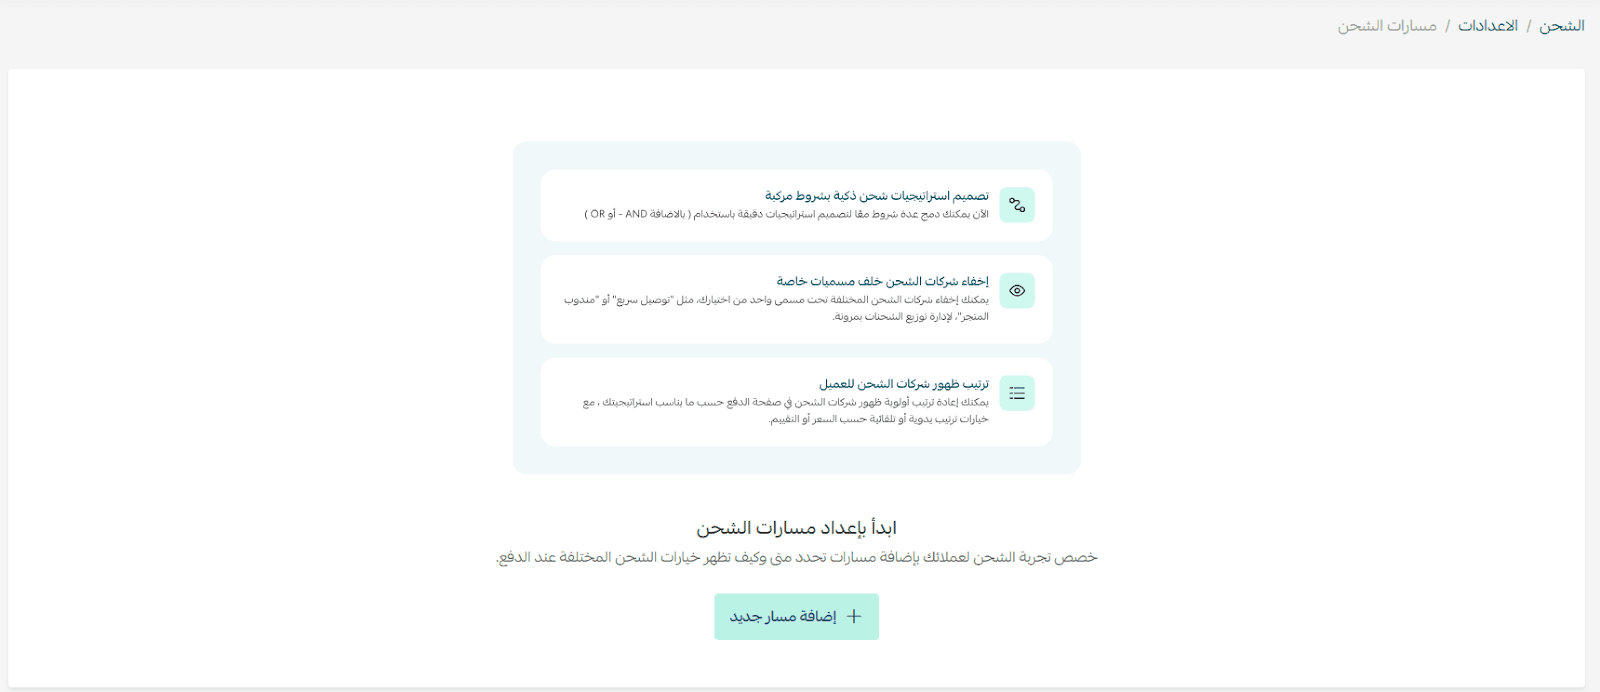
- From shipping settings, click Customization (Routes) to open the routes page.
- Click + Add new route.

Configure route settings:
First: Route information
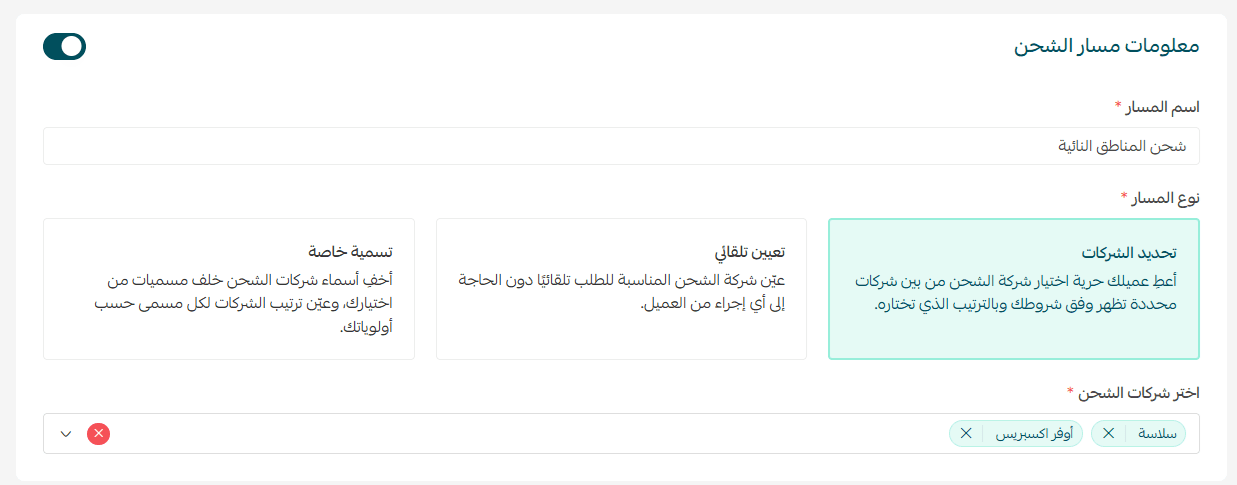
- Route name: Choose a clear internal name (not visible to customers), e.g., “Remote Areas Shipping”.
- Route type: Select Company Selection.
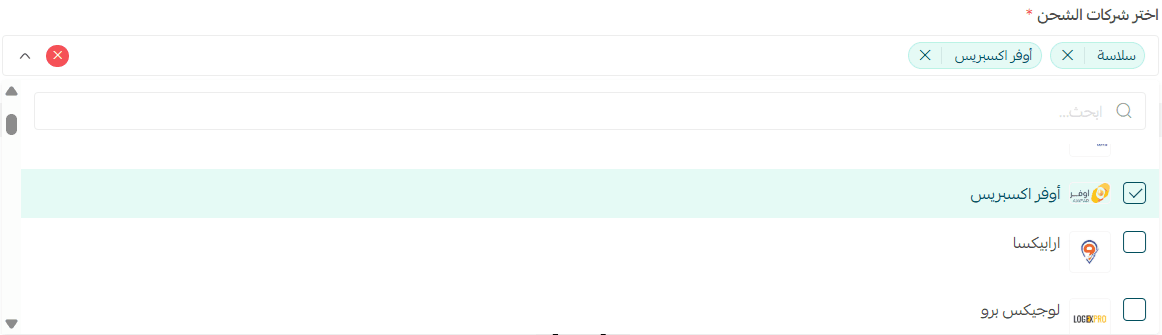
- Shipping companies: Choose which companies will appear and ترتيب them as needed.
Second: Route conditions
To add a condition, click + Add Condition.

Define whether all conditions must be met or at least one.
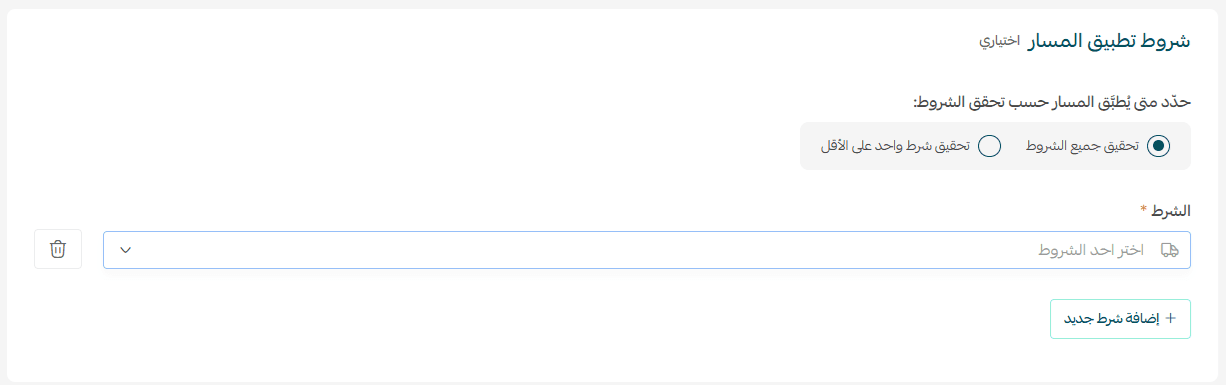
Available conditions include:
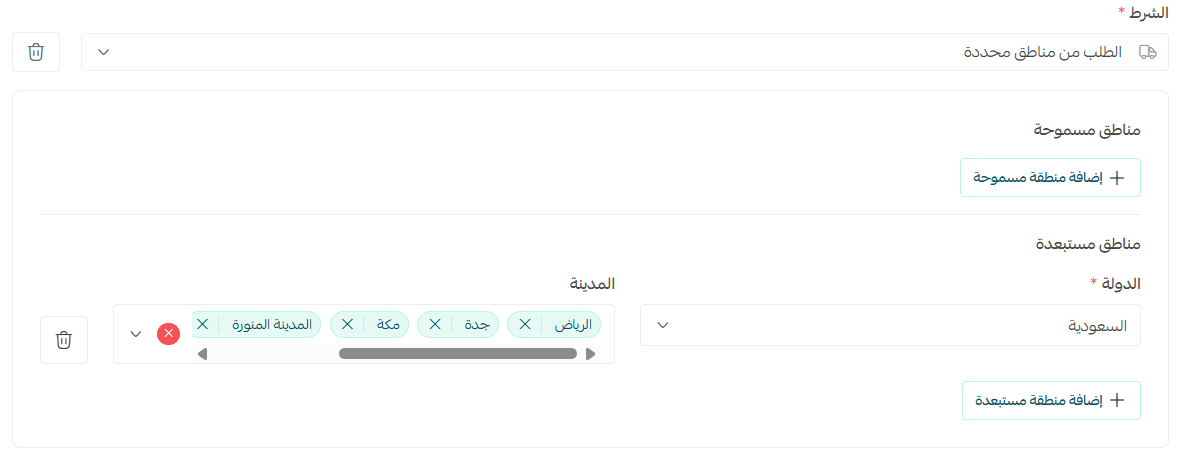
- Cart value

- Customer location (allowed/excluded cities)
Example: Apply route only outside major cities (Riyadh, Makkah, Jeddah, Madinah)
- Cart weight

- Product categories

Learn more about all available conditions to fully customize your delivery experience.
🔔 You can add up to 5 conditions per route. Be careful of overlapping conditions between routes.
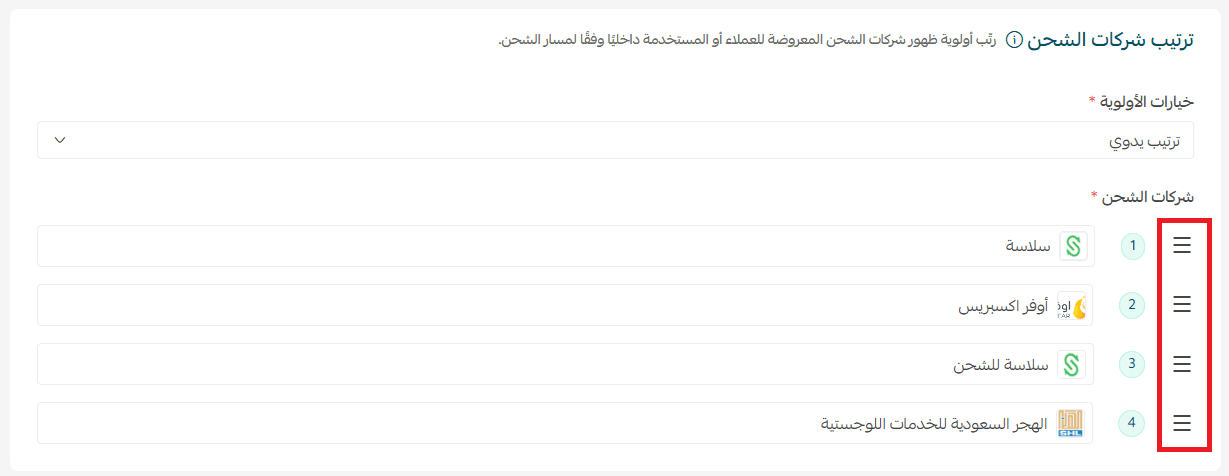
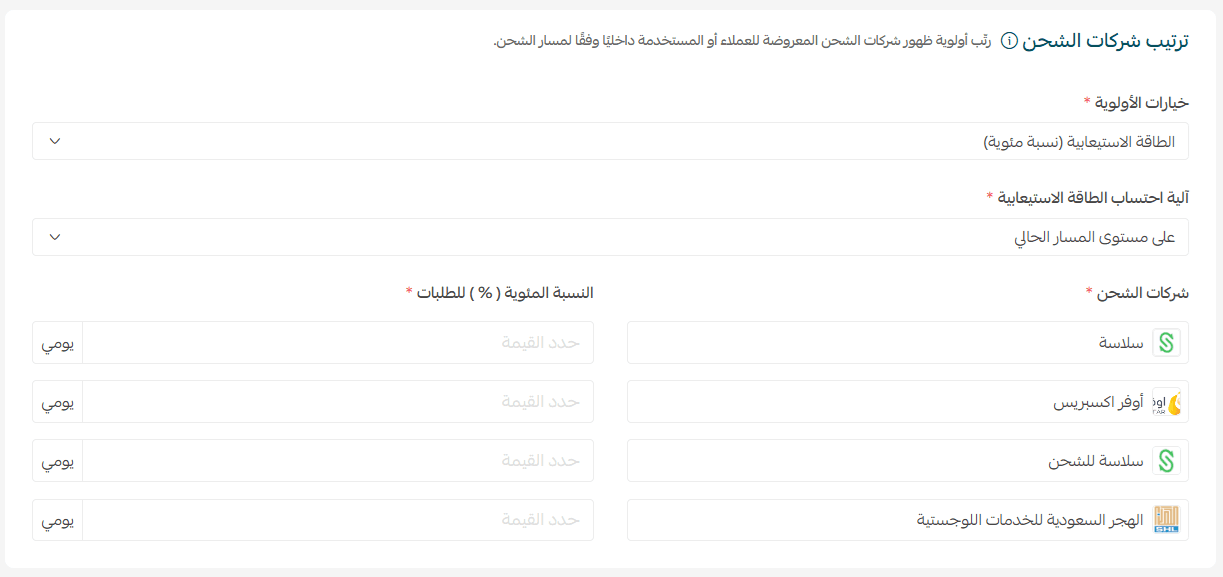
Third: Shipping company ordering
Choose how companies are displayed:
- Salla recommendation: Default system ranking

- Manual ranking: Drag and drop (Pro & Special only)
- By capacity (number of orders):
Define order limits per company (Special plan only)
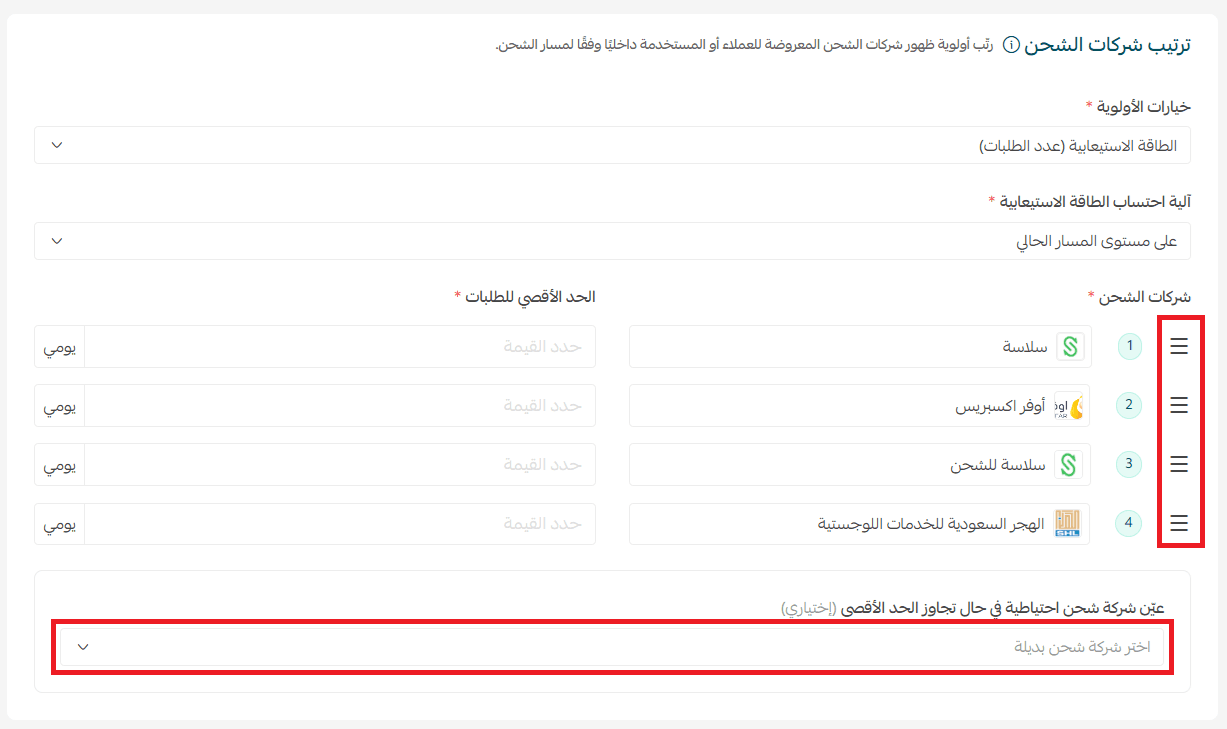
- By capacity (percentage):
Ranking orders by percentage (Special plan only)
⚠️ Final distribution is approximate and may affect displayed pricing.
By price: Automatically sorted from lowest to highest

Fourth: Route priority
If multiple routes exist, define the priority order. Otherwise, the route will be added to the end.
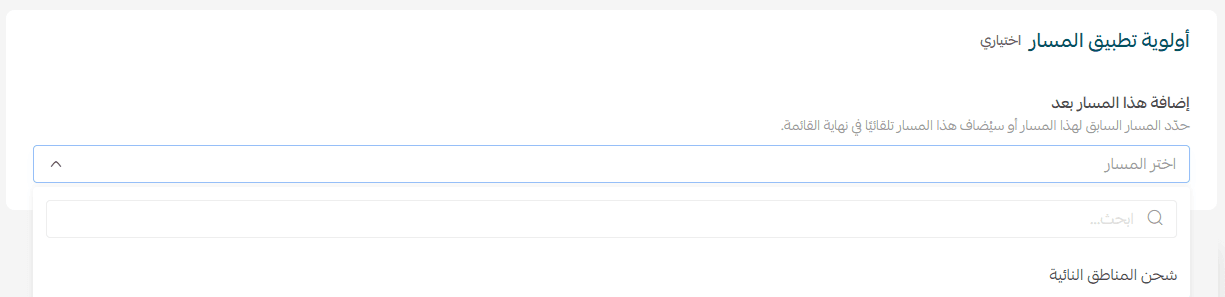
You can review everything using the route summary.
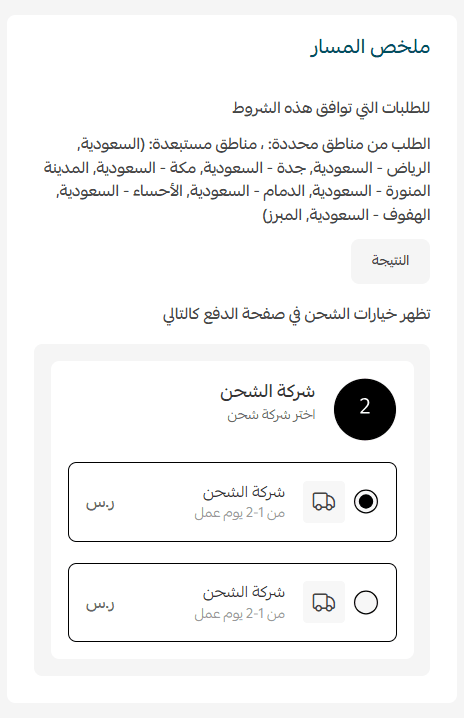
Tip: Place a test order matching your conditions to verify the setup.
Creating an auto-assign route
When should you use it?
- To provide a faster, simpler checkout experience
- When one company fits most orders
- To automatically select the best company based on conditions
- To enforce specific carriers for certain cases
- To reduce errors in shipping selection
Steps:
- Click + Add New Route
- Select Auto-assign as route type


Then complete the same steps:
- Select companies
- Add conditions
- Ranking companies
- Set priority
At checkout, only one shipping option will be shown automatically.
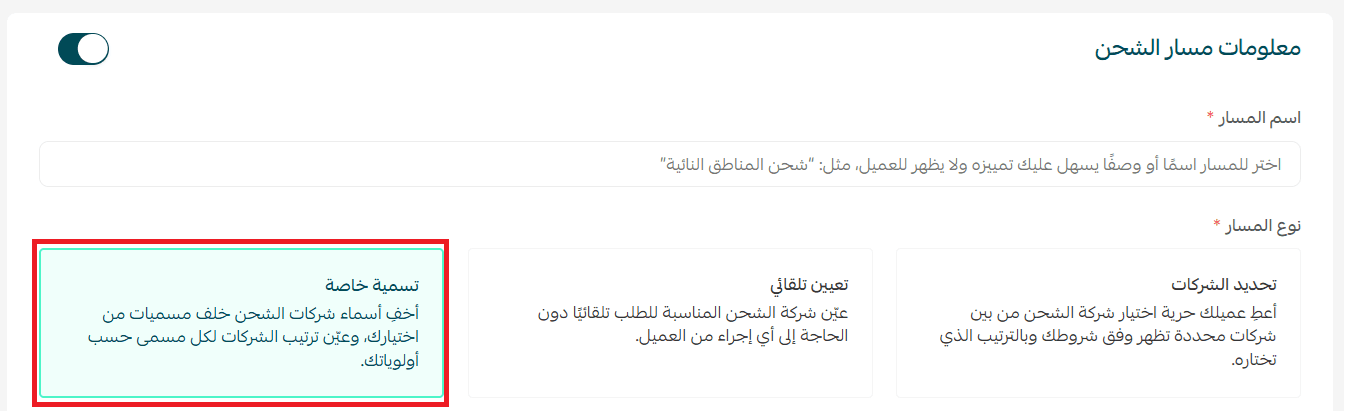
Creating a custom naming route
When should you use it?
- To highlight a competitive advantage
“Ultra-fast delivery – within 3 hours” - To clarify delivery type
“Refrigerated shipping – via Gulf Cooling” - To simplify options
“Standard (2–5 days)” vs “Same-day delivery” - To reflect brand identity
“Special delivery by Flower Store”
Steps:
- Click + Add new route
- Select Custom naming

Then follow the same steps as before.
Additional settings:
Exclusive display option

If enabled, only this route will be shown when its conditions apply—even if other routes match.
Example:
- Route 1: Orders above SAR/AED 500 (Free shipping)
- Route 2: Riyadh orders (Fast shipping)
If exclusive is enabled for Route 1 → only free shipping appears.
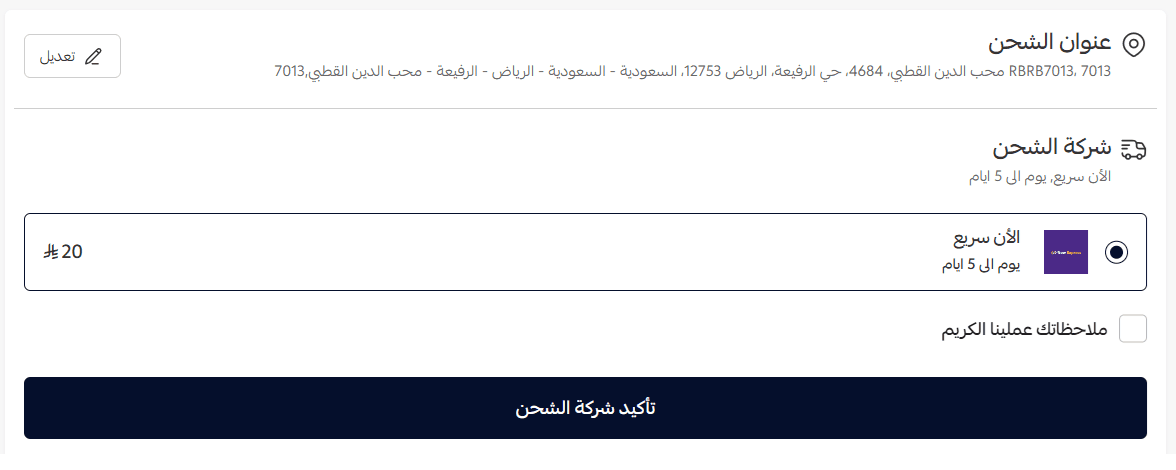
Display name for customers
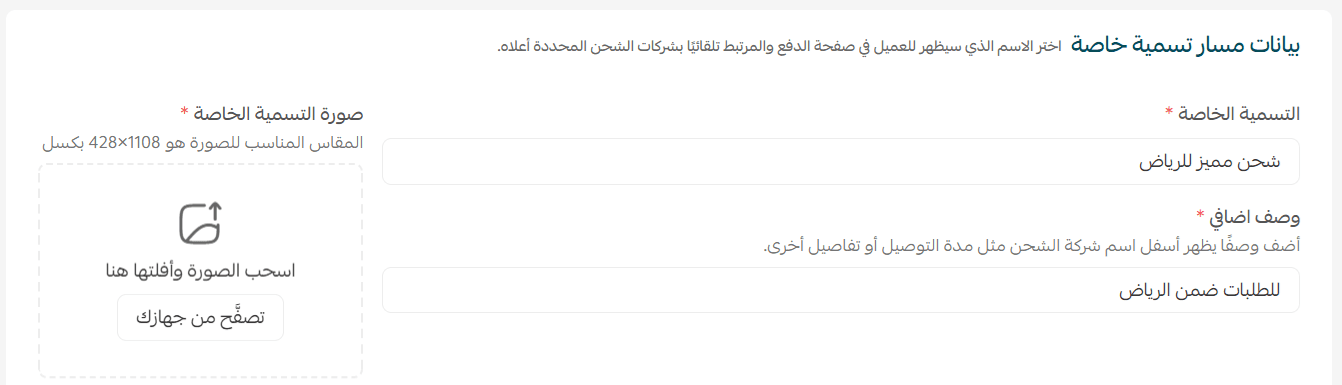
Set the name and description shown to customers, with an optional image.
Unified shipping price

- ✅ Enabled → fixed price shown to customers
- ❌ Disabled → actual carrier pricing is shown
When to use unified pricing?
- To create predictable pricing
- To hide carrier details
- To maintain profit margins
- To offer promotional shipping deals
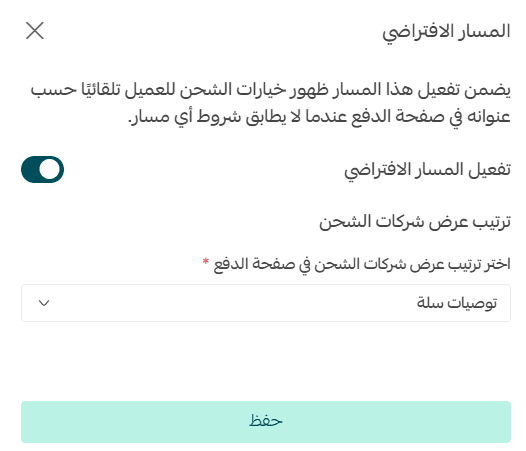
Default route activation
The default route applies automatically when no other route matches.
From the routes page:
- Click Customize default route

- Choose how shipping companies are displayed
Options include:
- Salla recommendation
- Manual ranking (Pro & Special)
- Capacity-based (orders or %) (Special)
- Price-based ranking
Important notes:
- You can disable the default route entirely
- If disabled, ensure you have routes covering all scenarios
🚀 Ready to improve your shipping experience?
Start creating your first route now and see how flexible shipping options can increase customer satisfaction and order completion rates.
Read the help article to explore advanced use cases and best practices for shipping routes.