Are you still sending official store emails from a free Gmail or Yahoo address?
A generic inbox quietly costs you credibility. A business email that runs on your own domain, such as name@yourbrand.com, tells customers, suppliers and partners that they are dealing with a real company. Zoho Mail is one of the easiest ways to get one, and Salla has a Zoho Mail app you can install on your store. In this guide, you'll learn how to create a business email with Zoho, verify your domain from your Salla dashboard, and finish the setup.
To create a business email with Zoho, sign up for a Zoho Mail account, add your domain, and choose manual configuration. Copy the TXT record Zoho gives you into your store's domain settings in Salla, verify the domain, create your admin user, then install the Zoho Mail app from the Salla App Store.
📌 Article overview
- What you need before you start
- Why a business email on your own domain matters
- How to create a Zoho Mail account and verify your domain
- How to install the Zoho Mail app on your store
- Frequently asked questions
✅ What you need before you start
- A domain that belongs to you or to your business, with any extension: .com, .net, .info or another.
- An account on Zoho.
If you have not sorted your domain out yet, this guide walks you through managing your store's domain step by step.
🏆 Why a business email on your own domain matters
An address that carries your own domain, such as name@yourcompany.com, is one of the cheapest ways to look established. It signals that your business is a real operation rather than a side project, and it separates you from competitors still working out of a personal inbox.
Public addresses on Gmail, Yahoo or Hotmail have the opposite effect in formal correspondence, whether you are writing to a customer or to a supplier. People read them as informal, and some read them as risky.
There is a practical side too. Some technical processes expect an address tied to a company domain. Enrolling in the Apple Developer Program, for example, requires an email on your own domain before your developer account can be approved.
🚀 How to connect a business email with Zoho
Step one: create your official addresses on Zoho
🚧 Skip this step if you already have a Zoho account.
1. Open the Zoho Mail home page and click (Sign up for free).

2. Choose the plan that fits the size and nature of your business, or start the 15-day free trial.
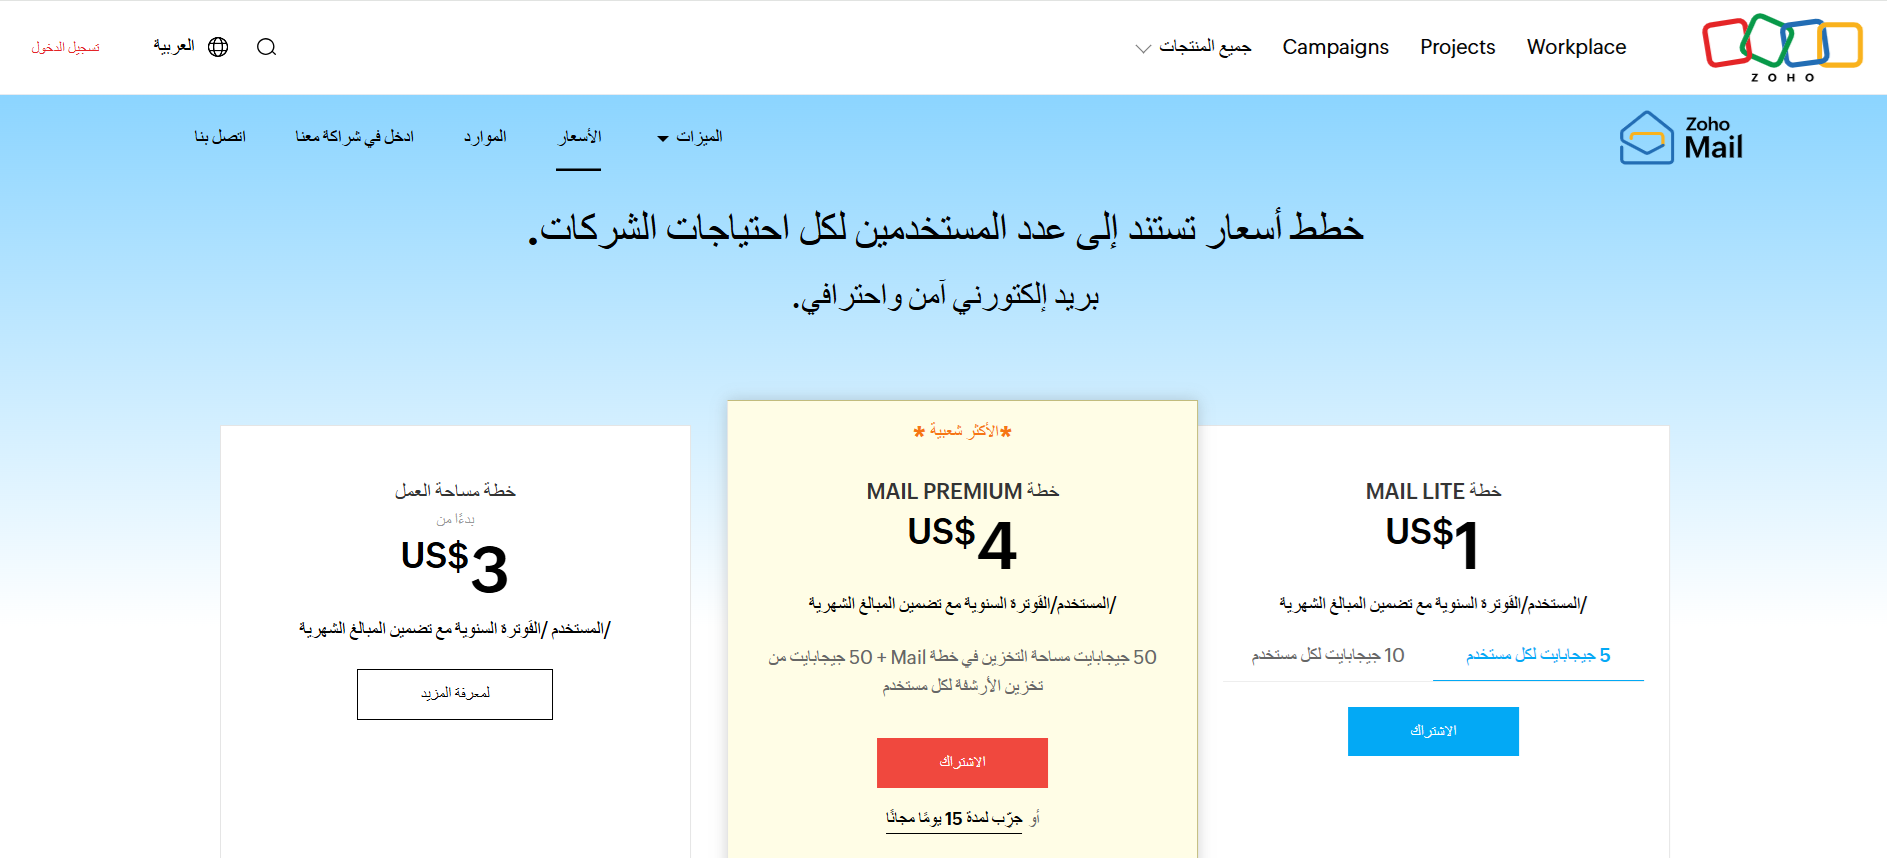
3. Enter the requested details, then click (Sign up).

📝 Important note: the address Zoho asks for here is a contact address you already use, such as a Gmail address. It is not the new address you are about to create on your own domain.
4. Enter the verification code sent to that address, then click (Verify).

5. To set your existing domain up with Zoho Mail, click (Add now).

6. Enter your domain and business name, select the type of business, then click (Add now).

Once the domain is added, click (Proceed to domain verification).

Then click (Configure manually).

7. Select the provider that hosts your store's domain. In the example below the provider is (name.com), and Zoho responds with the DNS details you need: a name and a value.

🛑 Pause here. Leave this Zoho page open exactly as it is and open your Salla store in a new browser tab.
8. From your store's domain settings, add the DNS record:
- Set the record type to TXT.
- In the Name field, enter (@) on its own, or your store's domain.
- In the Content field, paste the value Zoho displayed in step 7.

9. Go back to the Zoho tab you left open and click (Verify by TXT) to complete the connection.

10. Enter the main username. Whoever registers first and sets up the domain becomes the super administrator, a role that holds every privilege across all users on the account. The super administrator can add and manage users and groups, change roles, moderate email and more.

You can skip the remaining screens to land directly on your new Zoho mailbox.

Step two: install the Zoho Mail app on your store
1. From the main menu, click the (More) tab, then click (Installed apps).
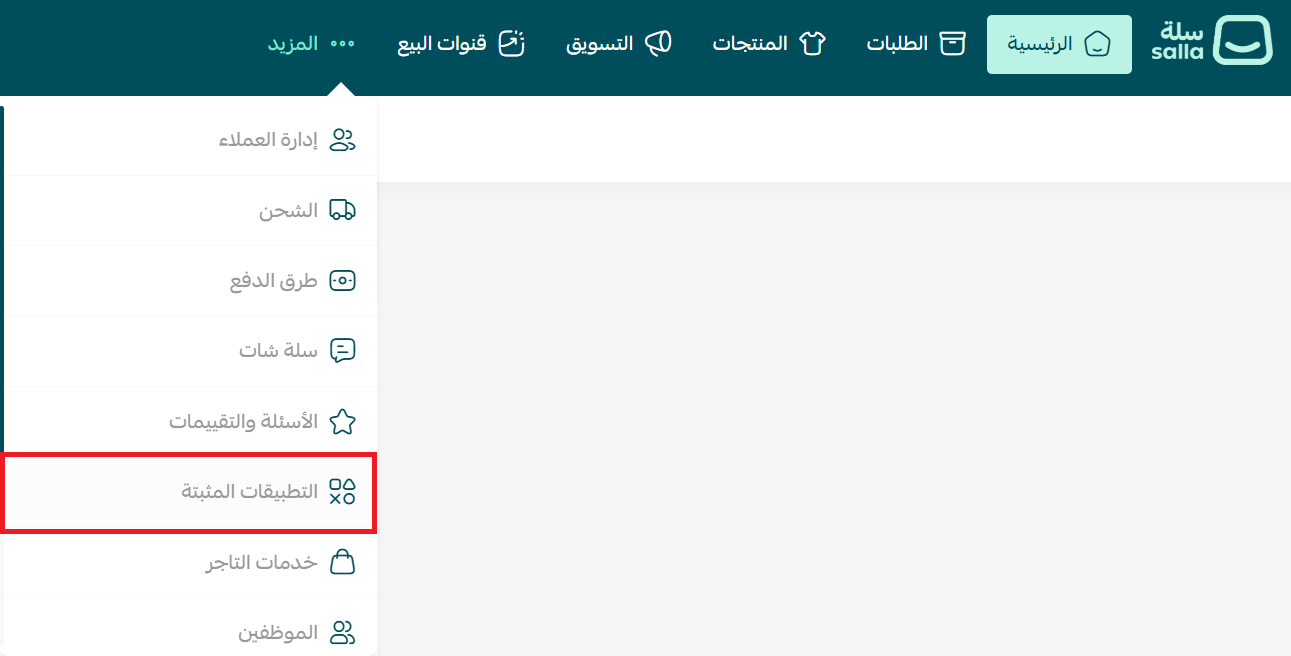
2. On the Salla App Store banner, click (Browse the Salla App Store).

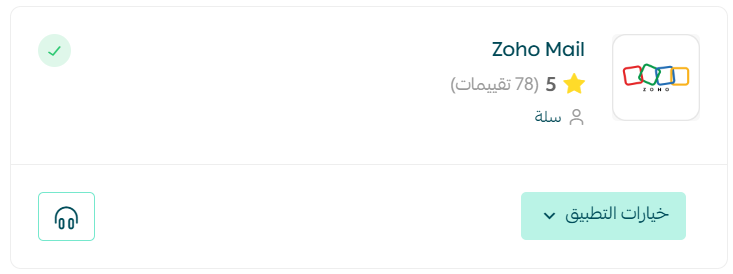
3. On the Zoho Mail app page, click (Install).

That's it. Your Zoho business email is live.
❓ Frequently asked questions
❓ Is Zoho the only way to get a business email?
No. You can build a professional business email on Zoho, Google Workspace or Microsoft. This guide covers the Zoho route because it has a ready-made app in the Salla App Store.
❓ How do I add more email addresses to my Zoho account?
The first address you created is usually a general one rather than a personal mailbox, so you will want to add addresses for individual team members on the same domain. Open your Zoho control panel, click (Users), then click (Add).

Enter the details for the new mailbox: first name, last name, email address, password and password confirmation, then click (Add).

Each new user then signs in on the Zoho website with their address and password, exactly the way they would sign in to Gmail. Zoho's own guide on adding a new user has more detail.
❓ Which record type do I add in my Salla domain settings?
A TXT record. Enter (@) or your store's domain in the Name field, and paste Zoho's verification string into the Content field.
❓ Why should I keep the Zoho tab open while I edit my domain settings?
Because the verification value lives on that page and you need to come back to it to click (Verify by TXT). Closing the tab means walking back through the domain setup to reach the same screen.
❓ Do I need a paid Zoho plan?
You can start on the free sign-up or the 15-day trial and pick a plan later. Choose based on how many mailboxes your team needs.
Moving your official correspondence onto your own domain takes an afternoon and changes how every message you send is read. Do it once, and every email after that works a little harder for your brand.