Are your invoices, purchases and stock counts living in one system while your store lives in another?
Keeping two sets of books is how small errors turn into a long month-end. The Plugin Soft accounting app is cloud accounting software that handles the financial side of your business — invoices, sales, purchases and inventory, with e-invoicing support — and connects to Salla to sync your store data and keep your financial reports current. In this guide, you'll learn how to install the app, register for a trial, connect it with your Plugin-Token, upgrade your plan, and remove the app.
Plugin Soft is a cloud accounting app for invoices, sales, purchases and inventory, with e-invoicing support. Install it from the Salla App Store, choose a plan, then register on the Plugin Soft site. The Plugin Soft team contacts you and provides a Plugin-Token, which you paste into the app details page in your store.
📌 Article overview
- What the Plugin Soft accounting app covers
- How to connect Plugin Soft to your Salla store
- Manage the Plugin Soft app
- Frequently asked questions
🎯 What the Plugin Soft accounting app covers
Plugin Soft is a cloud accounting system, so your financial records sit online rather than on one office machine:
- Invoices, sales, purchases and inventory, managed in one place.
- E-invoicing support built into the billing side.
- An integration with Salla that syncs your store data.
- Up-to-date financial reports for tracking how the business is performing.
👣 How to connect Plugin Soft to your Salla store
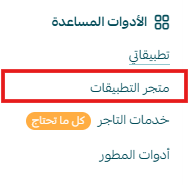
1. From the main menu, click (All), then under helper tools, click (App Store).
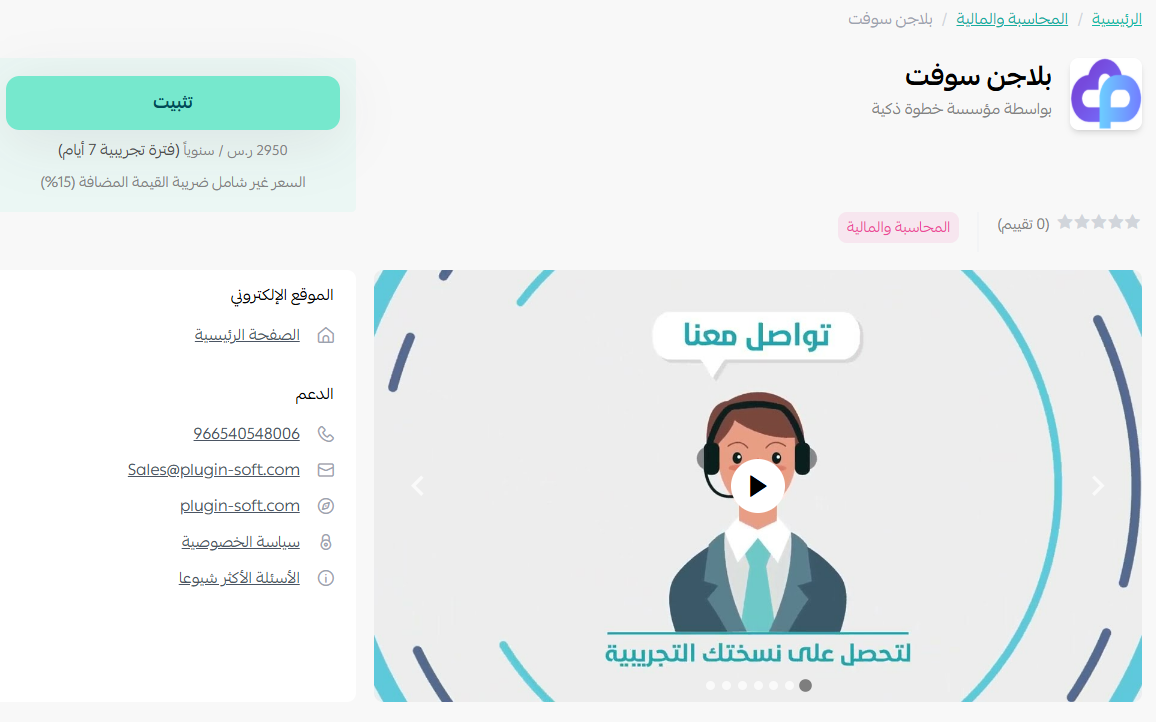
2. From the Plugin Soft app page, click (Install).
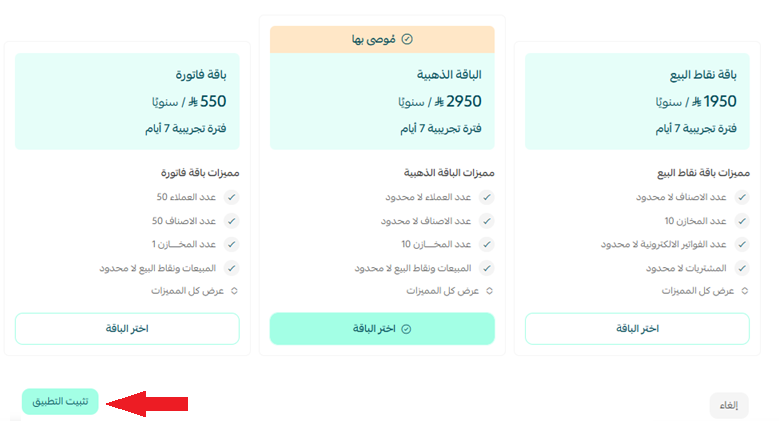
3. Choose the plan that suits you, then click (Install app).
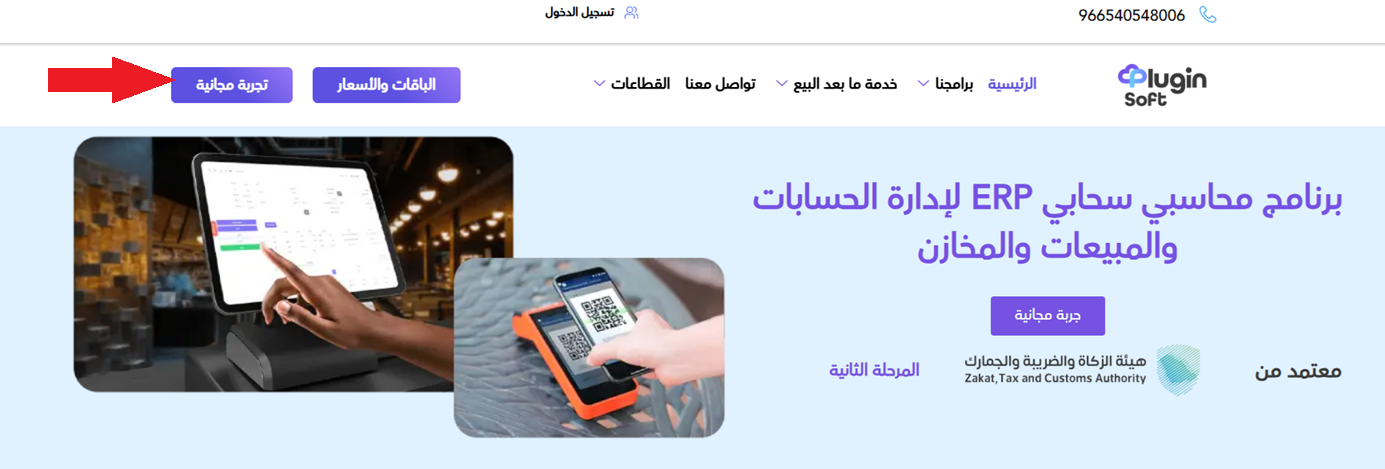
4. Register on the Plugin Soft site through the (Free trial) tab.
5. Add your contact details so the Plugin Soft sales team can reach you and follow up on the connection.

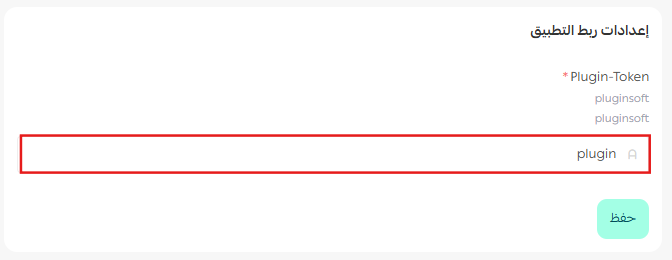
6. Once you've been in touch and the connection is set up on the Plugin Soft side, copy your Plugin-Token from there, paste it into the app details page in your store, then click (Save).
📝 Important notes
- The Plugin-Token is what links the two systems. Until it's saved in the app details page, no data is exchanged.
- The trial is registered on the Plugin Soft site, separately from installing the app in your store.
🚀 Manage the Plugin Soft app
Upgrade your plan
1. From the app details page in your store, click (Upgrade plan).

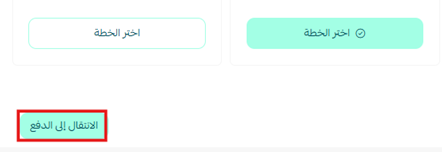
2. Choose the plan you want, then click (Go to payment).
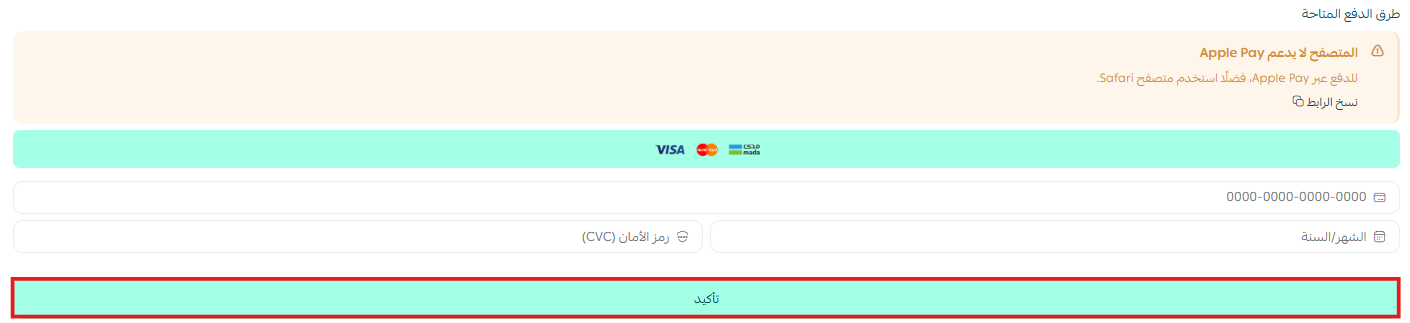
3. Fill in your payment details and click (Confirm) to complete the upgrade.
Customize the app
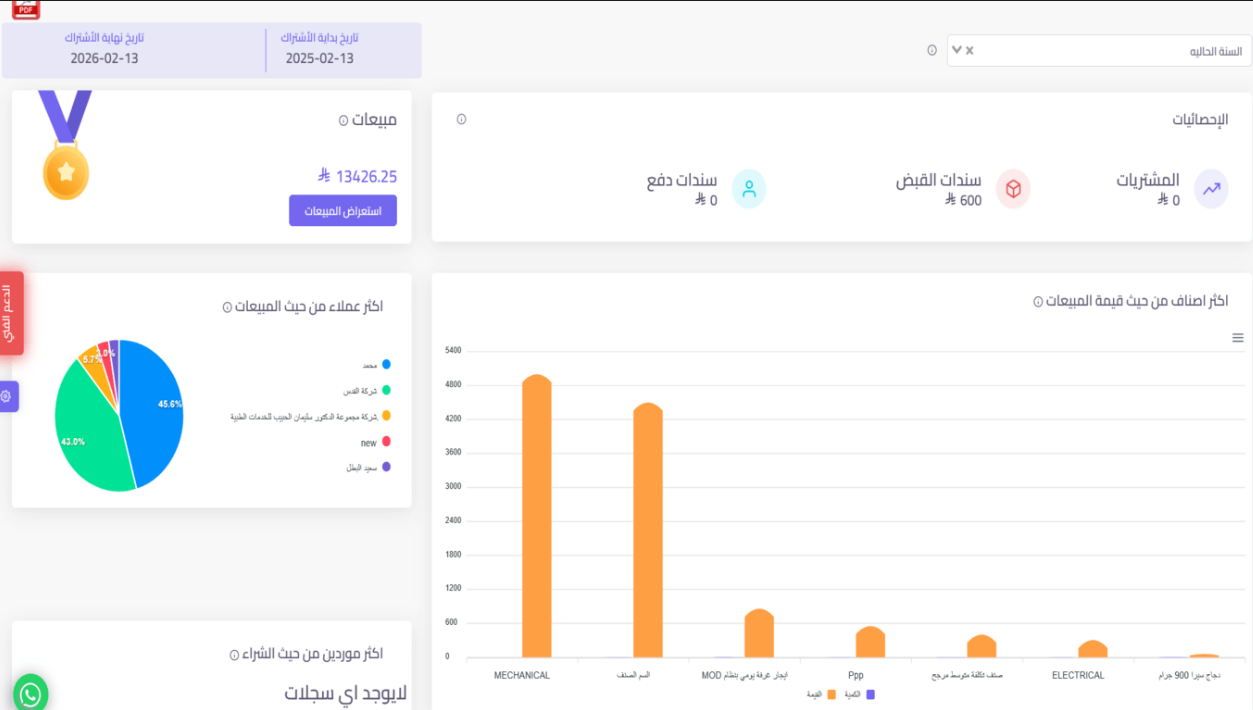
🎯 You control the app's settings from the main dashboard on the Plugin Soft site.
Remove the app
1. From the app options menu, click (Cancel subscription) and choose a reason.
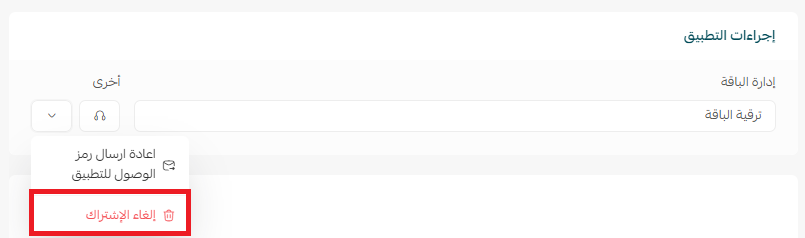
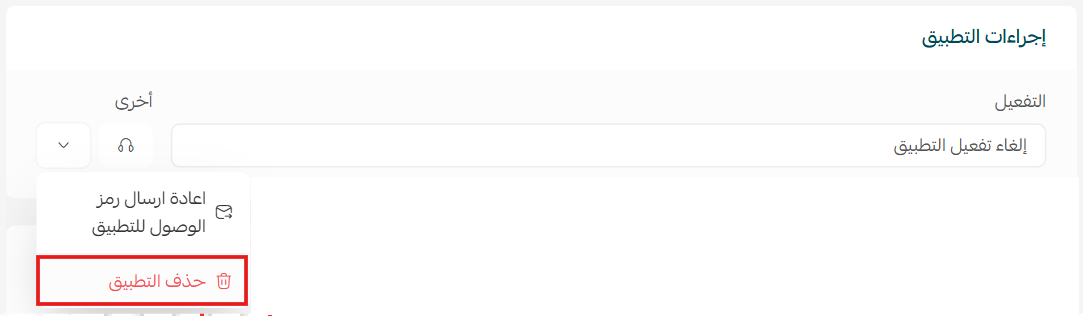
2. From the app options menu, click (Delete app) and choose a reason.
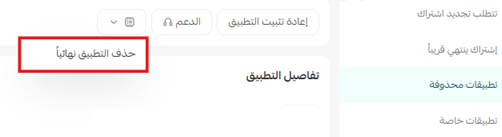
3. From the deleted apps page, open the app options menu and click (Delete app permanently) to remove it from your store for good.
For more details, see the Plugin Soft app page.
❓ Frequently asked questions
What does Plugin Soft handle for my store?
The financial side: invoices, sales, purchases and inventory, with e-invoicing support and financial reports that stay up to date as your store data syncs.
What is the Plugin-Token and where do I get it?
It's the code that authorizes the connection. You get it from Plugin Soft after your account is set up, then save it on the app details page in your store.
Can I try Plugin Soft before subscribing?
Yes. Register through the (Free trial) tab on the Plugin Soft site, then add your contact details so the sales team can follow up on the connection.
How do I move to a bigger plan later?
From the app details page in your store, click (Upgrade plan), choose the new plan, then confirm the payment.
Accounting only helps when the numbers are current. With Plugin Soft connected, your store feeds the books instead of the other way round.