Managing inventory across multiple branches can quickly become challenging, especially when customers expect fast delivery and local pickup options.
The retail stores app in Salla helps you manage stock by branch, fulfill orders from the nearest location, reduce shipping costs, and improve your store’s operational efficiency.
In this guide, you’ll learn how to activate and customize retail settings step by step.
What is the retail stores app?
The retail stores app is a tool that allows merchants to manage their store inventory based on branches or warehouses.
This makes it easier to:
- Fulfill customer orders from the closest branch
- Improve delivery speed
- Reduce shipping expenses
- Enhance the overall performance of your online store
Before you start
To use retail stores, you must first install the app and configure its settings.
Install the retail stores app
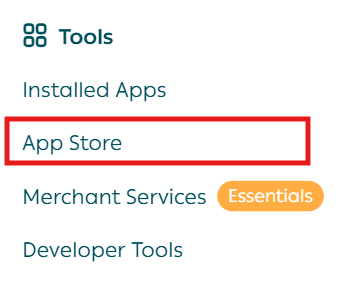
- From the sidebar in your admin dashboard, click App Store.
2. From the Salla App Store banner, click Browse Salla App Store.

3. Locate the retail stores app, then click Install.
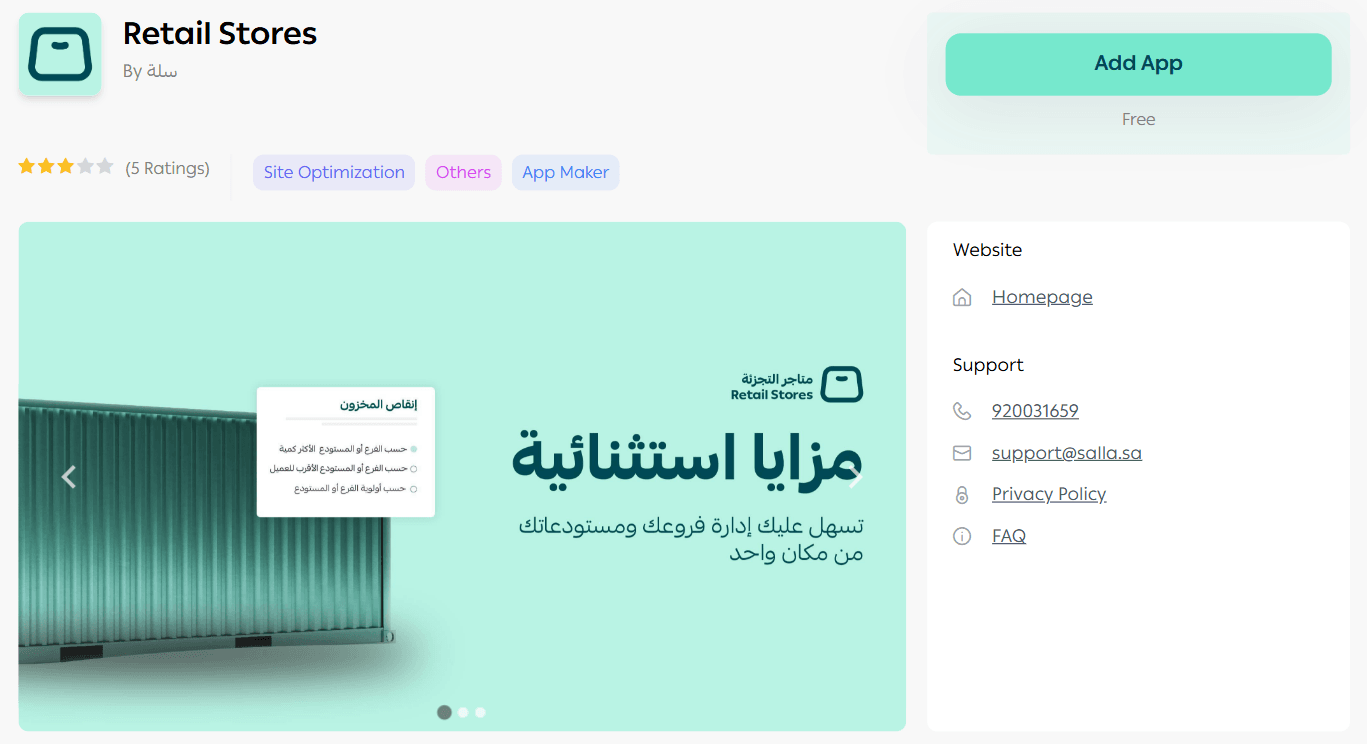
✅ The app has now been successfully installed on your store.
For more details, see:
- Managing Store Apps
- Retail Stores FAQ
Steps to customize retail stores
Retail customization includes:
- Activating Retail Stores
- Choosing how customers browse products
- Setting an inventory deduction strategy
- Displaying product availability on product pages
- Configuring shipping settings
Activate retail stores
- From the sidebar menu, click Store Settings.

2. On the Store Settings page, click Retail Stores Settings.

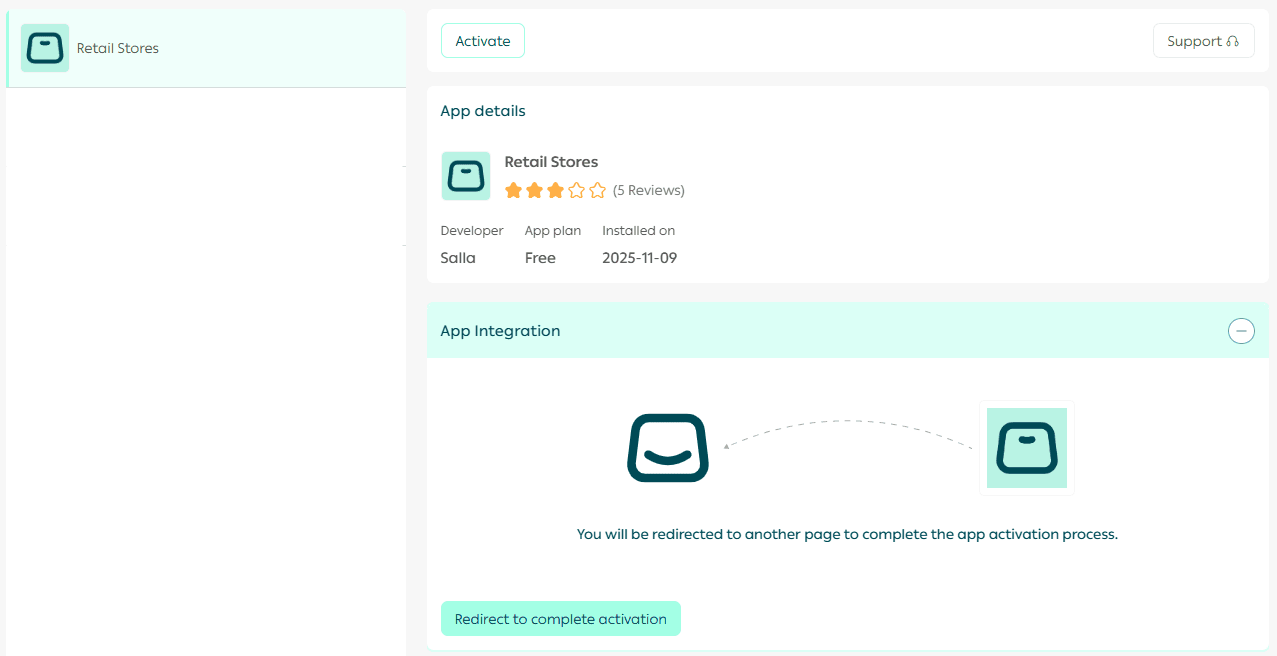
3. Click Activate.
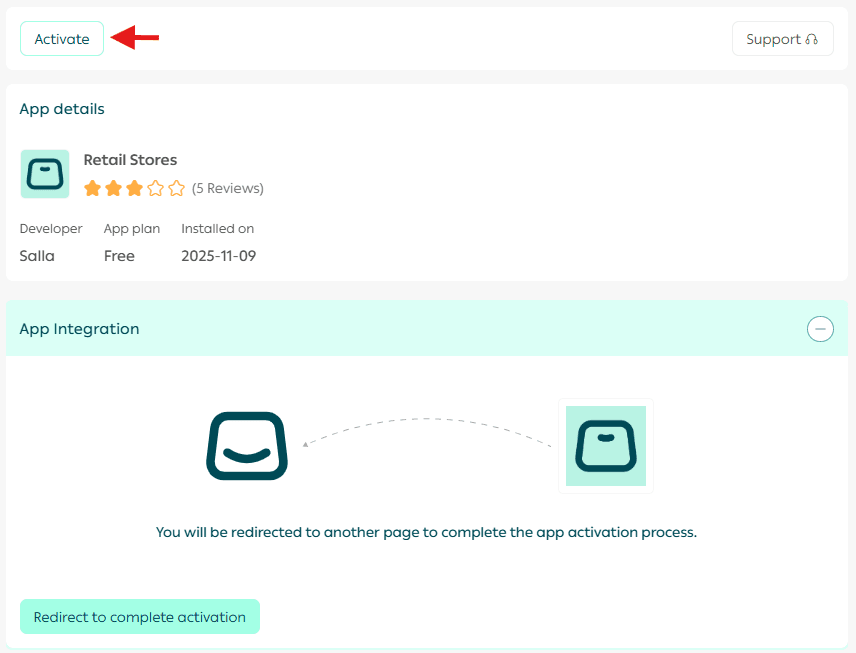
🎉 Congratulations! Retail stores is now enabled, and products are linked to the default branch.

Choose how customers browse store products
You can allow customers to browse:
- All products in your store
- Products based on their city
- Products based on their country
- Products from the nearest branch
This gives you more control over multi-location shopping experiences.

Product display options comparison
How branch selection appears to customers
You can choose how customers select their preferred branch:

1. Top Navigation Bar
A branch/city list appears at the top of the store for customers to choose from.

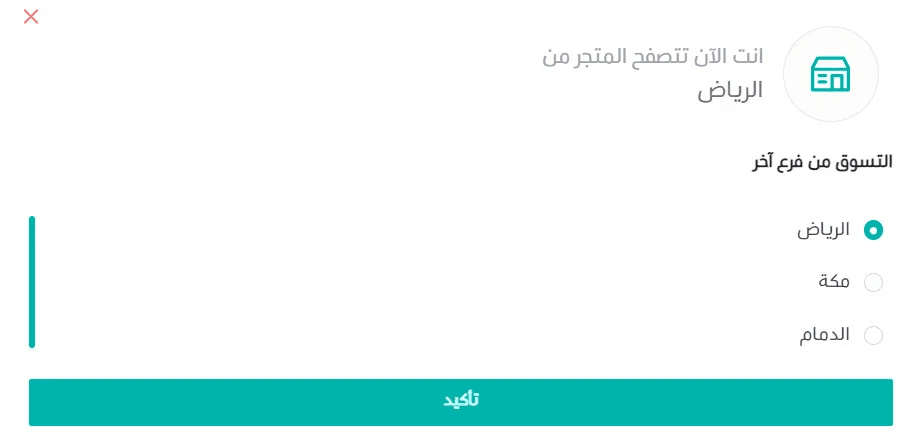
2. Popup Window
When customers visit the store, a popup prompts them to select a branch before browsing.

Examples of popup behavior depending on browsing mode:
- All Products
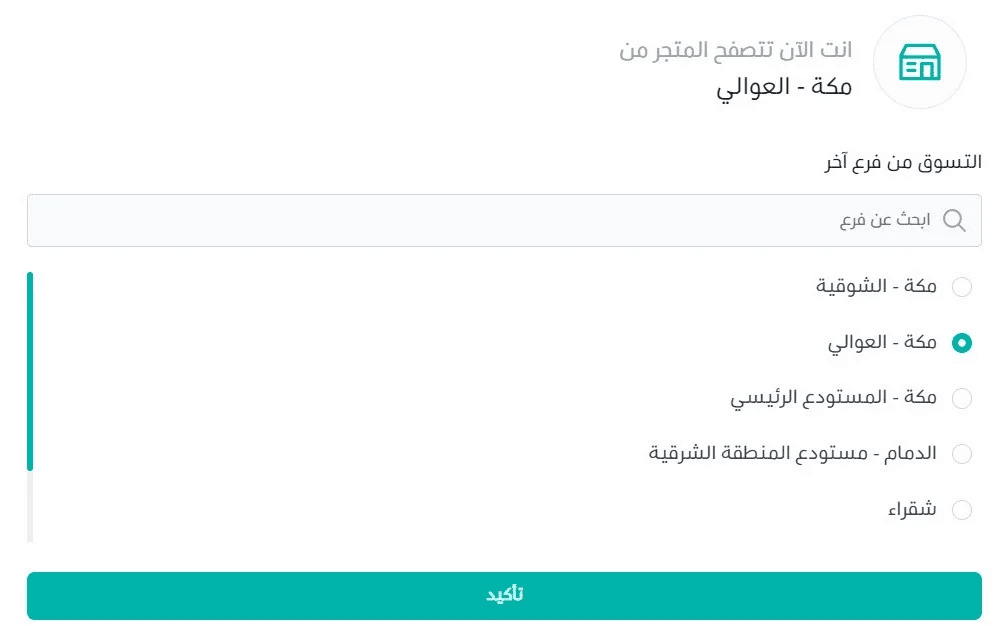
- By City
- By Branch

Set the inventory deduction strategy
This controls how product quantities are deducted across branches when purchases happen.

Available options include:
Branch/Warehouse with the highest stock
Quantity is deducted from the location with the largest available inventory.
Closest Branch/Warehouse to the customer
Quantity is deducted from the branch nearest to the customer’s location.
Branch/Warehouse priority order
Quantity is deducted based on the priority ranking you define.
Display product availability on the product page
You can enable product availability visibility by showing branch stock status directly on the product page.
Customers will see branch availability as:
- Available
- Not Available
- Limited Stock
This helps customers choose the best branch for pickup or fulfillment.

When enabled, customers will see a Check Availability in Branches button on the product page.
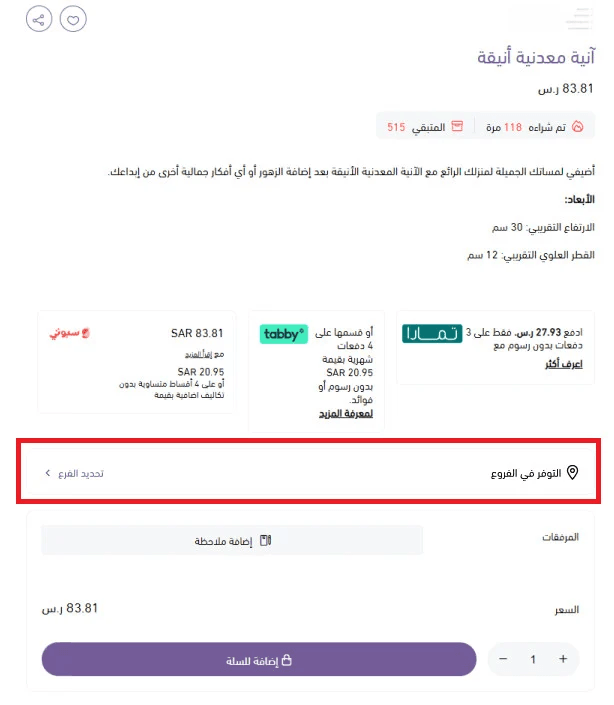
Clicking it opens a window showing availability across branches.

📝 Note: Limited stock means the product quantity is below 50 units.
Customize shipping settings
Retail shipping settings are divided into four key areas:
- Shipping one order from multiple branches
- Calculating shipping costs
- Automatic courier assignment
- Handling unlimited-stock products from the default branch
1. Shipping products from multiple branches
If a customer orders products from different branches, you can fulfill them in two ways:

Single Shipment
All items are combined into one shipment, with one shipping label issued.
This applies when:
- All products are from one branch
- Products are from multiple branches, but the merchant consolidates them manually
Multiple Shipments
Separate shipping labels are issued for each branch shipment.
In this case:
- Shipping options are hidden from the checkout page
- Available only when browsing is set by city or country
2. Shipping cost calculation strategy
For multi-shipment orders, you can calculate shipping using:

Option 1: Fixed Fee
A single flat shipping charge applies to all multi-shipment orders.

Option 2: Total Shipment Fees
Shipping costs for each shipment are added together.
The total shipping cost appears at checkout, without showing courier lists.
3. Automatic Courier Assignment
You can assign shipping companies automatically based on:

Lowest Cost Courier
Orders are assigned to the cheapest available courier in the customer’s delivery zone.
Courier Priority Order
Orders are assigned based on your predefined courier ranking.
The system checks availability in order until it finds a supported courier.
Enable Free Shipping Courier Option
If enabled, and the customer meets free shipping conditions:
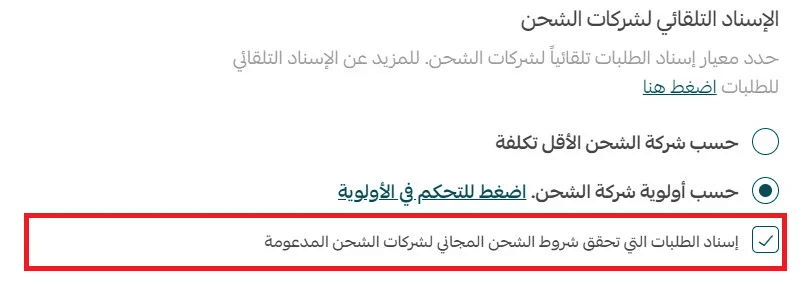
- Shipping becomes free
- The free courier is used instead of the default assignment
For more details, see: Free Shipping Settings
4. Unlimited stock products fulfillment

This controls how unlimited-stock items are deducted:
Unlimited stock + feature enabled → deducted from the default branch
Unlimited stock + feature disabled → deducted based on your chosen deduction strategy
Frequently asked questions
Which plan supports the Retail Stores feature?
Retail Stores is available only for merchants on the Special Plan.
Can I delete the Retail Stores App?
You can delete the app only if it has not been activated.
Once Retail Stores is enabled, it cannot be removed.
To delete the app (before activation):
- Go to Installed Apps

2. Locate the Retail Stores App
3. Click (...) then select Delete App

Related articles
- Managing multi-shipment orders
- Customer Eeperience in retail stores on Salla