Starting an online business in the United Arab Emirates has never been easier. With Salla, you can create a fully functional e-commerce store in minutes, no technical skills required, and fully compliant with UAE regulations.
Whether you’re launching your first online store, switching from social selling, or moving an existing business online, this step-by-step guide shows you exactly how to sign up on Salla, set up your store, and start selling to customers across the UAE.
📌 Article overview
- How to sign up for a Salla account
- Step 1: Entering your registration details
- Step 2: Quick overview of your store
- Step 3: Choosing a store plan
How to create your Salla account
Step 1: Enter your registration details
- On the sign-up page, choose the language you want to use to complete your setup.
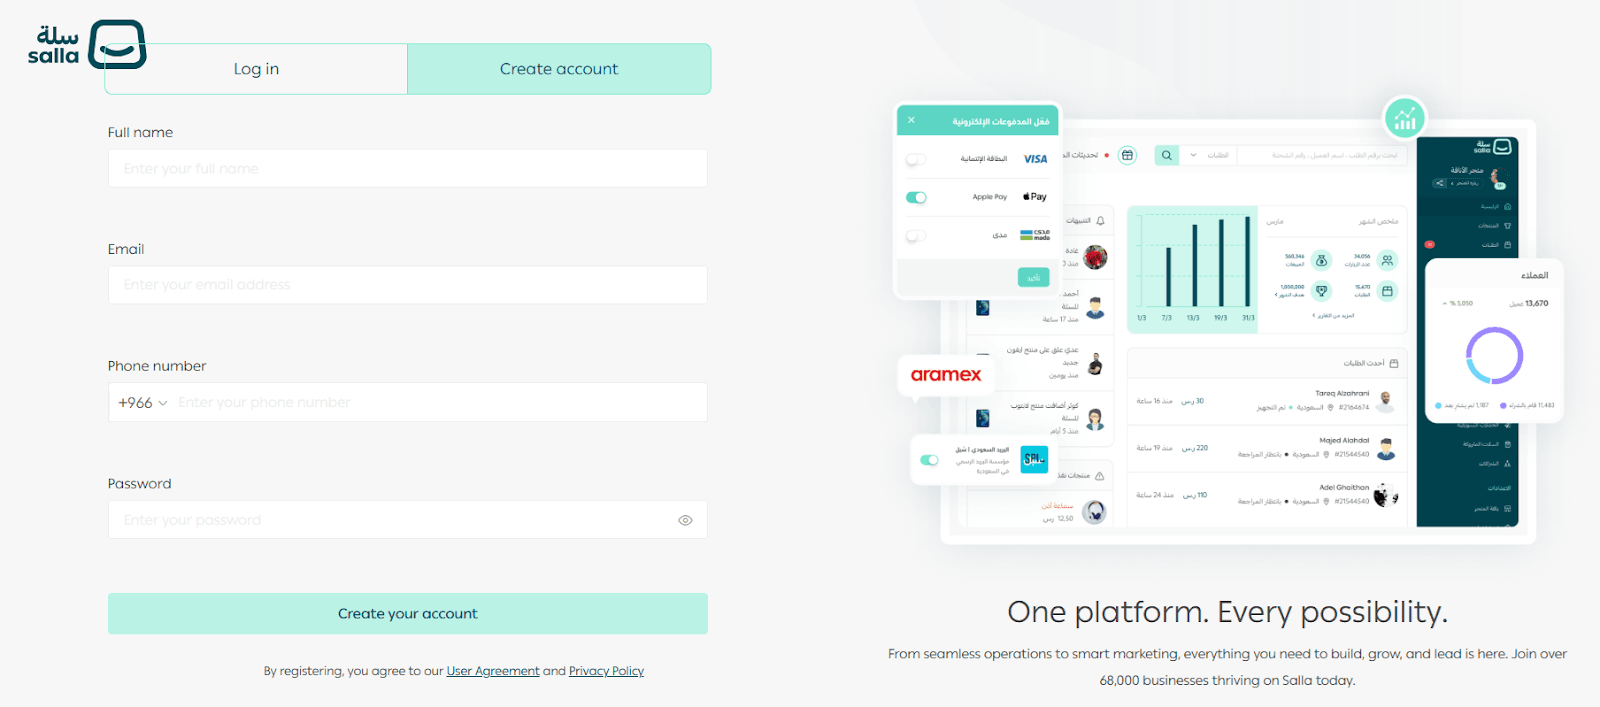
Enter the required information:
- Full name
- Email address
- Mobile number
Password
- Click Create your account after confirming you agree to Salla’s User agreement.
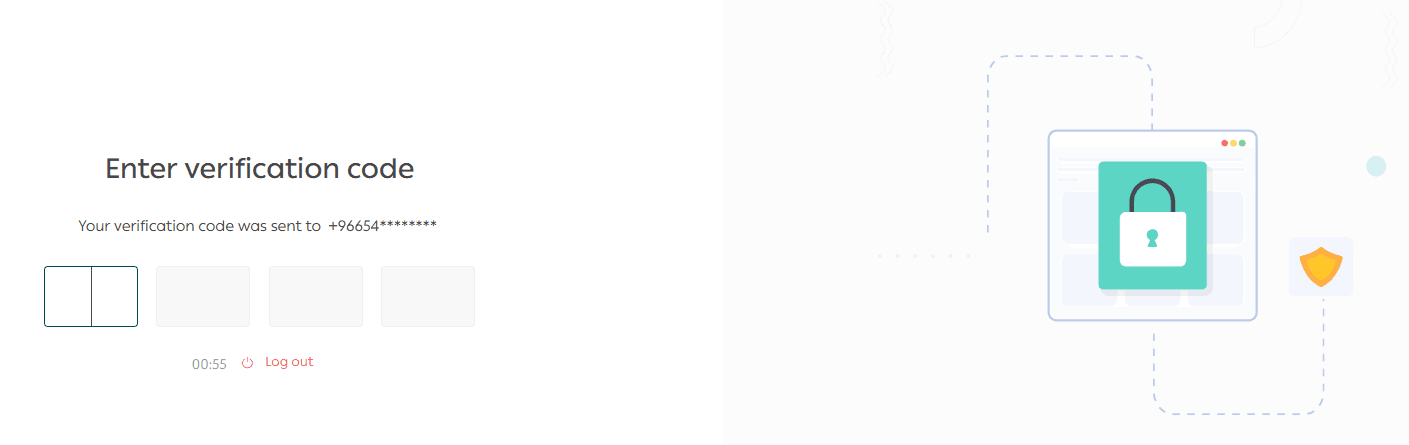
- You’ll receive an OTP verification code on your phone.
Enter the code to confirm your mobile number.
Step 2: Tell us a bit about your store
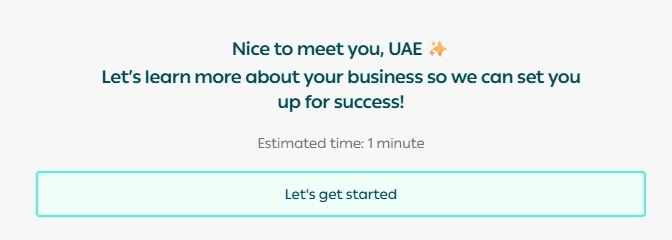
After verification, you’ll move into Salla’s onboarding flow, designed to set your store up correctly based on your business details.
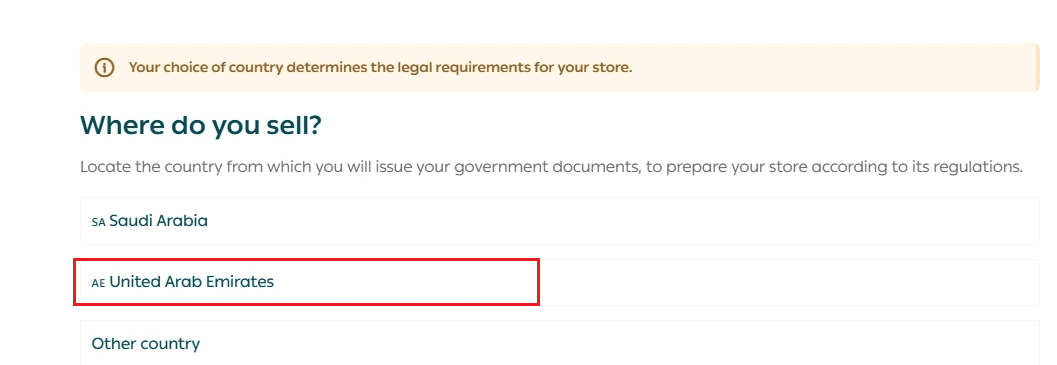
- Select the country you’re registering from
This matters because it determines the official documents and requirements needed to prepare your store according to local regulations.
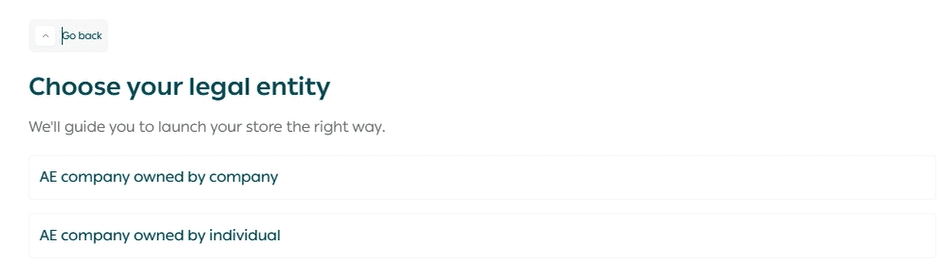
- Choose your business entity type
Picking the right entity helps you stay compliant and prepares your store for future verification and licensing.
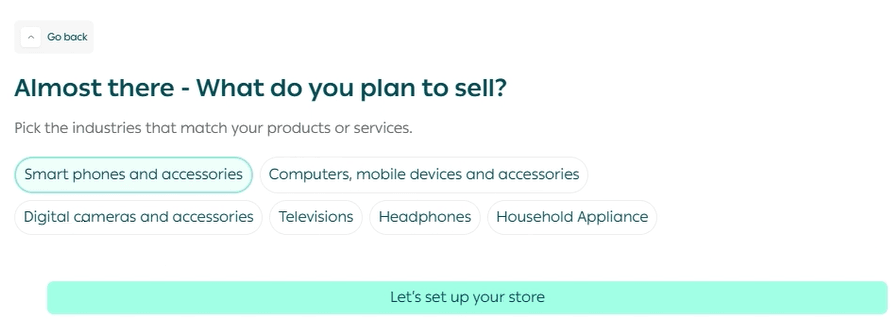
- Answer a few light questions about your business
These questions help make the setup smoother and more relevant to your store.
💡 Example (if you choose “Individual”)
You’ll start with questions like:
- Is your business already active?
And the flow typically ends with:
- What is your business activity?
💡 Example (if you choose “Company”)
You’ll also start with:
- Is your business already active?
And the questions will continue based on company setup, ending with the final onboarding question shown in the flow.
- After that, you’ll be taken to the next step to select your store plan and continue launching your store.
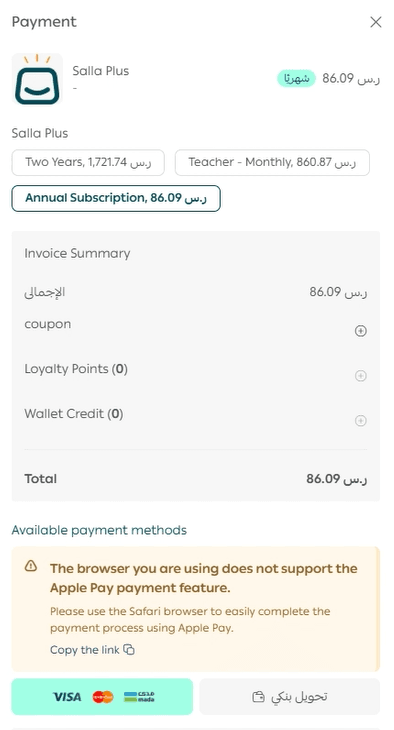
Step 3: Choose your store plan
- Pick the plan that best fits your business needs.
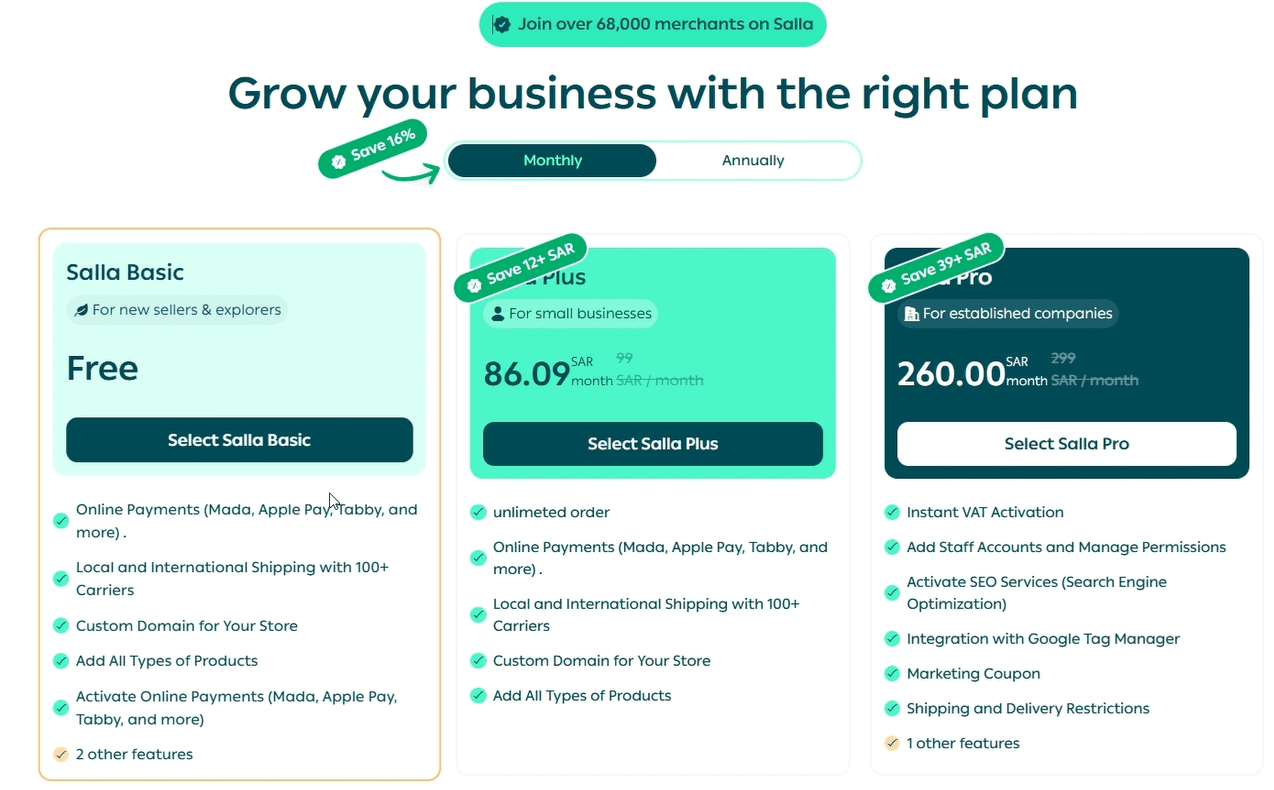
- Complete the payment to activate your plan and unlock the platform features.
Start your journey with confidence ✨
This guide helps you move from account creation to launching your store with clear steps, so you can save time and focus on getting your first order.
Merchant services
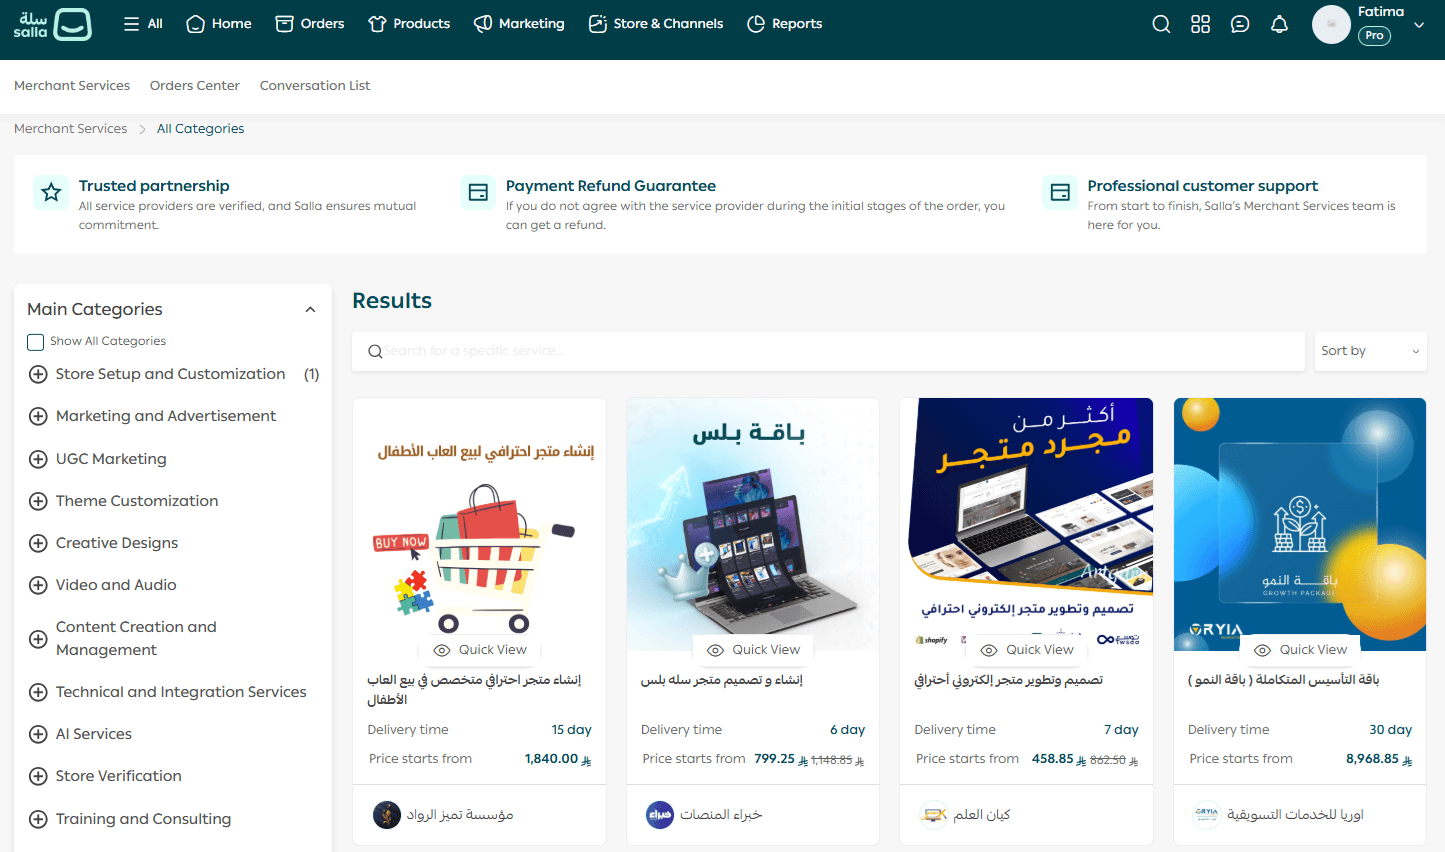
If you’d like help setting up your store, you can work with trusted experts who can support you with everything from store setup and design to enabling payment methods and launching professionally.
Related articles
- Verifying your new UAE store as an individually-owned company
- FAQs about creating a new store in the UAE
- Verifying your UAE store as a company owned by another company