Want an app that shows your products as a clean, scrollable list customers can order from in seconds?
The menu template gives your store app a distinctive interface built around a running list of items, with an eye-catching way to show products, notifications, and discounts, straightforward order management, and support for the different payment methods. In this guide, you'll learn what the menu template is good for, how to switch your app to it, and how to customize every part of it.
To use the menu template, open (App Maker) from your store's dashboard, click (Change) next to the current template, select the menu template, and click (Save). You can then customize the home page, the top bar and tabs, the splash screens, and the general settings, saving your design each time.
📌 Article overview
- Is the menu template only for restaurant apps?
- How to choose the menu template for your app
- What you can customize in the menu template
- Important notes
- Frequently asked questions
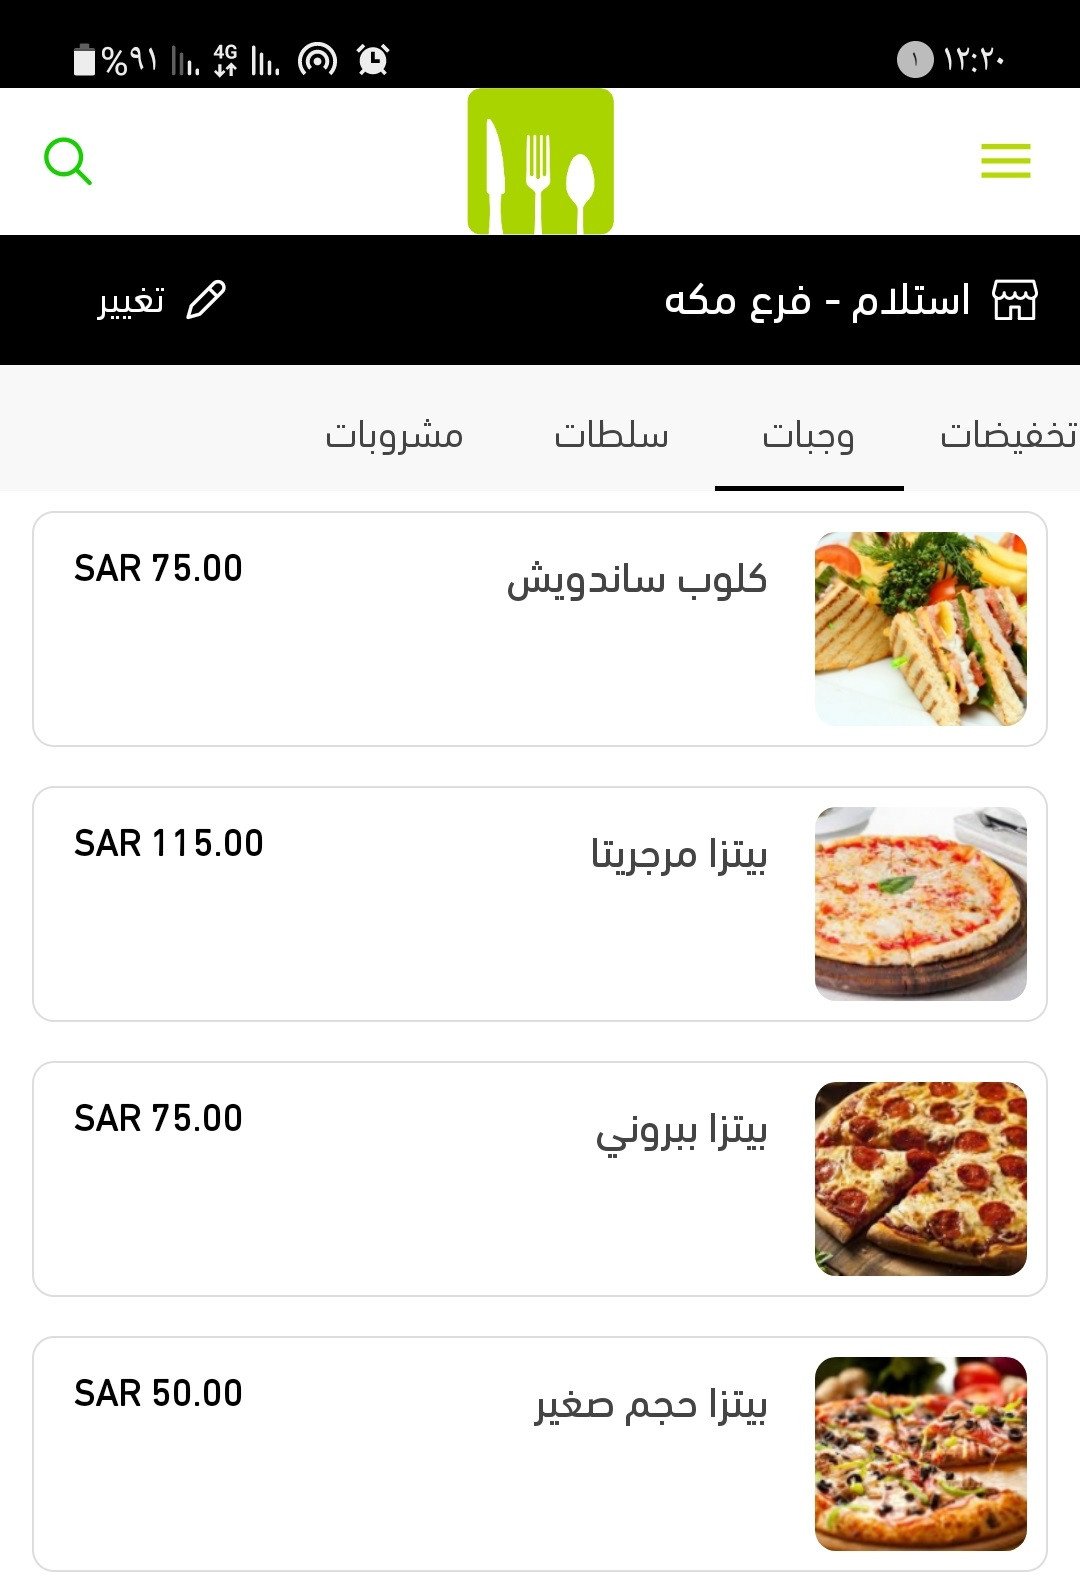
Is the menu template only for restaurant apps?
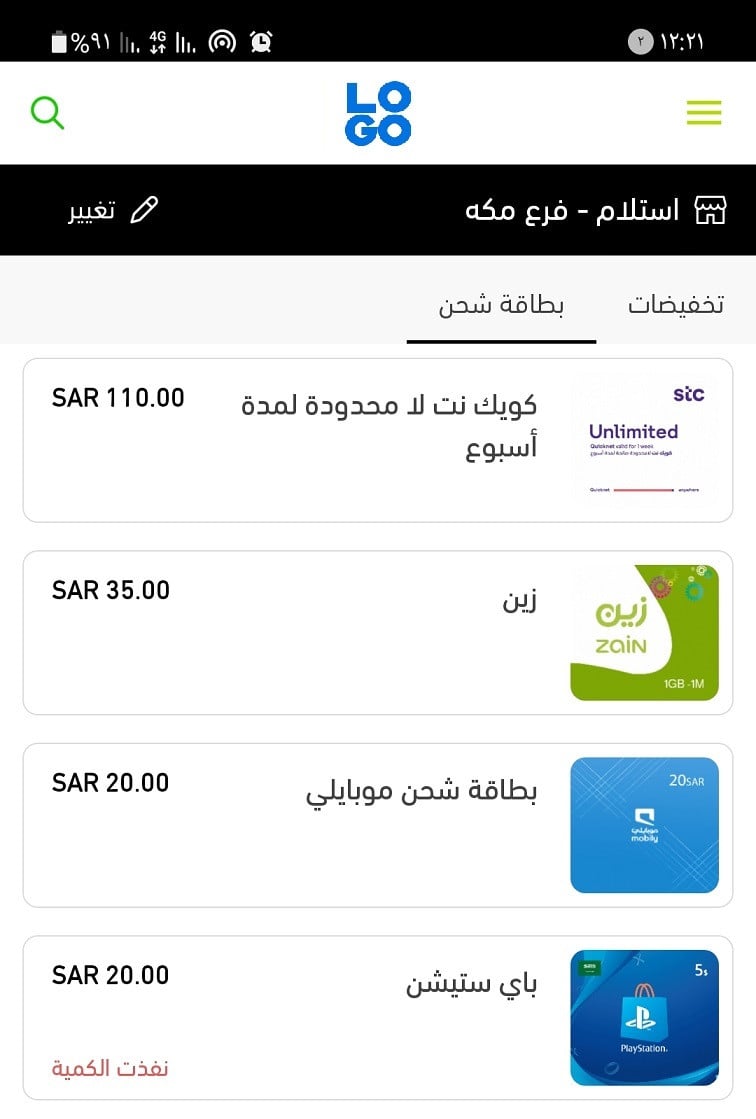
No. The menu template suits any business that wants to present its products or services as a list of items displayed one after another.
For example:
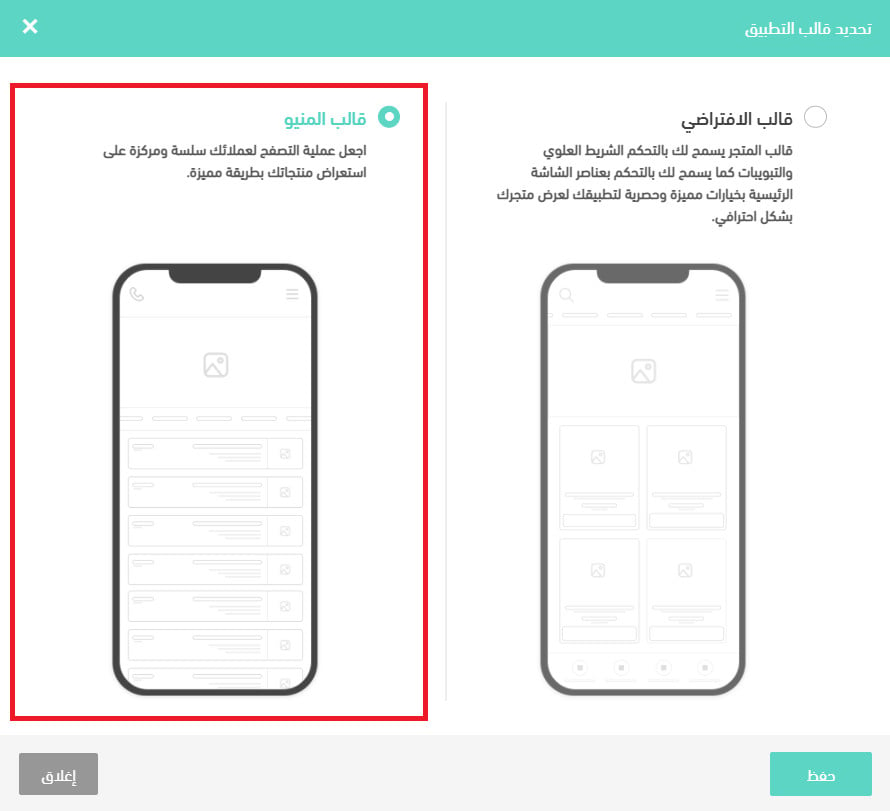
👣 How to choose the menu template for your app
1. Click (Change) next to the template you are currently using.

2. Select the menu template from the available templates, then click (Save).
What you can customize in the menu template
From the side menu of your store's dashboard, click (App Maker).

The app design page is where you control how the app looks and behaves, section by section.
1. Home page
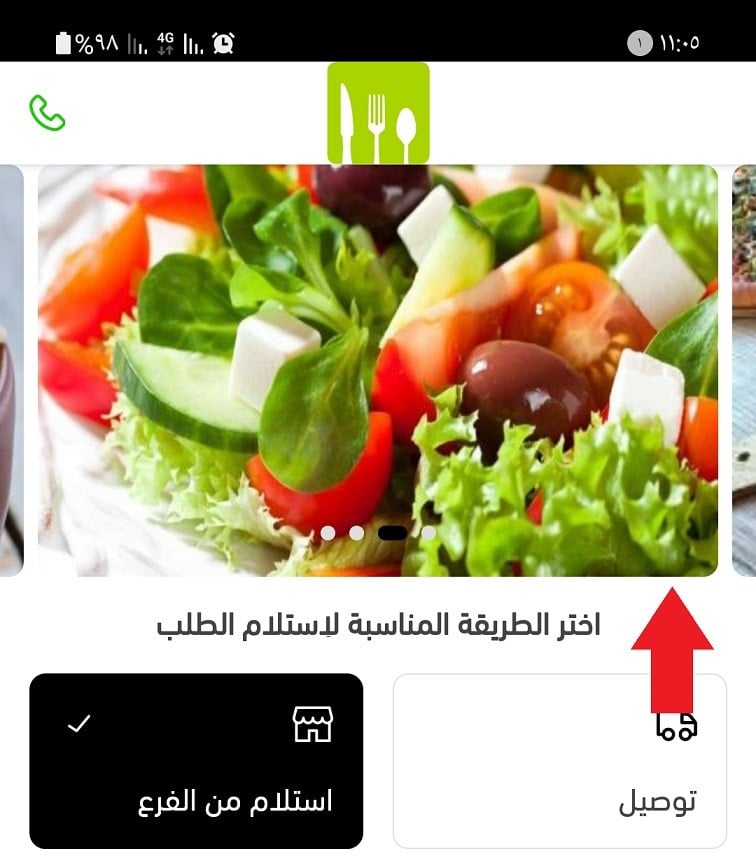
Add the sliding banner images that appear at the top of the app's pages.
Upload several images at the preferred size (1024 x 1024 pixels), and link each one to a product, a category, a special offer, or an information page.
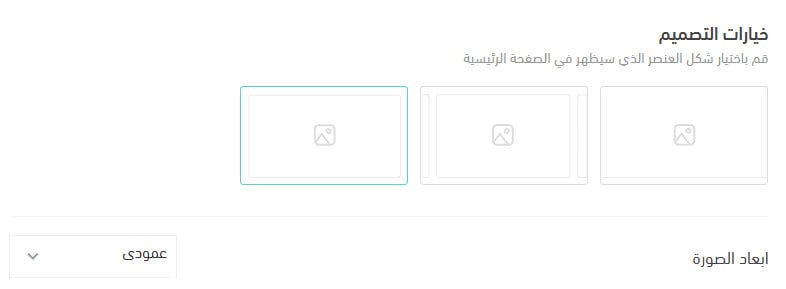
For example:
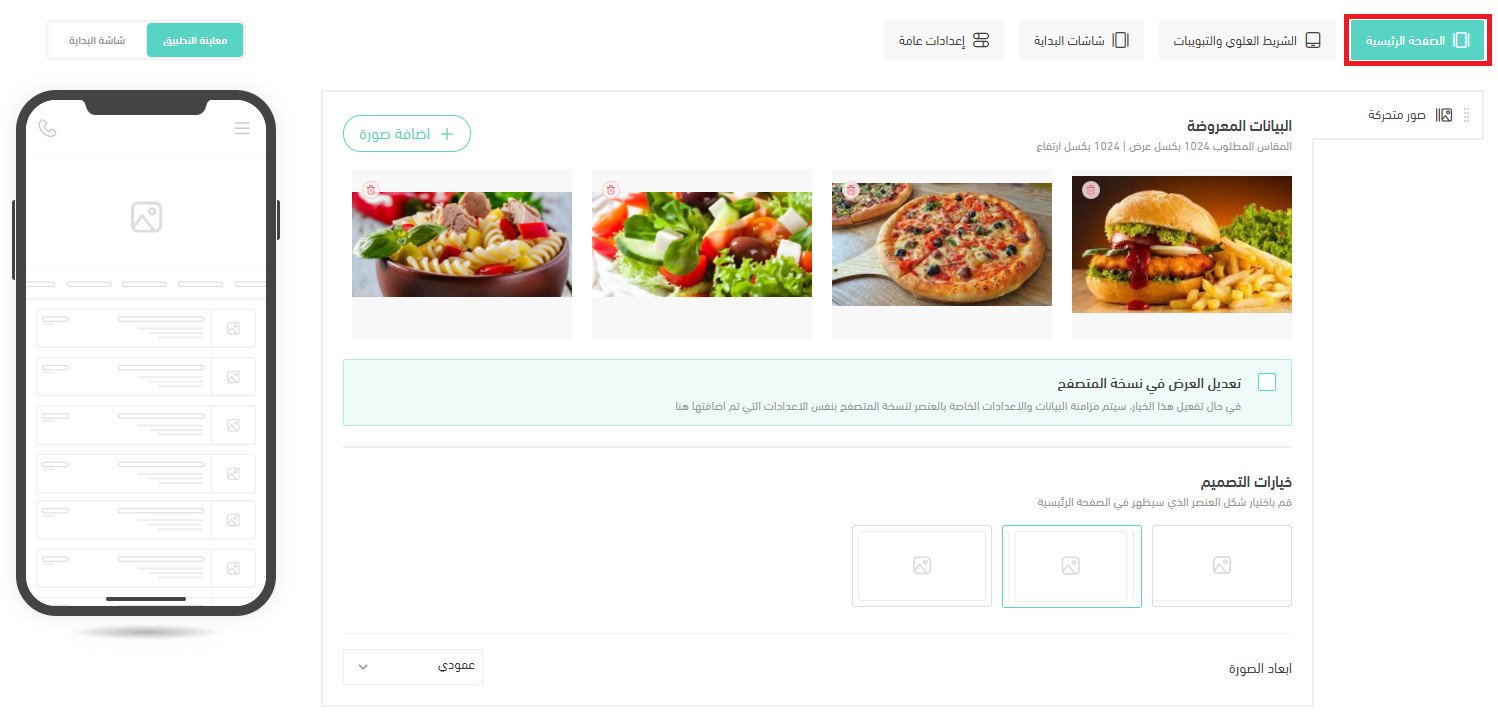
And this is how it appears in the app:
2. Top bar and tabs
The (Top bar and tabs) tab lets you tailor both to your line of business and to what your customers expect.
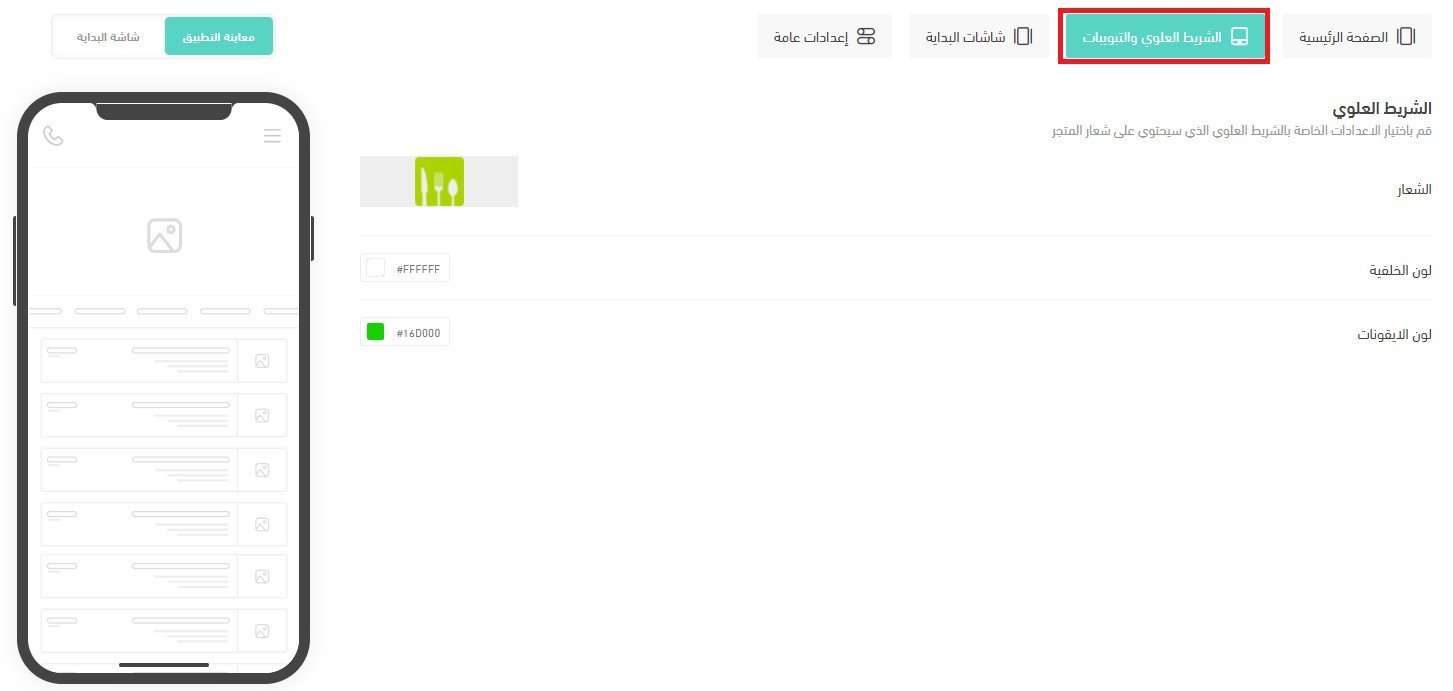
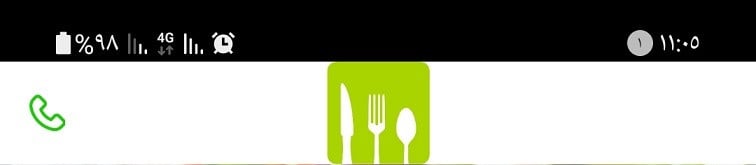
Set the logo and the background color of the top bar, and pick the color of the icons.
For example:
3. Splash screens
There are two kinds of start screen:
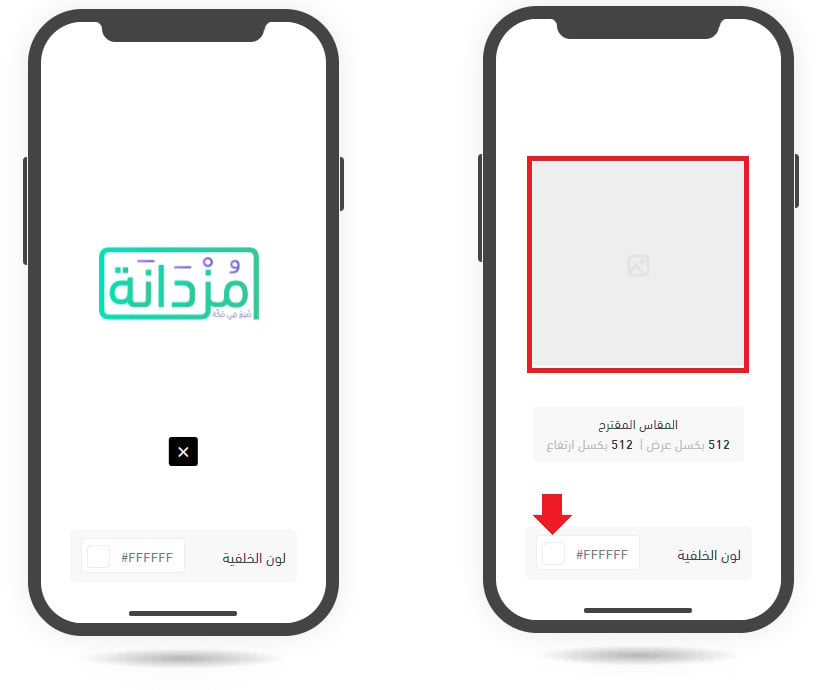
The splash screen appears every time the customer opens the app. To customize it, choose a background color and upload an image at the preferred size (512 x 512) — your store logo on a white background, for example.
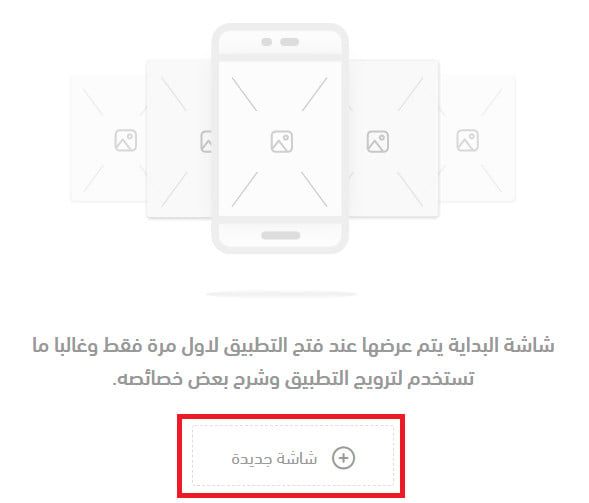
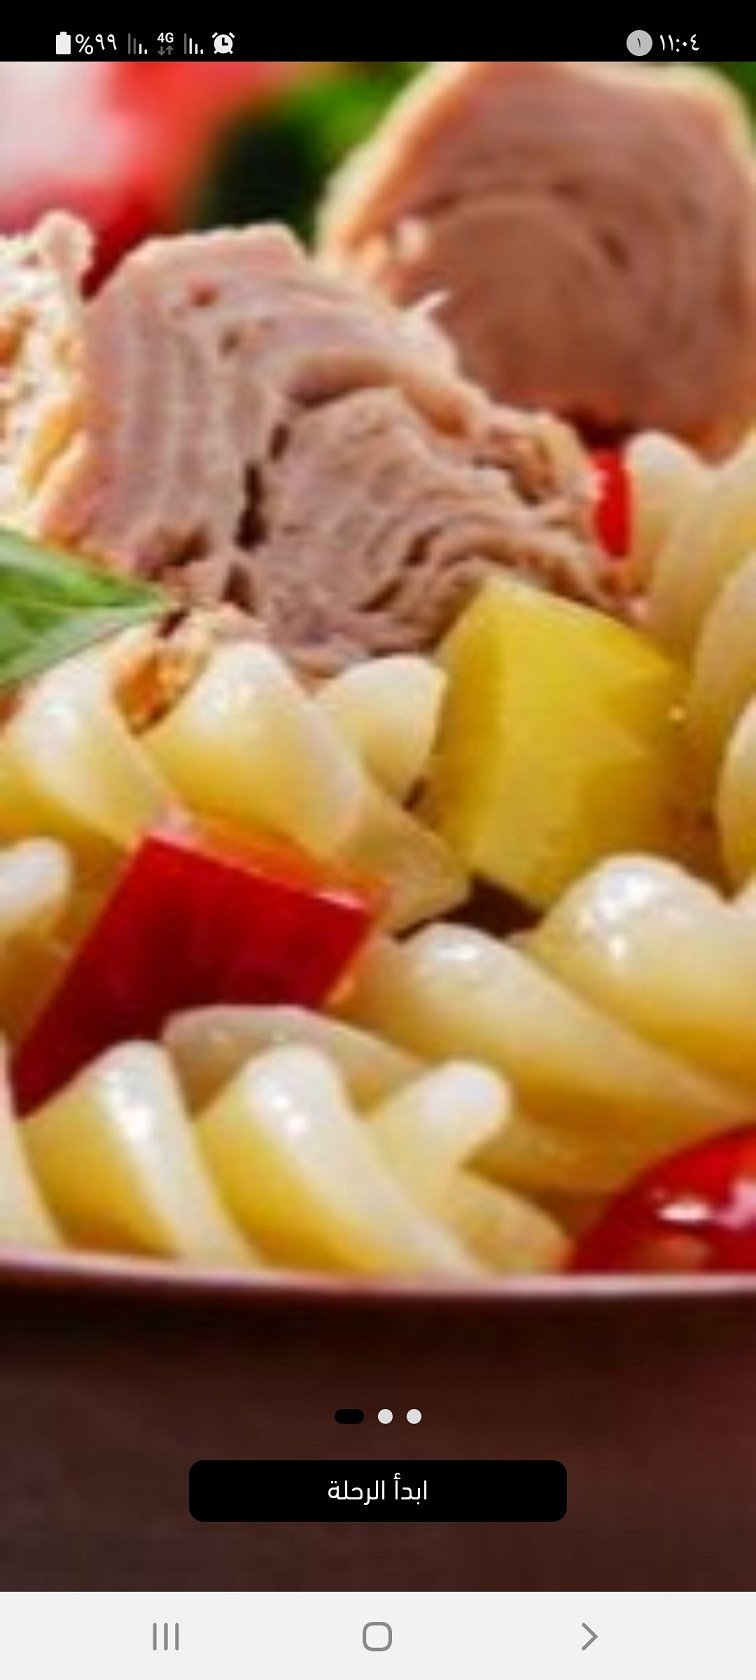
The onboarding screens are shown only once, the first time the customer opens the app after installing it.
To set them up, click (New screen).
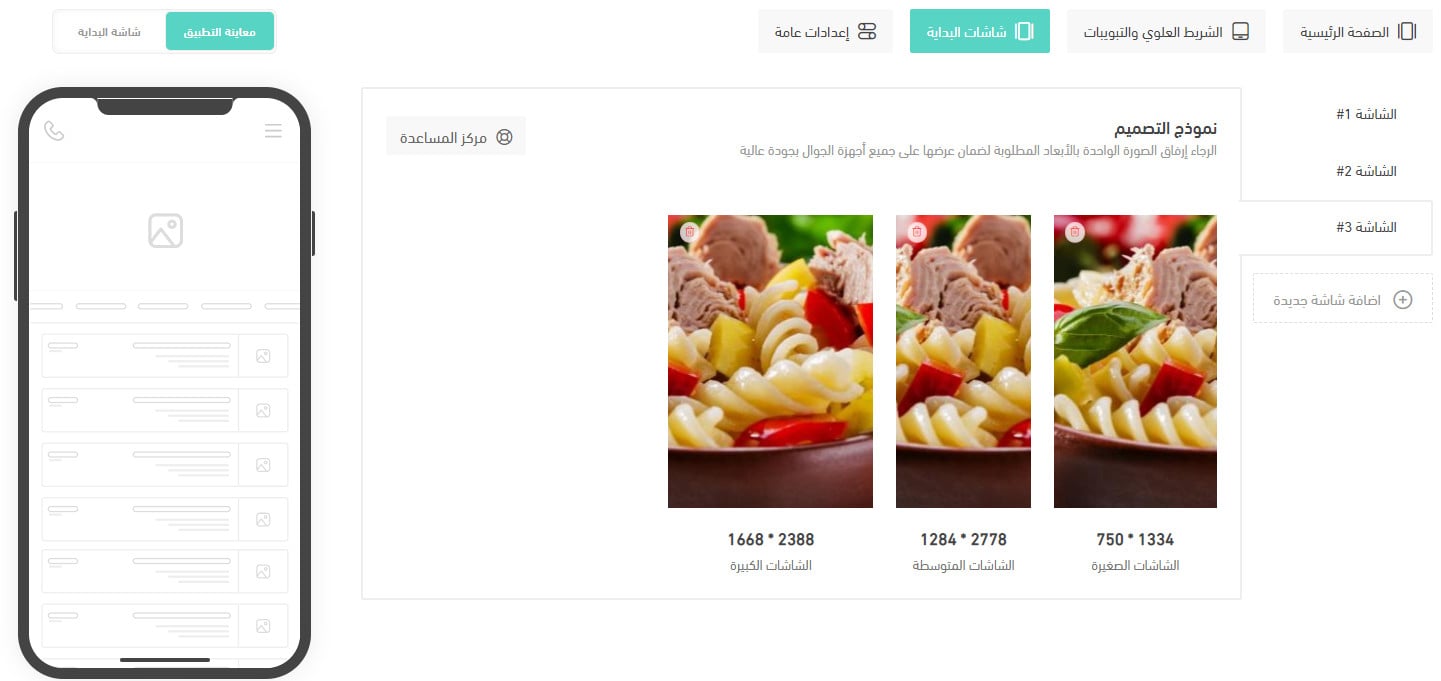
Upload images that work across every screen size.
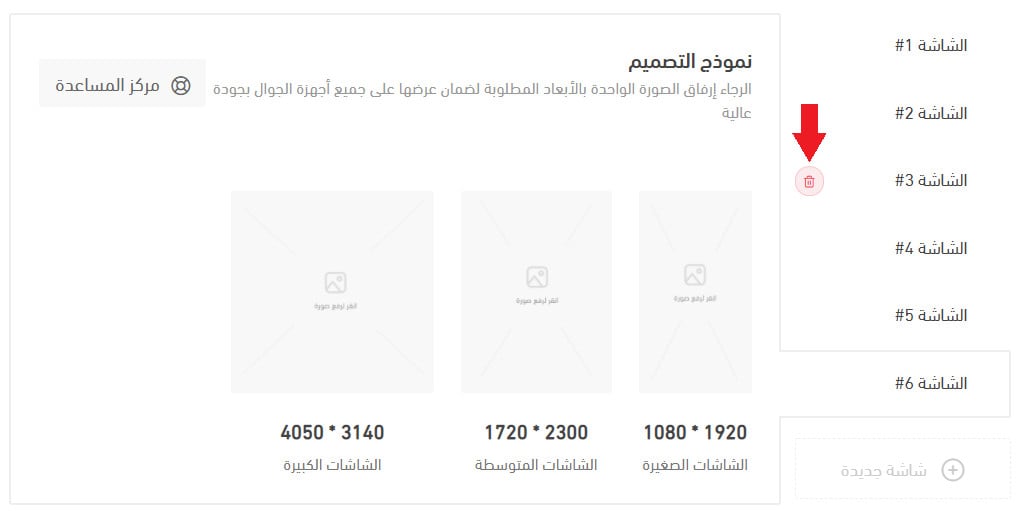
You can add up to 6 screens, and remove any of them with the delete button next to the screen number.
For example:
4. General settings
From the general settings, control:
1. The look of the loading indicator and the app color.
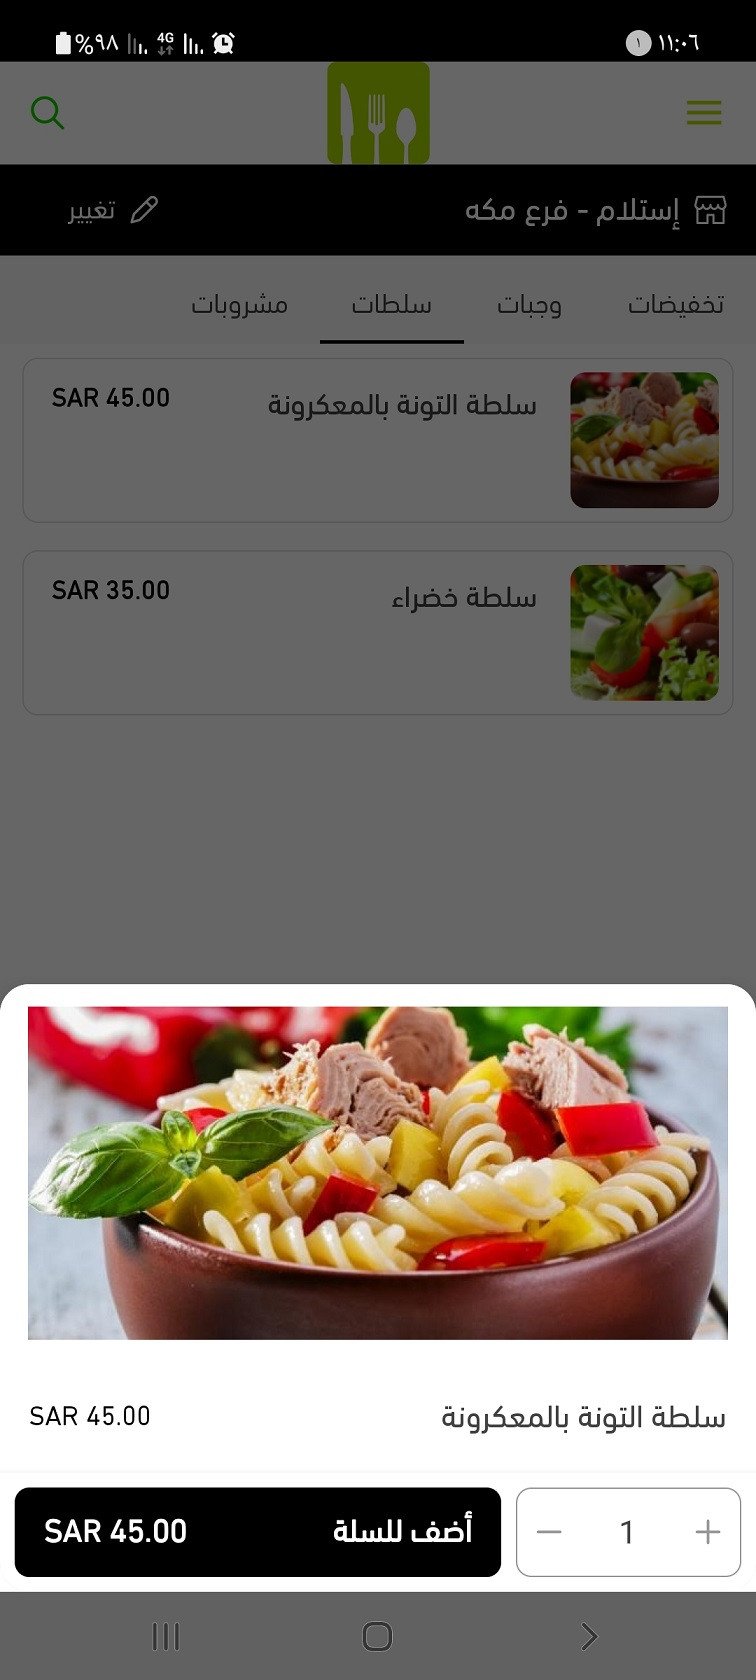
2. Product image display (full image or fitted) — whether the product image is shown in full or fitted into the space available on the product details page.
3. Product details image size (default or large) — the size of the product image on the product details page.
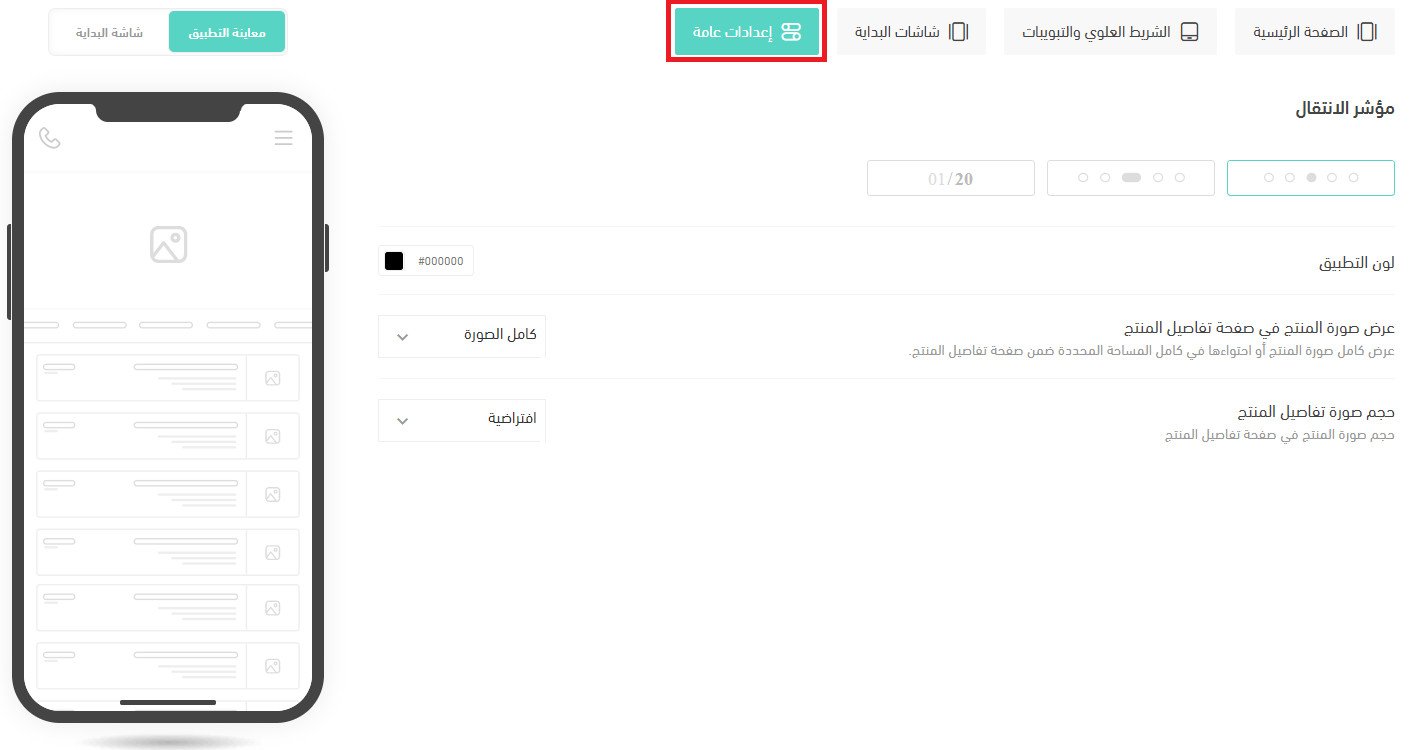
For example:
📝 Important notes
Always click (Save settings) before you click (Publish app). Any design change you made is applied only after you save it.

❓ Frequently asked questions
Can I use the menu template if I don't sell food?
Yes. It fits any business that wants its products or services listed as items shown one after another, not just restaurants.
How do I switch my app to the menu template?
Click (Change) next to the template you're using now, select the menu template, then click (Save).
What image size should I use for the app banners?
The preferred size is 1024 x 1024 pixels, and each banner can link to a product, a category, a special offer, or an information page.
How many onboarding screens can I add?
Up to 6. Each one can be removed with the delete button next to its number.
Why aren't my design changes showing in the published app?
Because the design was published before it was saved. Click (Save settings) first, then click (Publish app).