Ready to open your store, but not sure where the setup actually begins?
Every launch has its hurdles. This guide walks you through what it takes to create a new store on Salla — setting up your store details, adding your first product, connecting shipping companies, and switching on electronic payments, one step at a time. By the end, your products will be presented professionally, with a range of payment methods and delivery options ready for every product type, so you can launch and start taking your first orders. In this guide, you'll learn how to complete each setup step and what to do after registration.
To create a store on Salla, sign up for an account, then click Start now. Enter your store name, logo, and business activity, add your first product, set your pickup location, enable the shipping companies you need, activate electronic payments, and choose the plan that fits your business.
📌 Article overview
- Enter your store information
- Add your first product
- Activate shipping options
- Activate electronic payments
- Choose your Salla plan
- Support services and learning resources
- Frequently asked questions
🚀 Steps to create your new store on Salla
Once you have created a new account on Salla, click (Start now) to begin building your store.
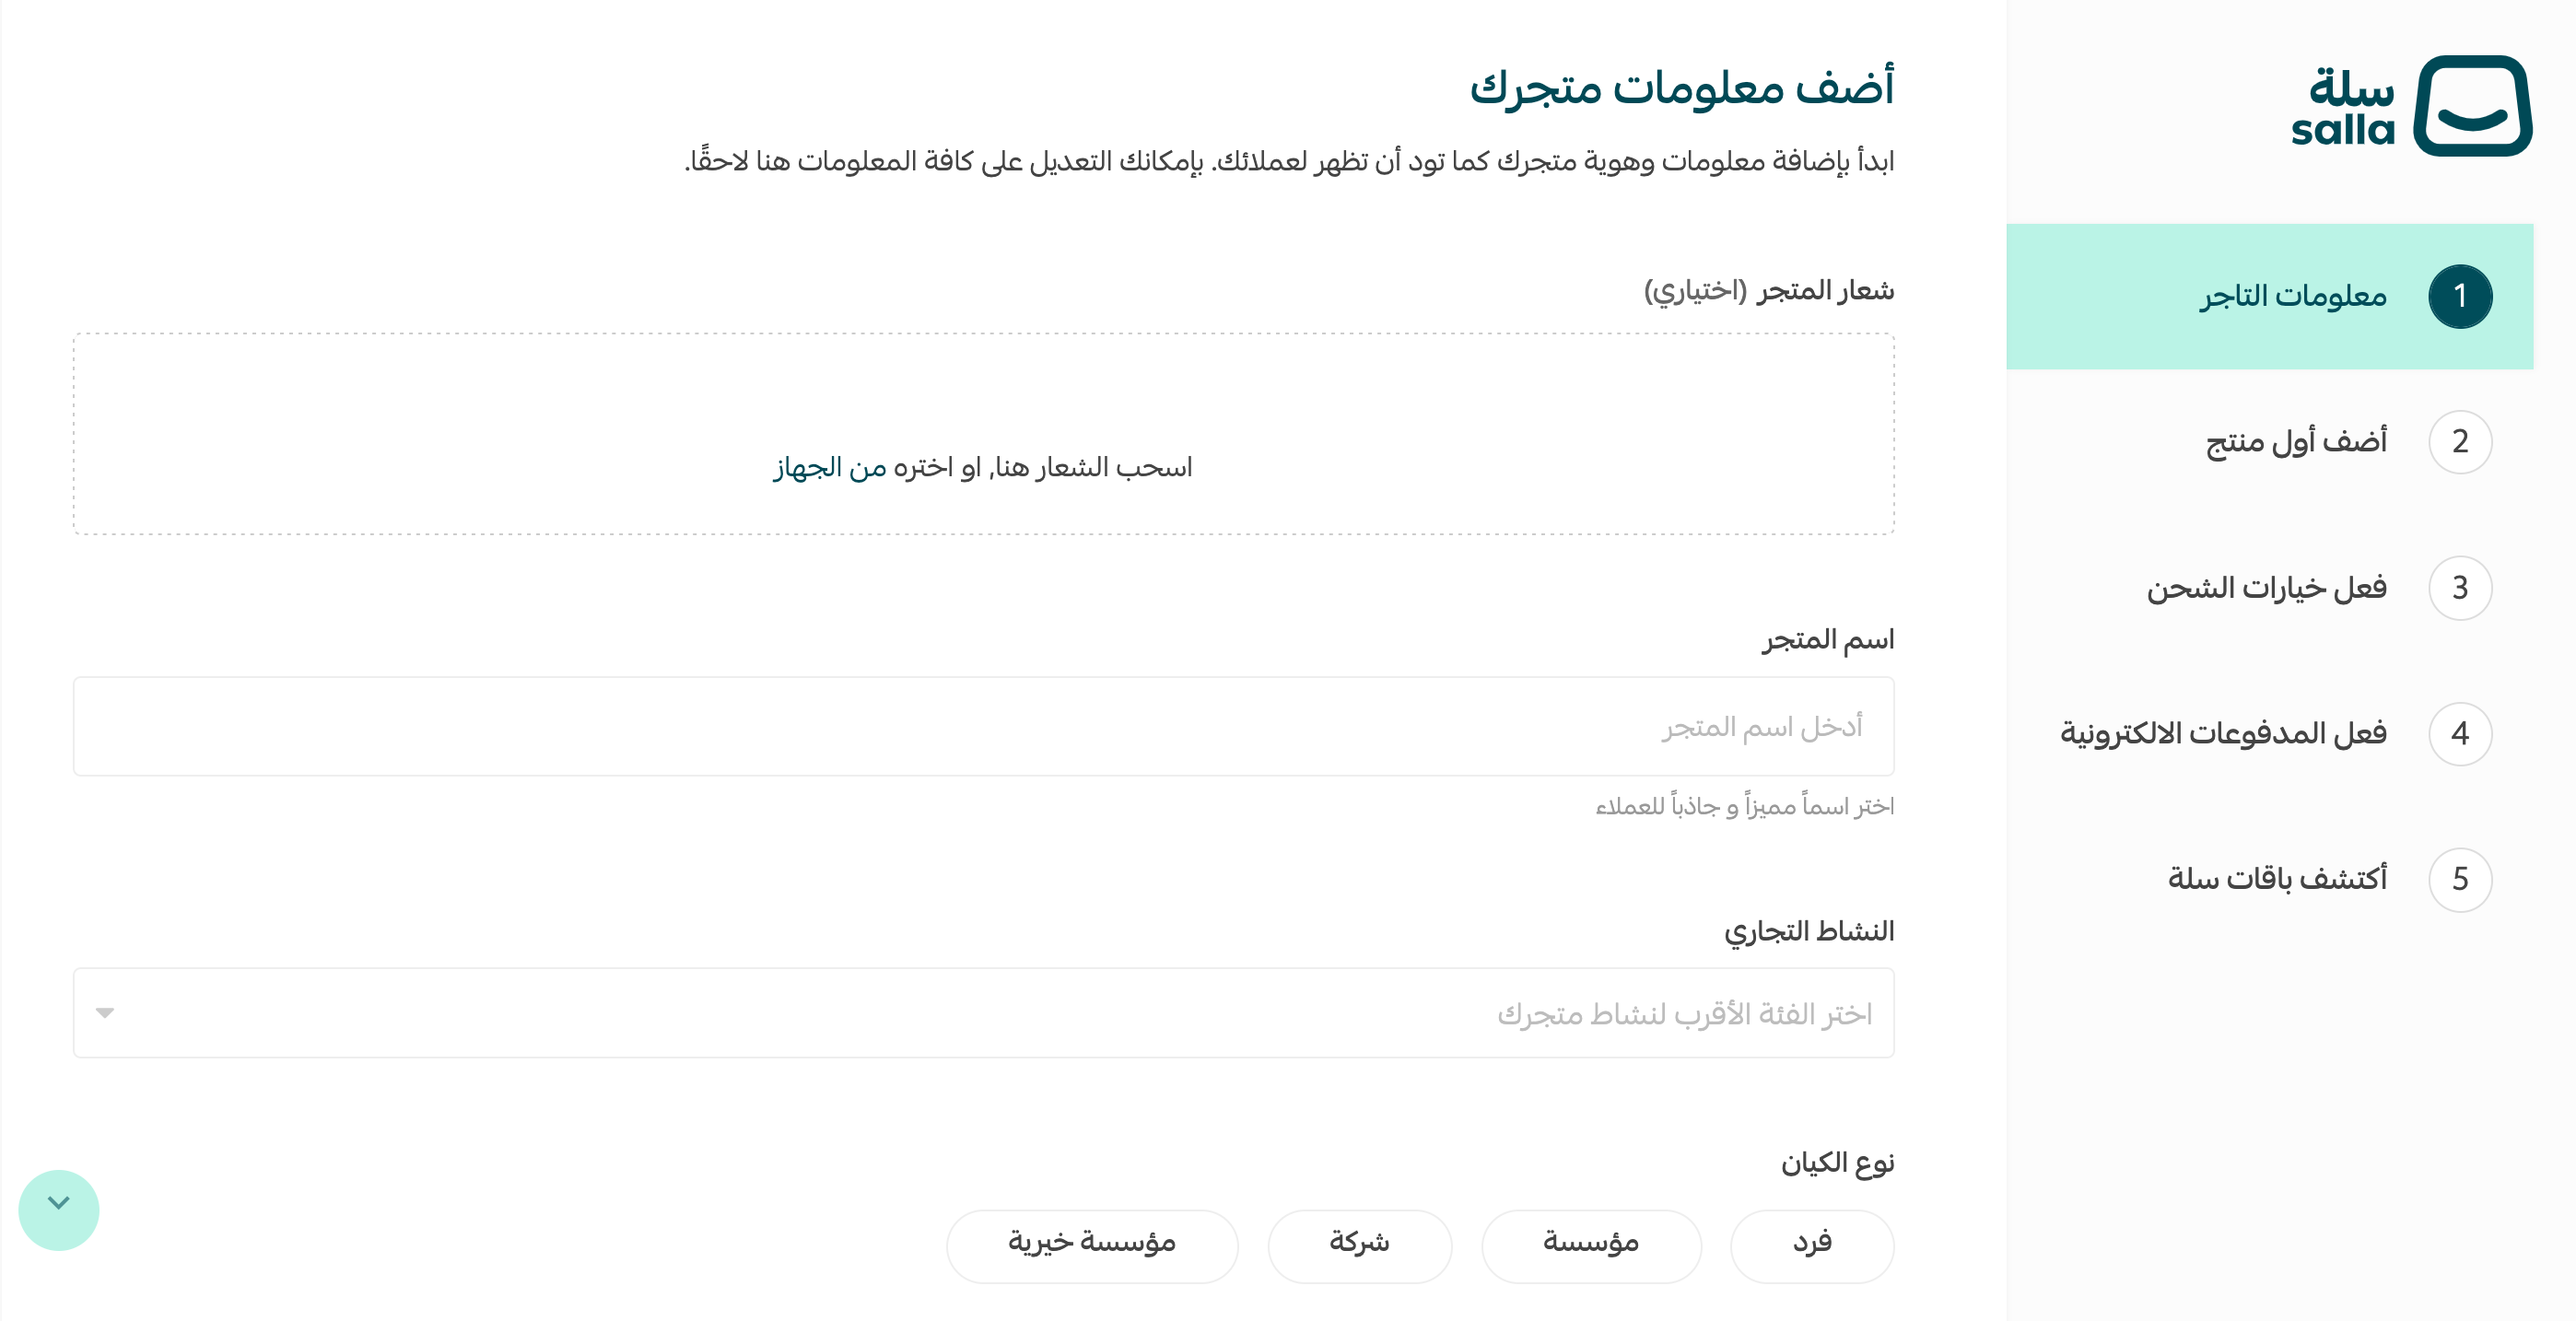
First: enter your store information
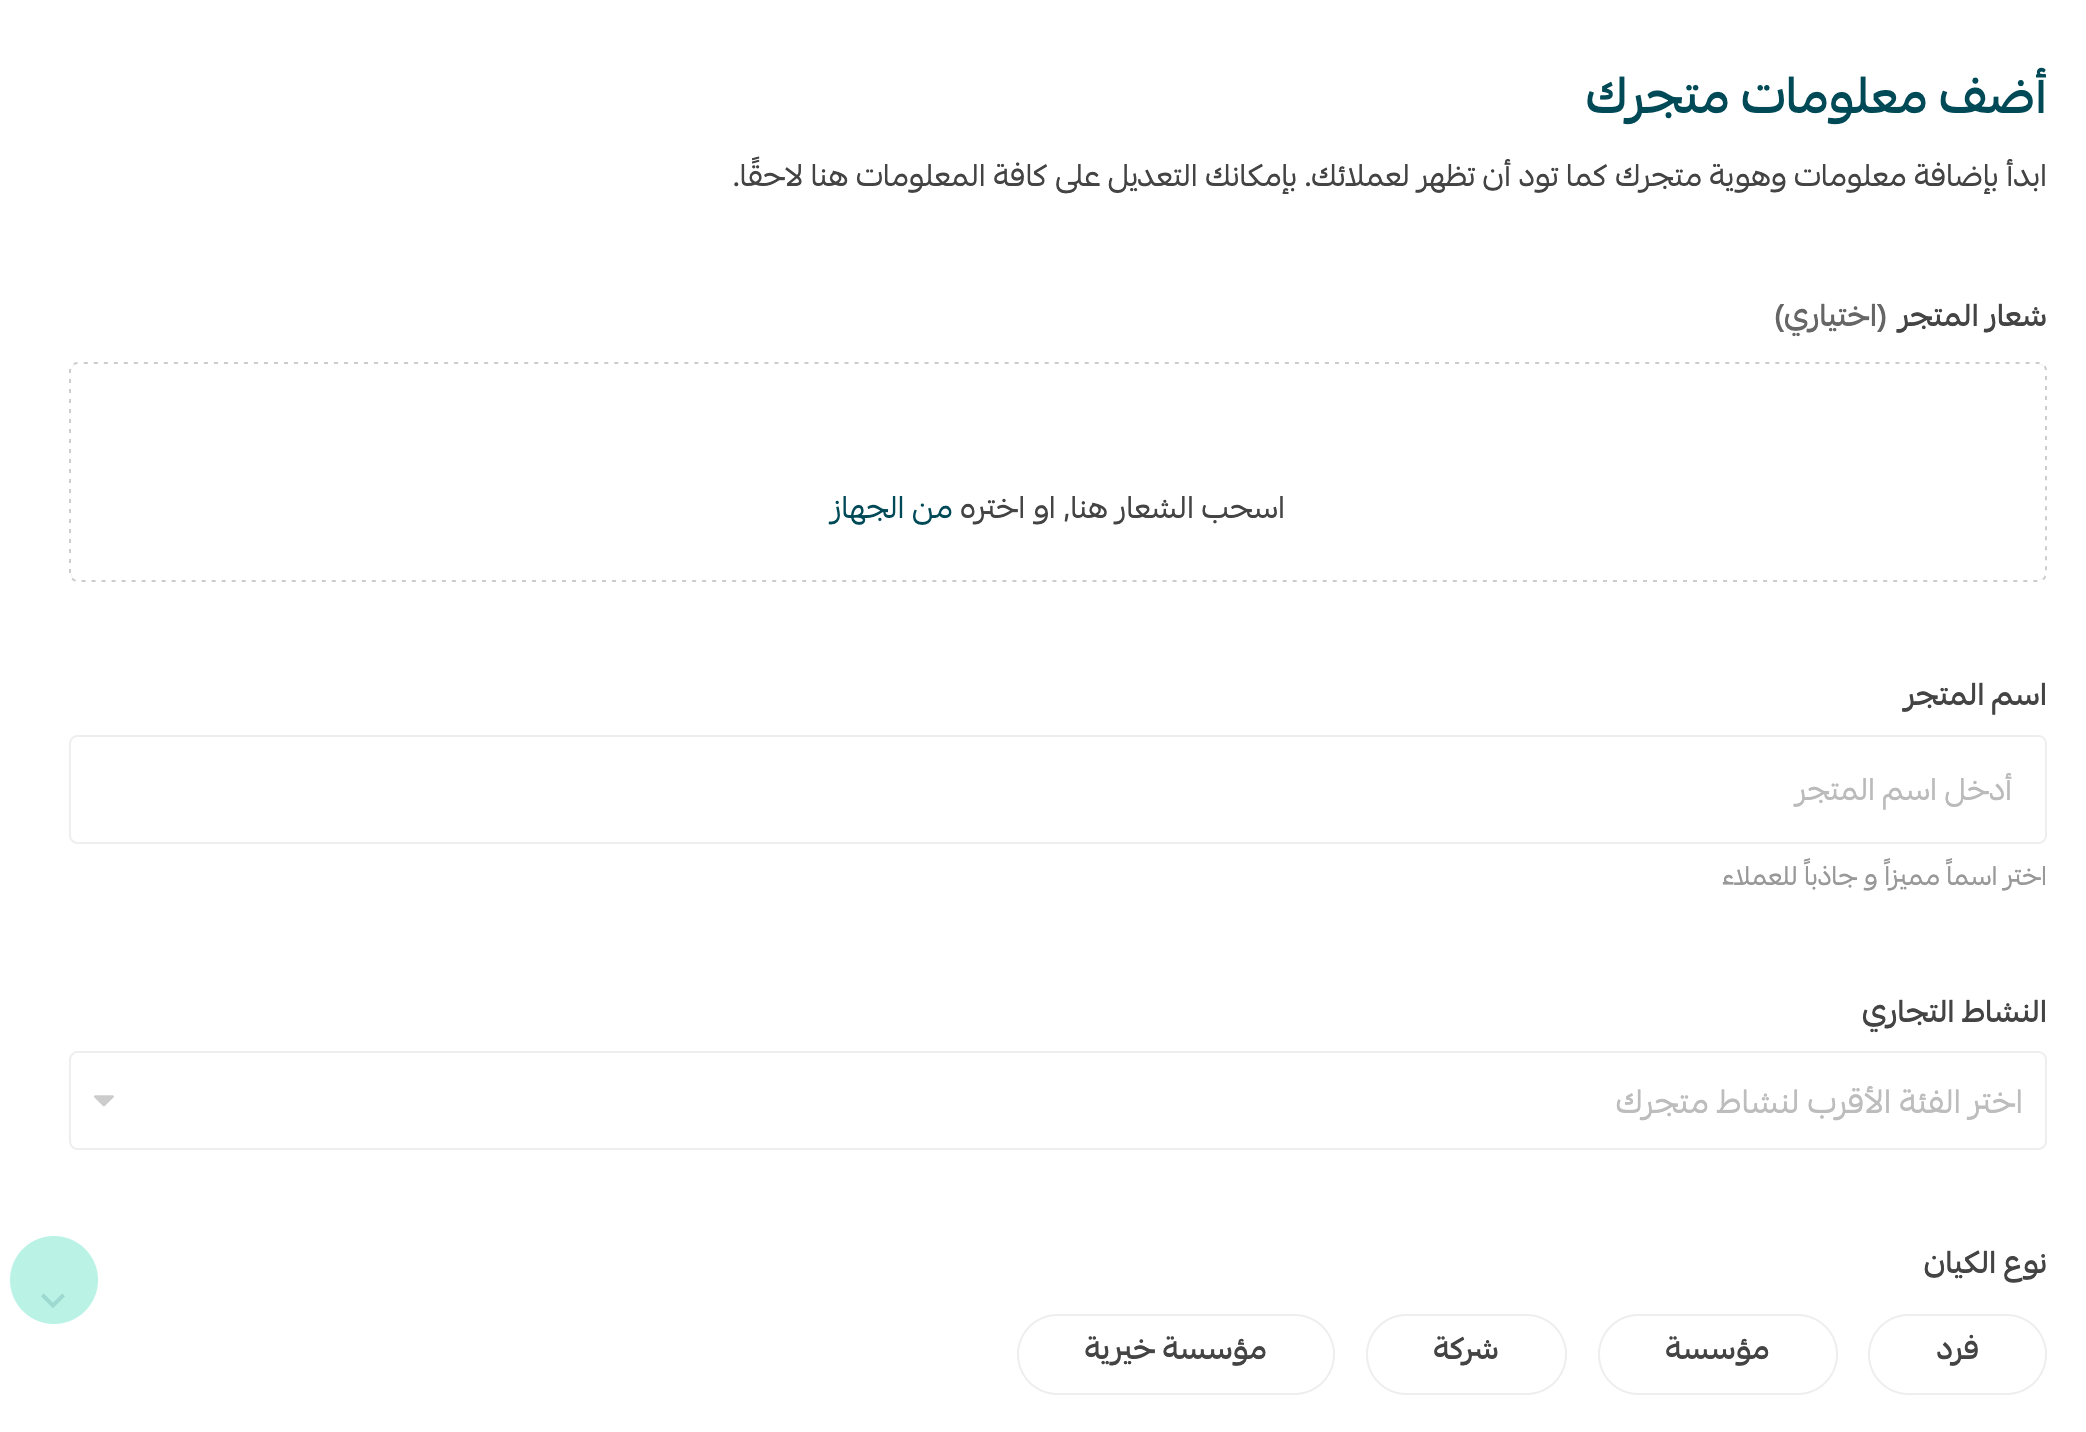
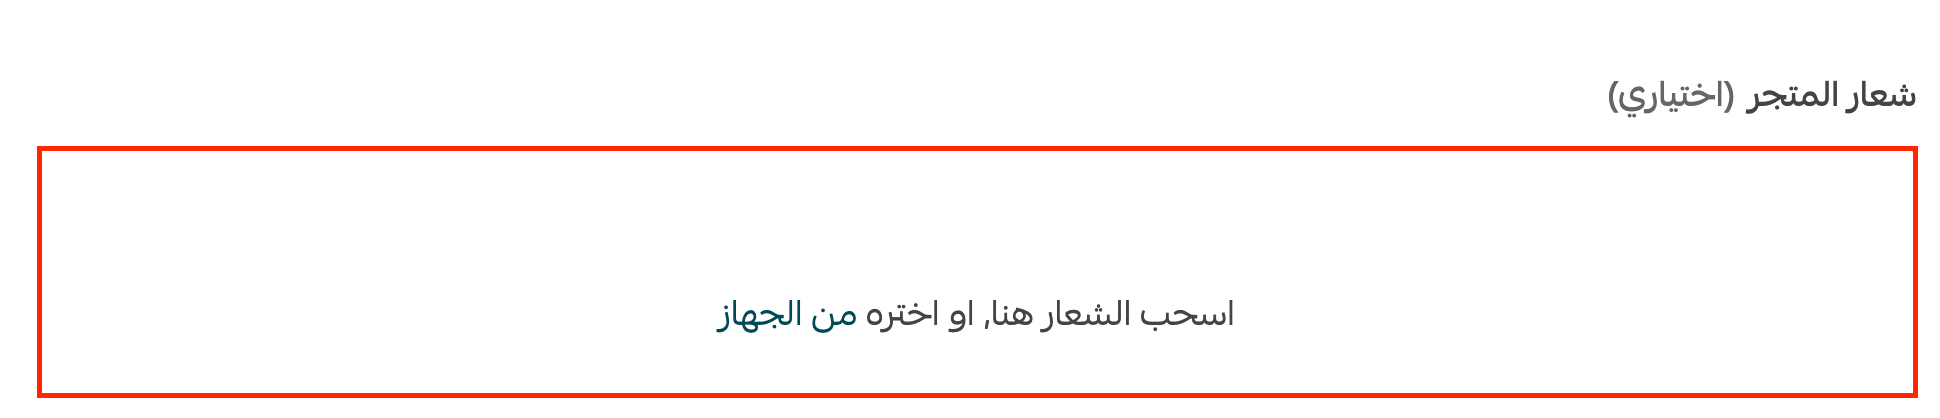
1. Add a logo for your store (optional). Customers will see this logo, and you can change it at any point after your store goes live.
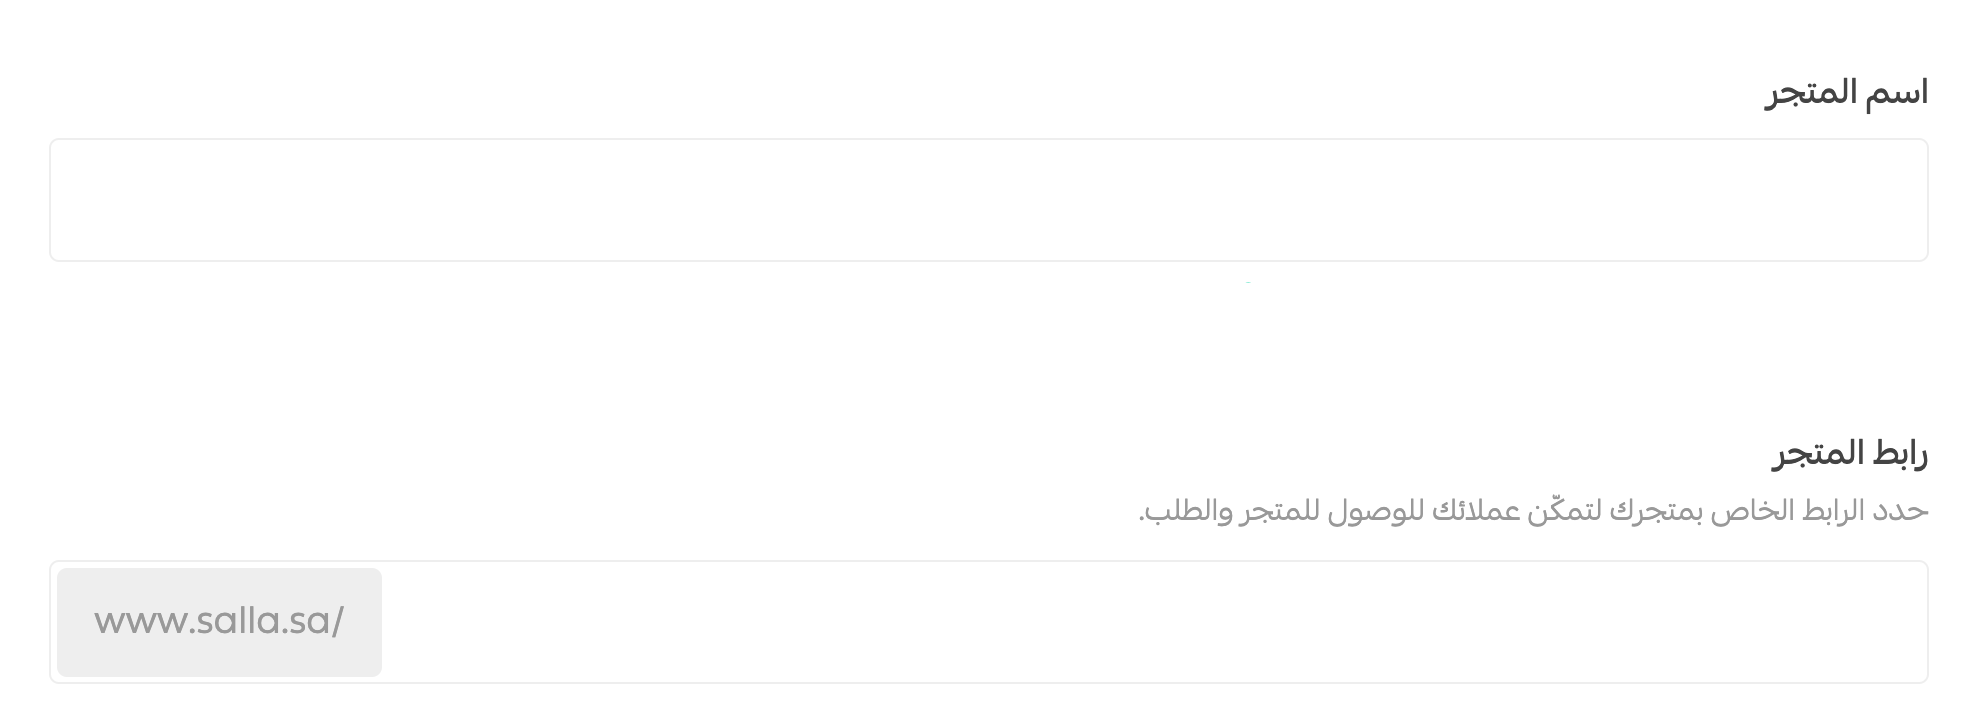
2. Enter your store name — this is the name customers will see.
Your store link appears just below the field, as shown in the image. You can change this link after your store goes live, whenever you want.
For more details, see managing your store domain on Salla.
Then choose your main business activity and your sub-activity.
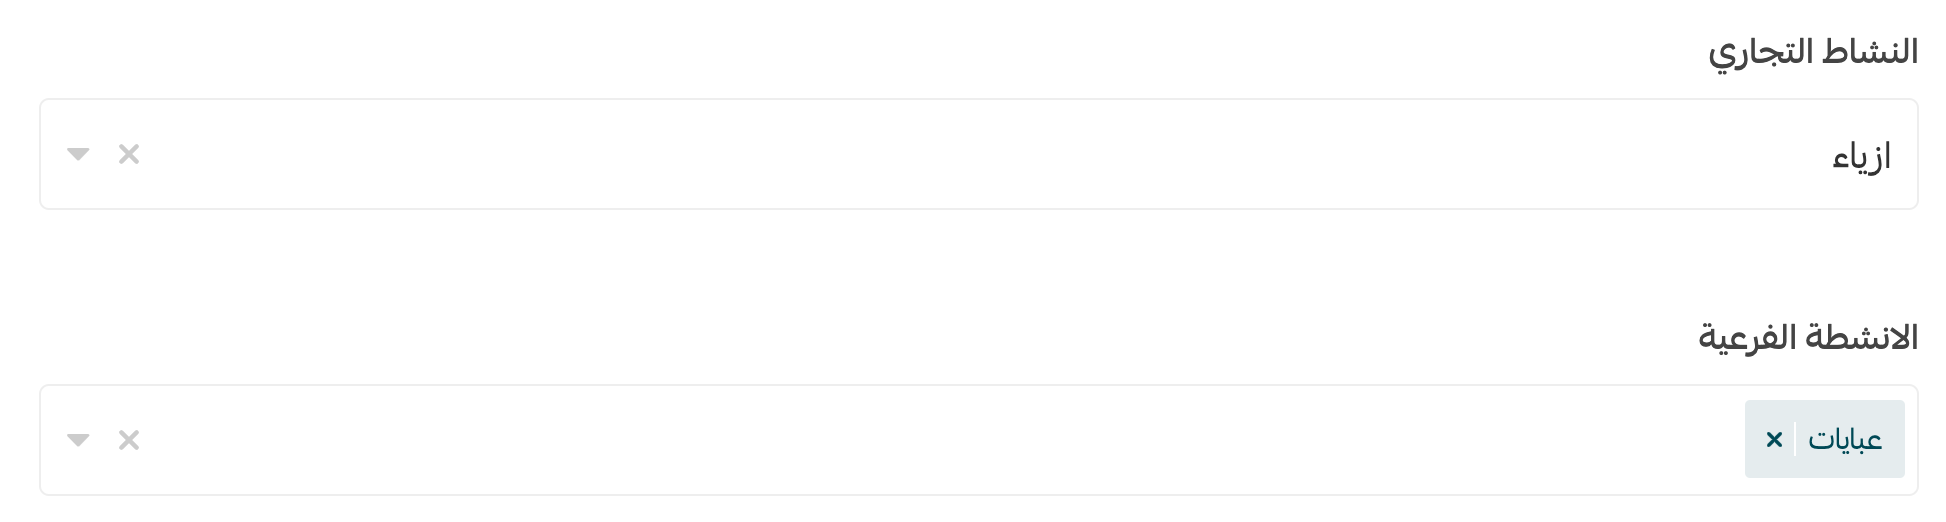
3. Choose your entity type, then click (Next).

Second: add your first product
Add your first product using the product type that matches your business — if you sell digital services, for example, add a digital product. Enter the required details, then click (Next).
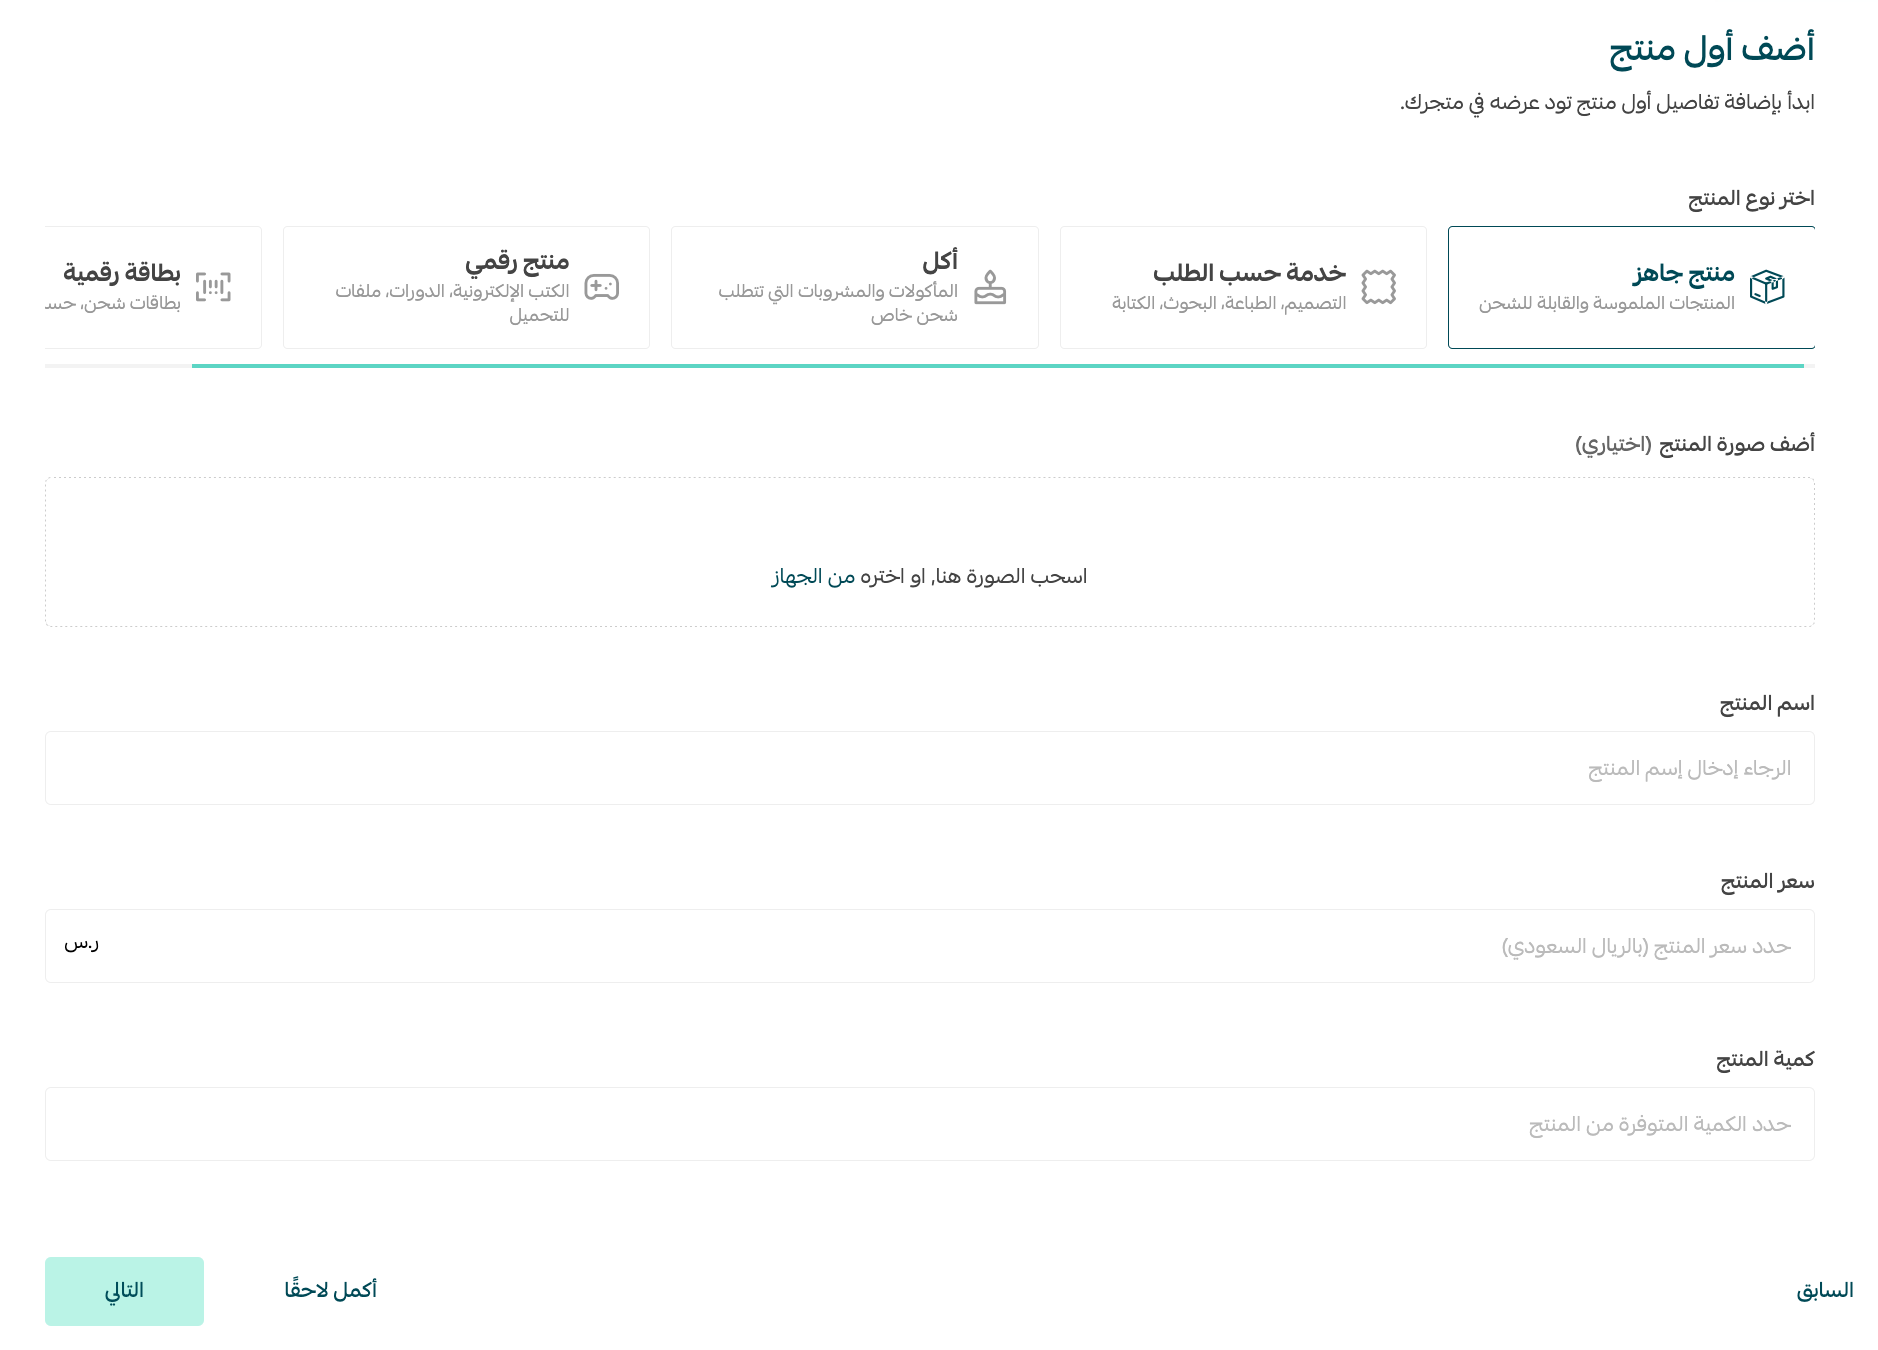
Third: activate shipping options
1. Set the pickup location for your shipments using the map on the page.
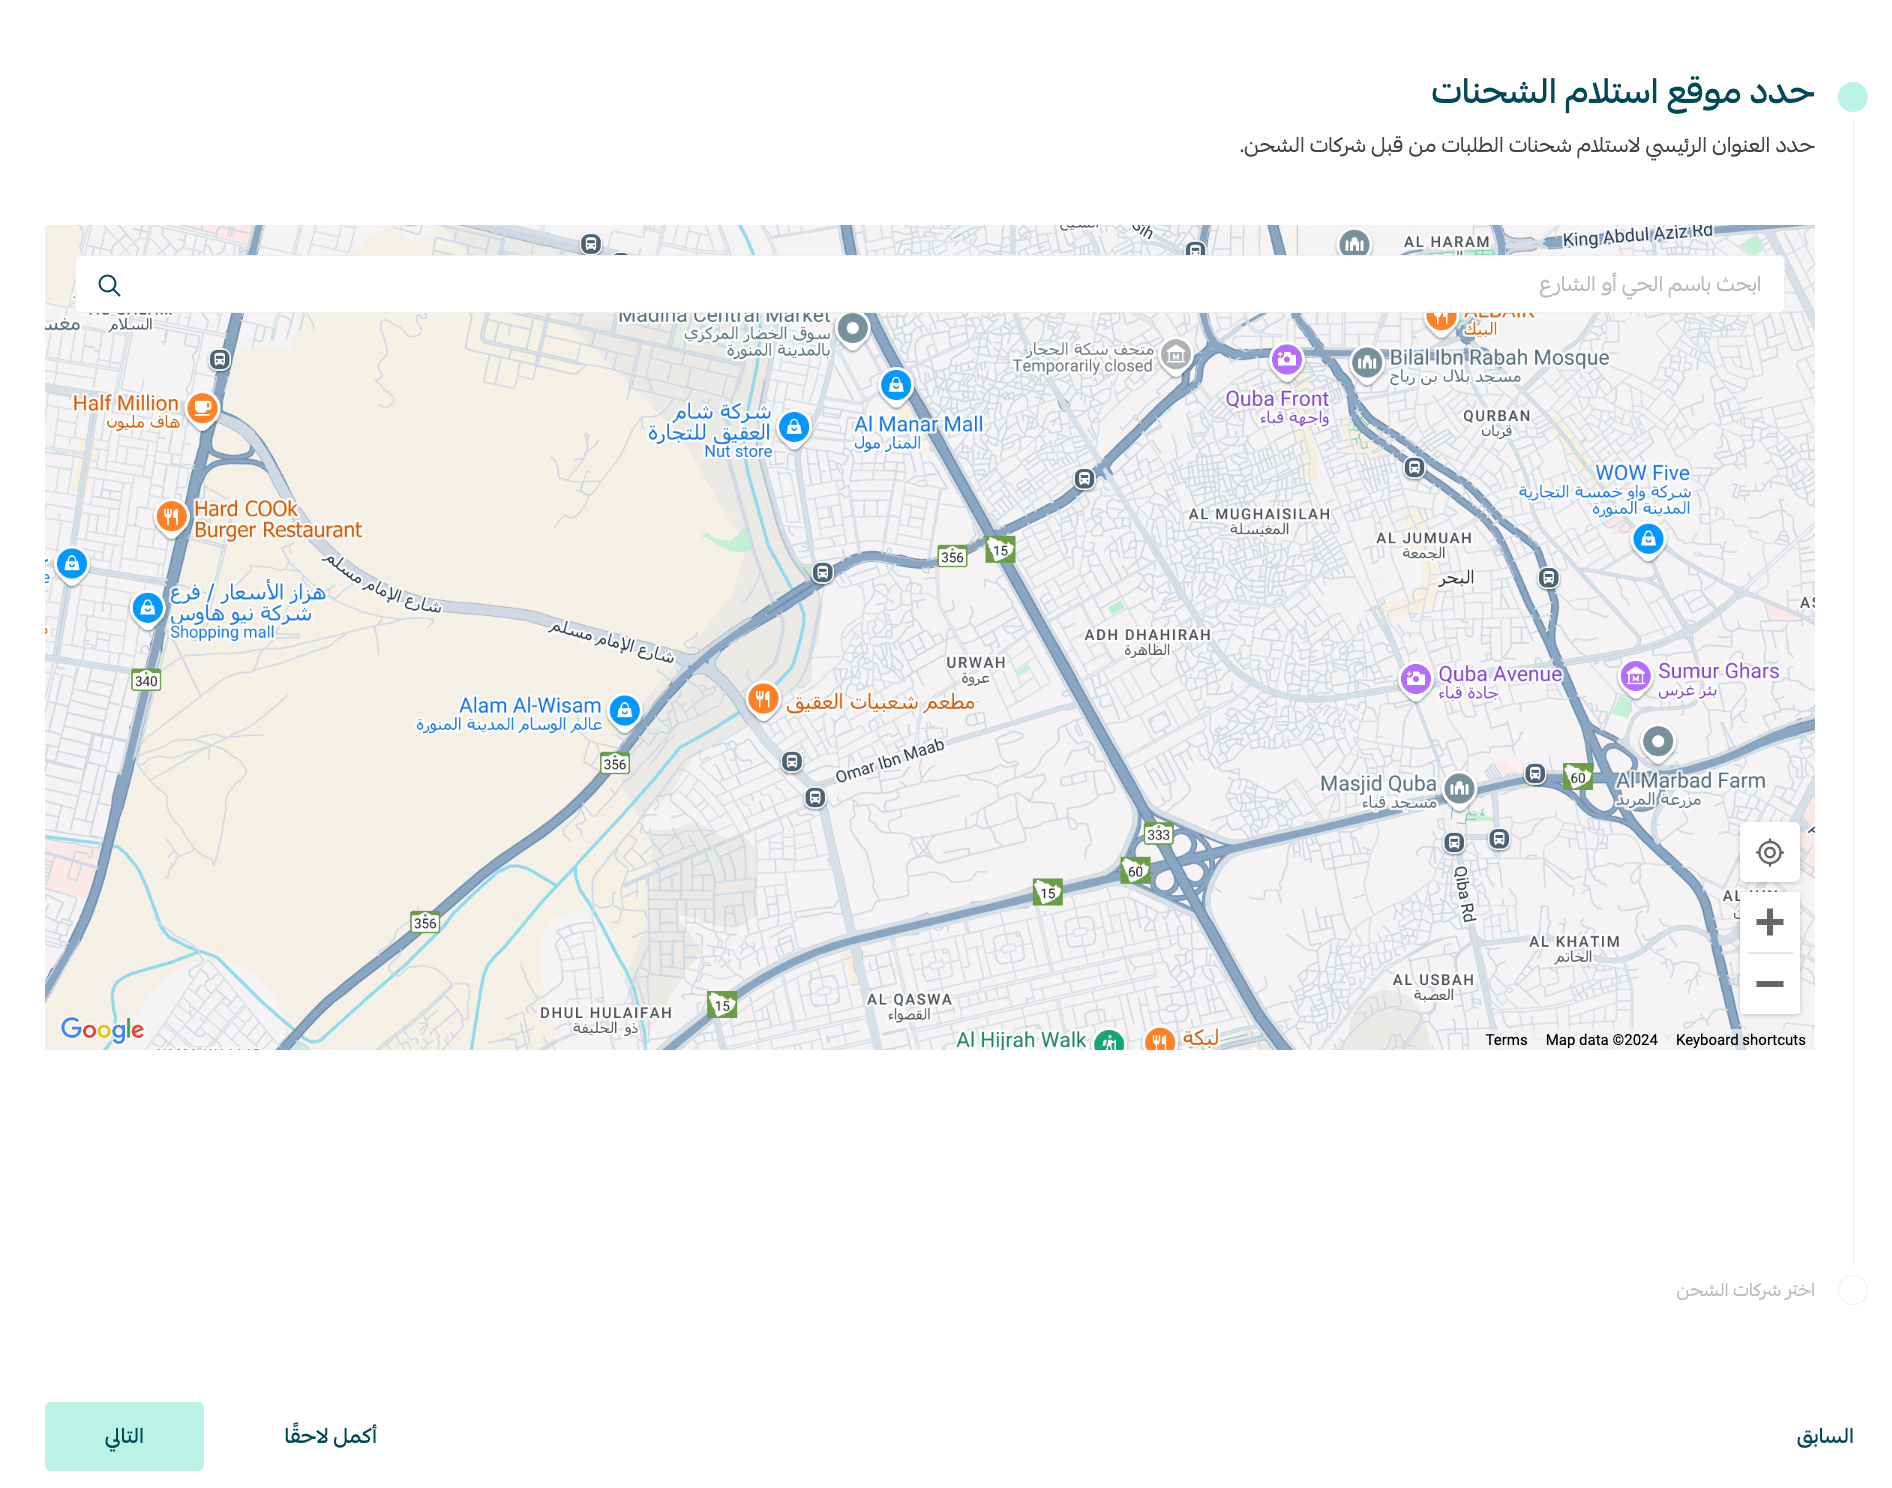
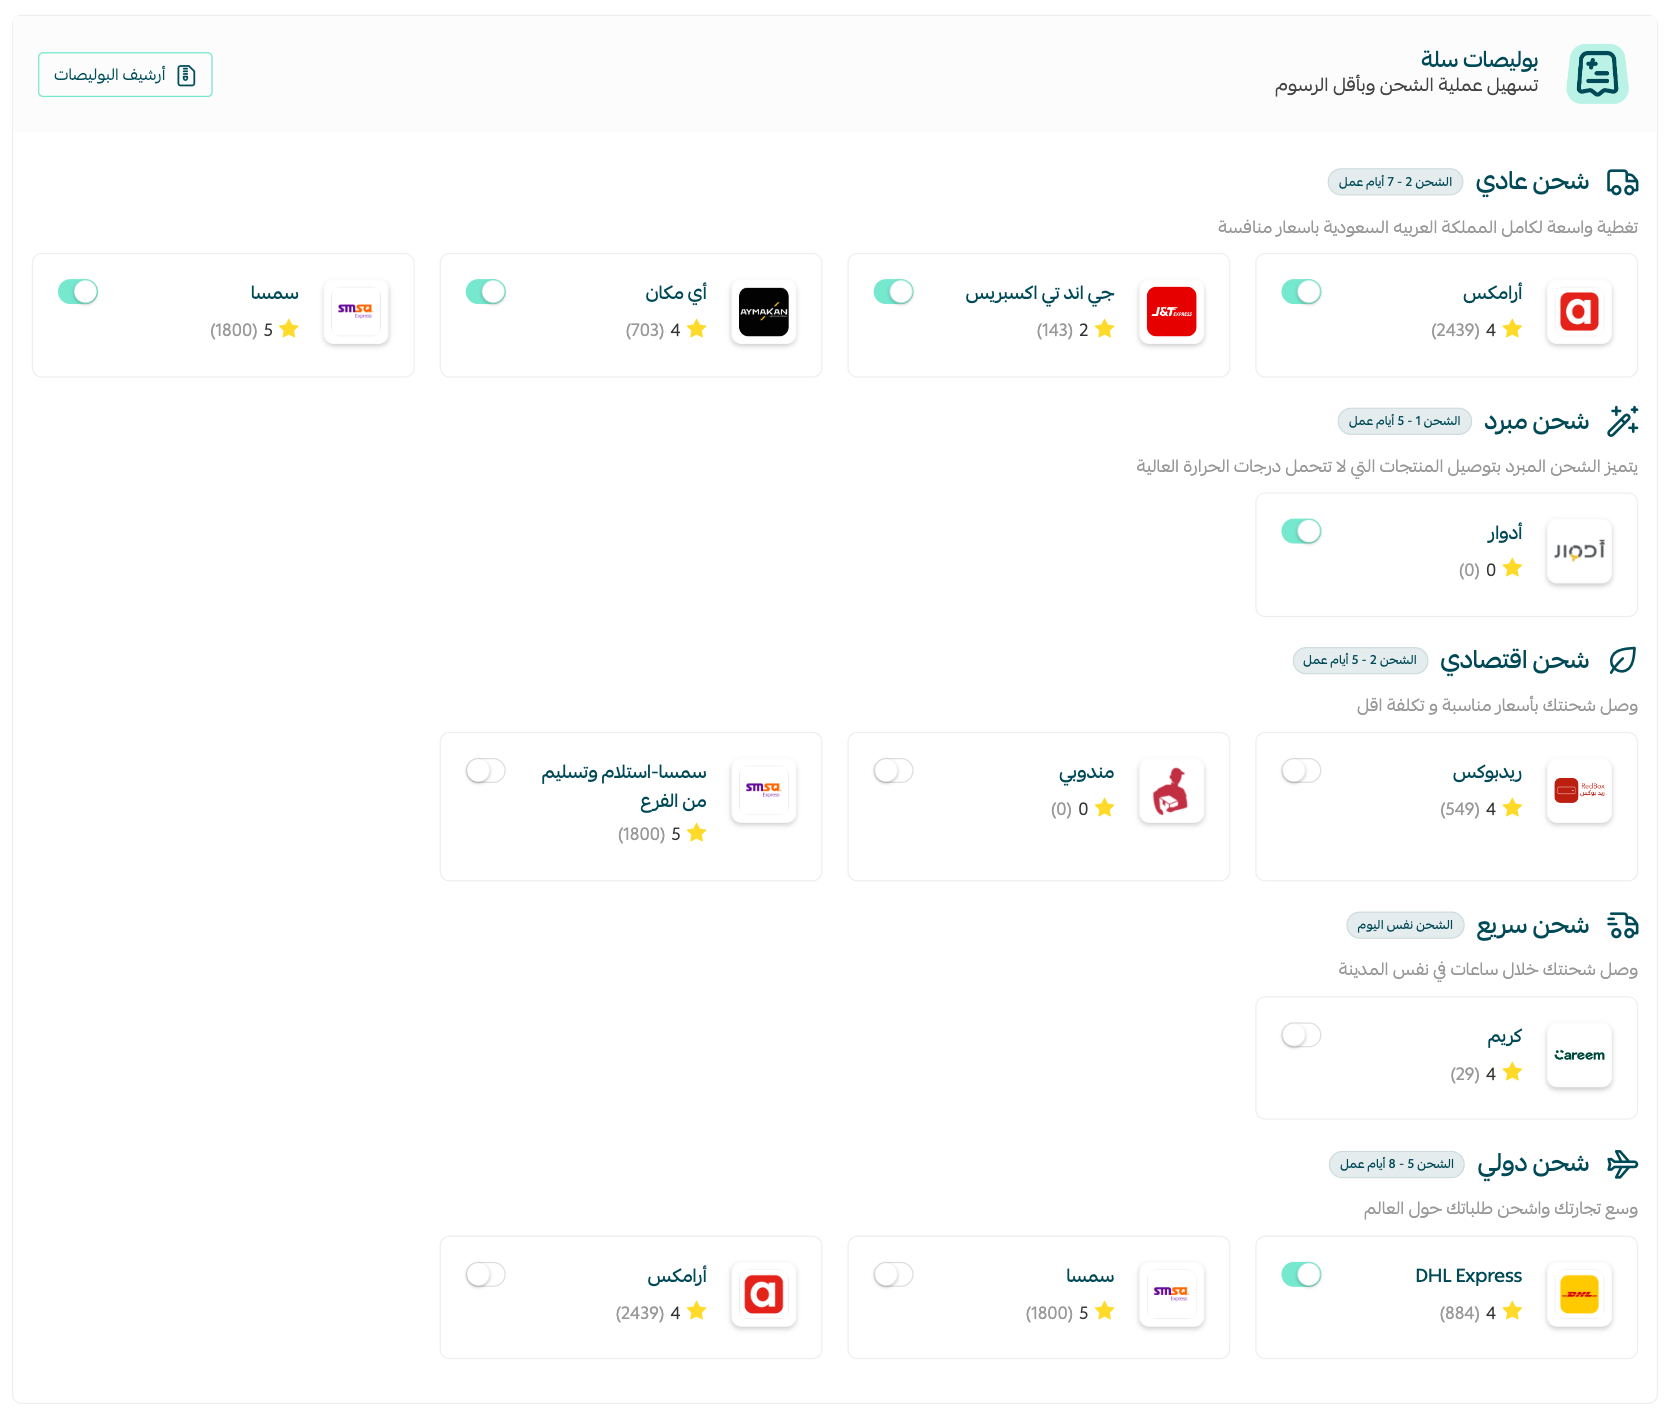
2. From the Salla waybills list of shipping companies, enable the companies that suit you and take advantage of easier shipping and competitive rates. You can reach a wider set of shipping companies through the Salla App Store.
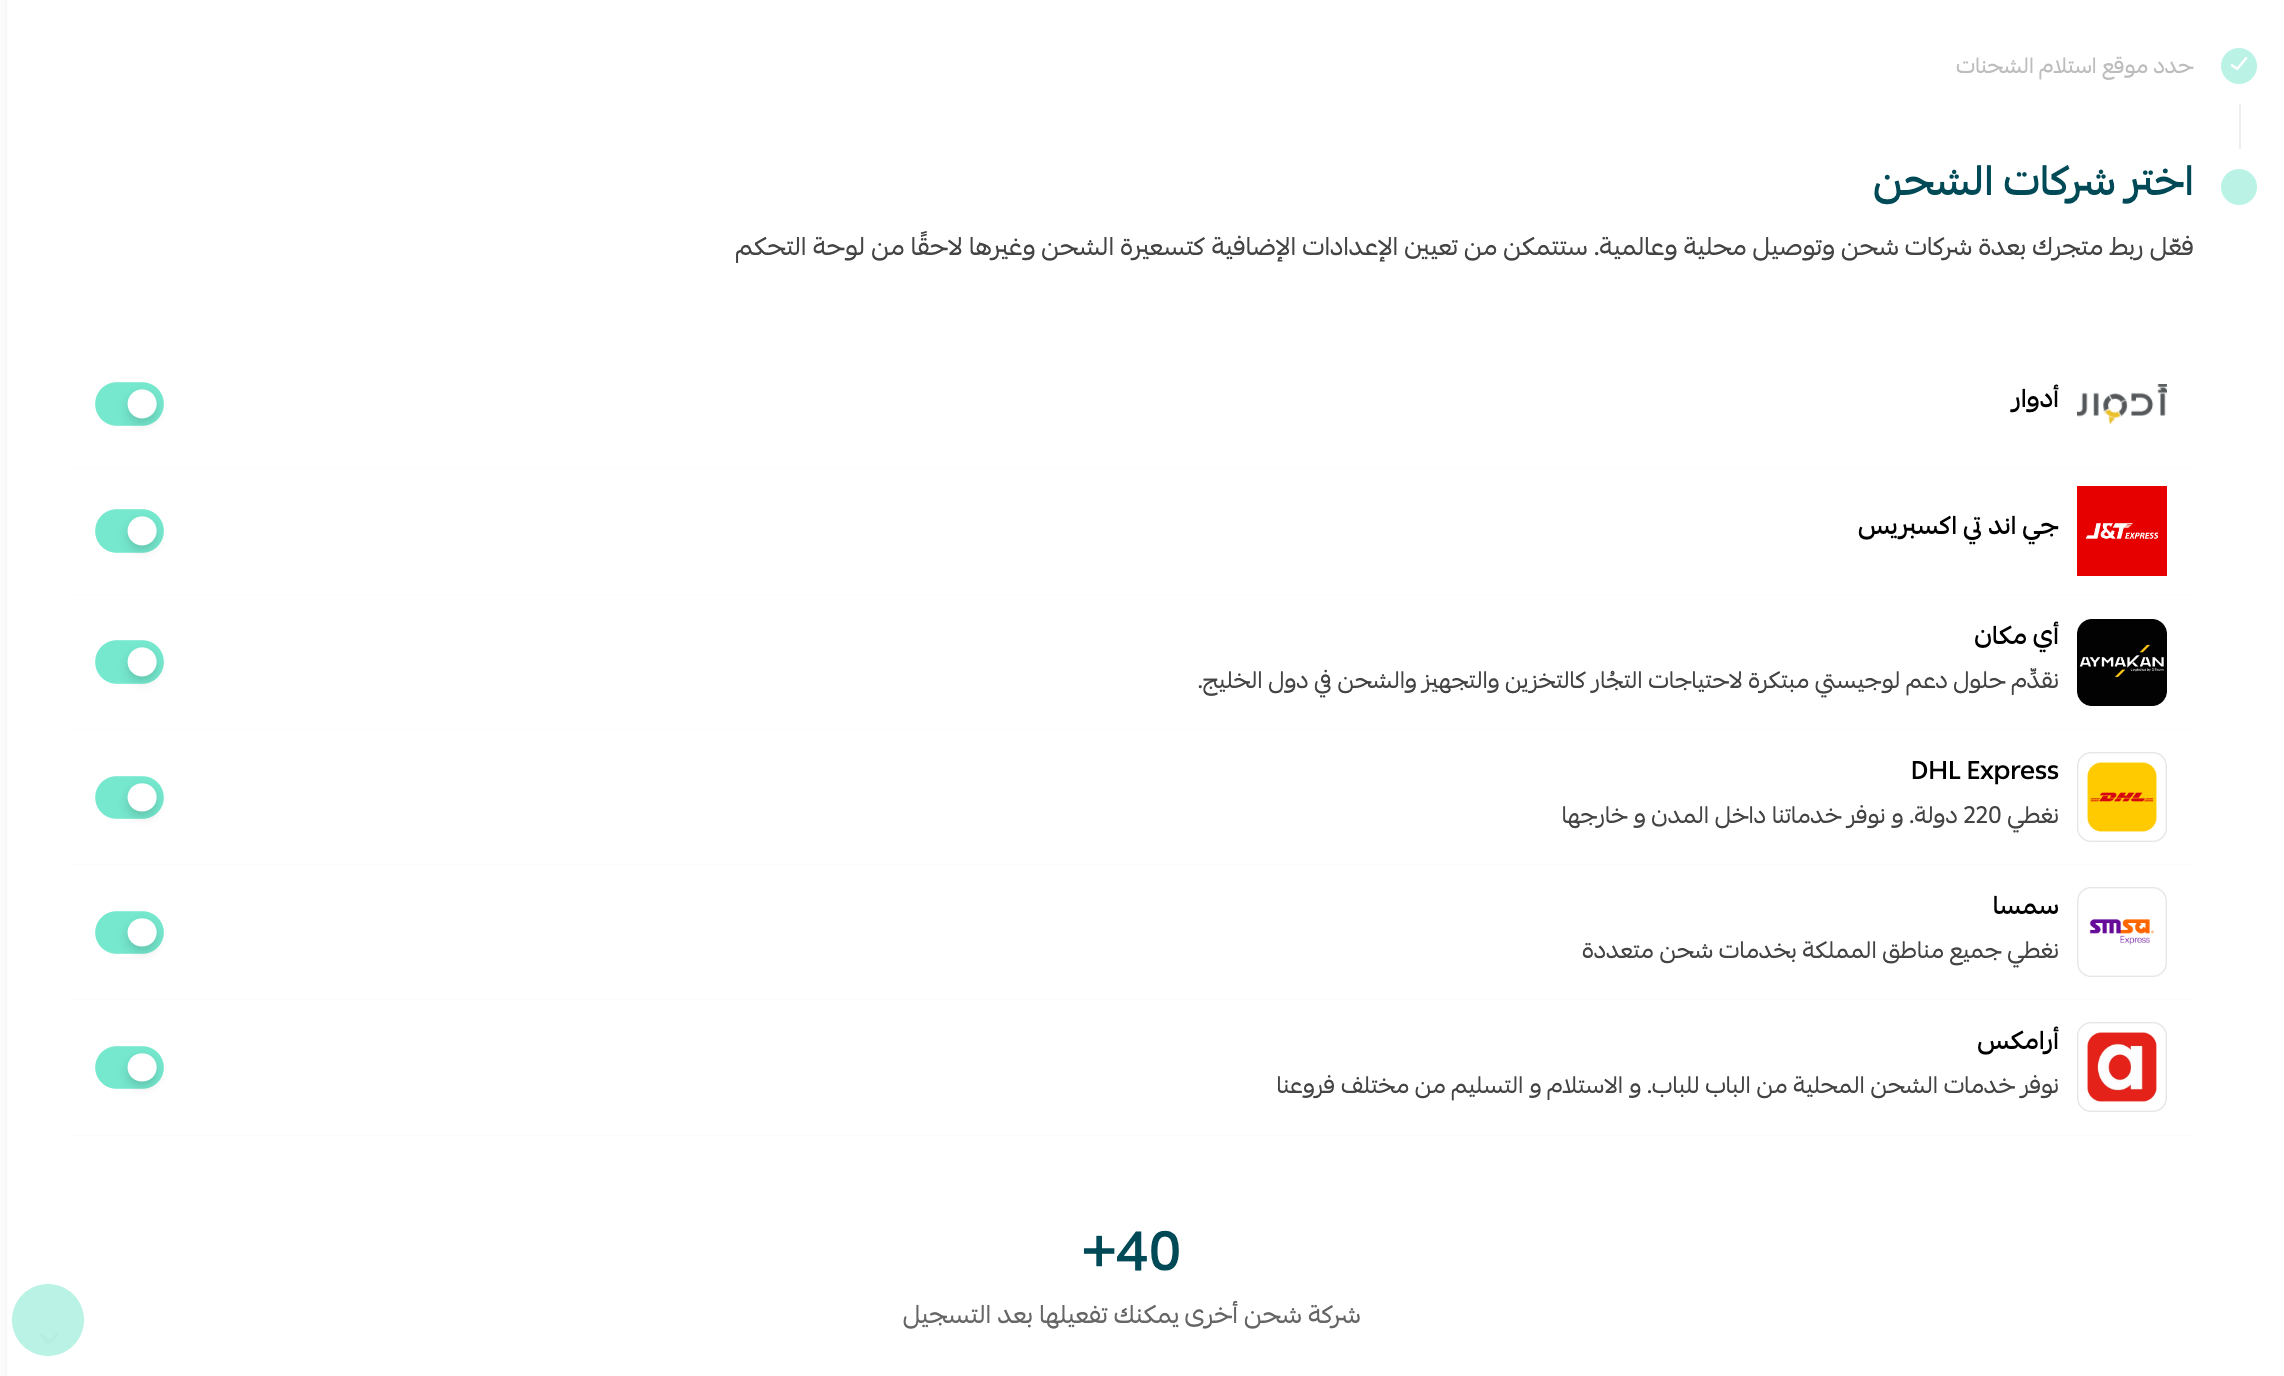
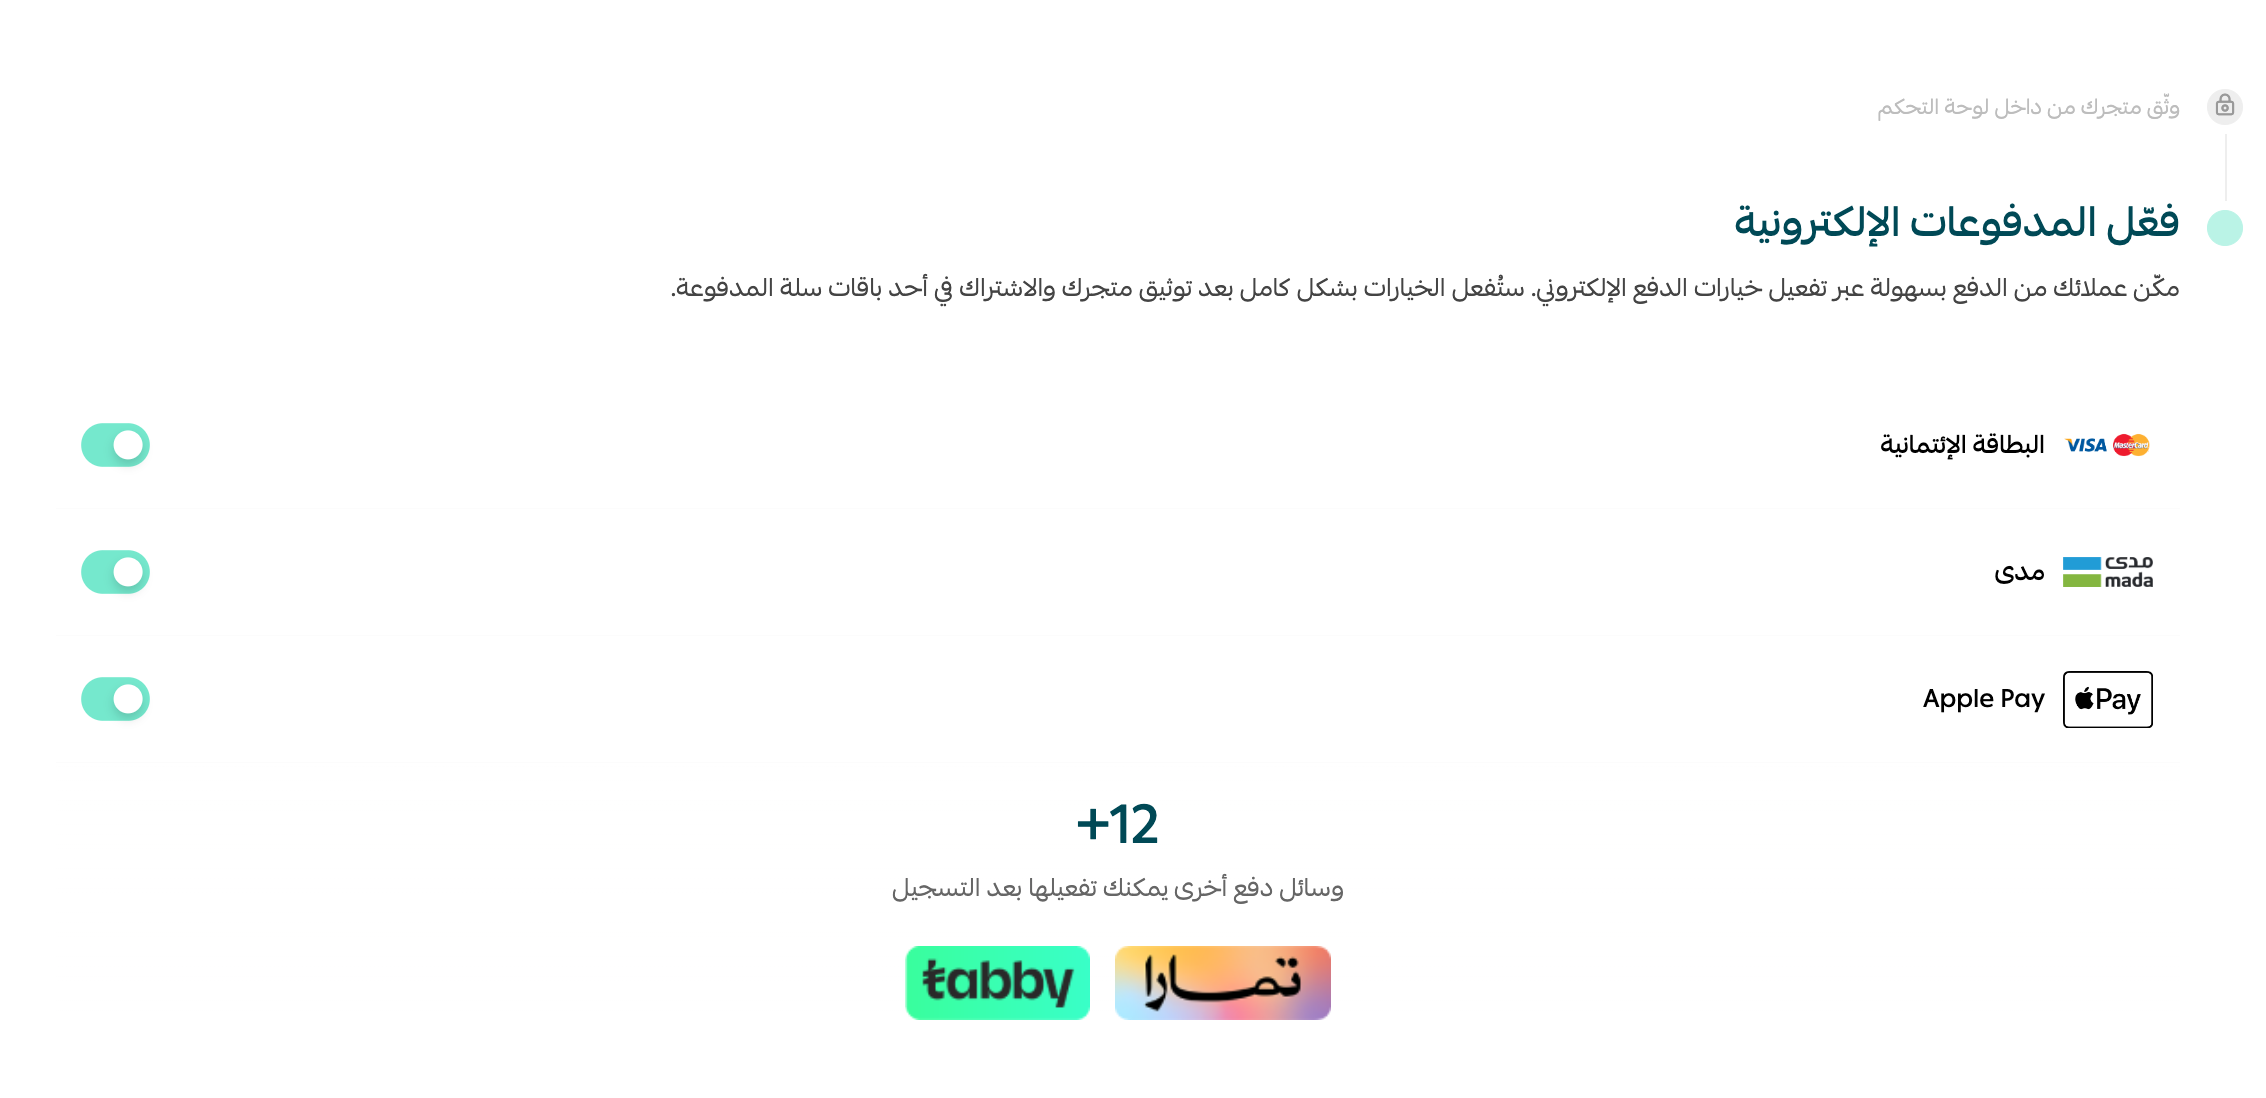
Fourth: activate electronic payments
Choose and activate the payment methods you want to offer your customers.
📝 Important notes
You can only start using electronic payment gateways after your store verification is complete — this is a requirement.
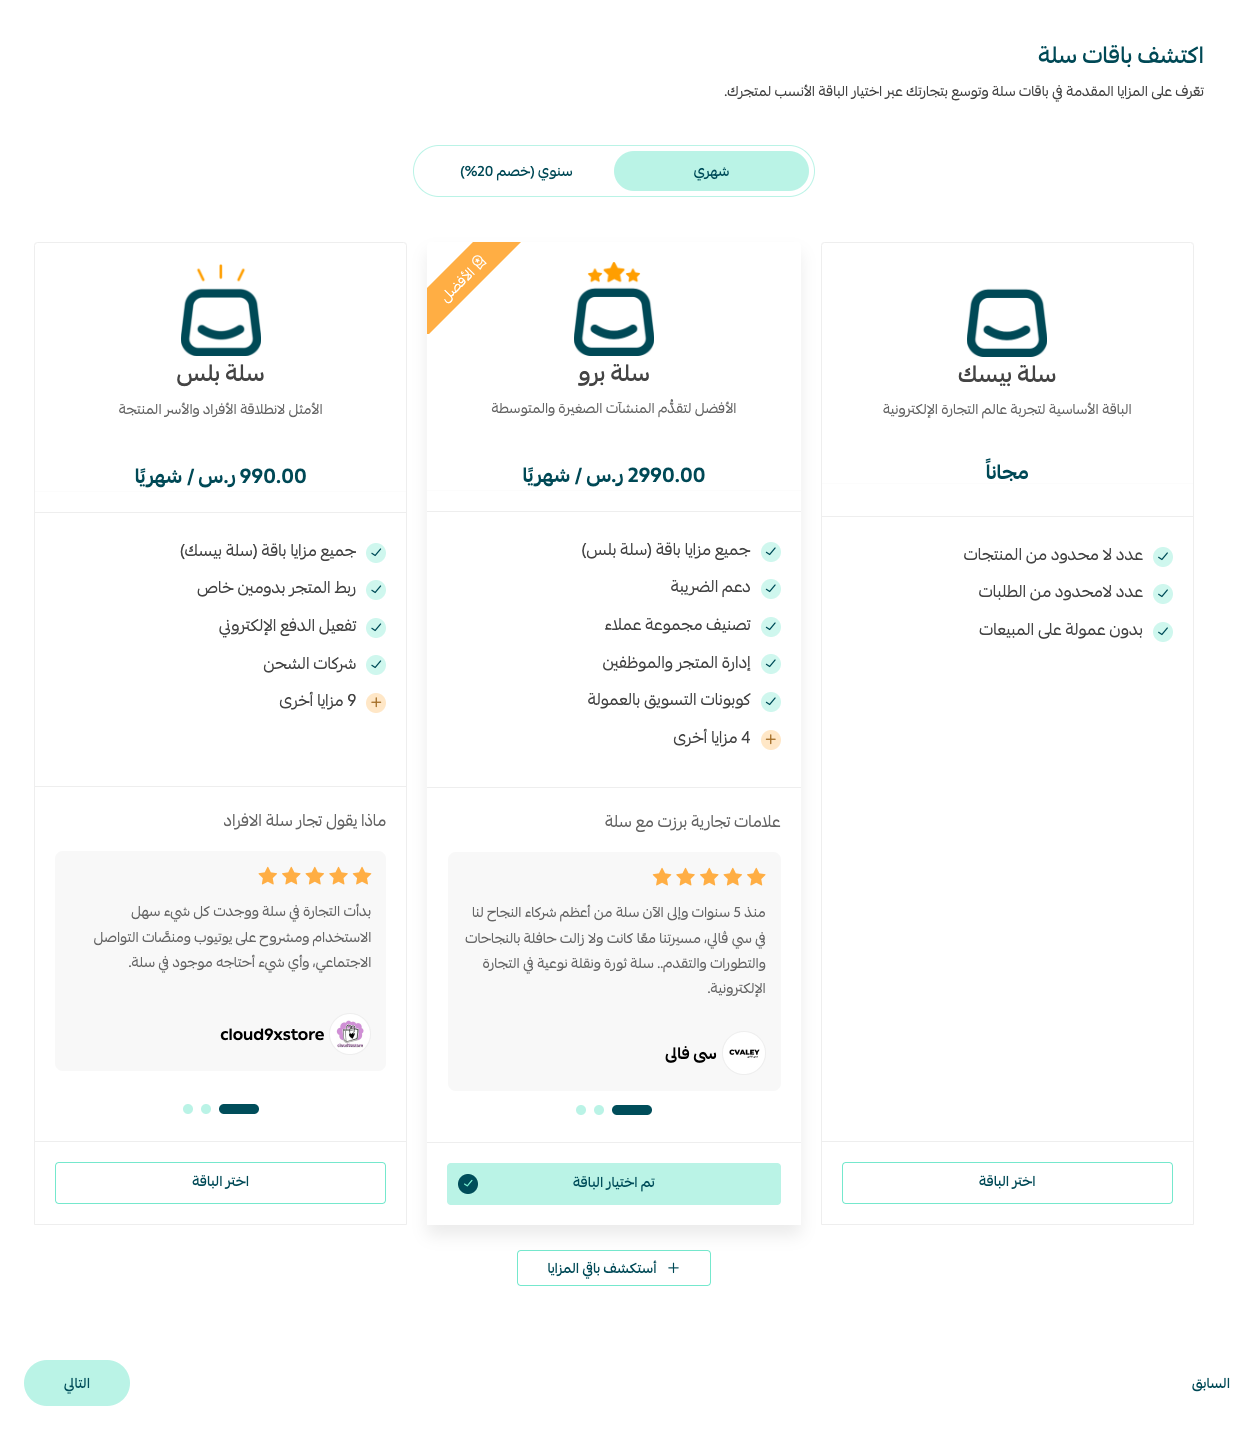
Fifth: choose your plan
Pick the plan you want to start trading with, then click (Next).
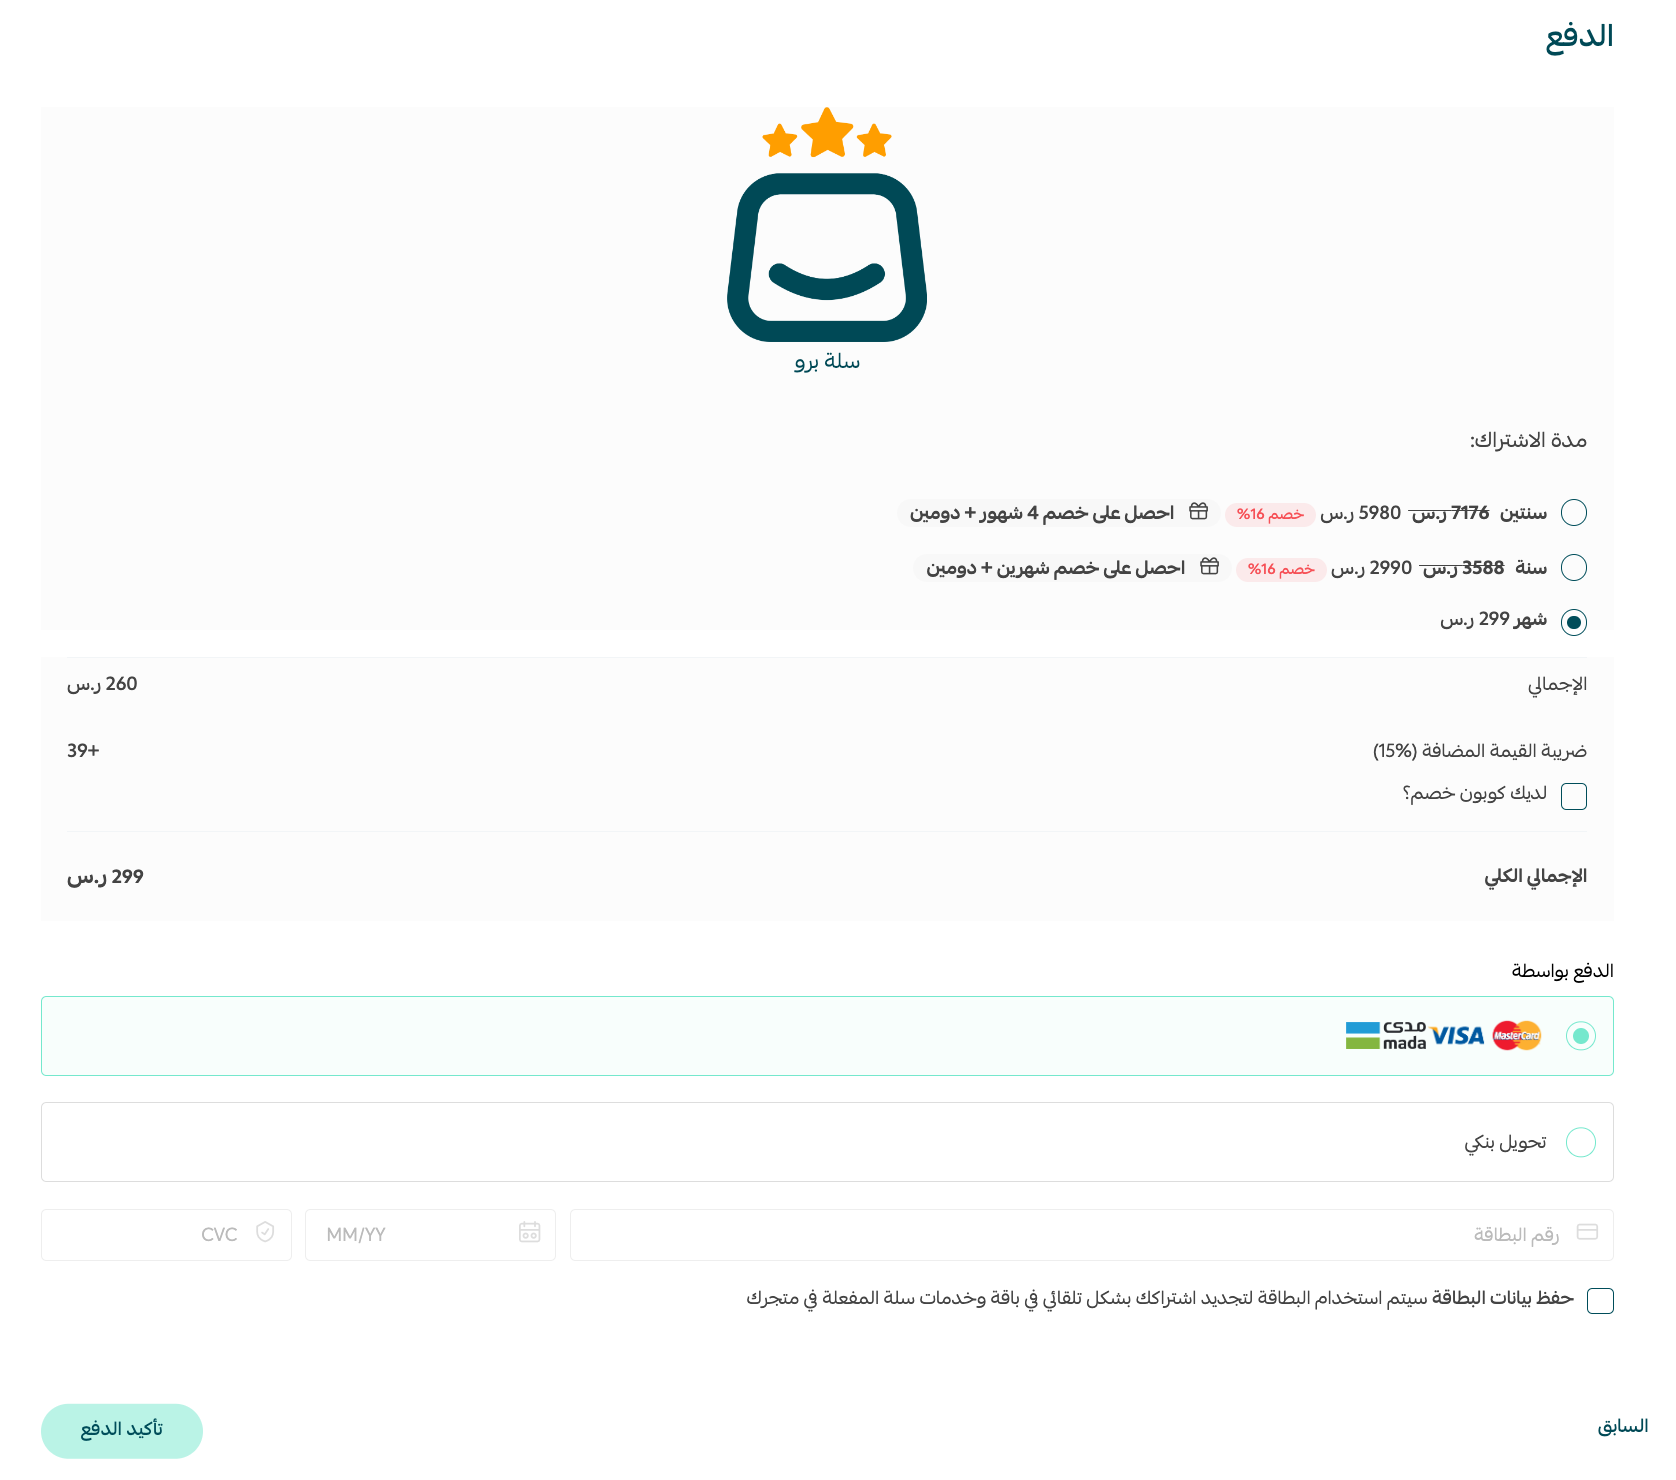
If you choose one of the paid plans — Salla Plus or Salla Pro — you'll be taken to the checkout page to complete your subscription.
✅ You've finished registering — what happens next
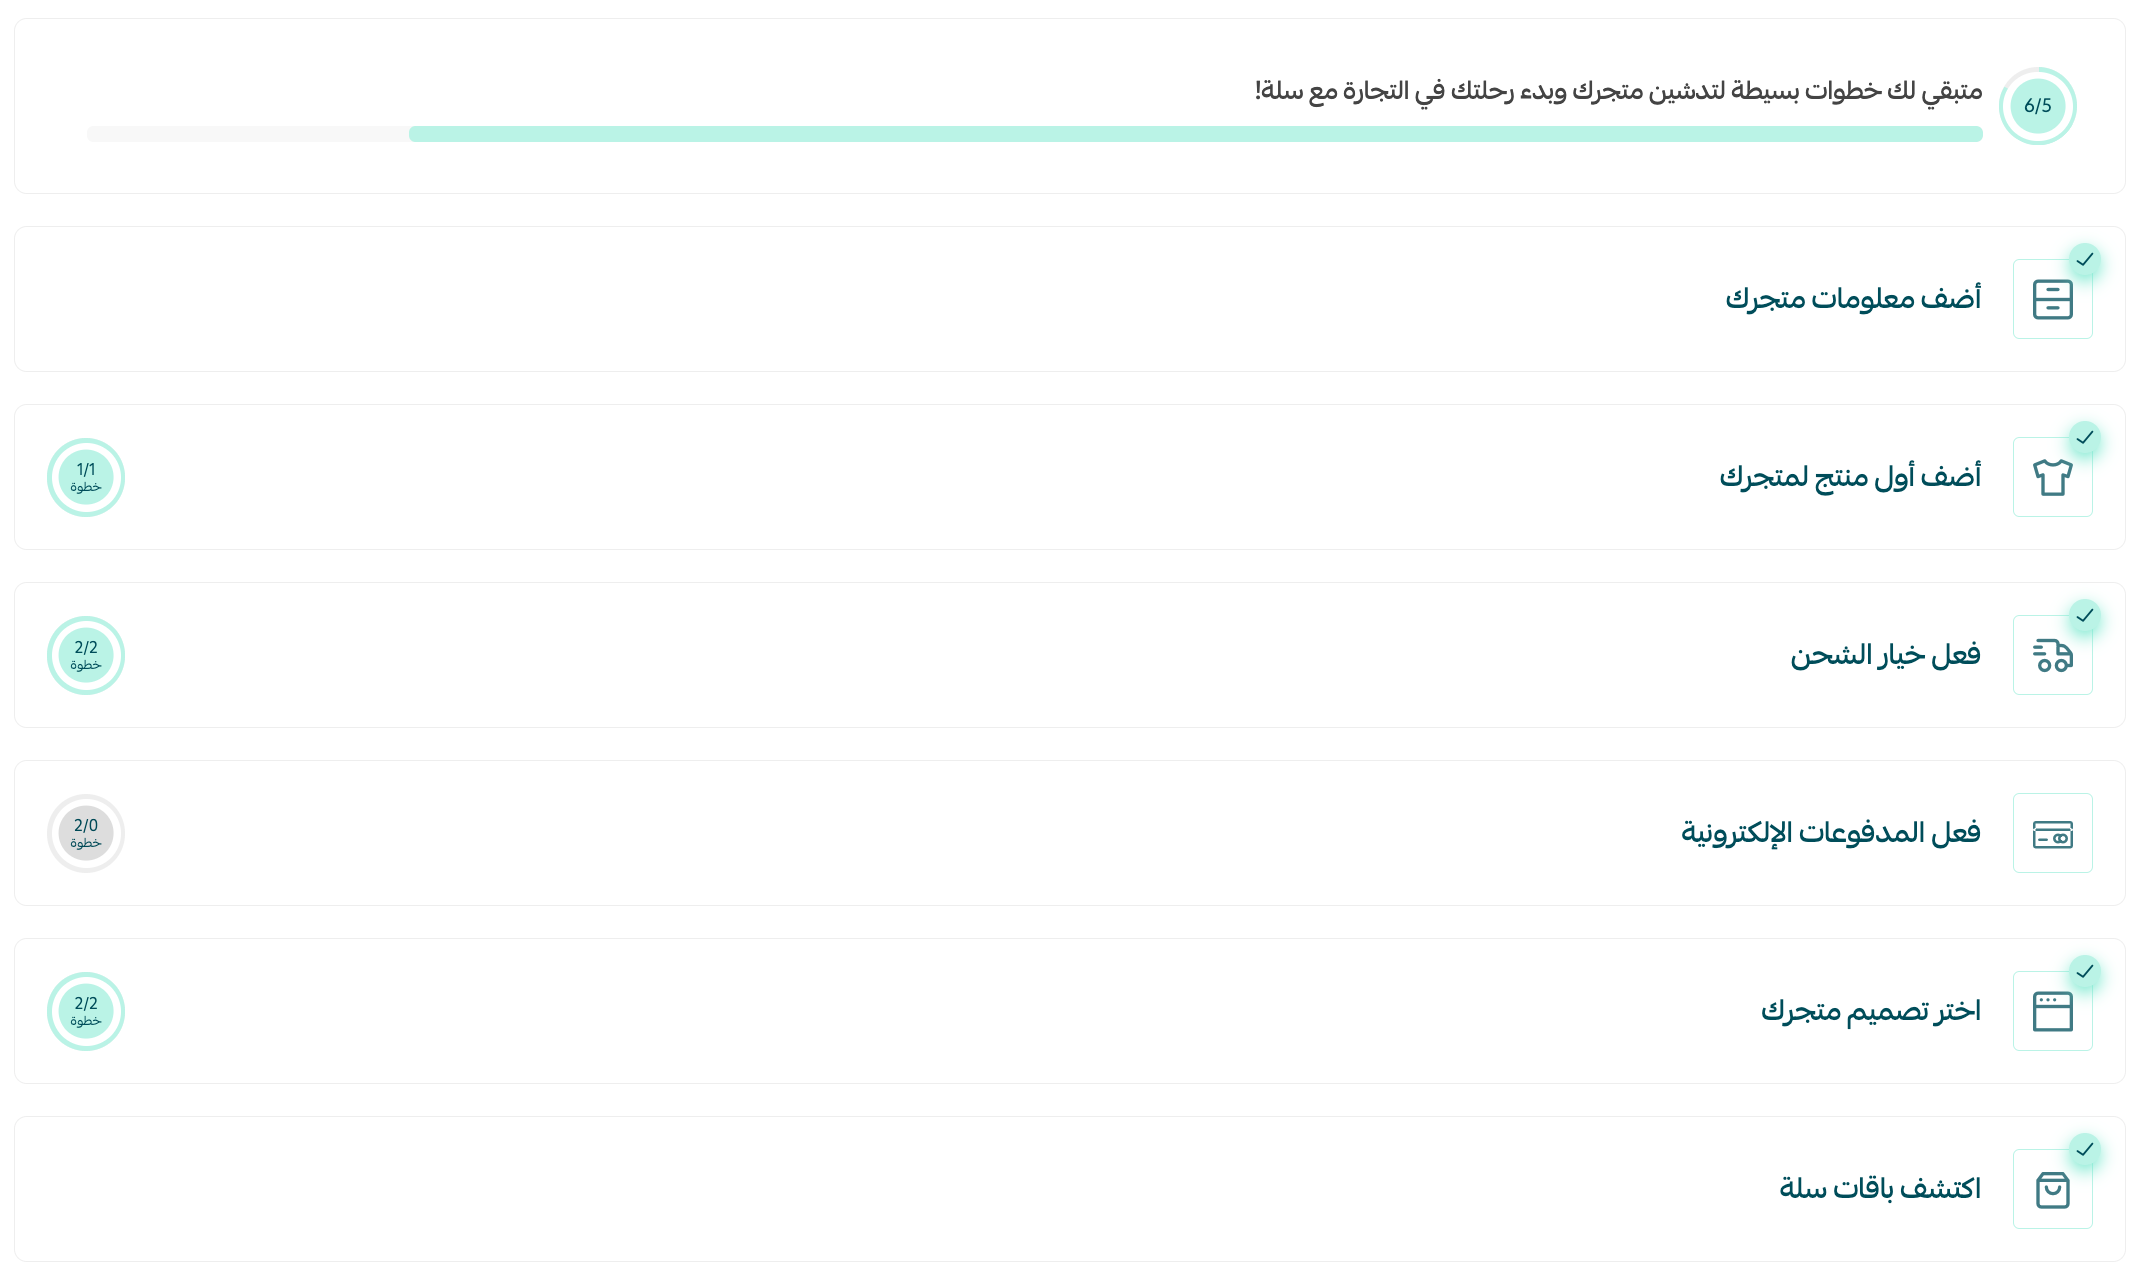
From your dashboard, you can now edit anything you entered during the store creation journey.
Going live has two sets of requirements: essential ones you cannot skip, and secondary ones you can come back to at any time.
- Essential requirements: store verification, adding your first product, and setting your location.
- Secondary requirements: store information, activating shipping options, activating electronic payments, and customizing your design.
Support services
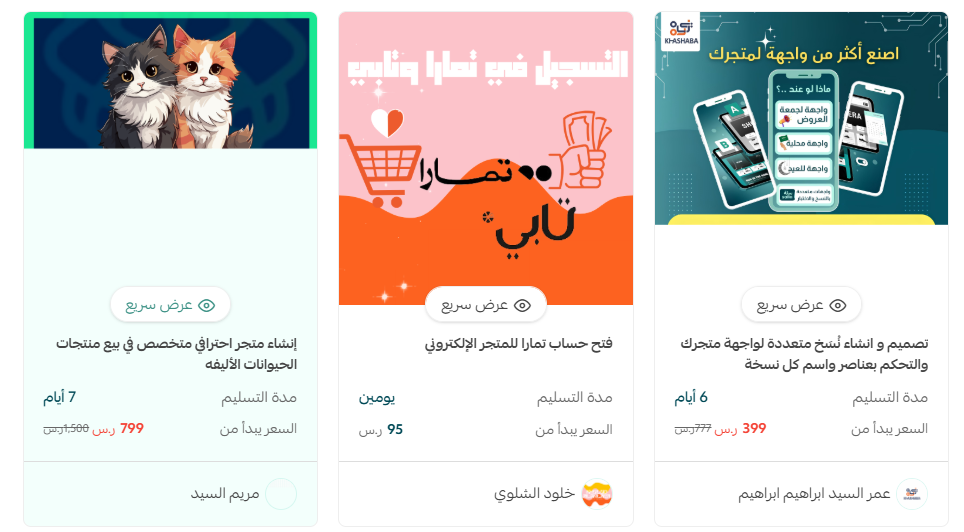
If you need a hand creating and setting up your Salla store, merchant services connect you with external providers who handle work for your business professionally — for example, adding products and services and activating payment methods, or store verification and issuing a freelance certificate.
Extra learning resources
To learn how to build a professional online store, and which tools and tactics actually attract customers and drive real results, enroll in the creating a store on Salla course from Salla Academy.

❓ Frequently asked questions
Do I need to do anything else before I can connect electronic payment methods?
Yes, three things:
1. Complete your store verification — this is a basic requirement for activating electronic payment gateways.
2. Upgrade to the Salla Plus or Salla Pro plan.
3. Activate the connection to your payment methods.
For more details, see managing payment methods and activating electronic payments.
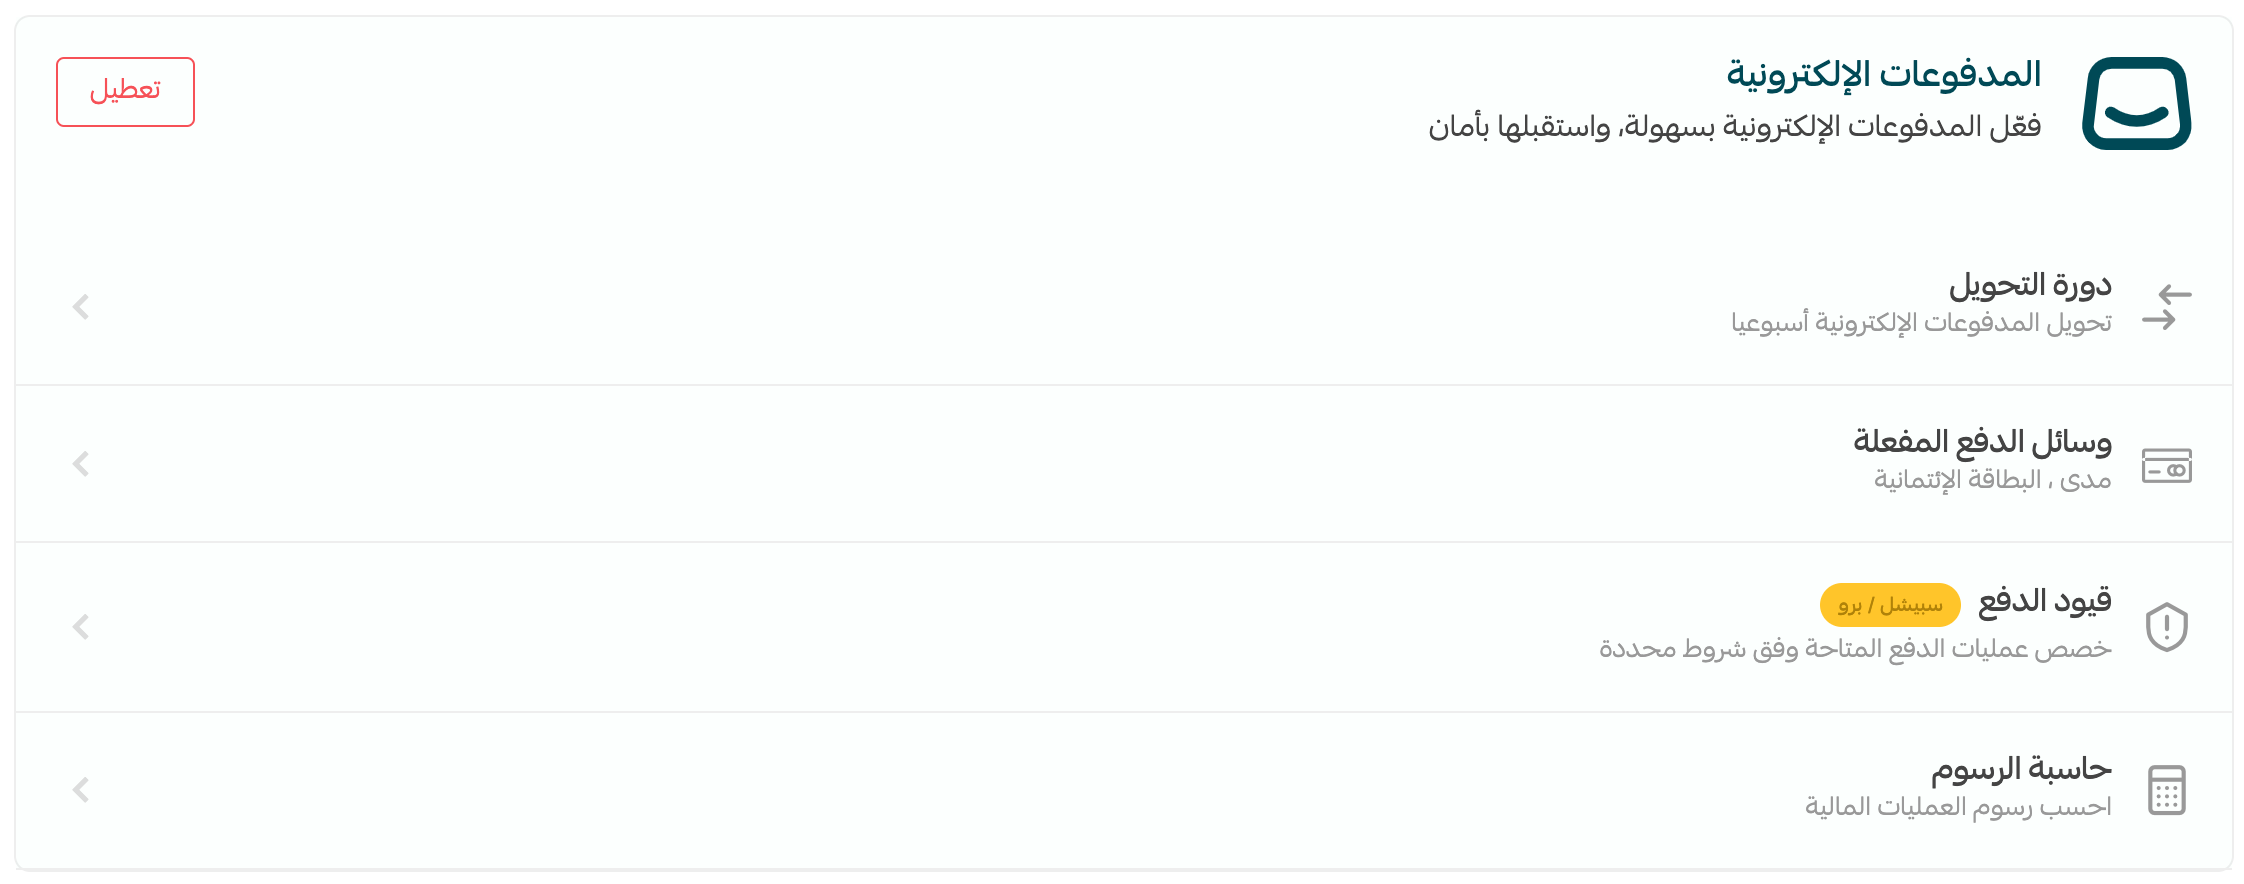
Can I connect or disconnect payment providers after I finish registering?
Yes. Here's how:
1. From your store's main page, open the dashboard side menu and click (Store settings).

2. From the store settings page, click (Payment methods).

3. From the payment methods page, you can control every payment method.
Can I connect or disconnect shipping and delivery companies after I finish registering?
Yes. Here's how:
1. From the main page, open the dashboard side menu and click (Store settings).

2. From the store settings page, click (Shipping and delivery options).

3. From there, you can control all Salla waybill options and every shipping and delivery company.
Which product types can I add on the Basic plan?
The Basic plan supports ready-made products only. Upgrade to Salla Plus or Salla Pro to add other product types, such as digital products, digital cards, food products, made-to-order products, product groups, and booking products.
With your store information, first product, shipping, and payments in place, you have everything you need to go live and start receiving orders — and you can refine any of it from your dashboard as your business grows.