Want your ads on X to reach the exact people who already visited your store — instead of strangers who have never heard of it?
Retargeting on X lets you build a custom audience of X users who visited your website and aim your campaigns precisely at them. In this guide, you'll learn how website-activity retargeting works on X, how to create a retargeting campaign step by step, and how to set up the conversion events that power it.
To retarget on X, install the X conversion tracking pixel on your store, then create a campaign from More, Professional tools, Ads. Choose an objective, set the campaign and ad group budgets, define demographics and devices, include your Website Activity custom audience, pick placements, write your post, and launch.
📌 Article overview
- How retargeting campaigns on X reach your site's visitors
- How to create a retargeting campaign on X
- Frequently asked questions
How retargeting campaigns on X reach your site's visitors
X retargets your website's visitors by letting you define your target audience precisely as the people who visited your site. This custom audience is built by collecting the X users who visited your website.
To use a website activity audience, you need to:
First: install your conversion tracking pixel on your store. For more details, see connecting with X.
Second: create a marketing campaign on X that targets your site's visitors (selecting your site's visitors is detailed in step 9 of the walkthrough below).
👣 How to create a retargeting campaign on X
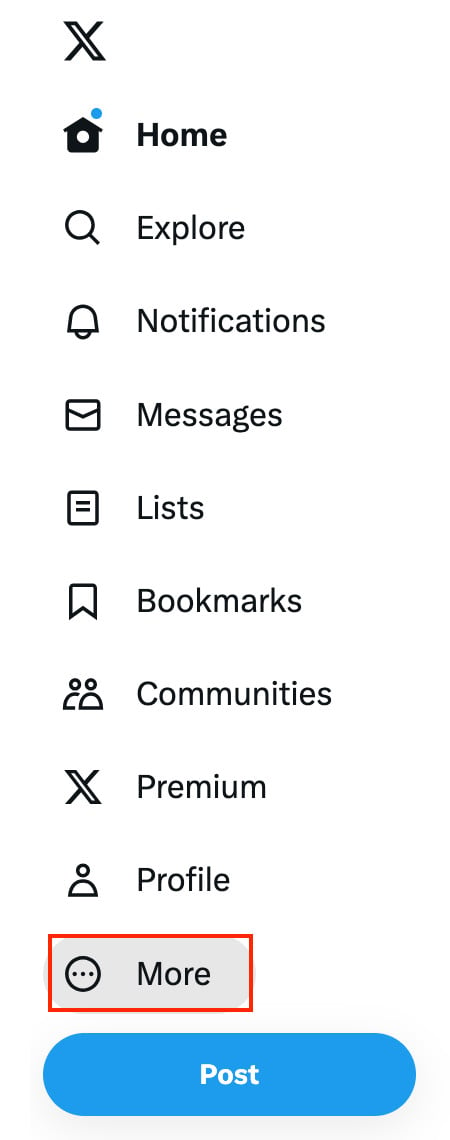
1. From the X home page, click (More).
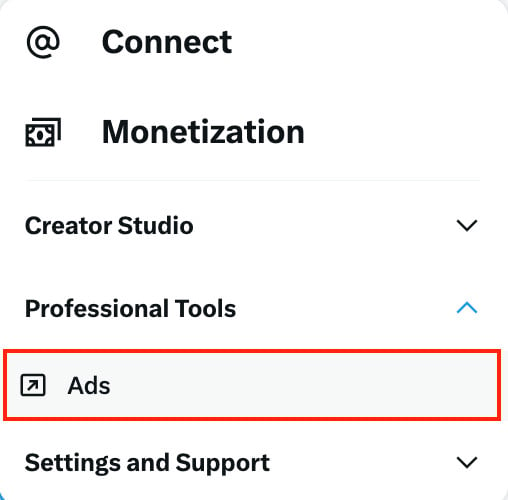
2. From the More menu, click (Professional tools), then (Ads).
3. Choose the campaign objective.
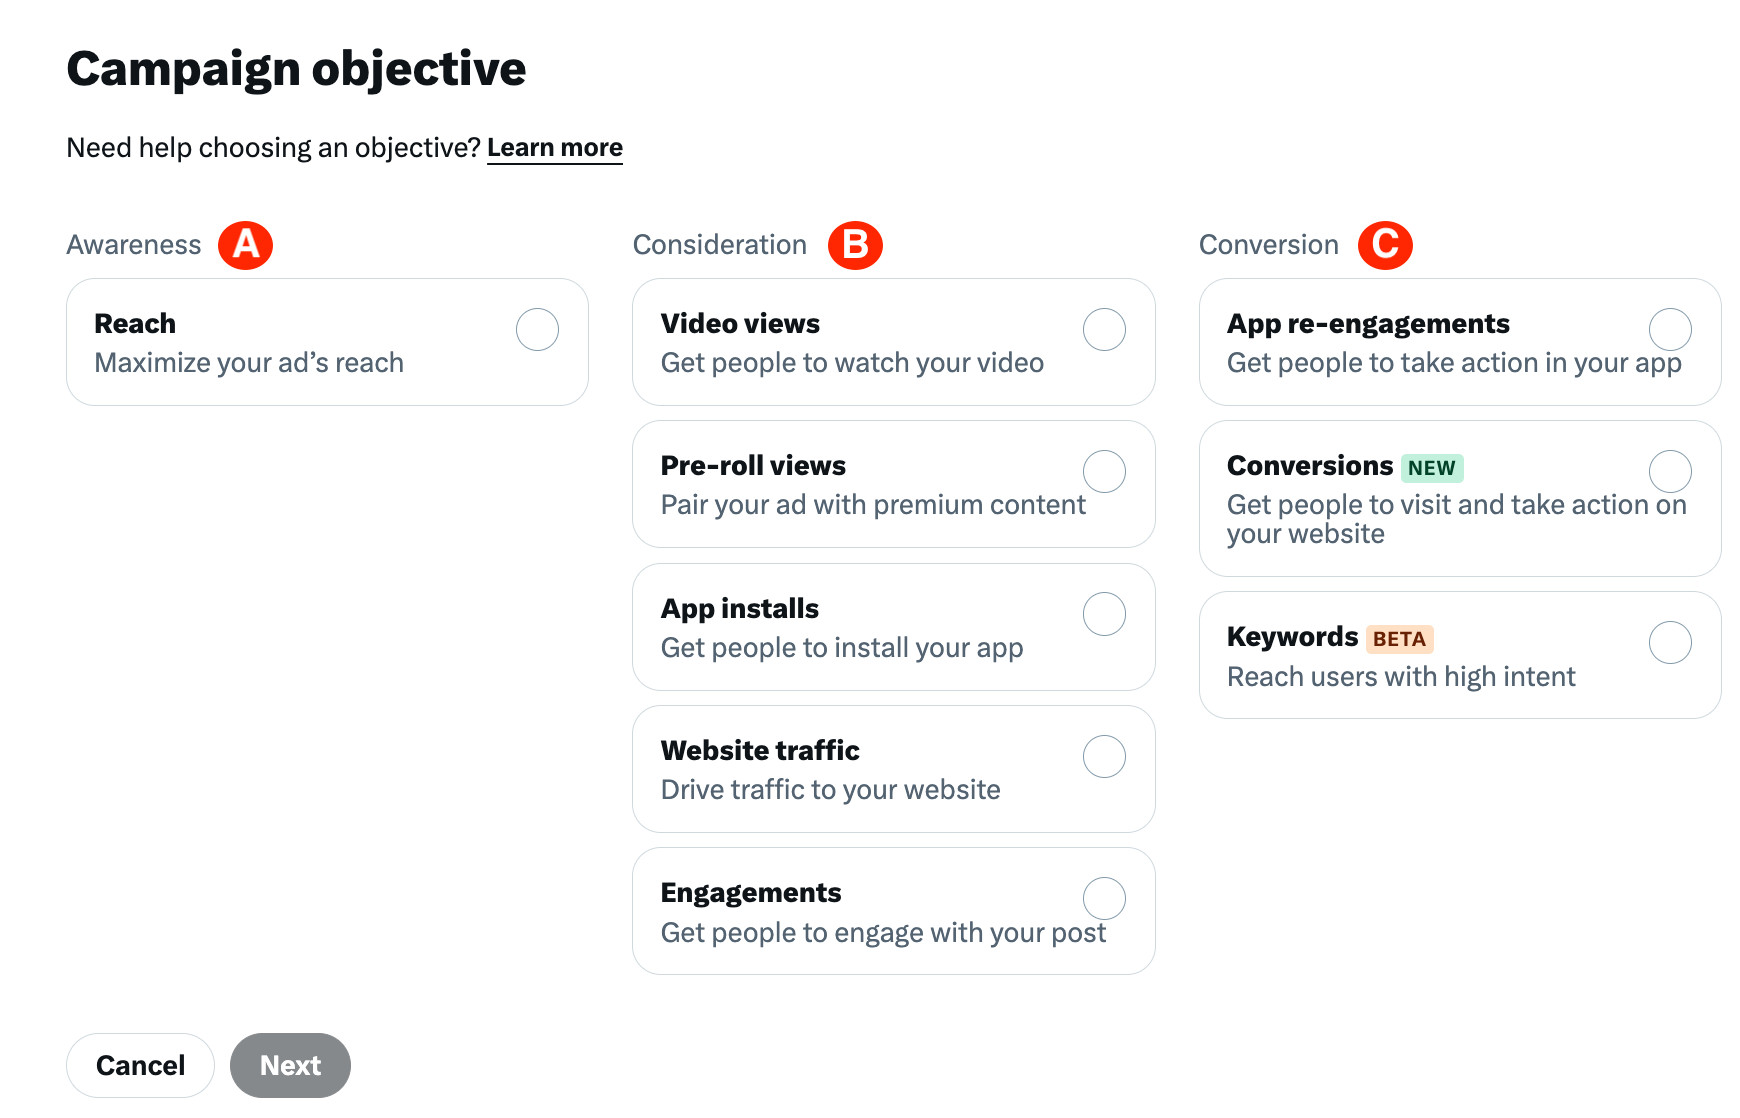
A - Awareness
Reach: maximize how far your ad travels.
You pay for: impressions (cost per 1,000 post impressions).
B - Consideration
- Video views: draw people to watch your video. You pay for: video views (cost per view).
- Pre-roll views: pair your ad with premium content. You pay for: pre-roll views (cost per view).
- App installs: get people to install your app. You pay for: app clicks or app card clicks (cost per app click).
- Website clicks: drive more visits to your website. You pay for: link clicks and website card clicks (cost per click).
- Engagements: get more people to interact with your post. You pay for: engagements (cost per engagement).
C - Conversion
1. Get people to take an action in your app.
2. Get people to visit your website and take an action.
3. Reach highly interested users.
4. Enter the campaign details.
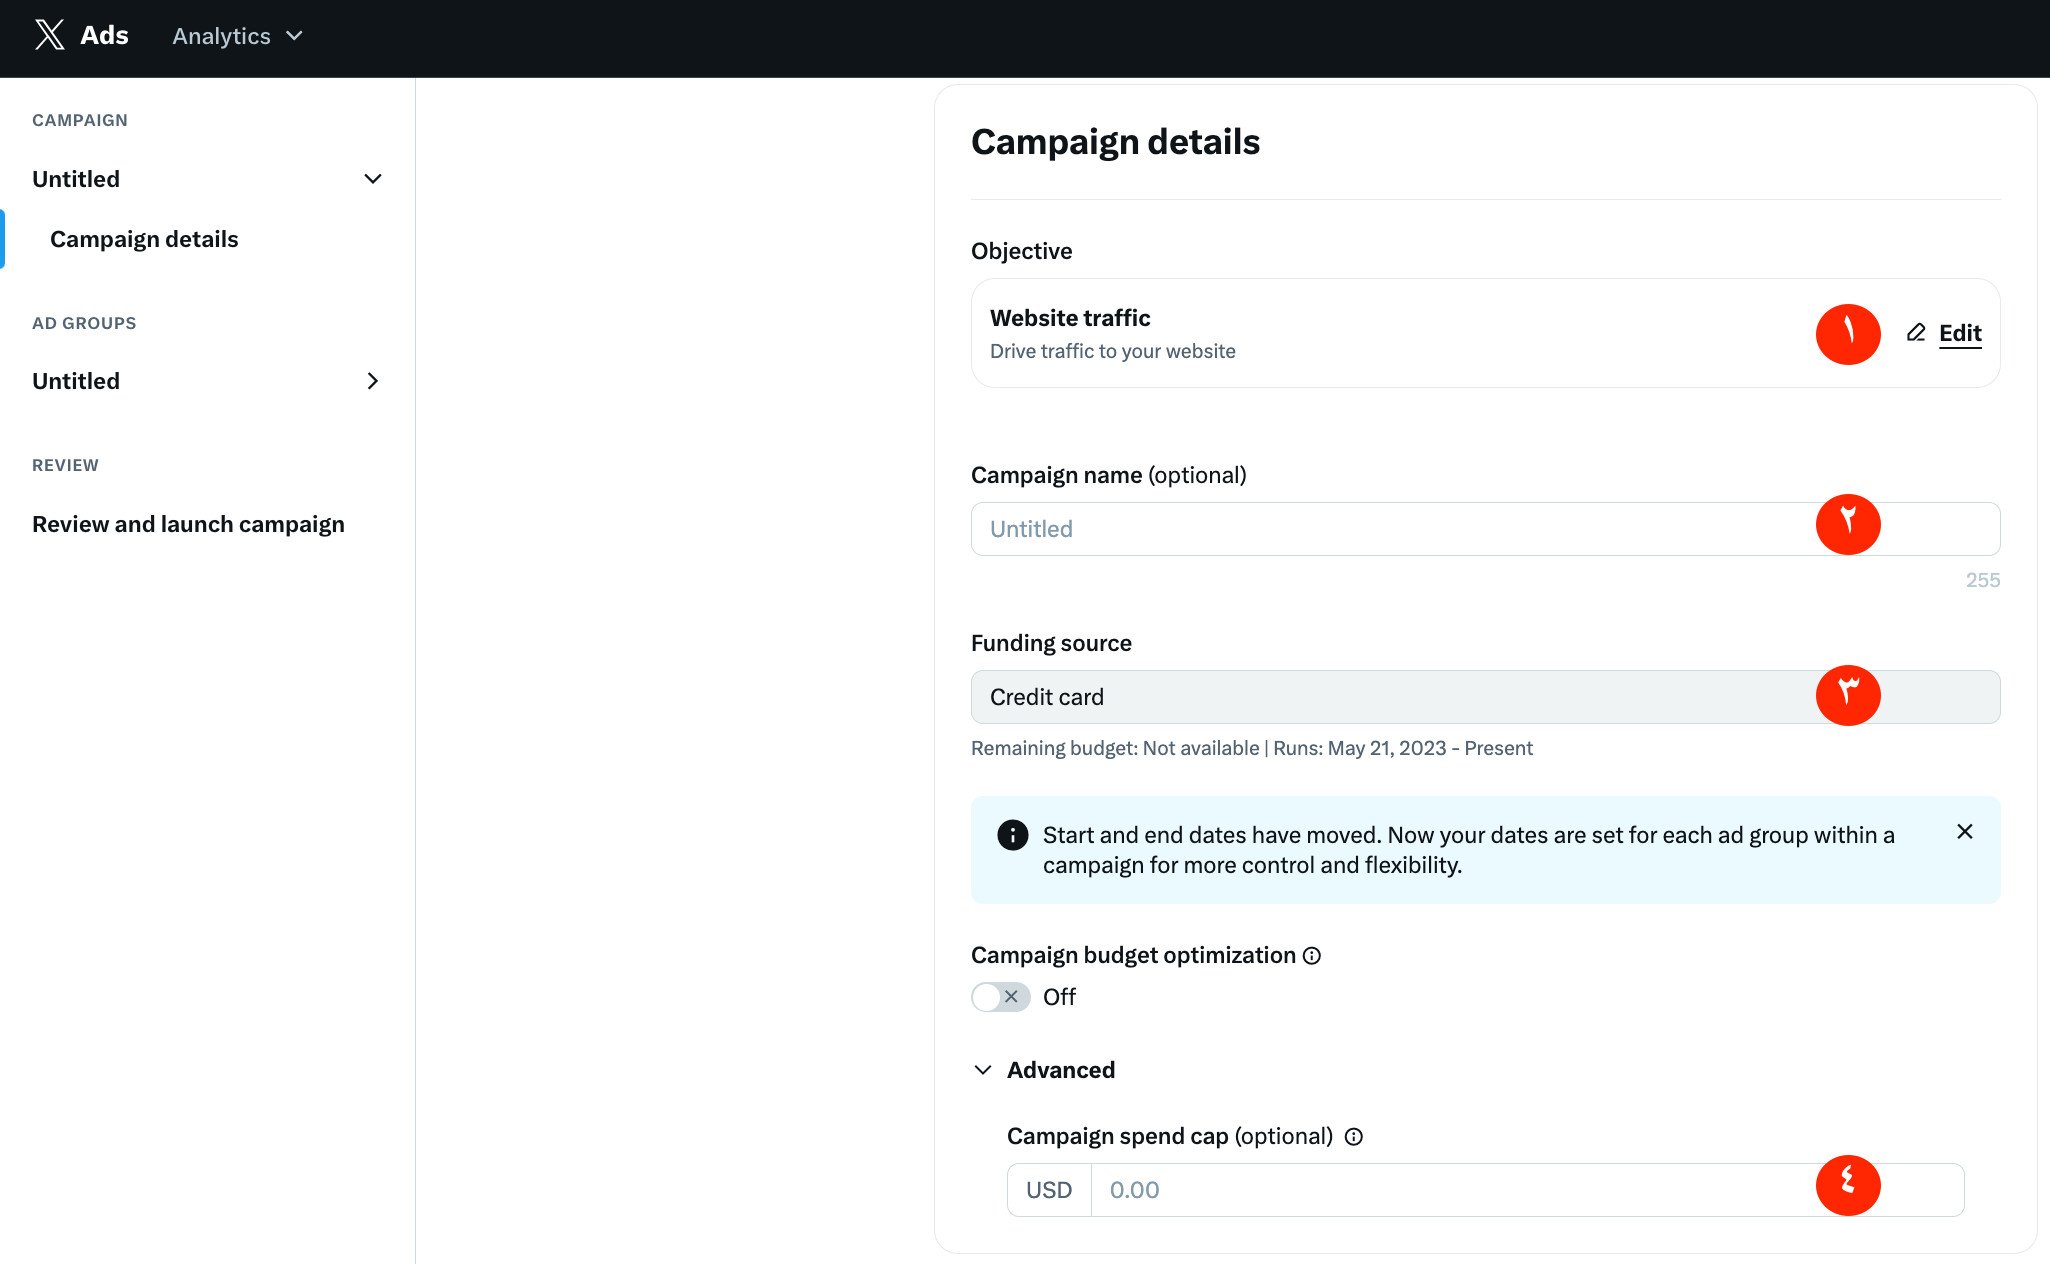
1. The campaign objective you chose in the previous step appears here; to change it, click (Edit).
2. Campaign name — give your campaign a clear name.
3. Your campaign's funding source.
4. Set the campaign's daily budget, and its total spend (optional).
5. Set the criteria for your target ad group.
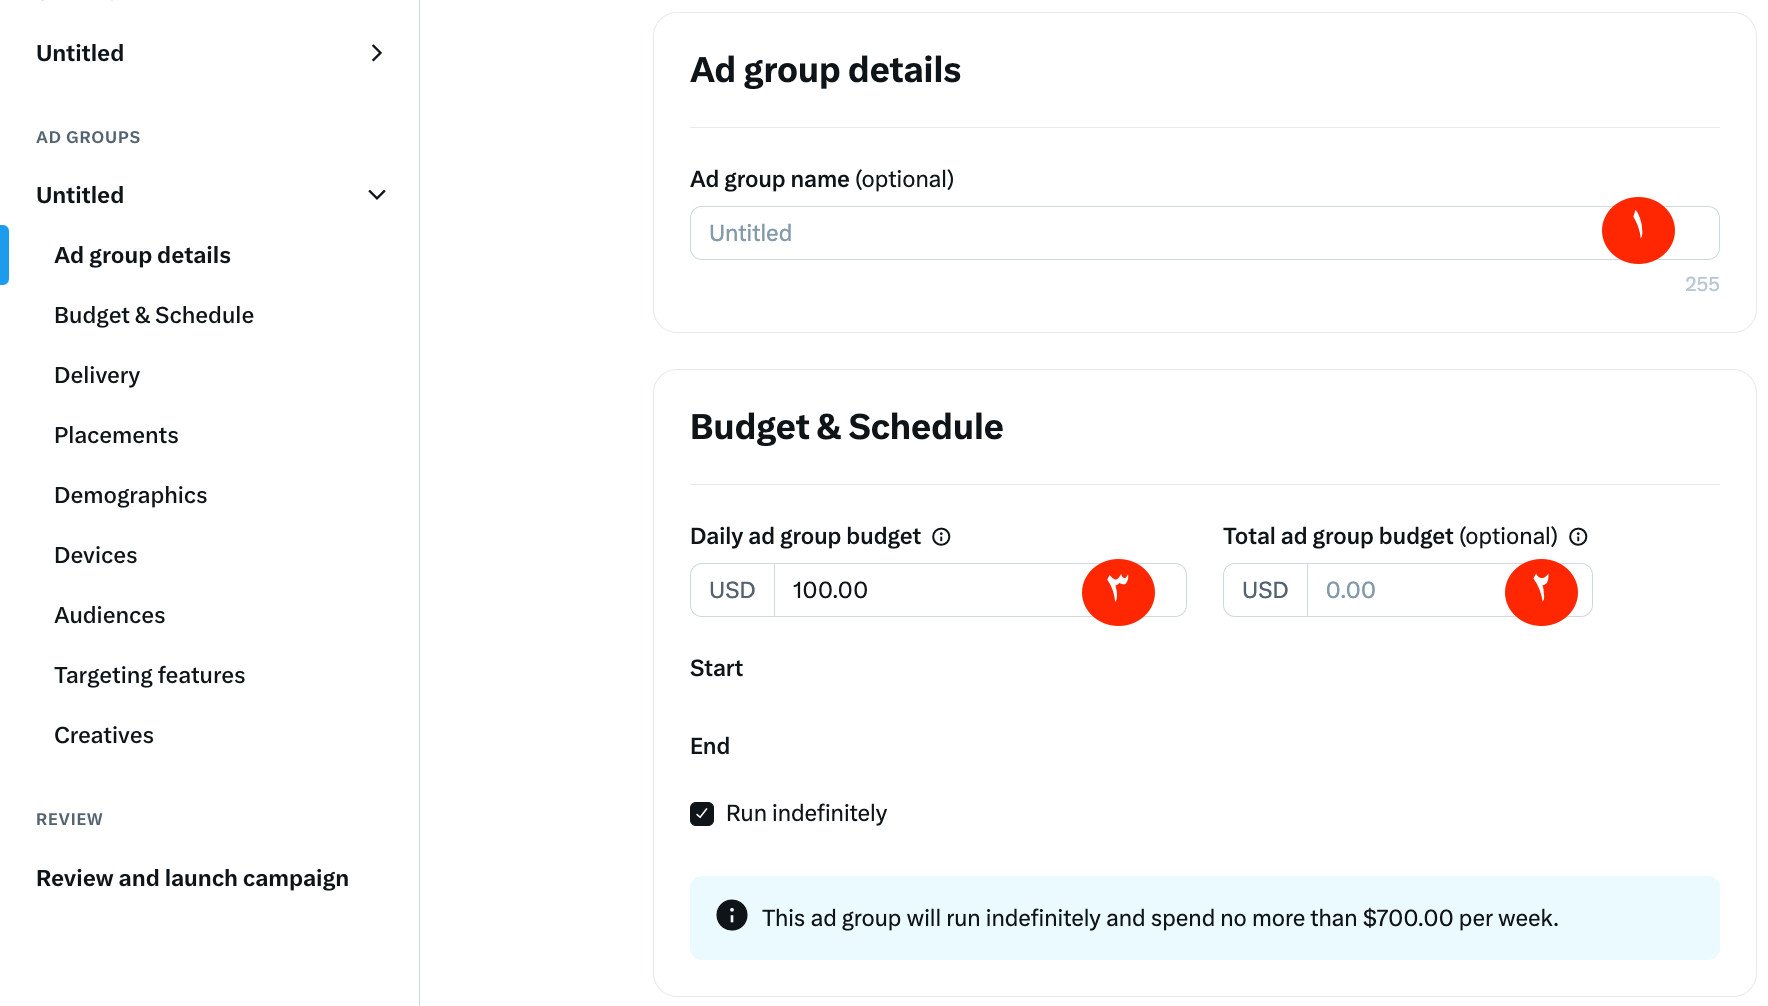
1. Enter the ad group's name.
2. Set the total budget reserved for this group of targets (a portion of the campaign budget — the campaign budget is distributed across your ad groups).
3. Set the daily budget for this group of targets (also a portion of the campaign budget, distributed across your ad groups).
6. Set the delivery options.
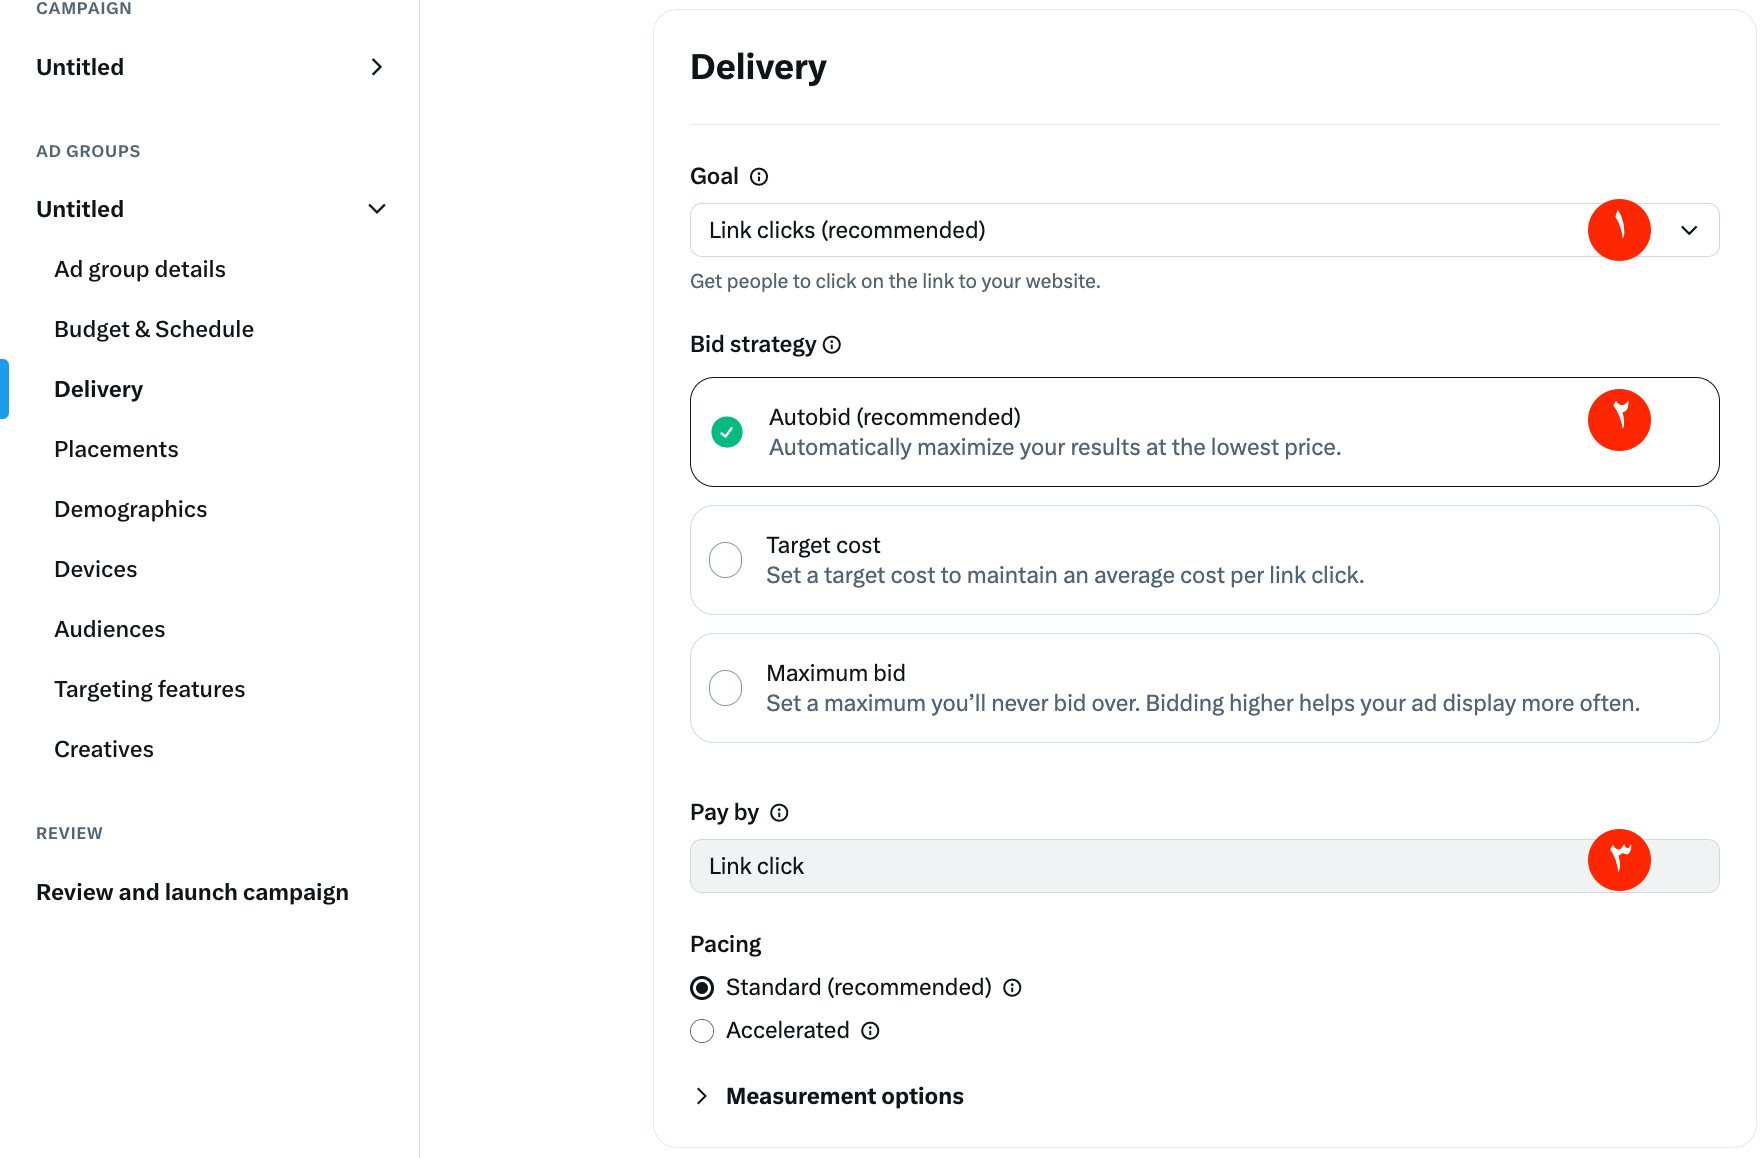
1. Set your ad's delivery goal.
2. Choose a bid strategy. Leaving it on automatic is recommended — your bid is then optimized to get the most results at the lowest price within your budget.
3. Pay by number of link clicks.
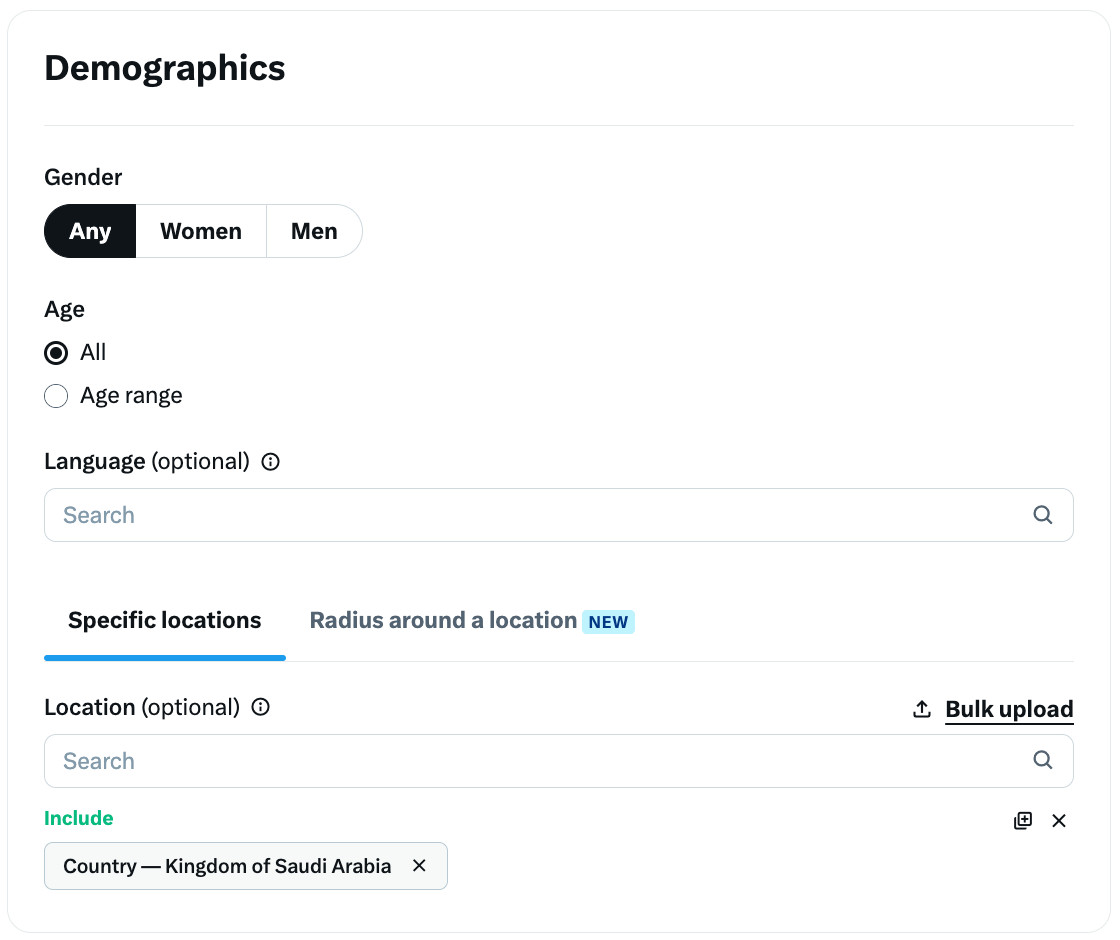
7. Set the demographics of your target group (gender, age, location, language).
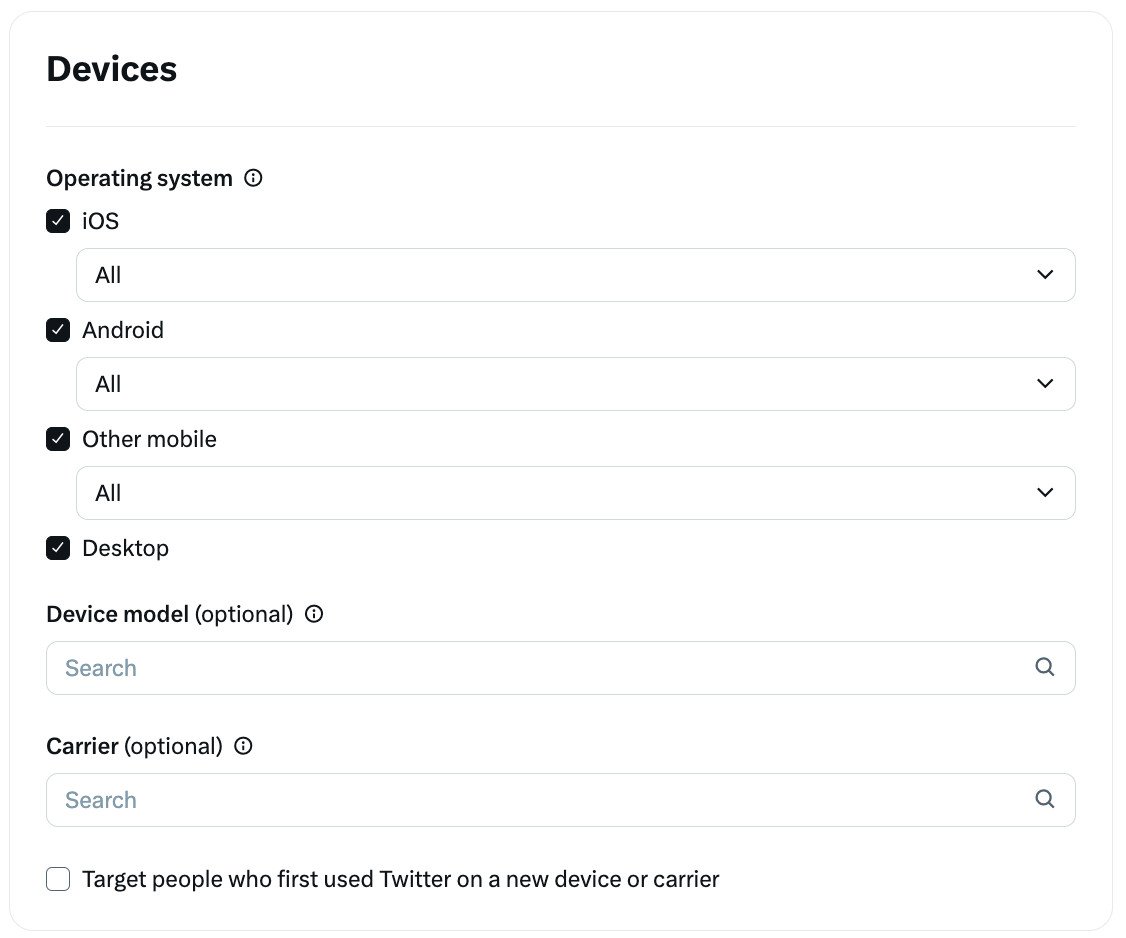
8. Choose the devices your target group uses. Do this when your campaign markets a product tied to a specific device type — for example, promoting your Android app.
9. Include or exclude part of your target group.
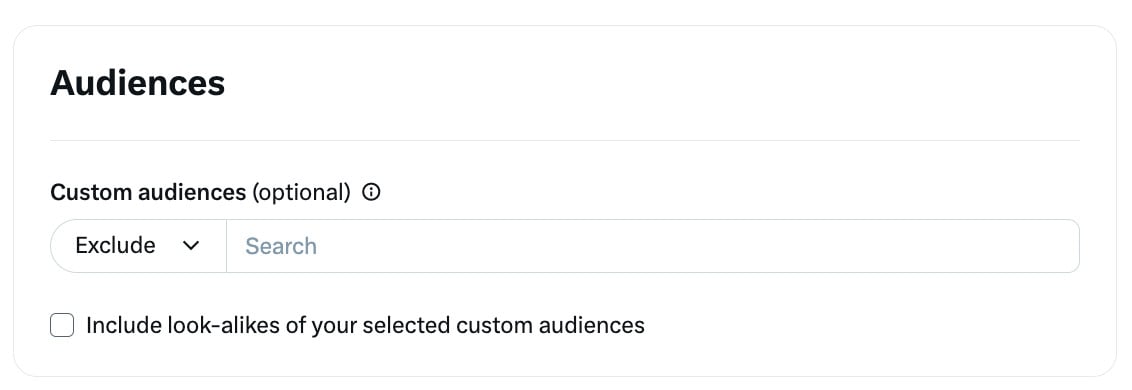
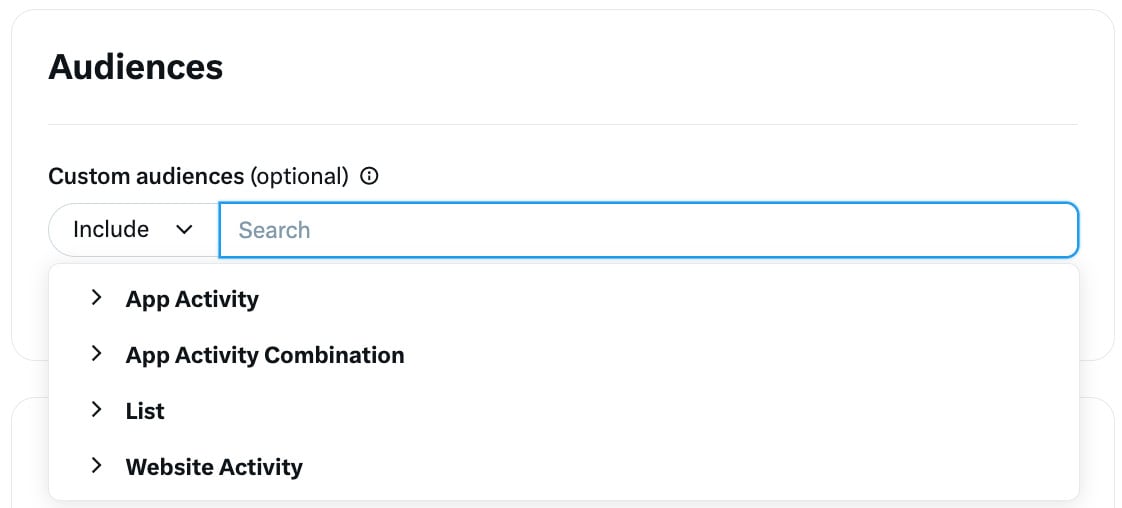
To include a specific custom audience:
Your campaign's posts are shown to the users in your custom audience if they also meet the location, gender, age, and device criteria set in your campaign.
Click (Include), then choose from the list — for example, (Website Activity).
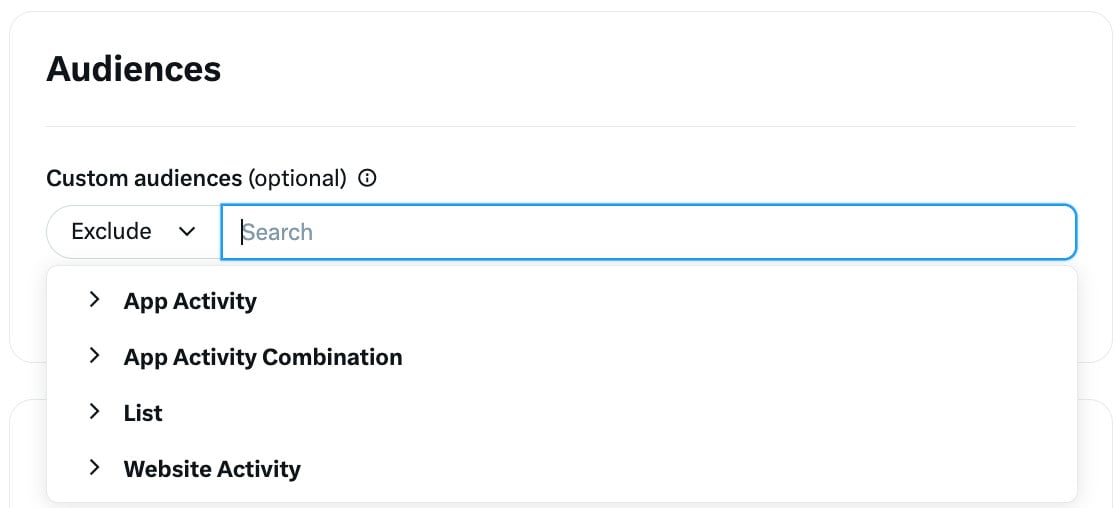
To exclude an audience:
Your campaign's posts will not be shown to the users in that custom audience, even if they meet your campaign's other criteria.
Click (Exclude), then choose from the list — for example, (Website Activity).
10. Choose your targeting features.

To learn what any targeting feature does, click the (i) next to it.

11. Placements.
X places your ads where your audience is most likely to see them.

It's important to choose your ad formats and how the ad will appear (TAP formats), and to set the ad categories by choosing the categories that describe your ad's content.

12. Get creative writing your post.

Then click (Launch campaign).

Frequently asked questions
❓ Which engagements can be targeted?
You can target all positive engagements, whether they came from promoted or organic posts, including: impressions, likes, reposts, video views, detail views, image expansions, link clicks (URL or hashtag), profile clicks, post shares, poll clicks, and more.
❓ Can I retarget video engagements?
All video engagement types are eligible (3 seconds at 100% in view; 2 seconds at 50% in view; people who clicked the post or the video), along with people who started a video, watched 50% of it, or watched 100% of it.
❓ What lookback windows can I retarget an audience from?
Retargeting is limited to an audience within a set lookback window after they viewed or engaged with a post:
- Organic impressions: 15 days only
- Promoted impressions: 30 days only
- Organic engagements (including video view engagements): 45 days only
- Promoted engagements (including video view engagements): 90 days only
❓ Is there more detail on choosing a target audience?
Yes — X provides detailed information about audience targeting in the X help center.
❓ How do I add a new conversion event?
1. From the (Key conversion metric) list, select the event you want. If you have no events yet, or the one you need isn't in the list, click (+Create new) to create a new event.

2. From the (Conversion tracking) events page, click (Create new conversion event).

3. Enter the event details.

A. Name this event — give it a unique, descriptive name, for example "Mailing list signup completed".
B. Choose the conversion type that best describes the action you want to track:

- Site visit
- Purchase
- Download
- Sign up
- Custom
4. Enter the event tracking and rules details.

Choose the website tag you'll use to track this event:
D. Use a universal website tag (recommended). The universal tag lets you implement once and define rules based on user behavior. If you haven't set one up yet, the next screens walk you through the process.
E. Use a single event website tag. Use single event website tags only if you cannot use a universal website tag.
F. Include traffic that meets any of the following conditions:

- All site visits: selecting "All site visits" fires this conversion event whenever a user visits any of your pages carrying the universal website tag. This option is usually paired with the "Site visit" conversion type, because it matches any page URL.
- Exact URL: selecting "Exact URL" fires this conversion event when a user visits a tagged page whose address matches the given URL. Exact URL matching is case sensitive and matches the URL exactly as entered.
💡 Example: target all product pages from a specific product collection:

- URL contains: use the universal website tag to build custom audiences that target site visitors based on the specific actions they took on your site.
💡 Example: people who viewed "rings" can be targeted with one ad, and people who viewed "bracelets" with another.

G. Specify a custom attribution window. Choose the time window during which X gets credit for conversions that happen after someone views or engages with your ads. You can change this setting at any time, and conversion data updates retroactively:
- Post-engagement attribution window
- Post-view attribution window
For more details, see retargeting on the other platforms and retargeting campaign basics.