Are shoppers landing on your store and finding it in a language they don't read?
Turning on multiple languages lets every visitor pick the language they are most comfortable in while they browse, instead of guessing their way through a checkout. You choose which languages your store offers, which one it is built in, and how each one gets translated. In this guide, you'll learn how store languages work, where the languages page lives in your dashboard, what each part of that page controls, and the answers to the questions merchants ask most.
Turning on multiple languages lets shoppers browse your store in the language they prefer. Add the languages you want from Store settings, set your default language, activate each one so customers can see it, then translate your content with instant translation, the text editor, or both.
📌 Article overview
- What the languages feature does
- How to set up your store languages
- What's on the languages page
- Frequently asked questions
🎯 What the languages feature does
With multiple languages enabled, a customer can switch your store into their own language while they shop, matching their preference rather than yours.
🚀 How to set up your store languages
Setting up languages runs through five stages:
1. Add the languages you want to your store.
2. Set your store's default language.
3. Activate each language so it appears in the storefront.
4. Top up your instant translation credit and switch the added language over to instant translation.
For the full walkthrough, see translating your store with instant translation.
5. To sharpen the translated text, turn instant translation off for that language and edit the wording yourself in the text editor.
For the full walkthrough, see translating your store manually with the text editor.
For entering content in more than one language, see how to enter data in different languages.
👣 What's on the languages page
1. From the dashboard side menu, click (Store settings).

2. From Store settings, click (Languages).
3. The languages page opens like this.
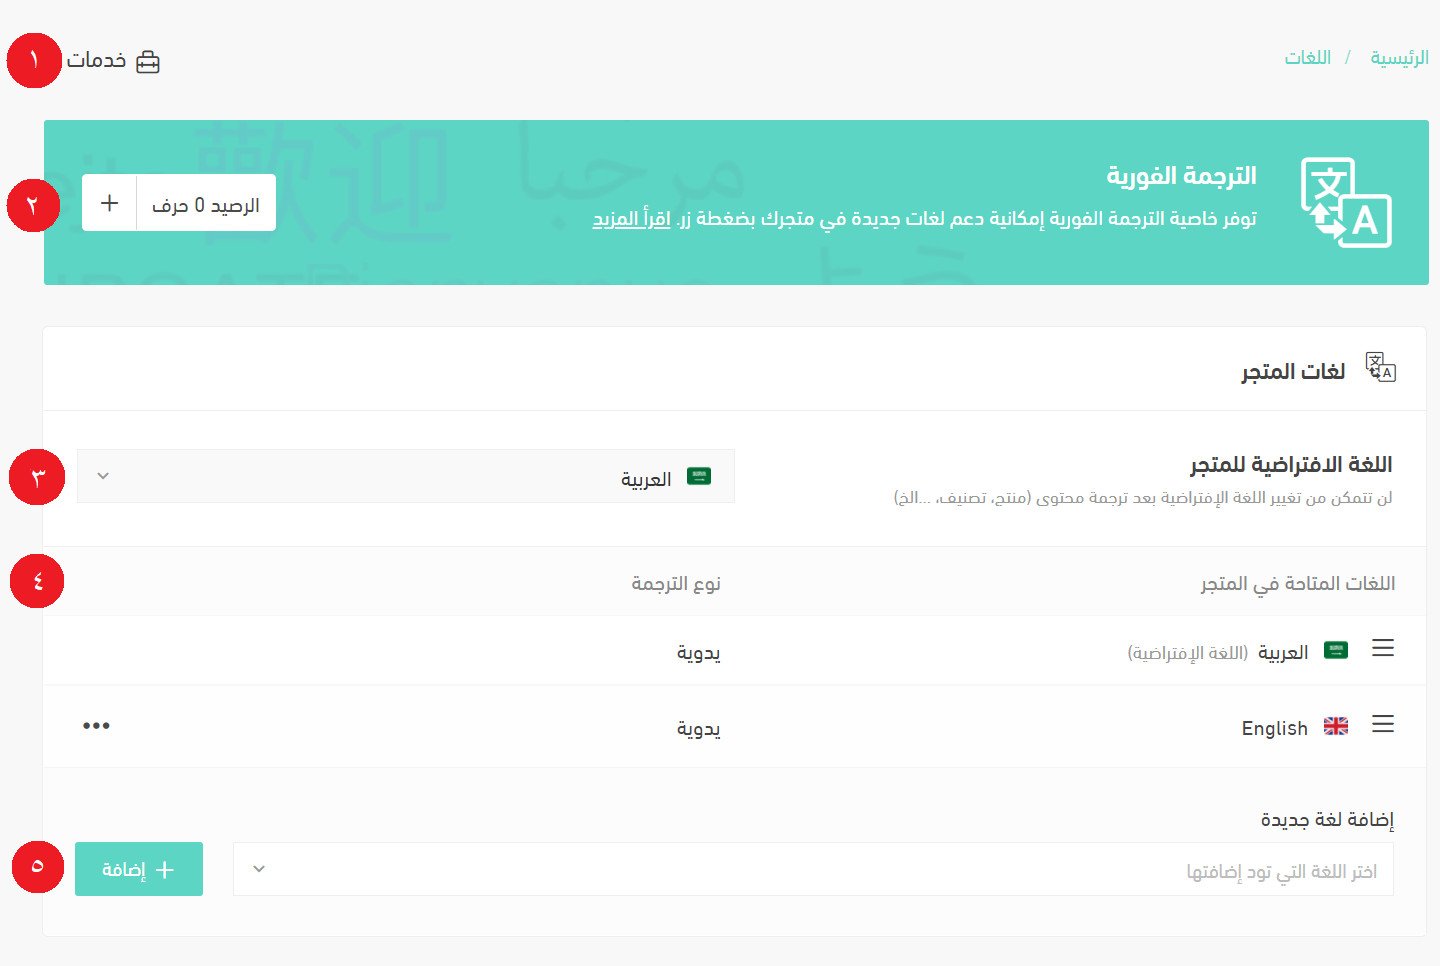
The main elements of the page:
1. The services button, which opens your translation log and the text editor.
2. The top bar, where you check your instant translation credit and top it up.
3. Your store's default language, shown and set here.
4. The languages already available in your store, with the controls for each one.
5. The option to add a new language.
For more answers, see frequently asked questions about languages.
❓ Frequently asked questions
Is the languages feature free?
Yes, the feature itself is free, and you can turn it on as soon as you own the Nomow theme. You then choose between the two translation options, or combine them:
- Instant translation, an automatic translation service charged at a small fee.
- Manual translation, which is completely free.
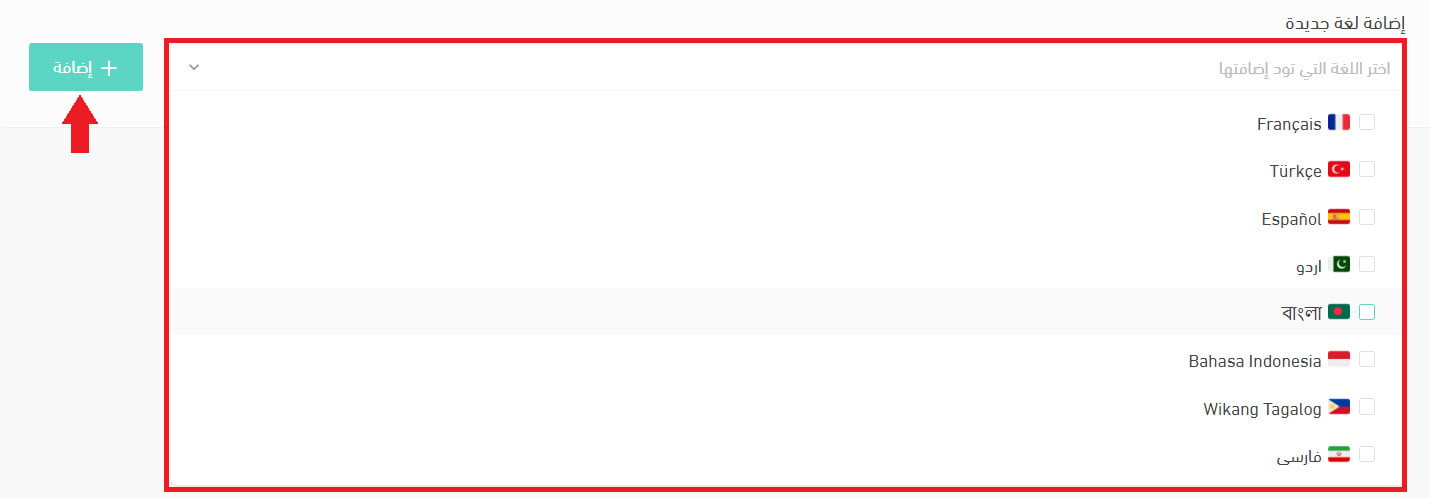
How do I add a new language to my store?
From the add-a-language list, select the languages you want, then click (+ Add).
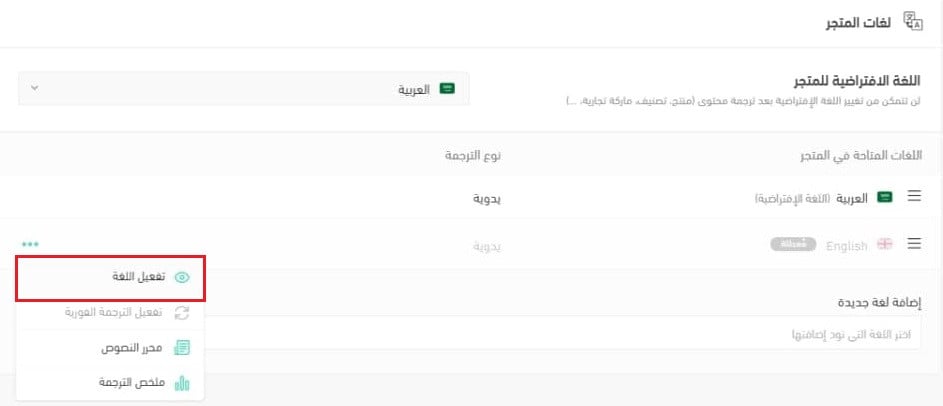
How do I show a language to my customers?
To switch a disabled language on and make it visible to customers, click (...) next to it, then click (Activate language).
What is the store's default language?
The default language is the one your store's core content is defined in: storefronts, menus, products, categories, branches, offers, ads, and the rest.
💡 Example: if you set Arabic as the default language:
- Every part of your store is defined in Arabic. In other words, you build the store in Arabic and add the other languages on top of it.
- When you add a new language, your whole store is translated from Arabic into it.
- Entering data (products, offers, categories, and so on) in Arabic is required; entering it in the other languages is optional.
- Choosing Arabic as the default does not limit how the other languages appear to a visitor.
How do I set my store's default language?
Pick it from the list of languages already added to your store.
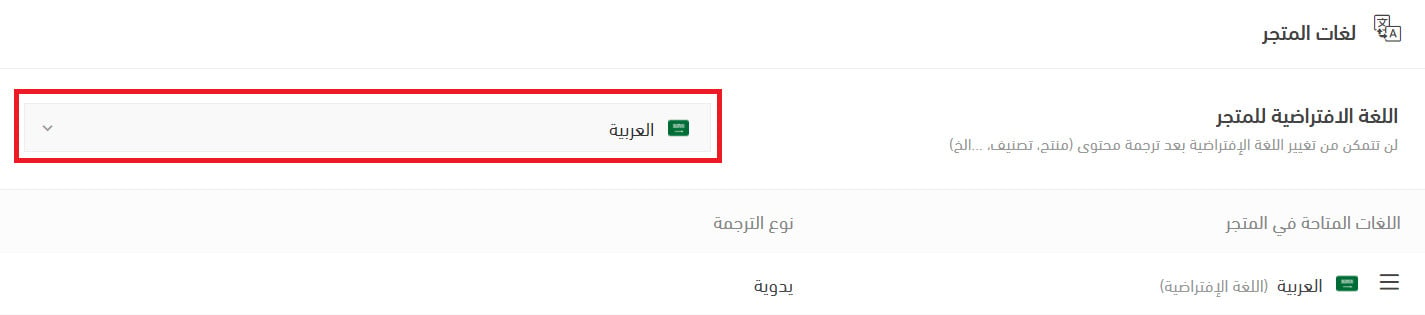
Can I change the default language whenever I want?
No. Once your content (products, categories, and so on) has been translated into other languages, the default is locked, because everything else was built out from it.
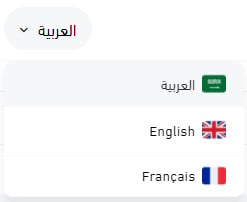
Can I control the order of languages in my store?
Yes. Drag and drop the languages into the order you want.

That order affects only the language list shoppers see in your store.
What translation methods are available for my store?
There are two, and you can combine them.
Method 1. Instant translation.
Switch instant translation on and your entire store is translated automatically at the click of a button.

For the full walkthrough, see translating your store with instant translation.
Method 2. Manual translation.

For the full walkthrough, see translating your store manually with the text editor.
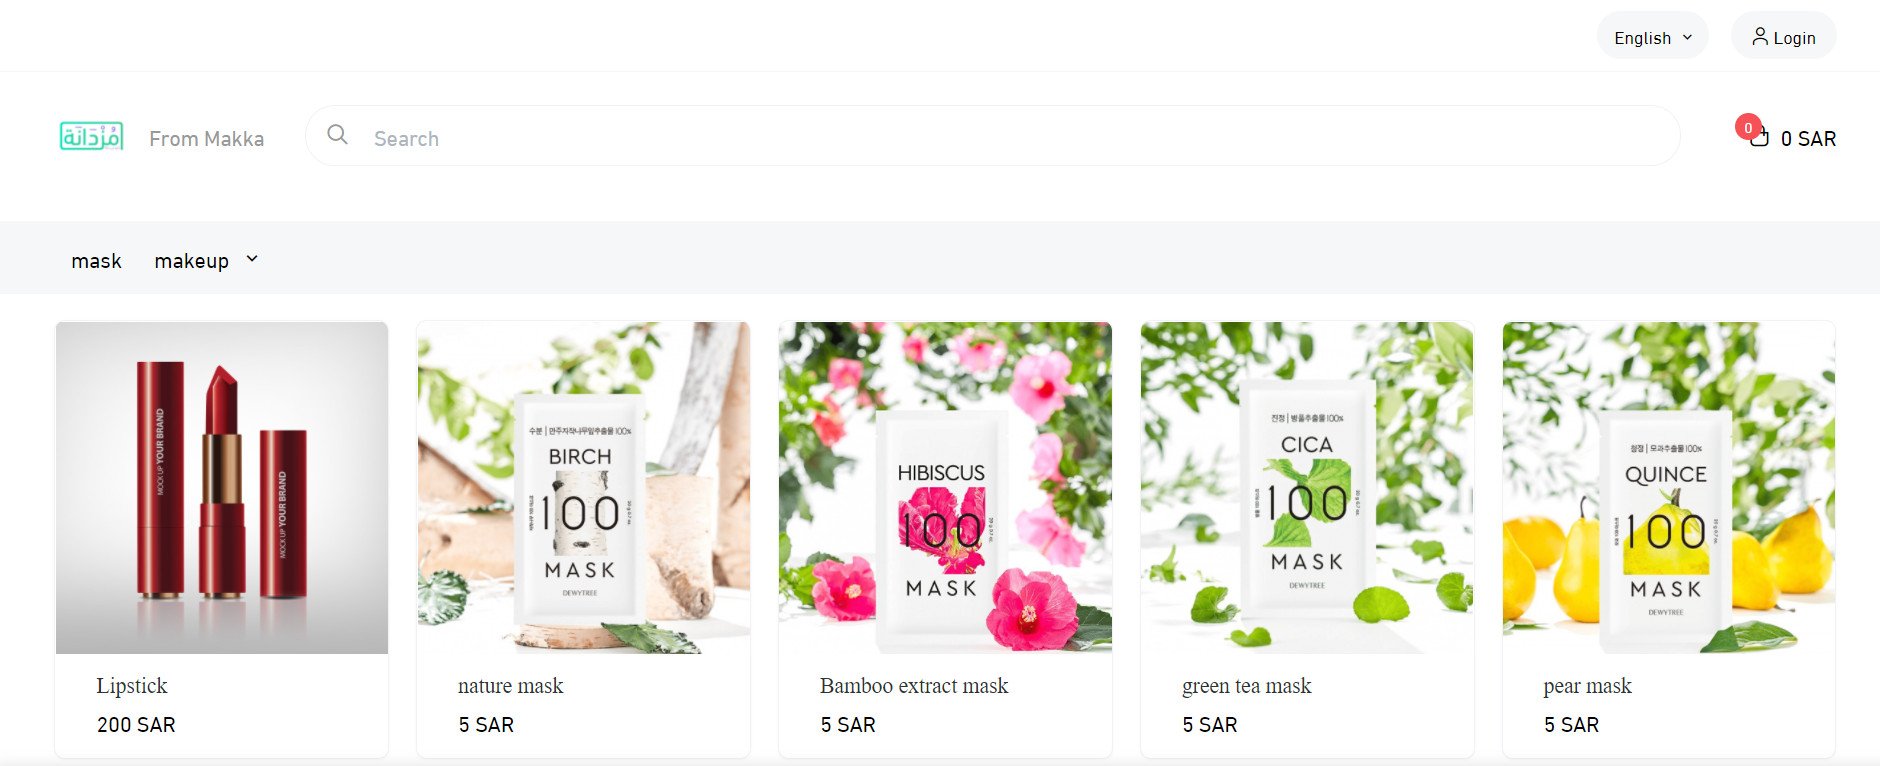
How does a customer switch the store language?
A list of the languages available in your store appears at the top of the storefront, and the customer picks from it.

Choosing English, for example, shows the store like this.
Does my theme affect the languages feature?
Yes, your choice of theme decides what the feature can do.
Themes that support languages, such as the Nomow theme, support it fully: translation plus direction switching for store elements and the rest of the feature set.
You can tell which themes support languages by the language-support badge on the theme.
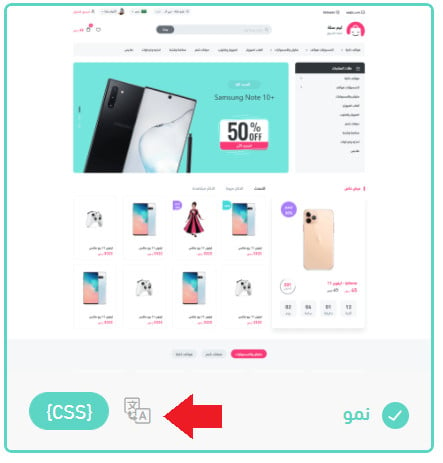
For more on that theme, see designing your store with the Nomow theme.
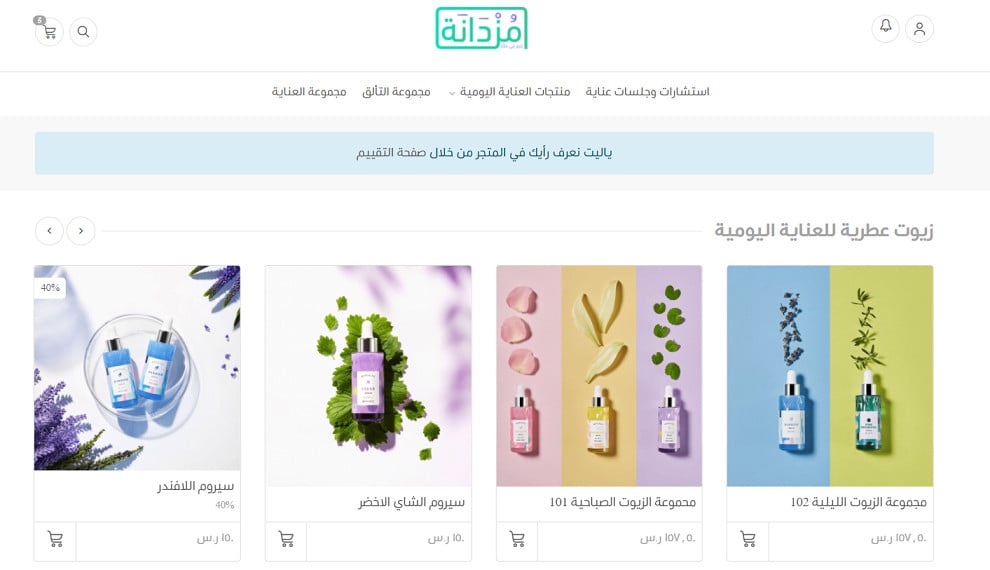
All other themes do not support the languages feature.
How do I enter products, categories, and other data in more than one language?
Enter the data in your default language first and save it, then pick the other language from the list, enter the data for it, and save again.
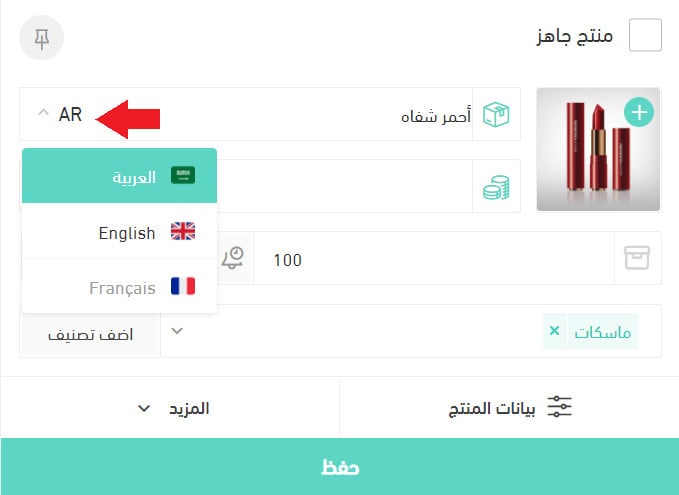
For the full walkthrough, see how to enter data in different languages.
A shopper who can read your store in their own language is a shopper who can finish a checkout in it. Adding languages is a one-time setup; deciding how much of the translation you polish by hand is where the difference shows.