Is a wrong delivery address costing you a redelivery on every other order?
Connecting LocationIQ with Salla gives your store geocoding and maps, so a customer's address is pinned to a real point on the map instead of a line of free text. LocationIQ can also be set as the default service for locating the customer and pulling shipping data when an order is placed. In this guide, you'll learn how to connect LocationIQ with your store, create an account, and get your API key.
To connect LocationIQ with Salla, open (Installed apps) in your dashboard, click (App settings) on the LocationIQ app, enter the App Key from your LocationIQ account, and click (Activate connection). You get the key from (API Access Tokens) in your LocationIQ account.
📌 Article overview
- How to connect LocationIQ location services with your store
- Frequently asked questions: pricing, creating an account, and getting your API key
🚀 How to connect LocationIQ location services with your store
1. From the side menu of your dashboard, click (Installed apps).

2. On the LocationIQ app, click (App settings).
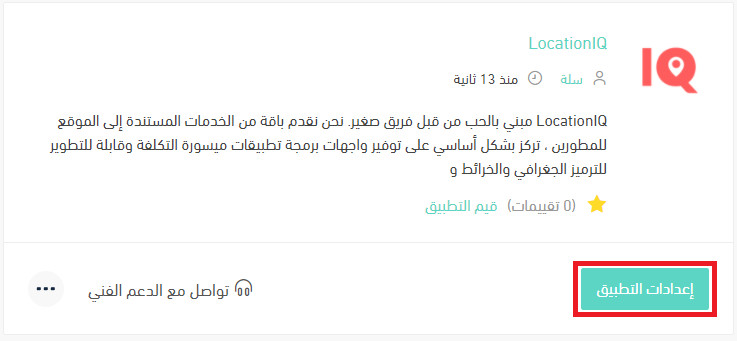
If the app isn't installed in your store yet, install it first. For more details, see installing an app from the Salla App Store.
3. Enter the App Key you got from your LocationIQ account settings, then click (Activate connection).

📝 Important notes
You can set LocationIQ as your default service for pinpointing the customer's location and pulling shipping data when an order is placed.
You'll need a LocationIQ account and an API key before step 3. If you don't have them yet, follow the questions below first.
❓ Frequently asked questions
These are the questions this section answers:
- How much does LocationIQ cost?
- How do I sign up for LocationIQ?
- How do I get the API key from my LocationIQ account?
How much does LocationIQ cost?
For more details, see LocationIQ pricing.
How do I sign up for LocationIQ?
1. Go to the LocationIQ registration page, then click (SIGN UP) to create a new LocationIQ account.

2. Enter the details it asks for — your store email address, your first name, and your use case, which here is (A Website) — then click (SIGN UP).

A message confirms that you signed up successfully.

Check the email address you registered to activate your LocationIQ account.
3. Complete your registration details, then click (GET STARTED).

a. Choose the products you'll use: reverse geocoding, forward geocoding, maps, routing, or all of them.
b. Enter your store or company name.
c. Choose your company size.
d. Choose your role in the company.
Your LocationIQ account is now ready to use.

How do I get the API key from my LocationIQ account?
From the home page of your LocationIQ account, click (API Access Tokens), then click (VIEW).

Copy the access token and paste it into the LocationIQ settings in your store.
