Want a store design that puts your brand front and center the moment someone lands on it?
The Wathiq theme is built for exactly that. It supports the multi-language feature in full, gives you far more control over the header and footer, and adds a full-screen main gallery along with feature, banner, and product galleries you can arrange to suit your brand. In this guide, you'll learn how to apply the Wathiq theme to your store and how to customize the parts of it merchants ask about most.
Wathiq is a Salla theme with full multi-language support, an expanded header and footer, and a full-screen main gallery. You buy it from the store design page, then customize its design options, homepage elements, product display, map, and newsletter block from the theme customization page.
📌 Article overview
- How to apply the Wathiq theme to your store
- Where the logo appears
- What is new in how products are displayed
- The new elements added to the theme
- Showing a map in your store
- Turning on the newsletter signup
🚀 How to apply the Wathiq theme to your store
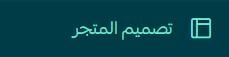
1. From the dashboard side menu, click (Store design).
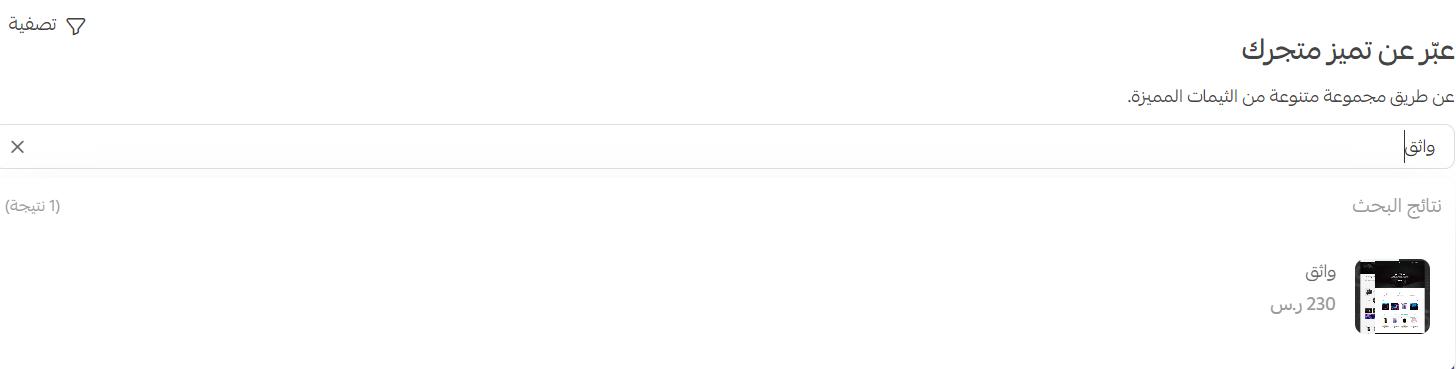
2. On the store design page, look for Wathiq under the newest themes, then click (Wathiq) in the results.
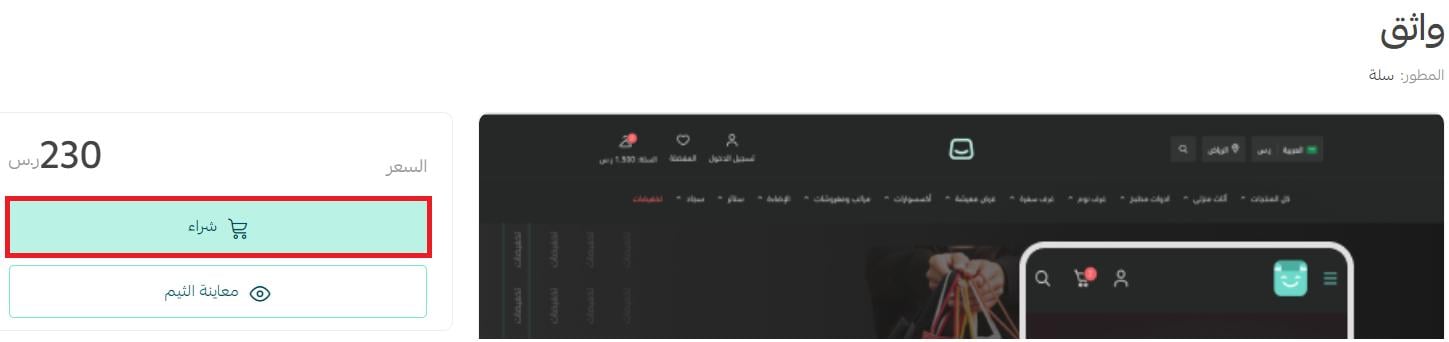
3. On the Wathiq theme details page, click (Buy), then complete the payment.
4. Once the theme is installed, customize it however you like from the store design page.
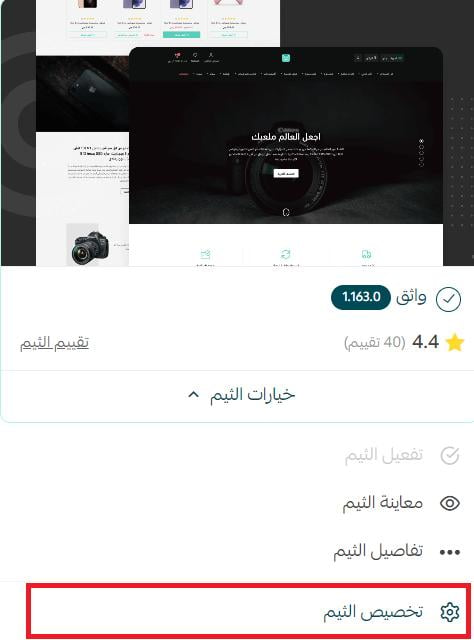
The theme customization page also lets you preview how your store will look before you publish anything.
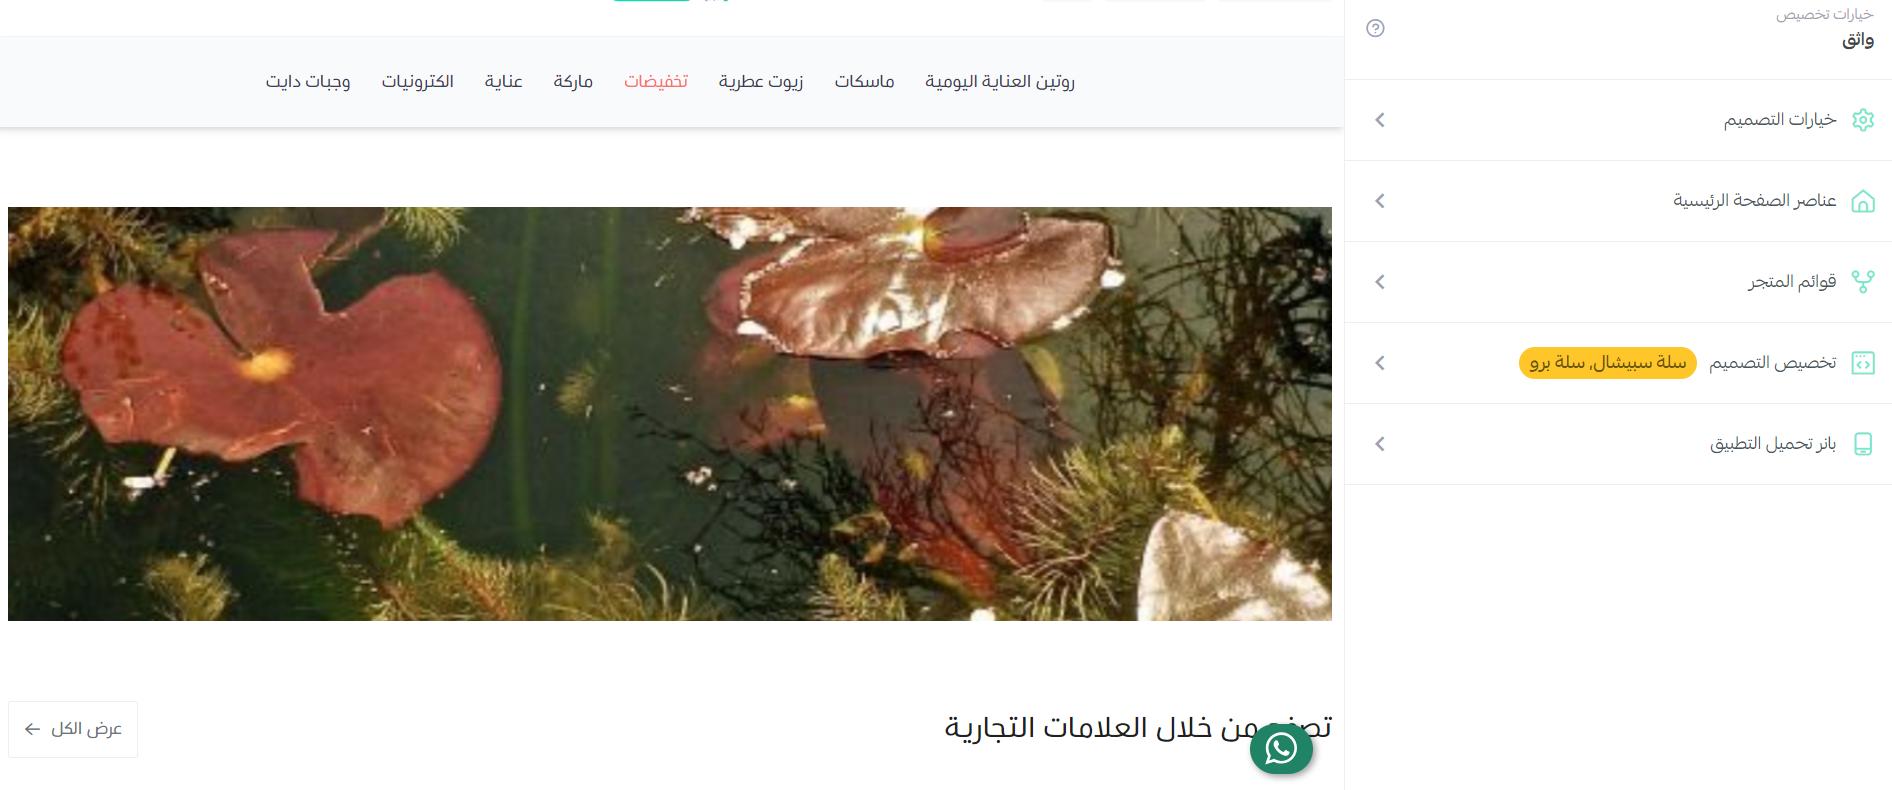
See a live store using the Wathiq theme.
For more on the theme store and store design.
For more on customizing your store design.
❓ Frequently asked questions
Where does the logo appear on the store page?
The store logo sits in the middle of the header, with the main header elements arranged on either side of it.

Is there anything new in how products are displayed?
Yes. Wathiq adds several new ways to display product images. From the theme customization options, click (Design options).
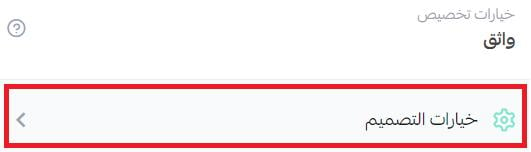
Product page options
1. Show or hide tags
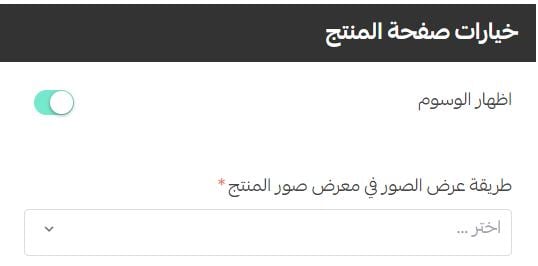
Tags then appear on the product page like this:

2. Display product images wider
This gives product photography more room, and lets you control how the images are shown inside the product gallery.
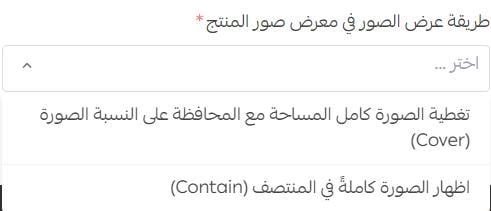
💡 Example:
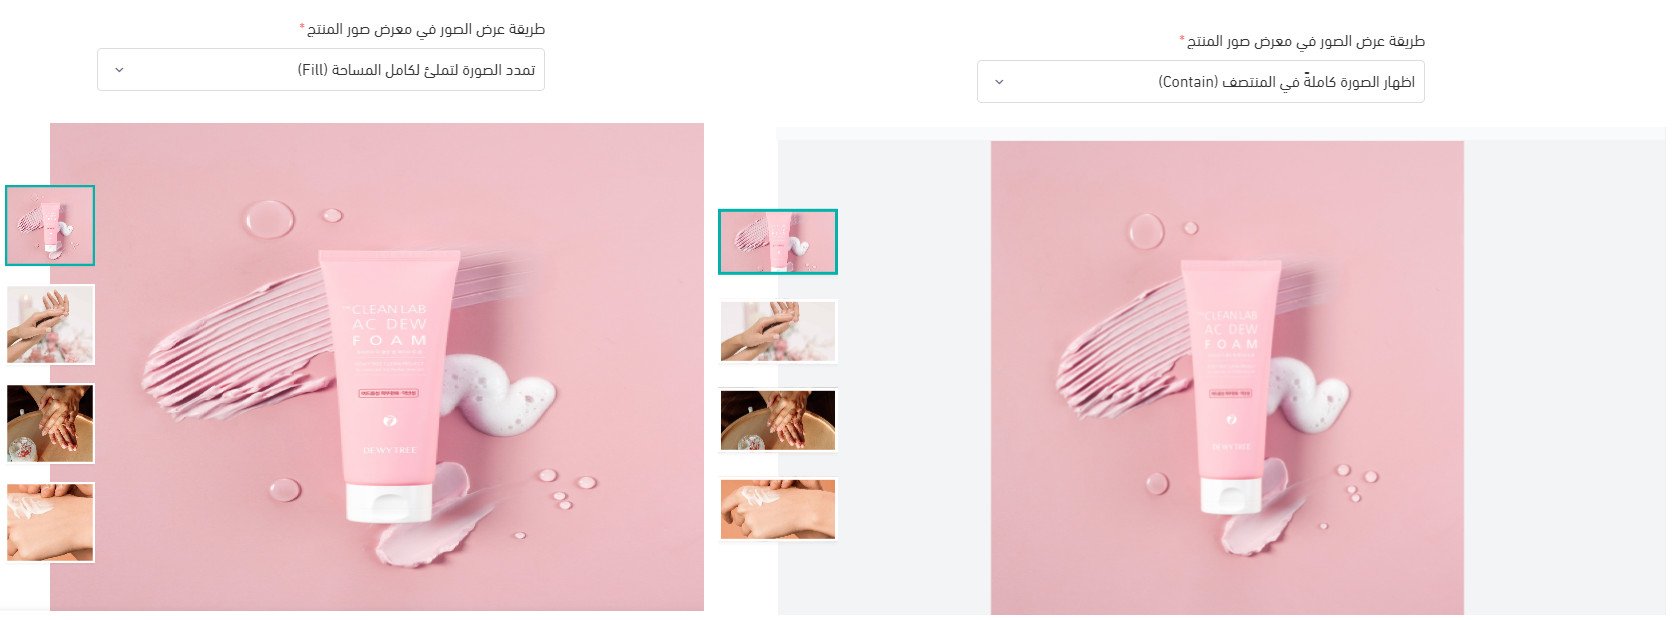
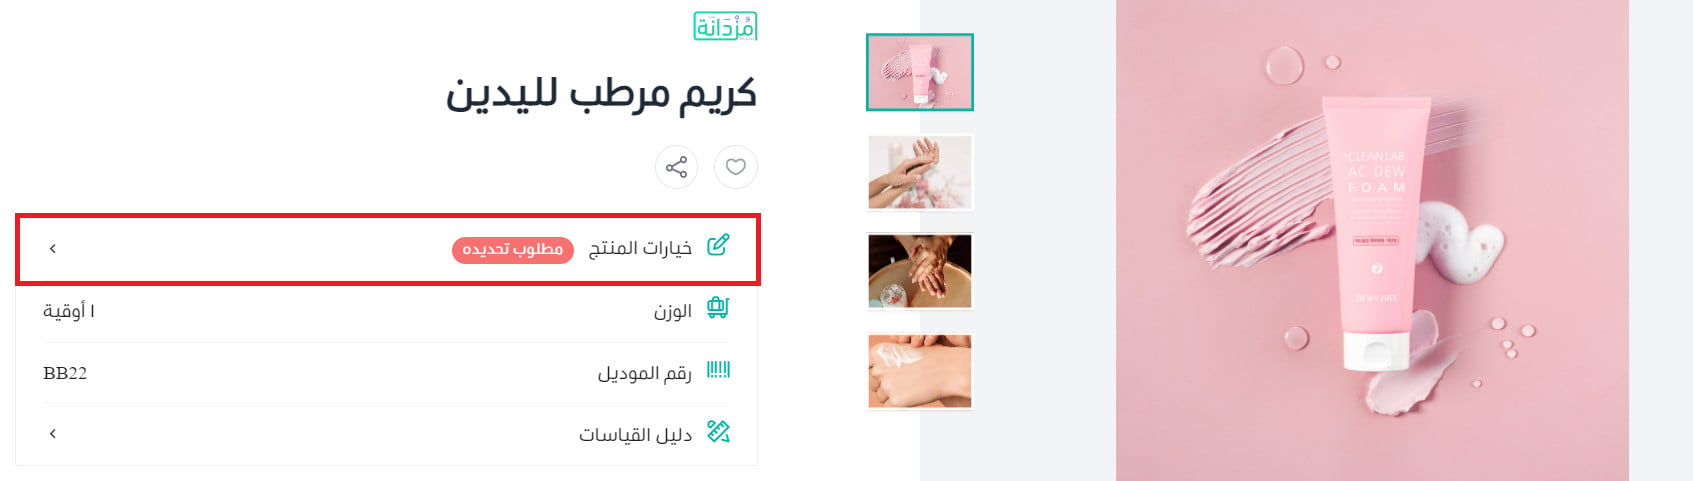
3. Show product options in a side panel
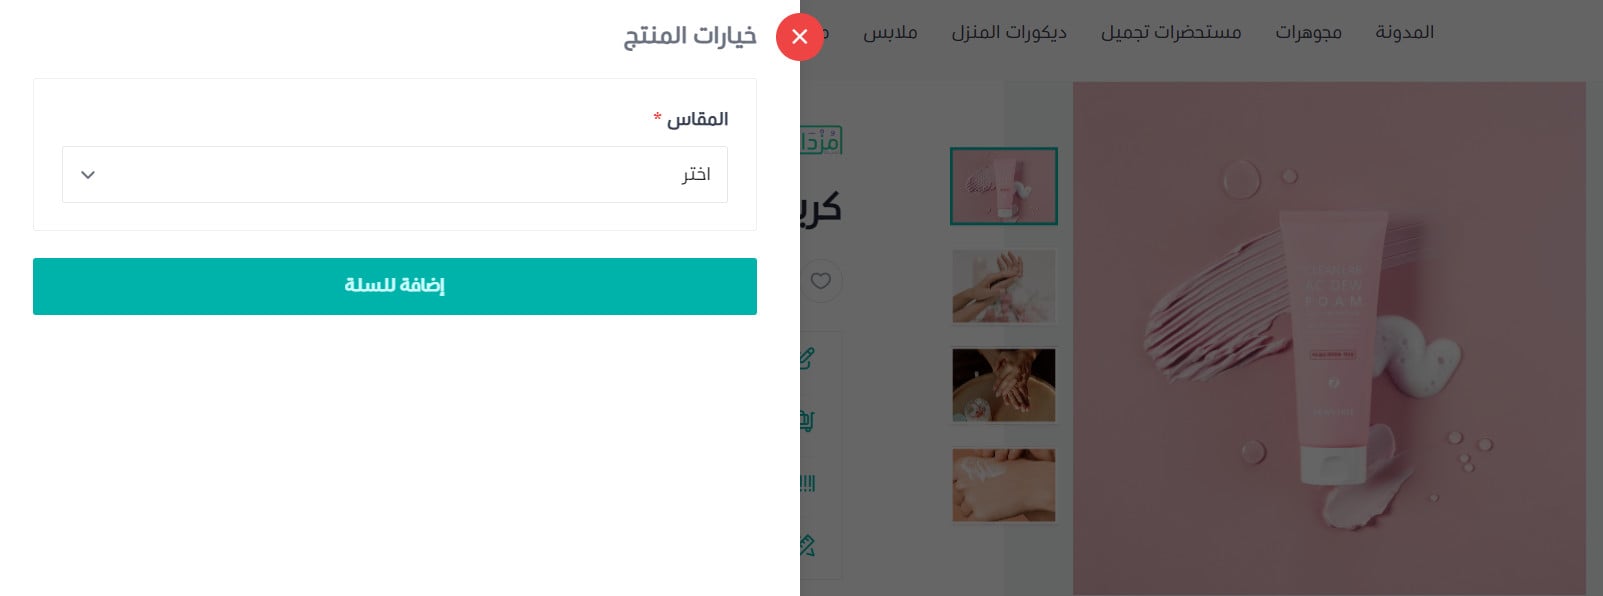
Moving the options into a side panel keeps the product details in focus. To see the available options, the customer clicks (Product options) on the product details page.
They then choose the options they want and click (Add to cart).
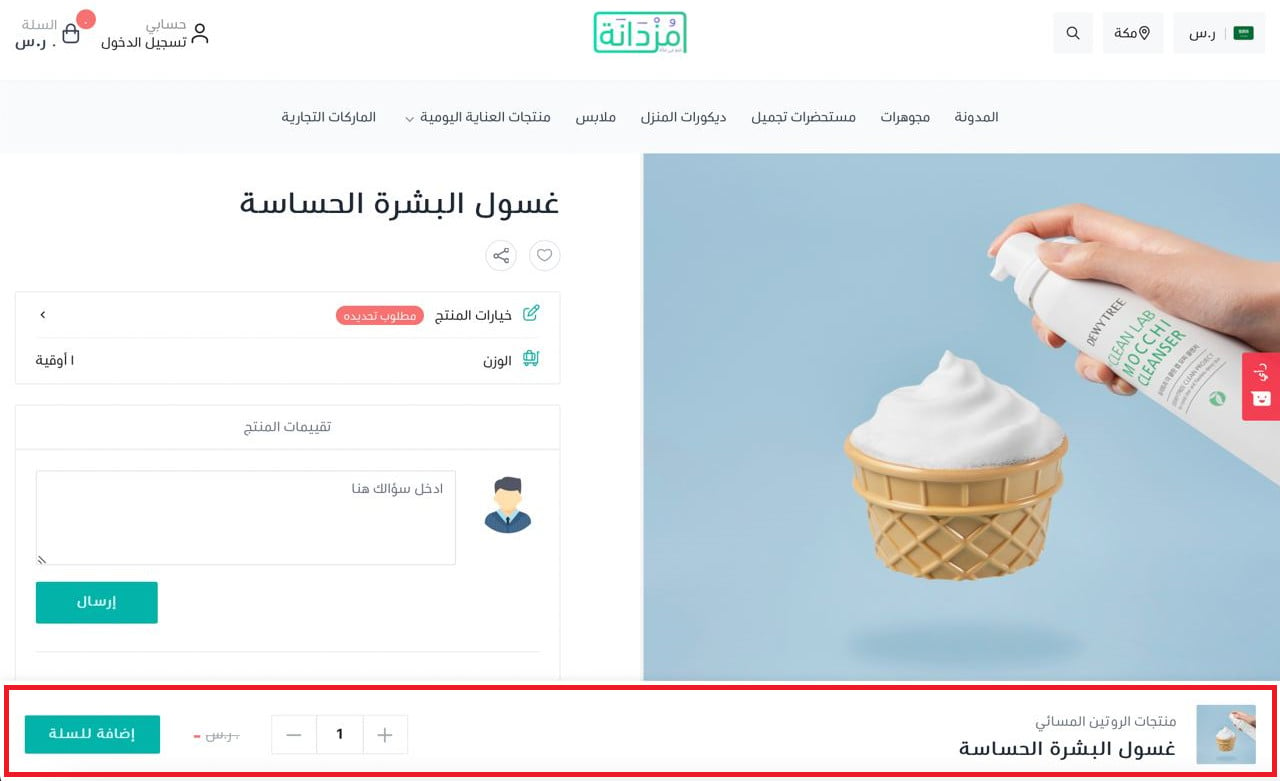
4. Keep the key details in view
A sticky bar at the bottom of the product page carries the details that matter most: the product image, category, name, price, quantity, and the add to cart button.
Products page options
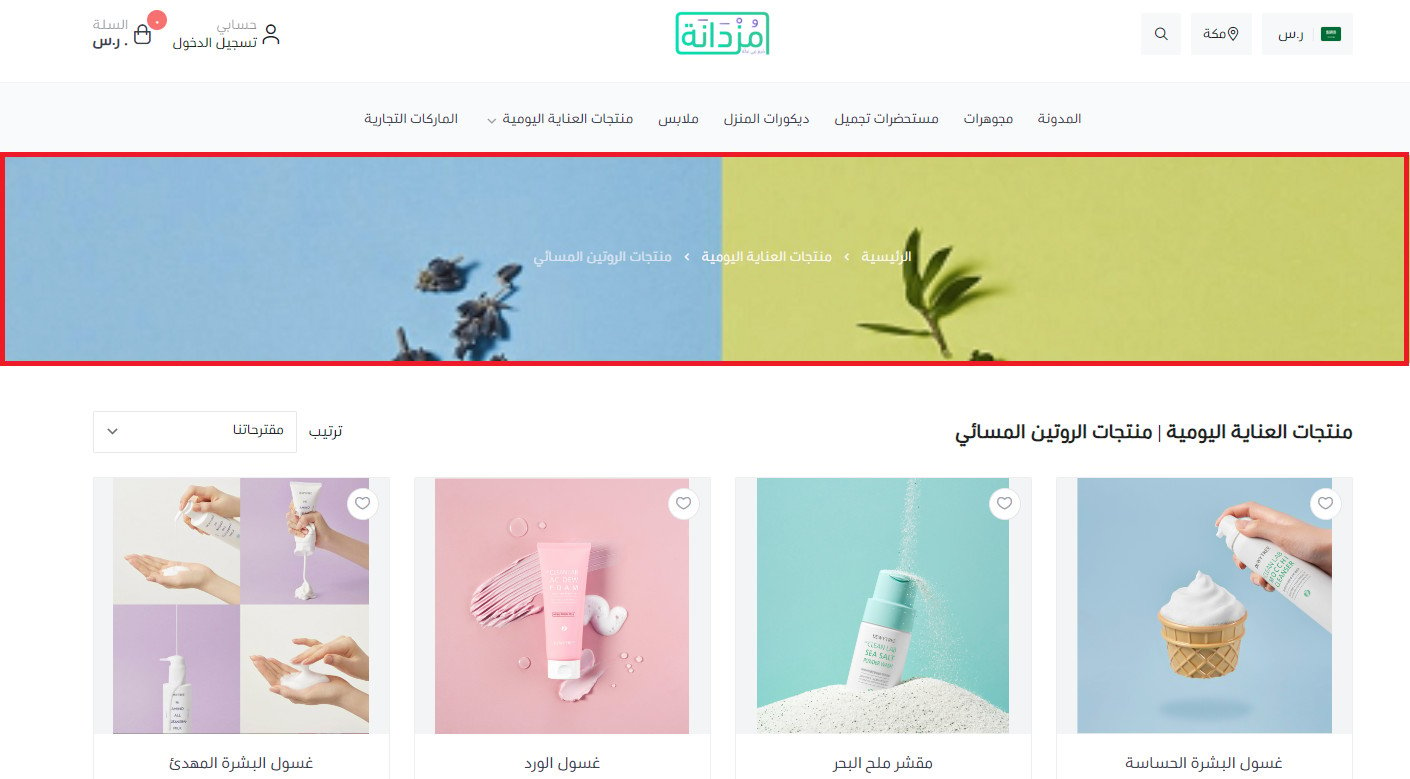
You can now give the top of the page its own background image, background color, and text color.
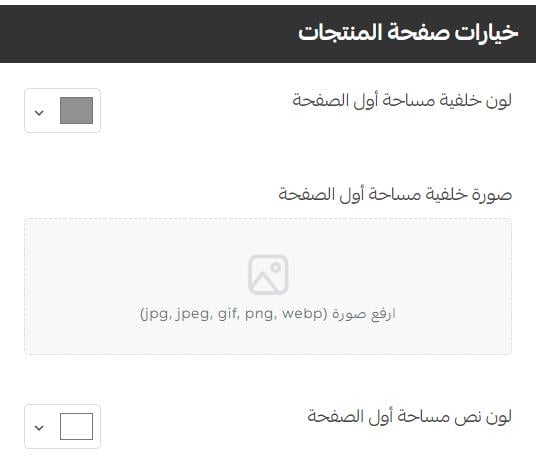
These settings show up when a customer opens a category, a submenu, or a tag.
What new elements were added to the Wathiq theme?
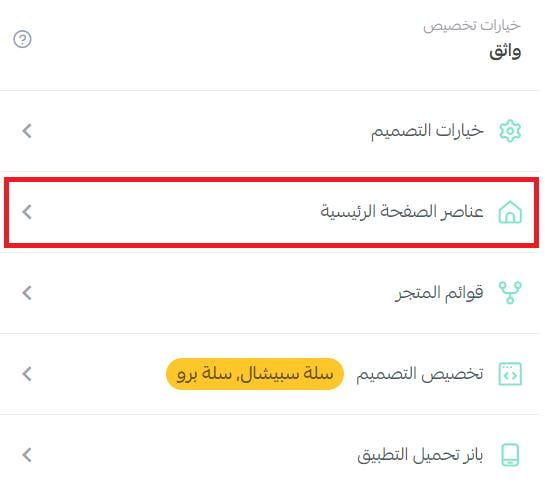
Wathiq adds a set of elements that make a store look more polished. To add them, go to the Wathiq theme customization page and click (Homepage elements).
Then click (Add new element).
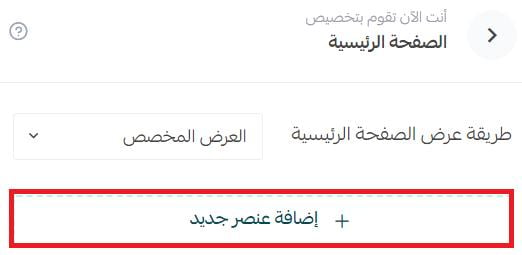
The elements you can add to your store appear:
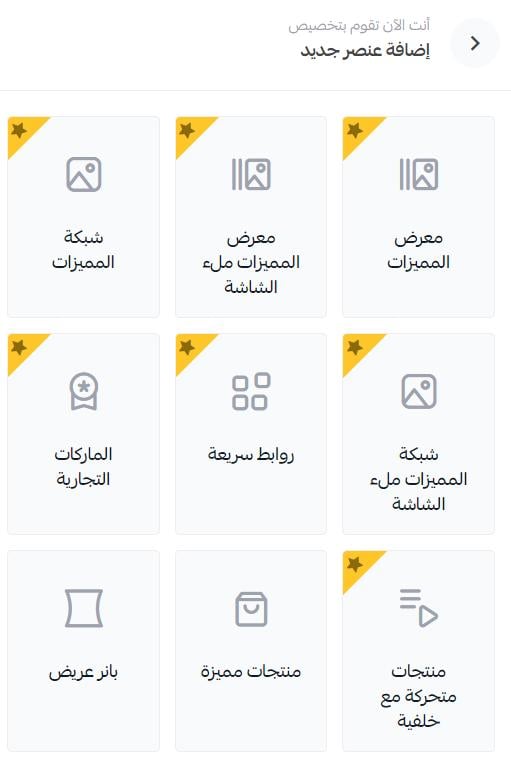
Here is what each one does.
1. Features gallery
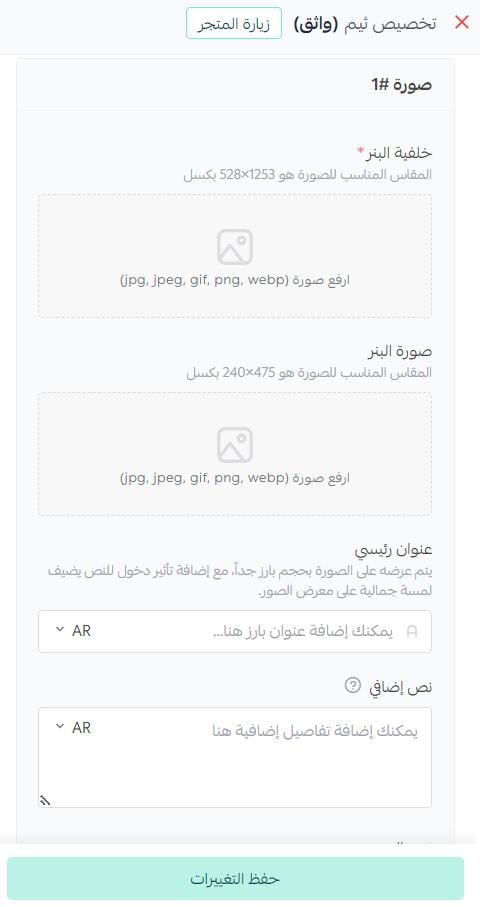
Add the banner background (at least one image), the main heading, the supporting text, and the button text and link. The supporting text appears over the image at a smaller size than the heading, with an entrance animation that gives the gallery a bit of polish.
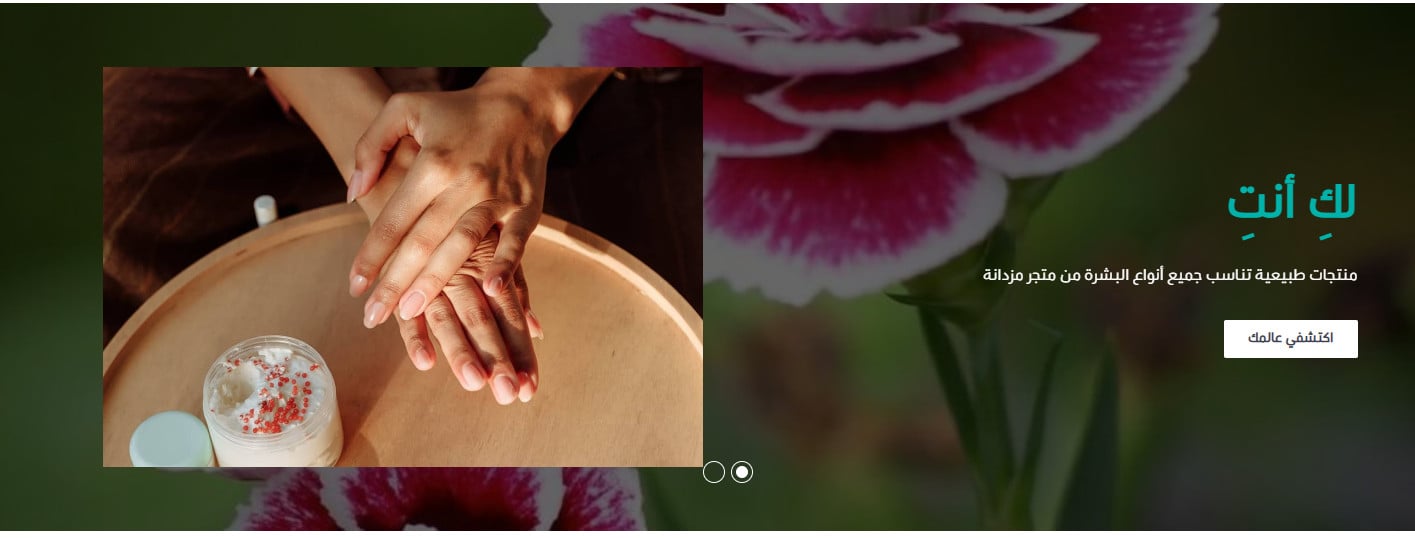
The features gallery then appears in your store:
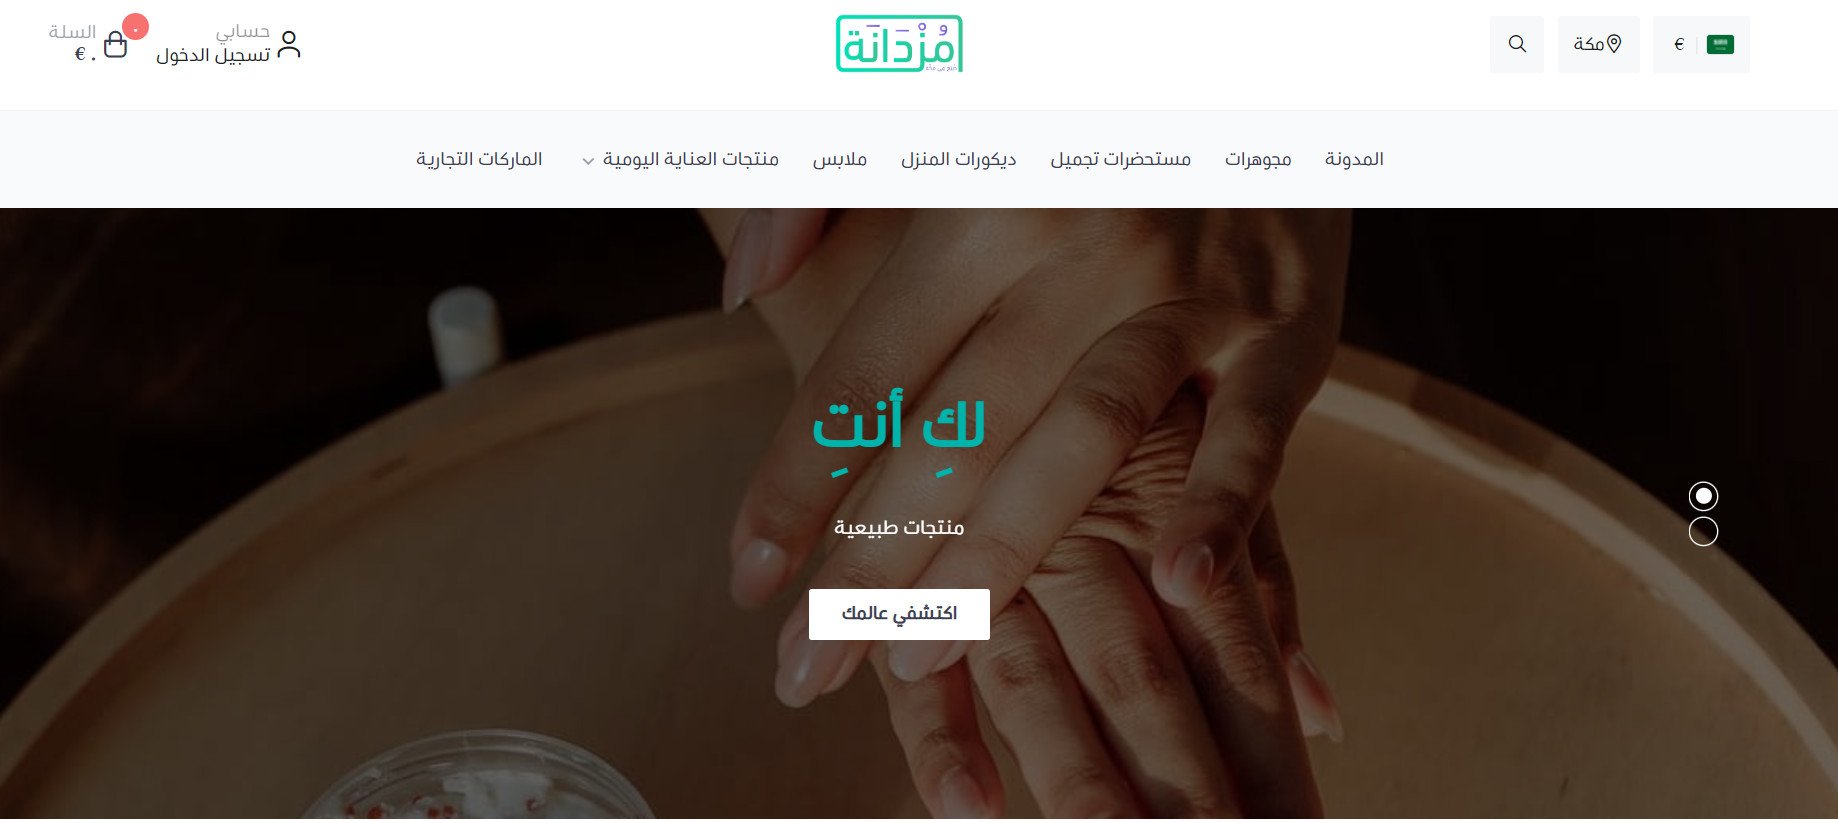
2. Full-screen features gallery
The full-screen features gallery looks like this:
3. Features grid
Choose how the grid is laid out (vertical or horizontal), then fill in the details for each feature: the image, the background slide color, the text color, the main heading and its supporting text, and the button text with the link it takes the customer to.
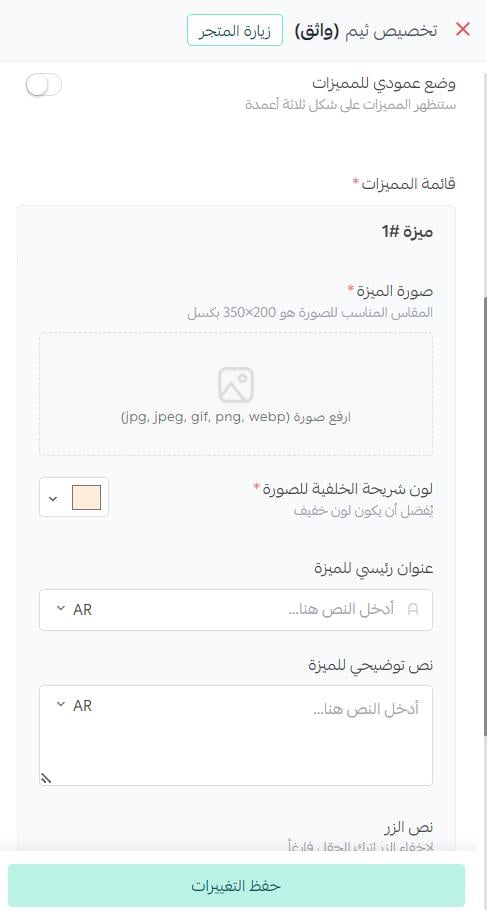
The features grid then appears like this.
Vertical layout:

Horizontal layout:
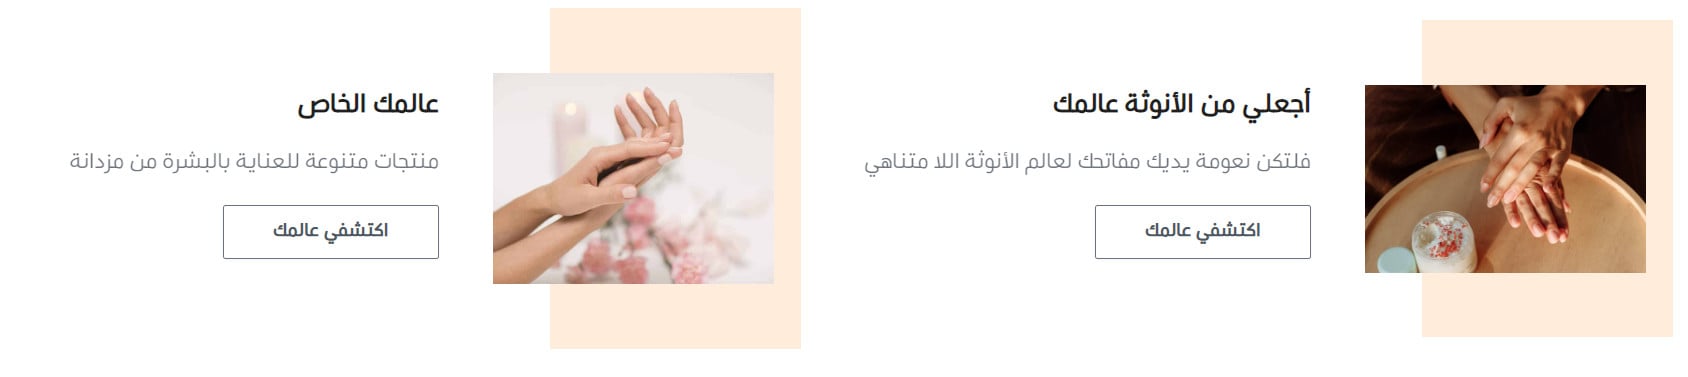
4. Full-screen features grid
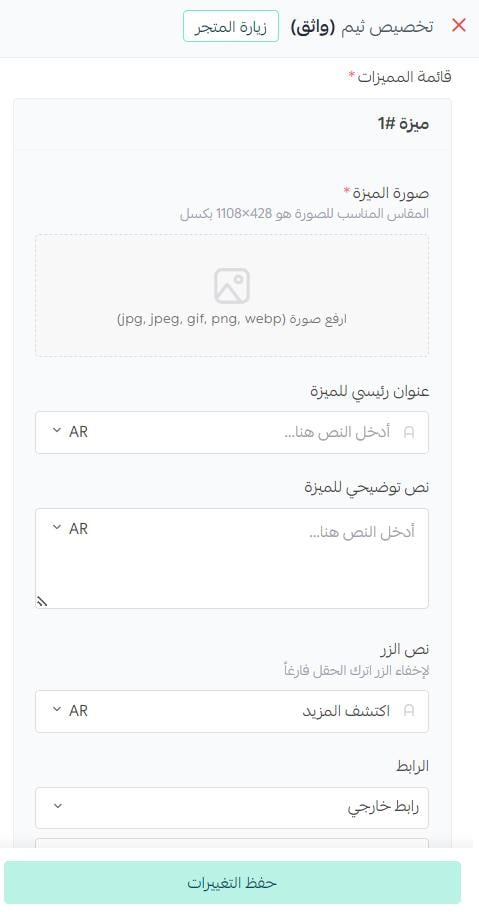
Fill in the details for each feature: the feature image, a main heading and supporting text, and the button text with its link.
The features then stack down the page, alternating image and text:

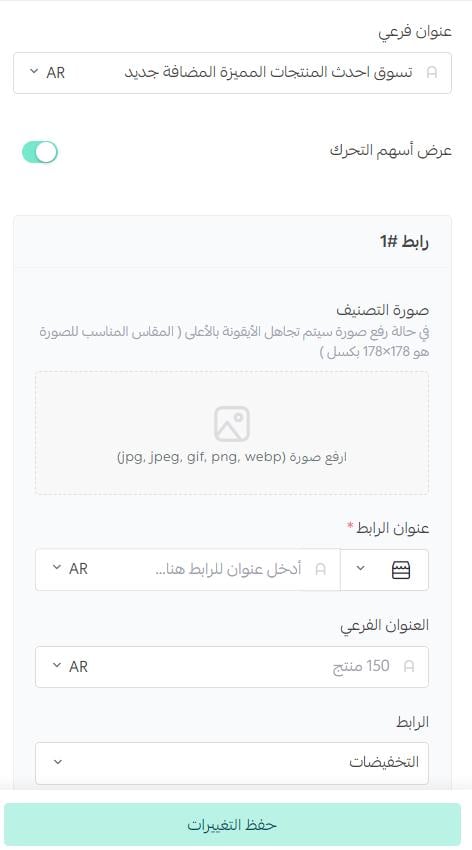
5. Quick links
Add a title and supporting text for the links section, then pick an icon for each link, give it a label, and point it at one of the available destinations: offers, a category, a brand, an information page, or an article.
6. Brands
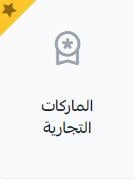
Pick the brands you want from the brand list and write a title. Their logos appear alongside a (View all) button, so customers can still browse the full list when you carry a lot of brands.
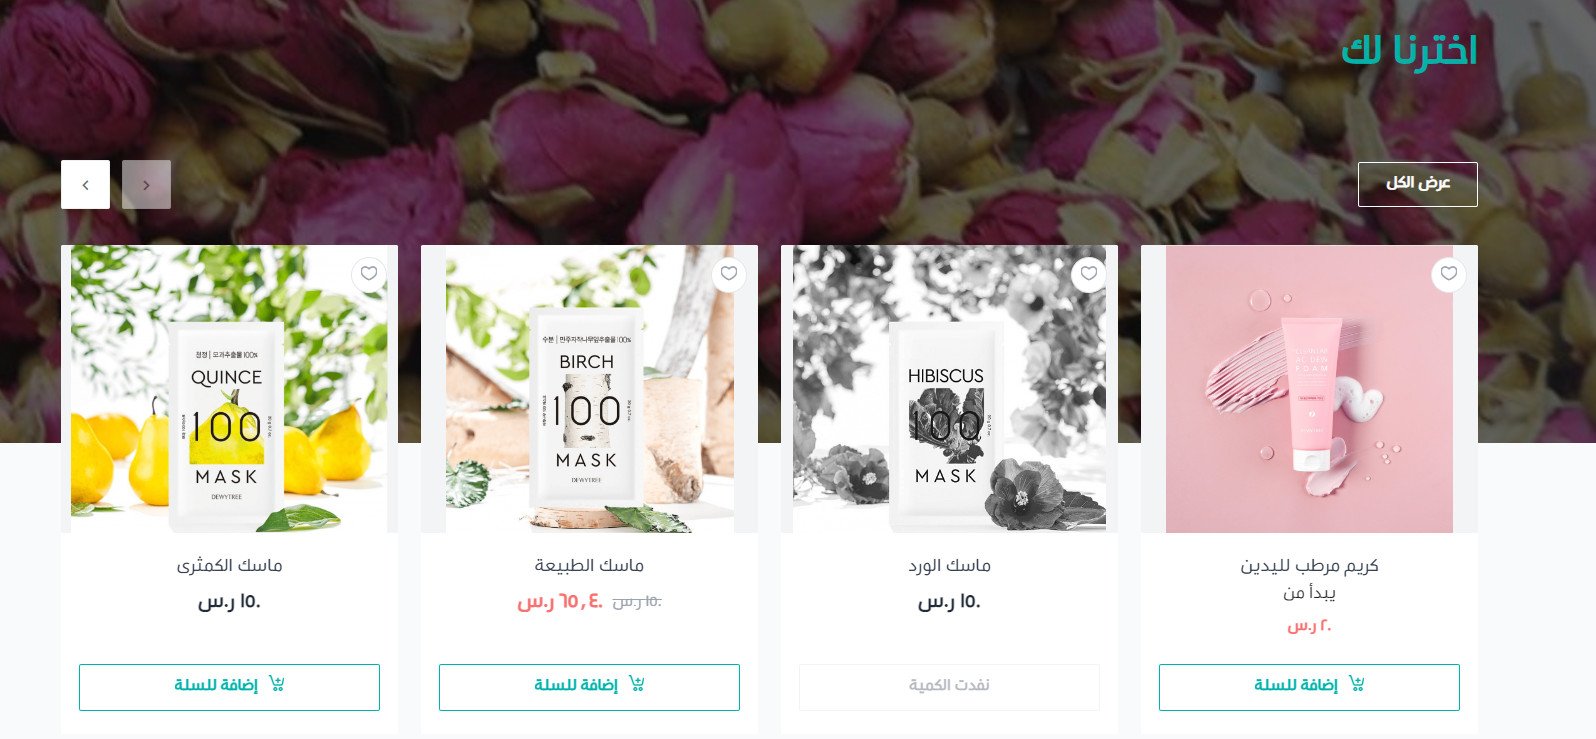
7. Animated products with a background
Choose the background image, write the main heading and supporting text, then select the products you want to show.
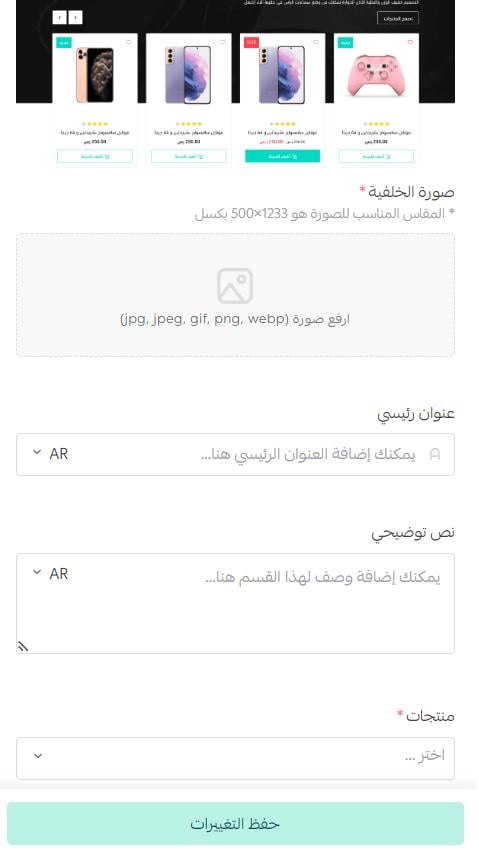
Animated products with a background appear in your store like this:
📝 Important notes
The default elements have been redesigned to match the theme's overall look, so they fit alongside the new ones without extra work.
For more on customizing the homepage.
How do I show a map in my store?
You can display a map at the bottom of your store.
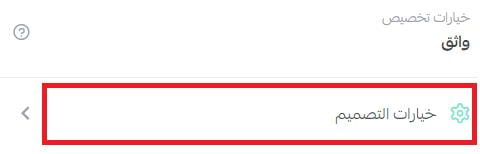
1. From the theme customization options, click (Design options).
2. Under the footer options, turn on the map option, then paste the map link into the field provided.
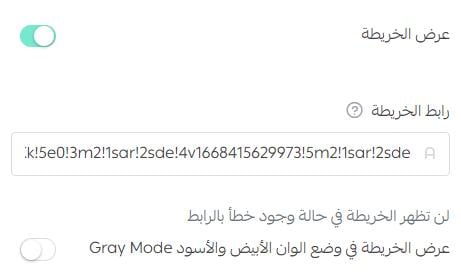
To get the map link:
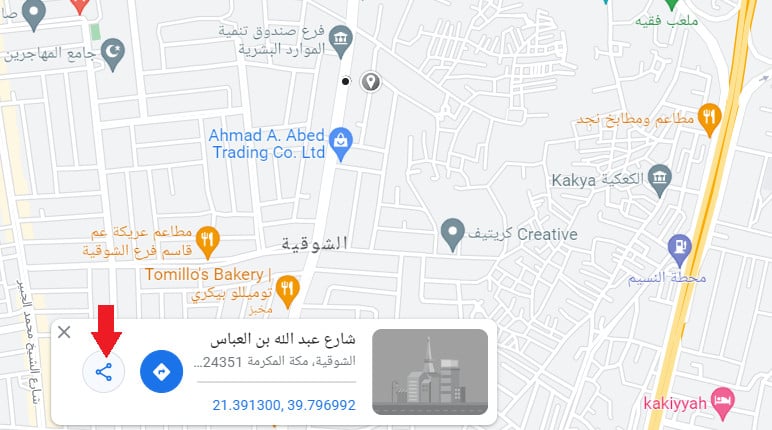
1. Find the location in Google Maps and click (Share).
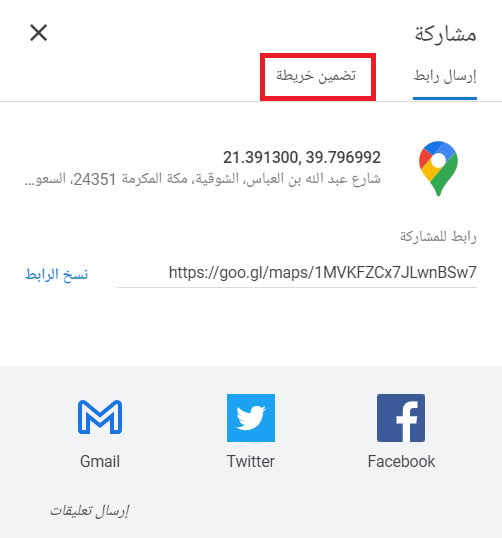
2. Click (Embed a map).
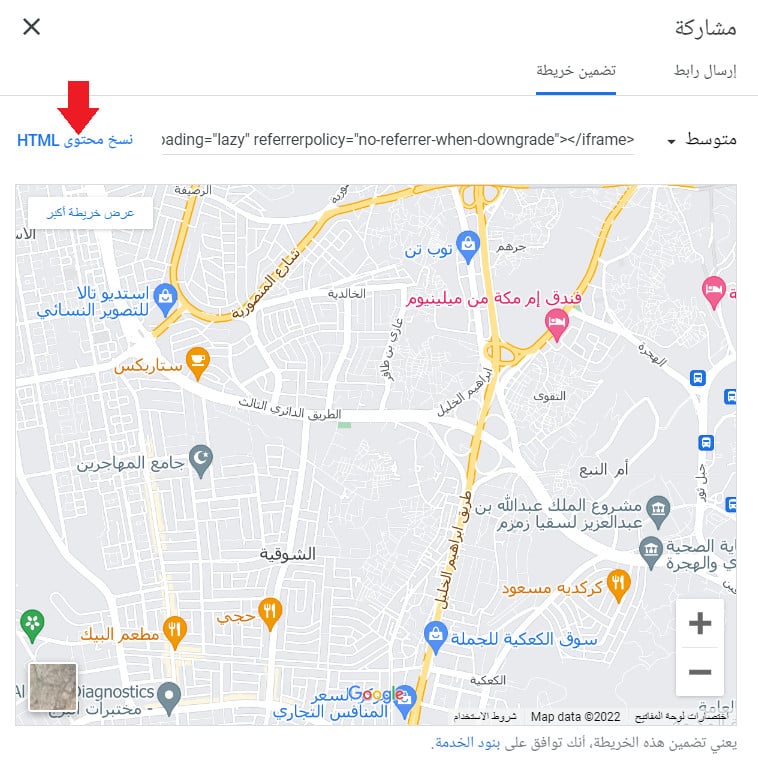
3. Click (Copy HTML) to copy the code to your clipboard.
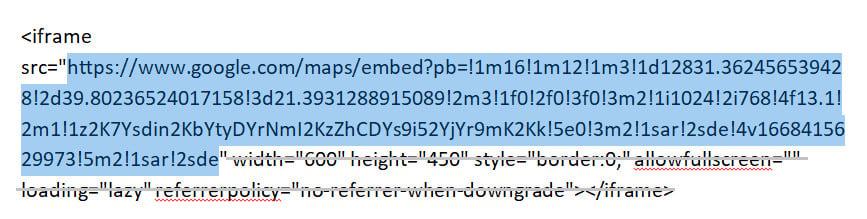
4. Paste the code into any text editor and copy the full value of the SRC attribute, as shown here:
Paste that map link into the field on the Wathiq theme design customization page, and the map appears in your store:

How do I turn on newsletter signup in my store?
You can show a newsletter block in the footer.
1. From the theme customization options, click (Design options).
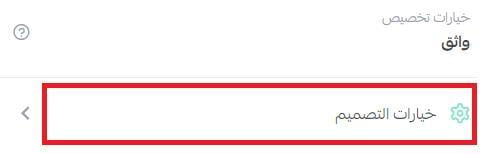
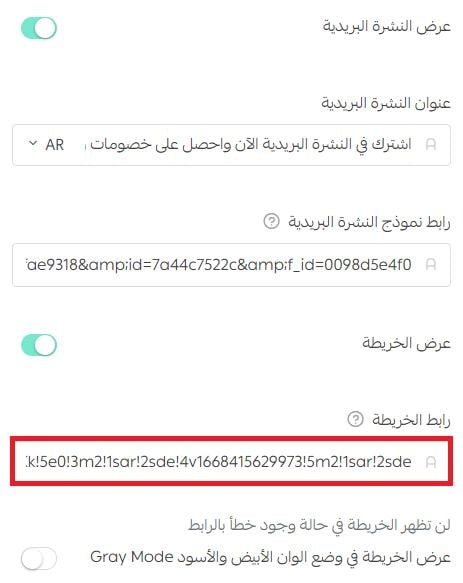
2. Under the footer options, turn on the newsletter option, then enter the newsletter title and the newsletter form link in the field provided.
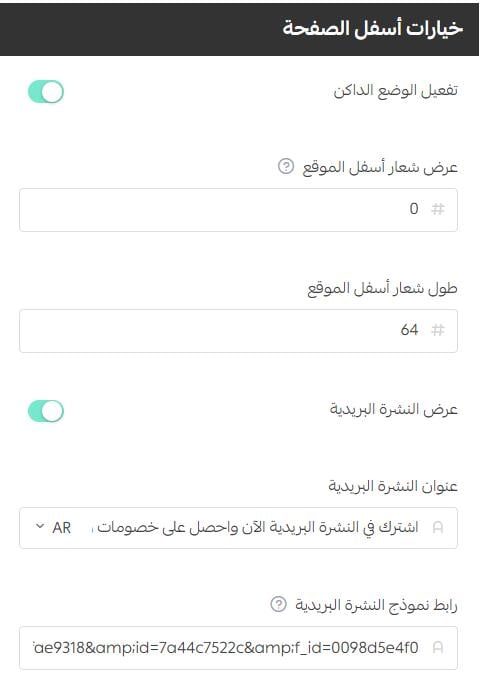
The newsletter block then appears in the store like this:

To get the newsletter form link, you need an account with a newsletter service such as Mailchimp or Zoho. Here is how it works with Mailchimp.
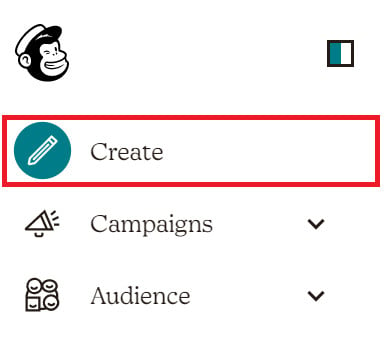
1. Open the home page of your Mailchimp account and click (Create) in the side menu.
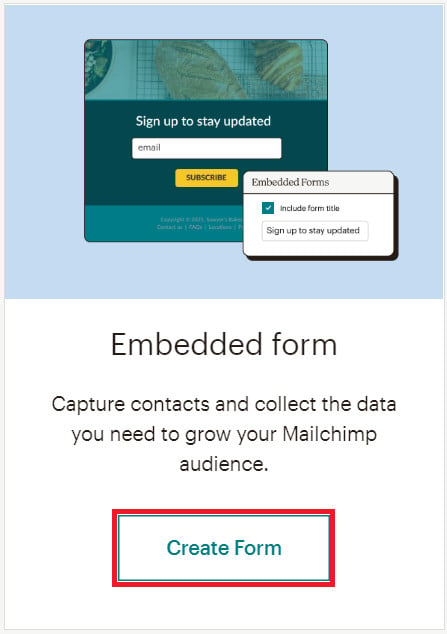
2. On the create page, under Embedded form, click (Create form).
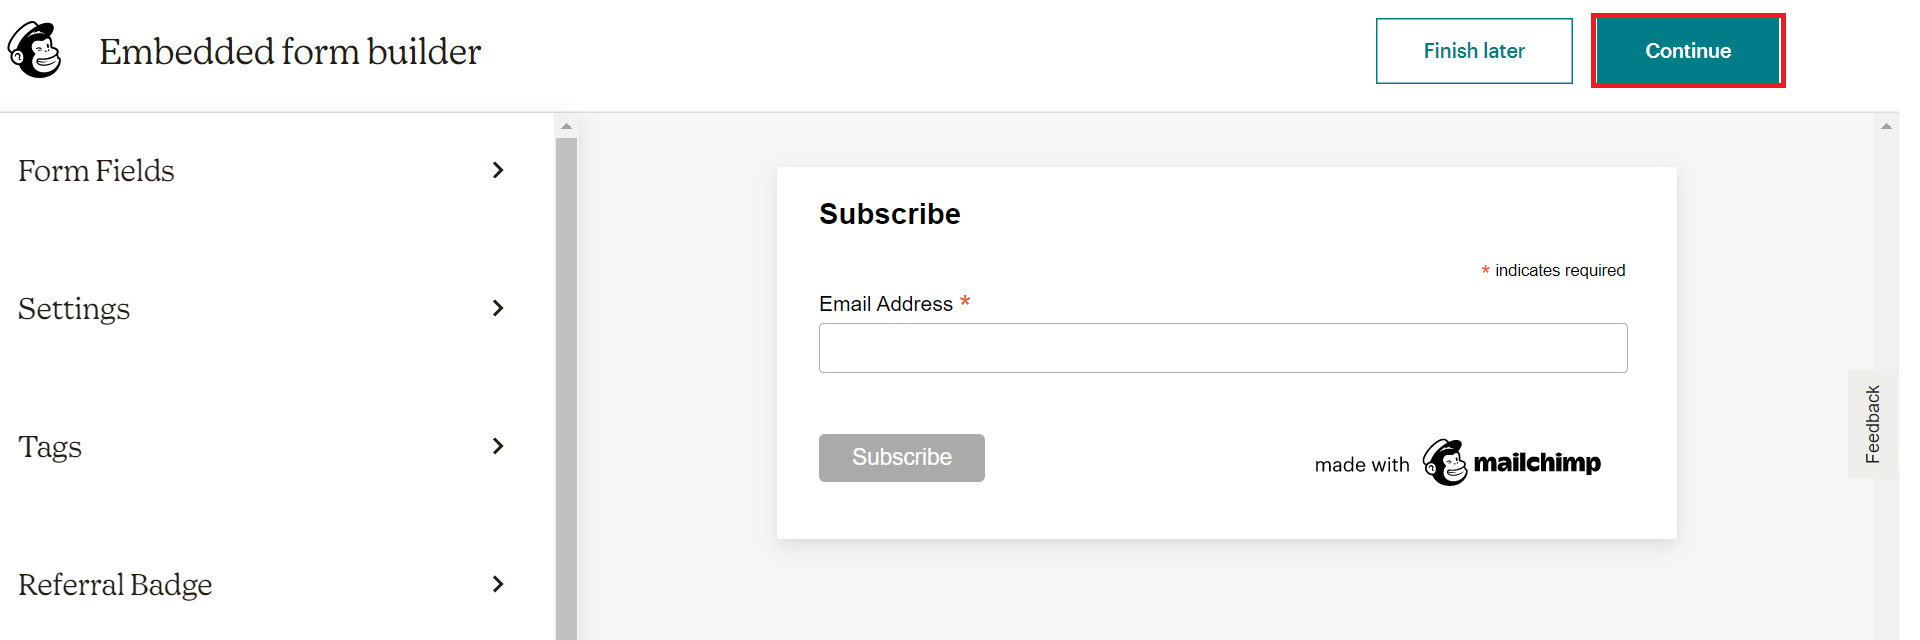
3. Customize the form however you like, then click (Continue).
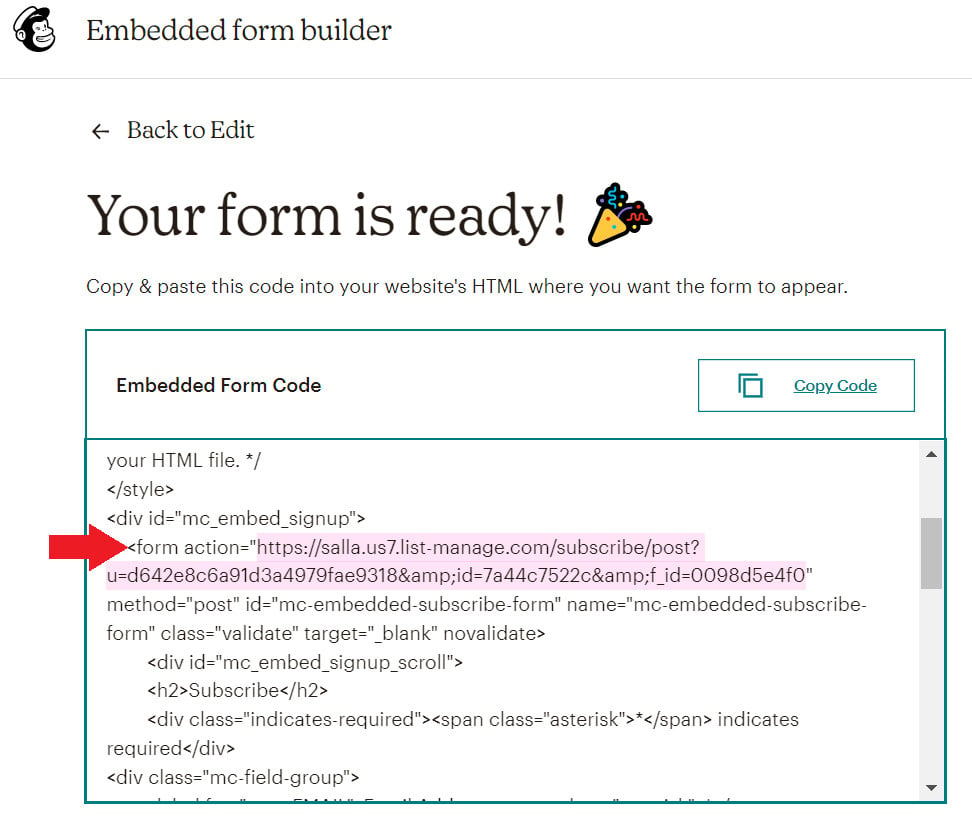
4. On the Your form is ready page, copy only the Form action part, as shown in the image.
5. Paste the Form action value into the newsletter link field in the Wathiq theme.
For more on connecting to Mailchimp and creating a new account.
A theme is the first thing a customer judges your store on. Spend the time on the header, the homepage elements, and the product page options, and Wathiq will carry your brand the rest of the way.