Do you have to manage your store and your app as two separate businesses?
No — and that is the point of unified management for your store and app. Most of what you already do in your Salla dashboard — adding products, handling orders, managing customers, reading reports — covers both at once. A smaller set of features can be pointed at the app alone, so you can run an offer or hide a category there without touching your store. In this guide, you'll learn what is managed jointly and what you can control for the app only.
Products, orders, customers, reports, information pages, and payments are managed the same way for the store and the app. Special offers, banners, discount coupons, sales channel reporting, product and category visibility, chat services, and app reviews can each be handled for the app on its own.
📌 Article overview
- What unified management of the store and app means
- What is managed the same way in both
- What you can set for the app only
- Frequently asked questions
What does unified management of the store and app mean?
Some features are customized for the store and the app together — adding products and controlling their options and details, for example. Others can be set for one channel on its own, such as showing a special offer in the app but not the store, or running a banner in both.
What is managed the same way in both
1. Adding products and controlling their options and details works the same way, apart from some design choices in App Maker.
2. Orders arrive and are handled the same way from the store and the app.
3. Customers are managed the same way for both.
4. Reports are read the same way for both.
5. Information pages and online payments are set up once for both.
6. Store and app settings are managed together, apart from banners and the connection to certain services.
What you can set for the app only
- Run a special offer in the app only
- Show a banner in the app only
- Apply a discount coupon in the app only
- See the sales that came through the app
- Control which products and categories appear in the app
- Use the chat services the app supports
- Handle questions and reviews for the app
1. Run a special offer in the app only
1. From the side menu of your dashboard, click (Marketing tools).

2. On the marketing tools page, click (Special offers).

3. On the special offers page, click (+ Create new offer).

4. Enter the offer details, choose the platform the offer runs on — the app only, for instance — then click (Save).
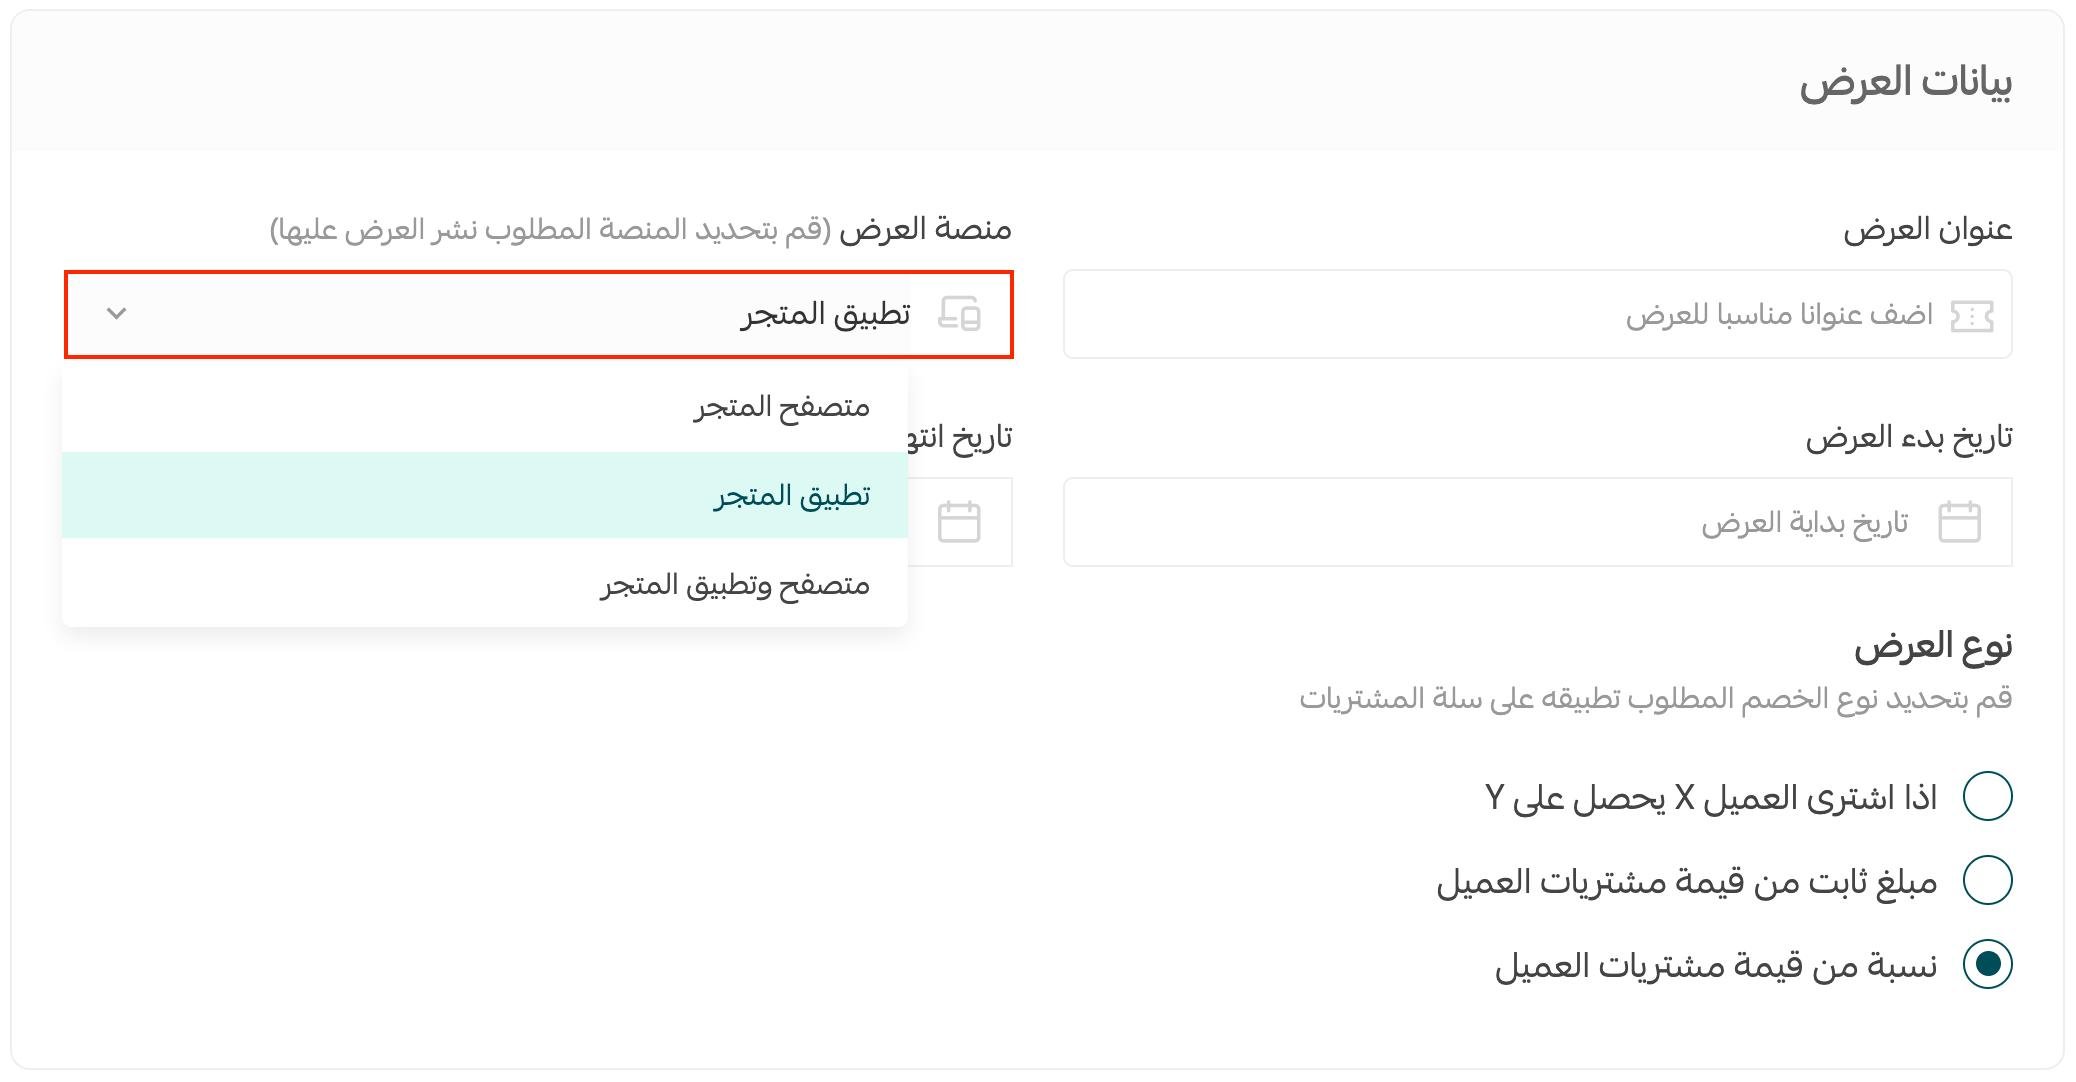
For more detail, see Managing special offers and adding a new one.
2. Show a banner in the app only
A banner is the promotional strip customers see while browsing your store. Use it to spotlight an activity, draw attention to a particular offer, or share store news.
To run a banner in the app only:
1. From the side menu of your dashboard, click (Store settings).

2. On the store settings page, click (Banners).

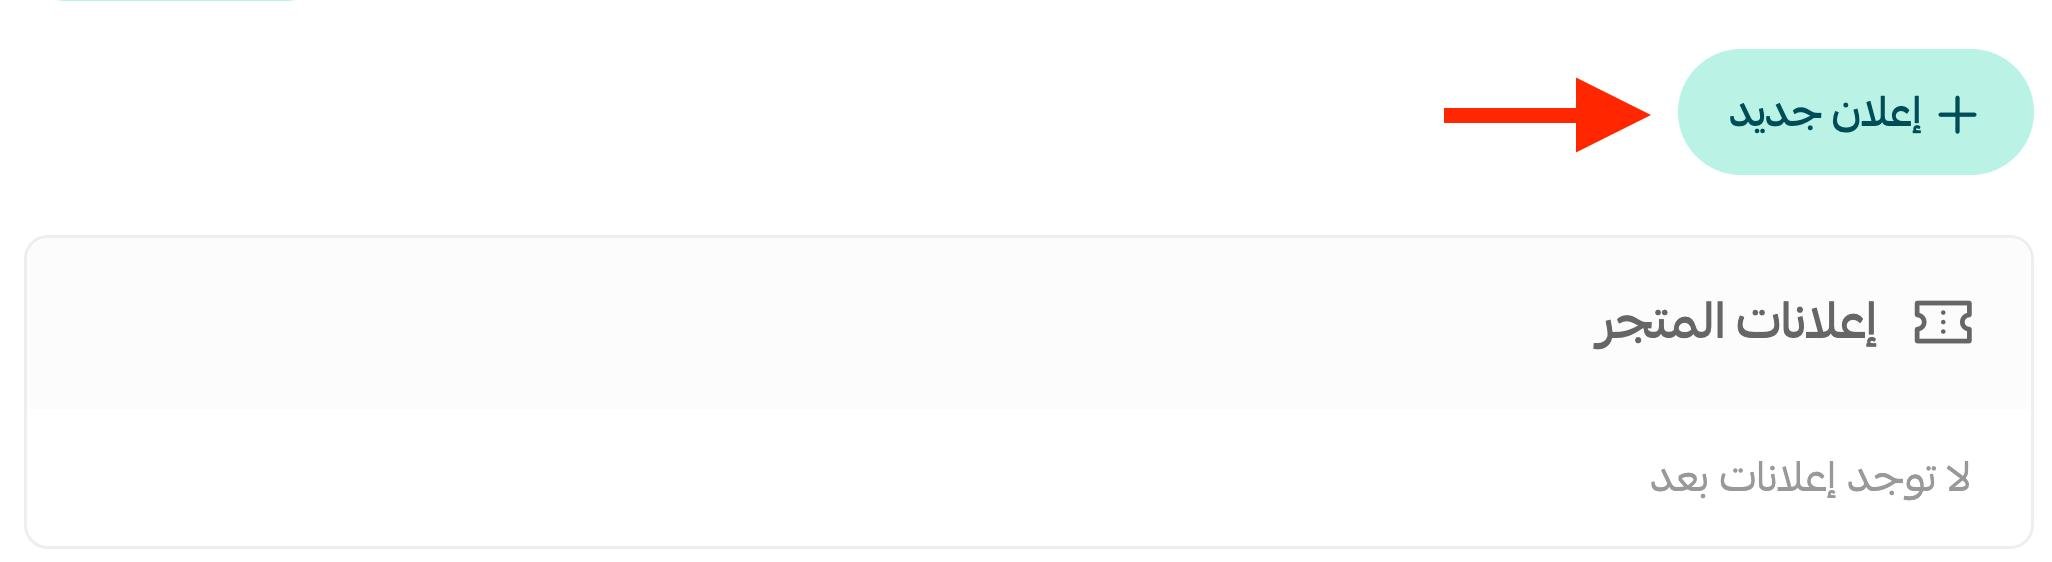
3. Click (+ New banner).
4. Enter the banner details, choose whether it appears in the app, on the website, or in both, then click (Save).
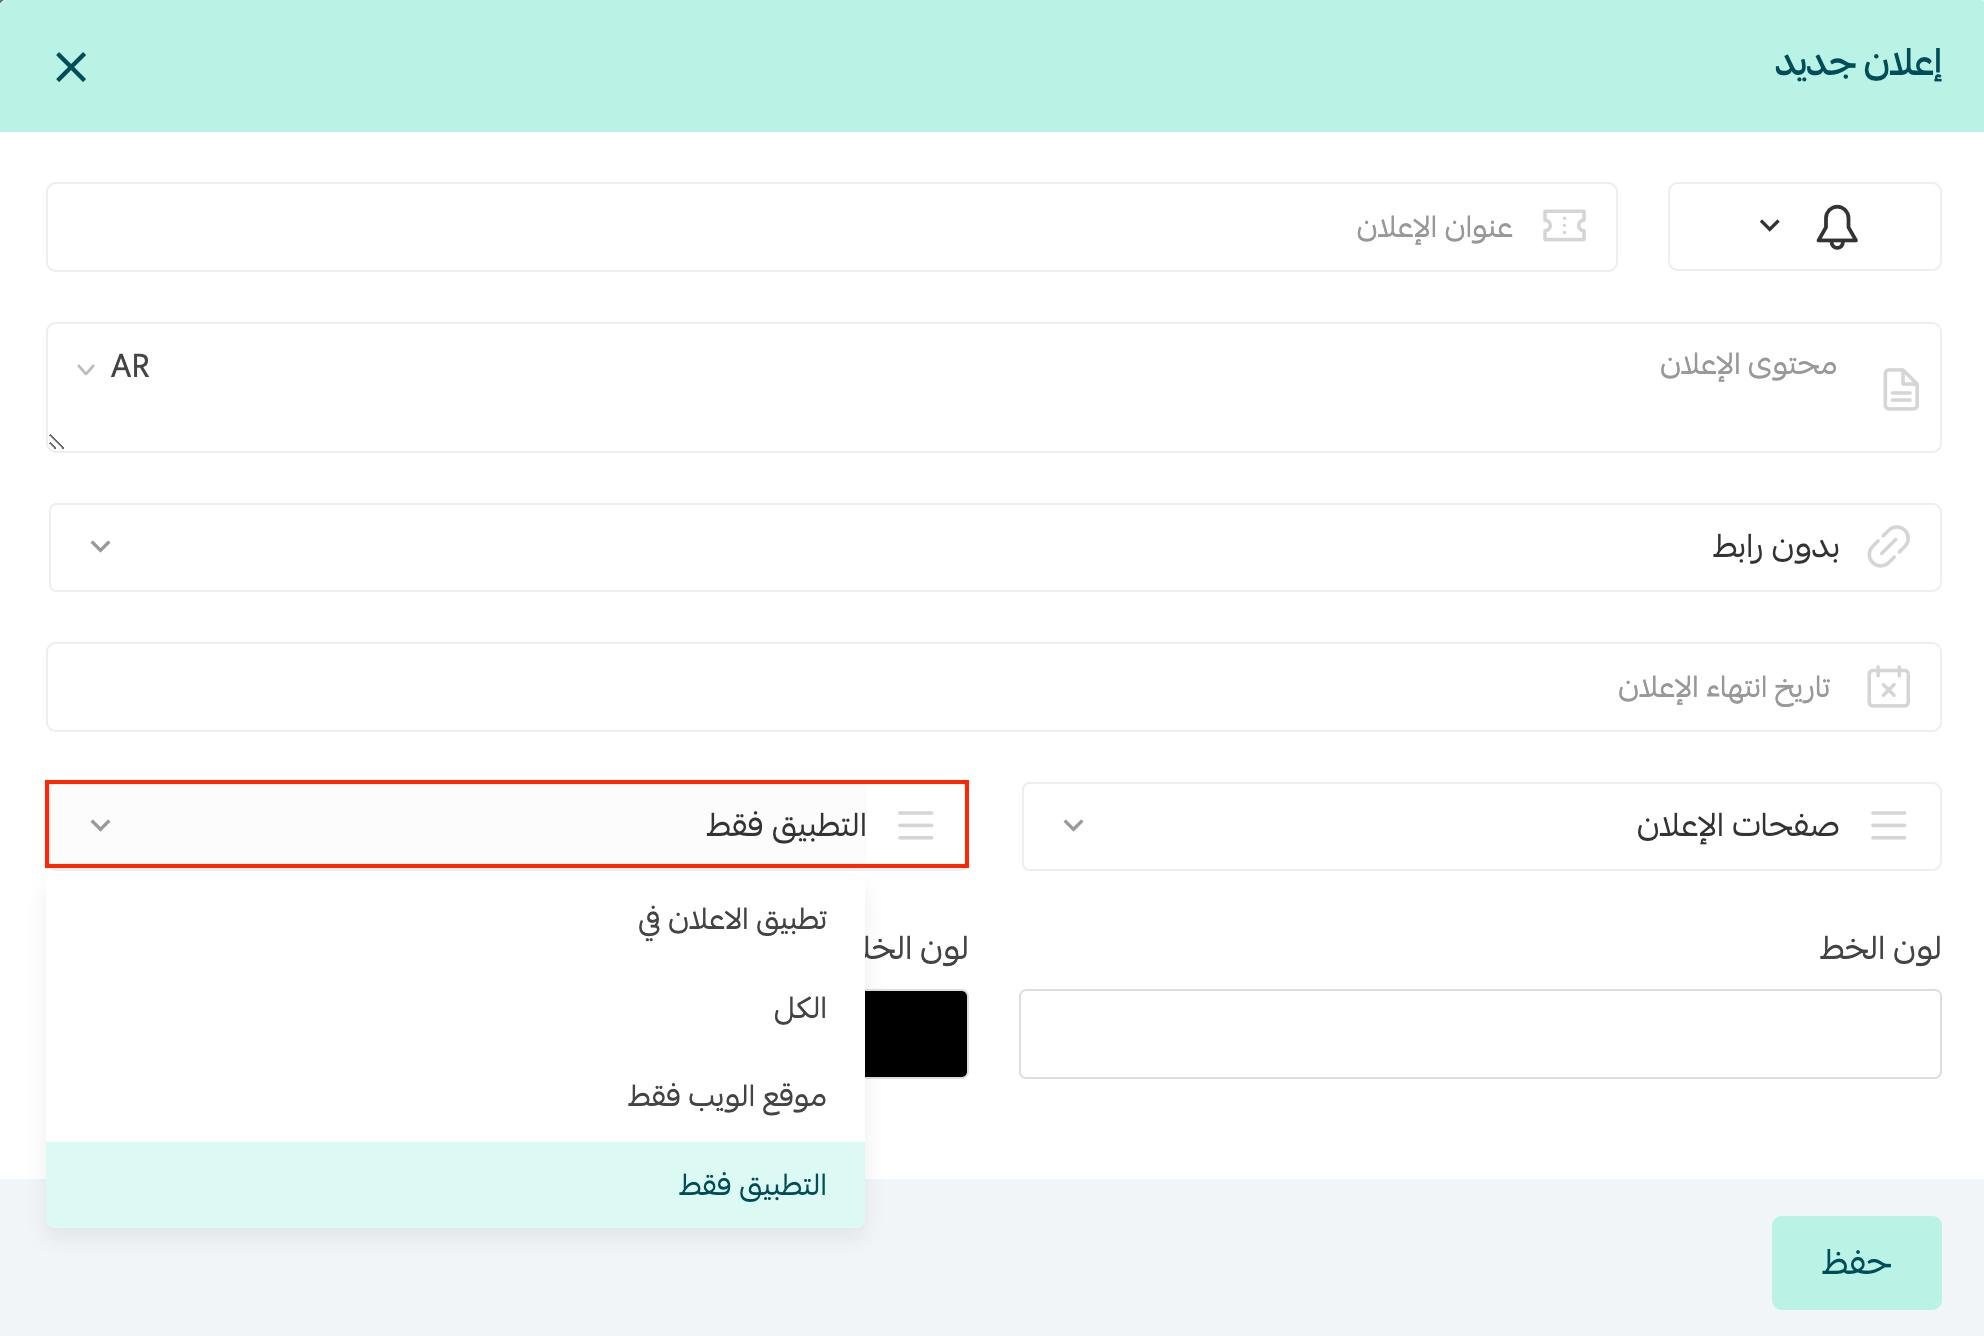
For more detail, see Banners.
3. Apply a discount coupon in the app only
1. From the side menu of your dashboard, click (Marketing tools).
2. On the marketing tools page, click (Discount coupons).
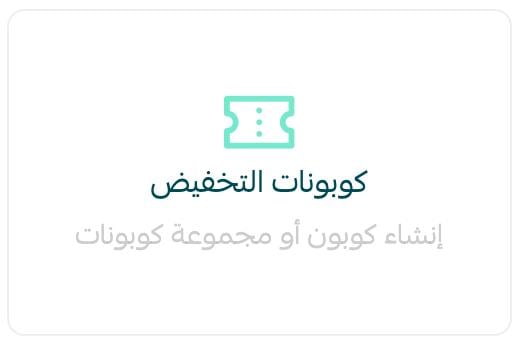
3. On the discount coupons page, click (+ Add), then (New coupon).
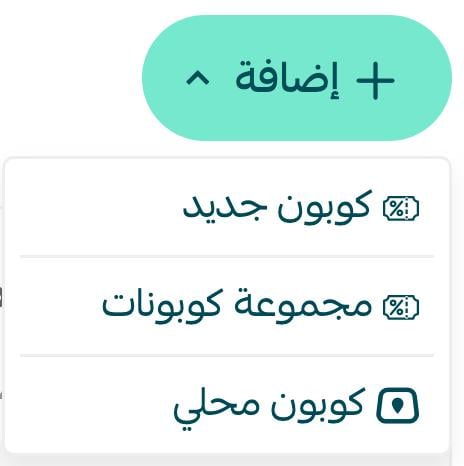
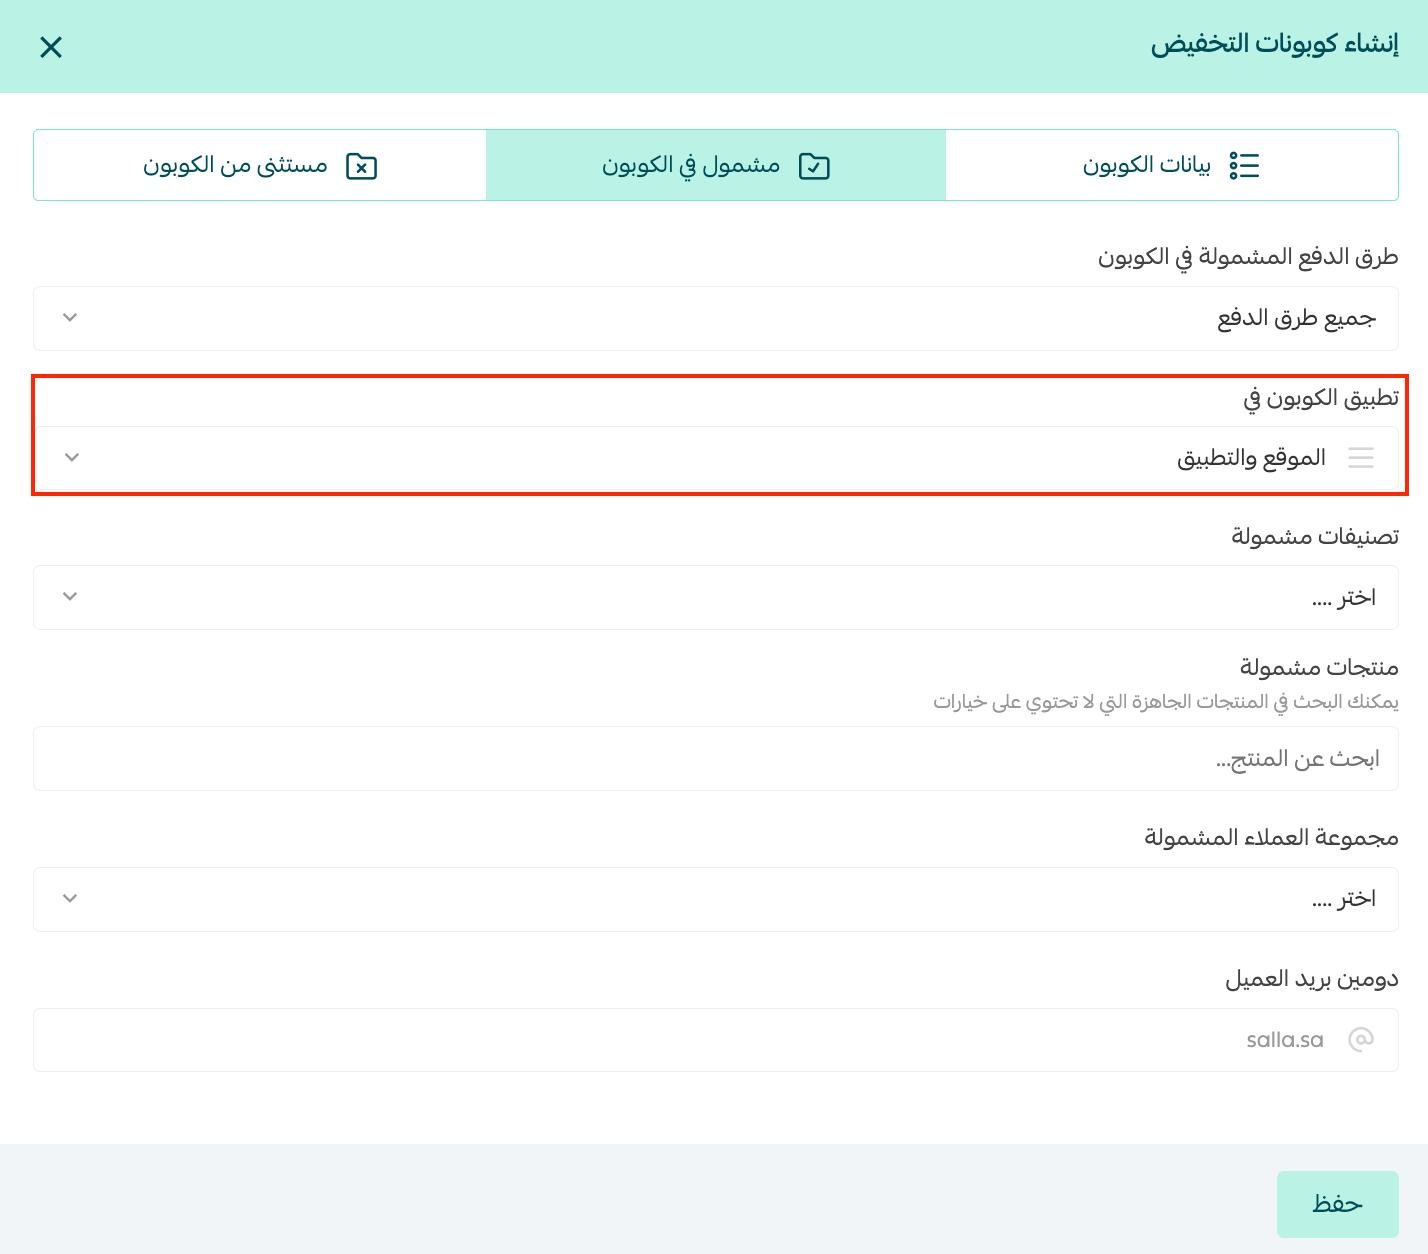
4. Enter the coupon details. On the (Included in the coupon) tab, under (Apply the coupon in), select (App), then click (Save).
For more detail, see Creating a new coupon.
4. See the sales that came through the app
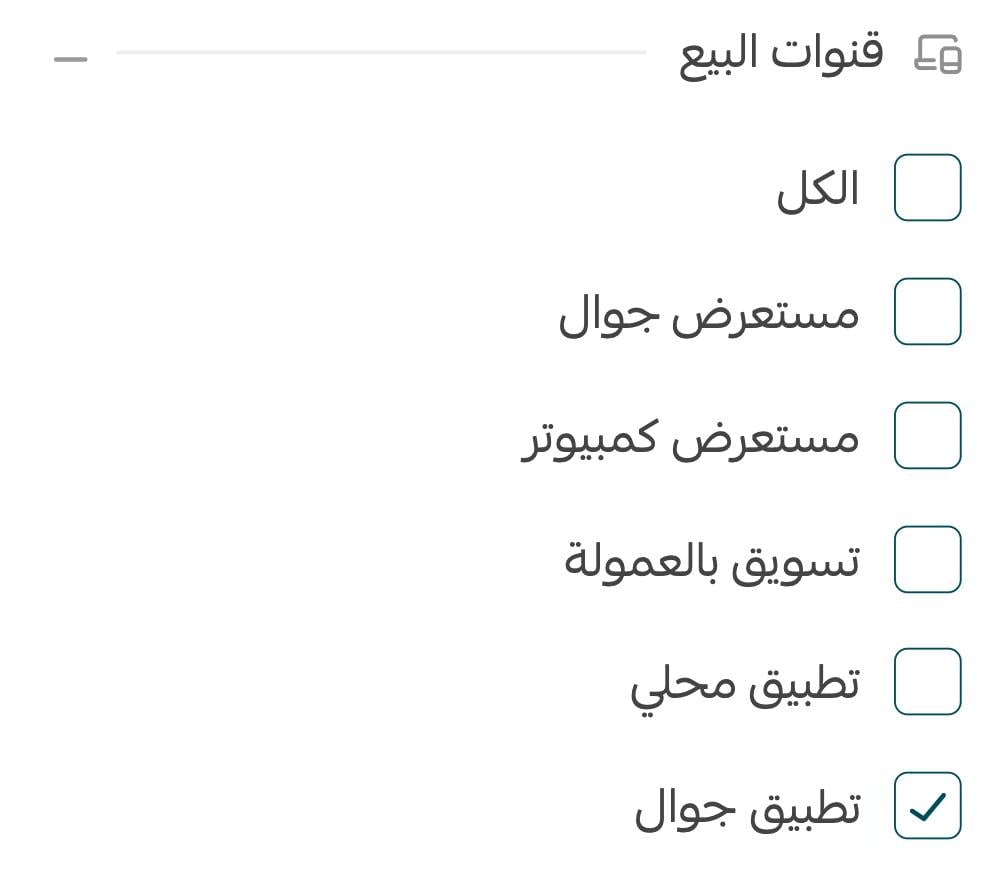
Filter your orders by sales channel and choose (Store app).
For more detail, see Order management options.
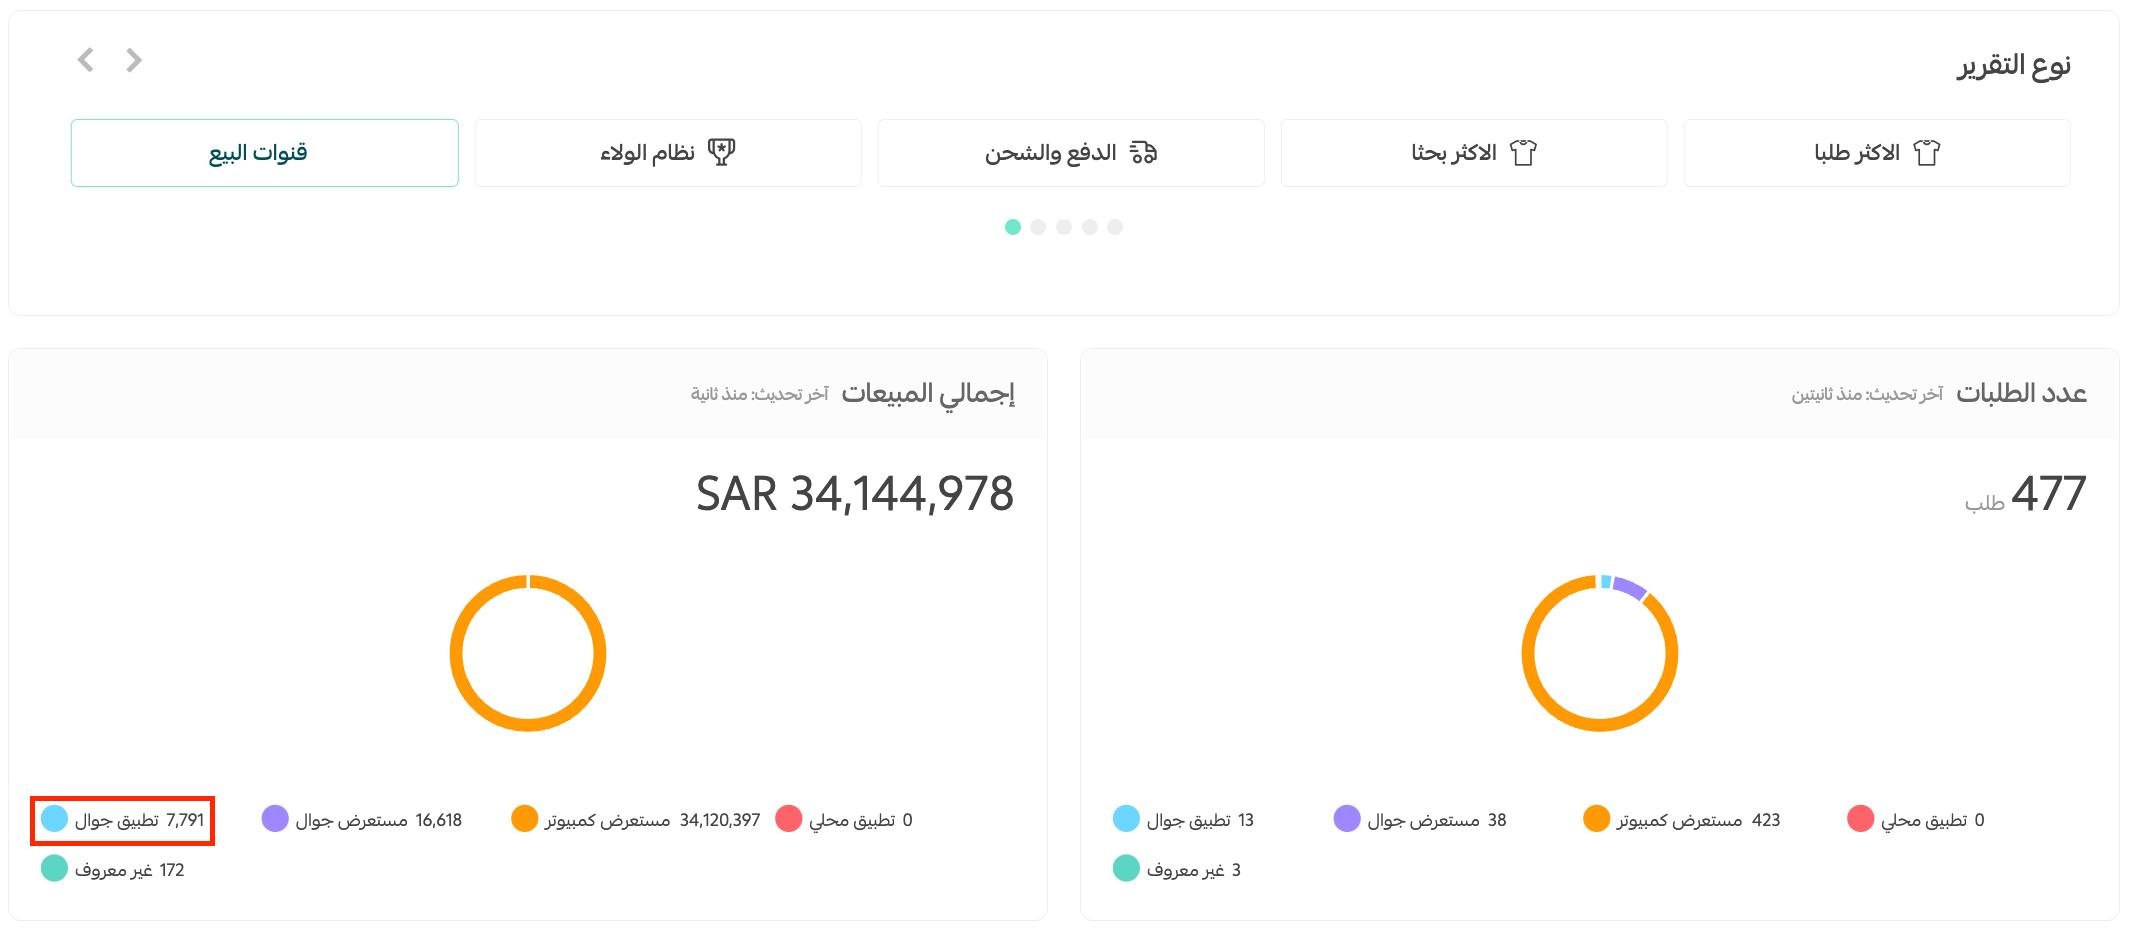
On the reports page, choose (Sales channels) to see how many orders came through the app and the total sales it generated.
For more detail, see Viewing and printing reports.
5. Control which products and categories appear in the app
Hide a category from the app only
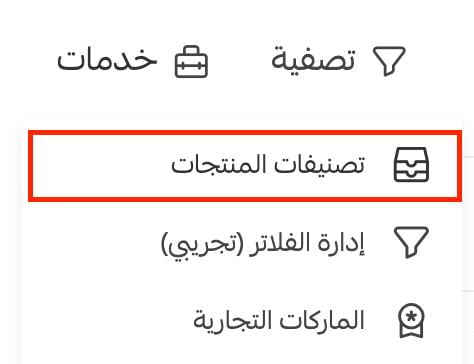
On the products page, click (Services), then click (Product categories).
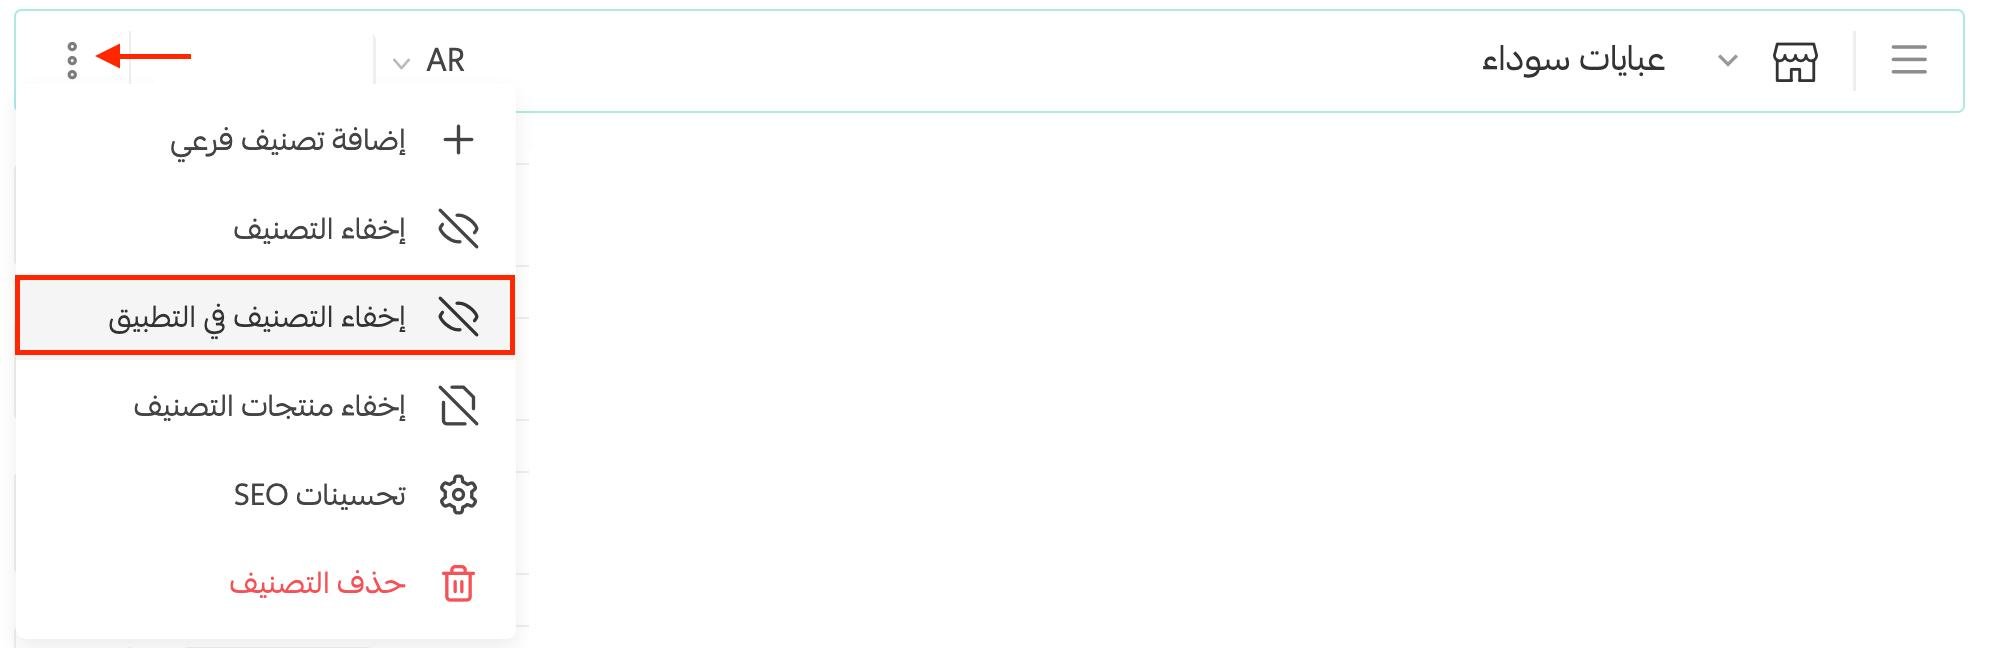
Click (...) on the category, then click (Hide category in the app).
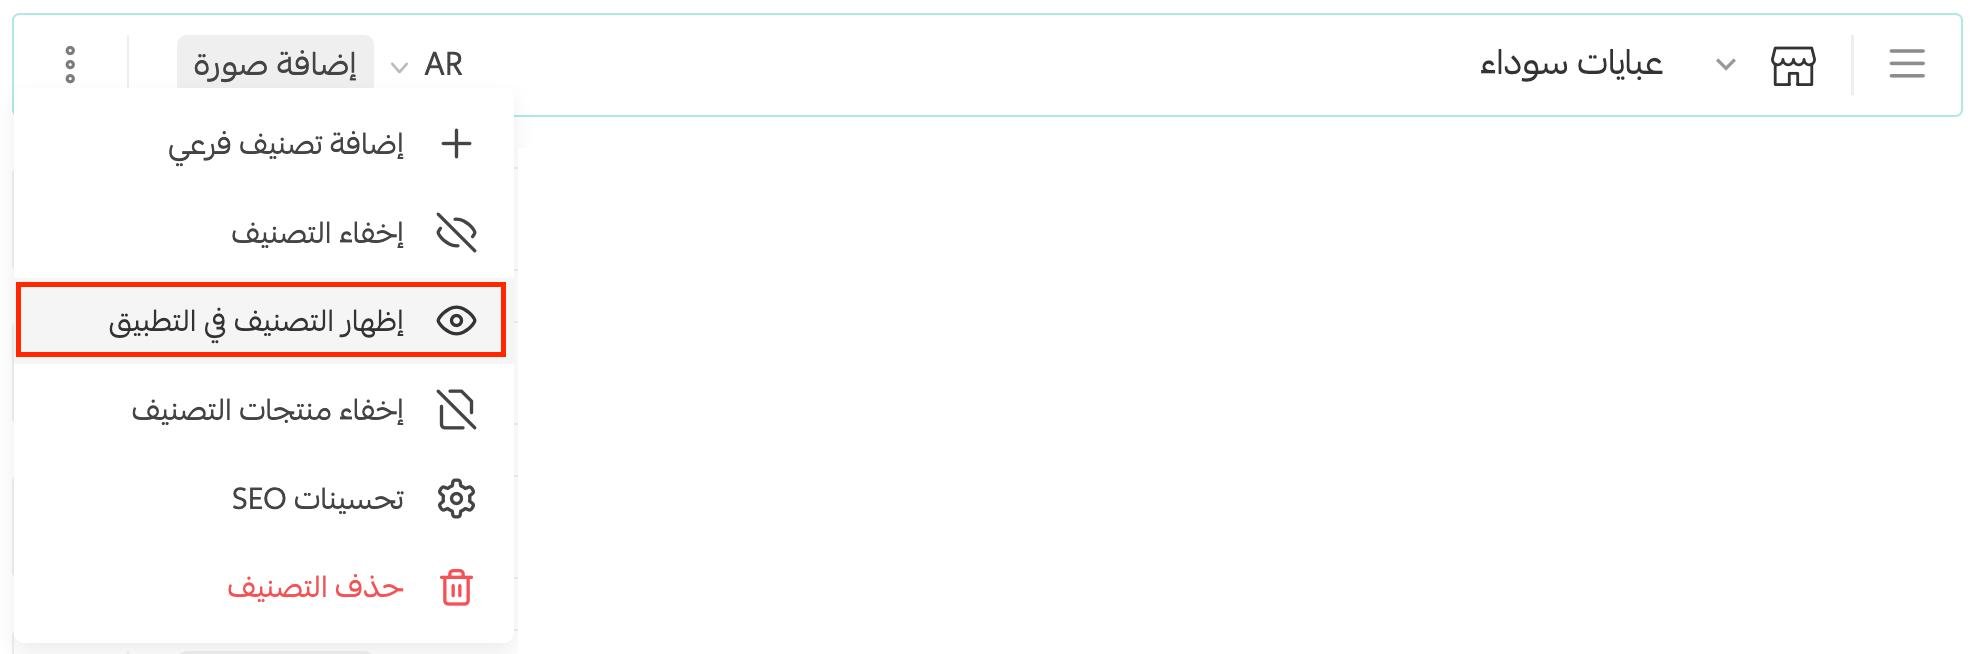
To bring a hidden category back, click (...) on it and choose (Show category in the app).
For more detail, see Managing product categories.
Hide a product from the app only
On the products page, click (More) on the product card, then (Product display channels), and click (Hide product in the store app).
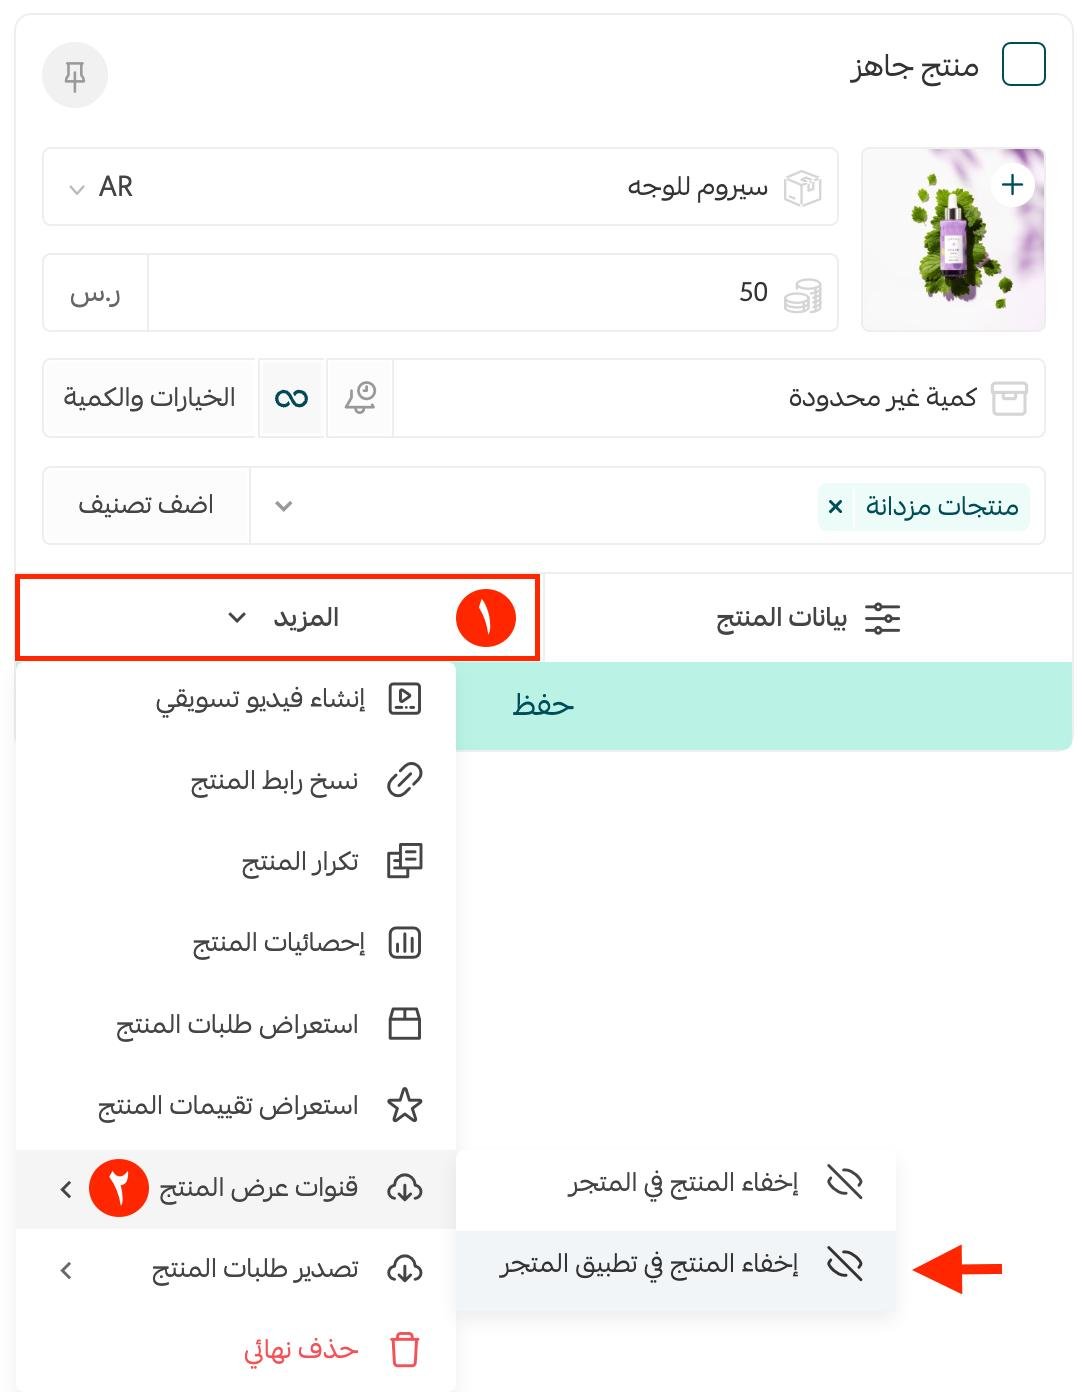
To show it again, click (More) on the product card, then (Product display channels), and click (Show product in the store app).
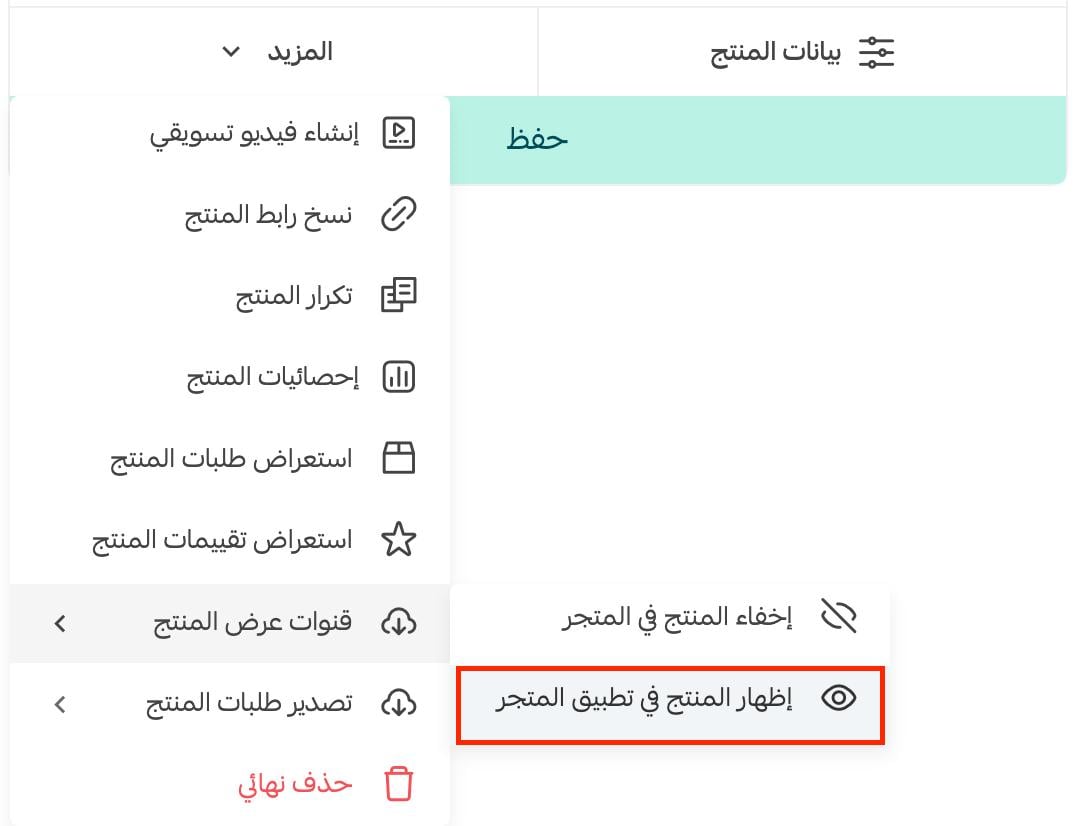
For more detail, see The (More) button on the product page.
6. Chat services supported in the app
The app supports two chat services: Intercom and Zendesk.
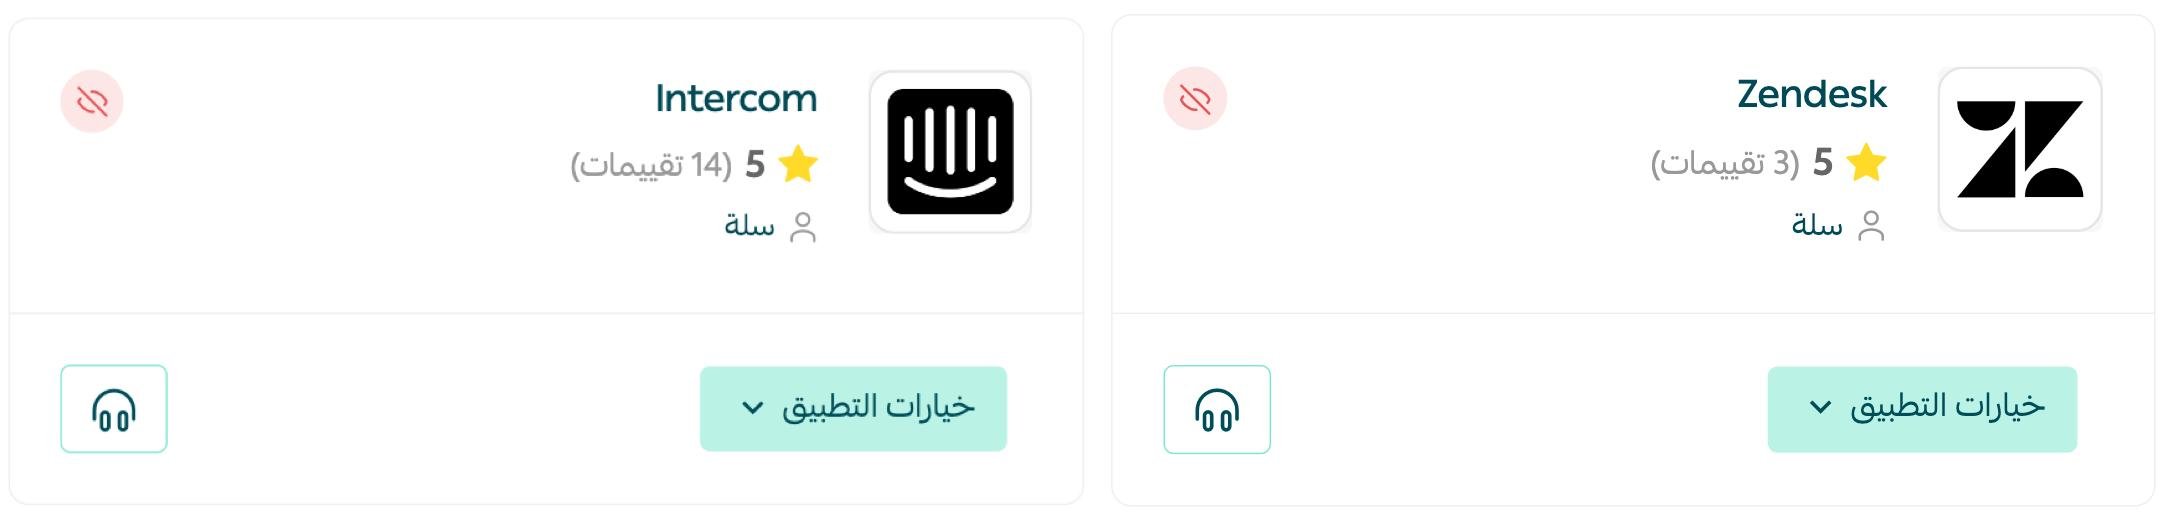
For more detail, see Connecting the app to the Intercom chat service.
For more detail, see Connecting the app to the Zendesk chat service.
7. Questions and reviews in the app
Questions and reviews for the app itself are handled in the Apple and Google stores.
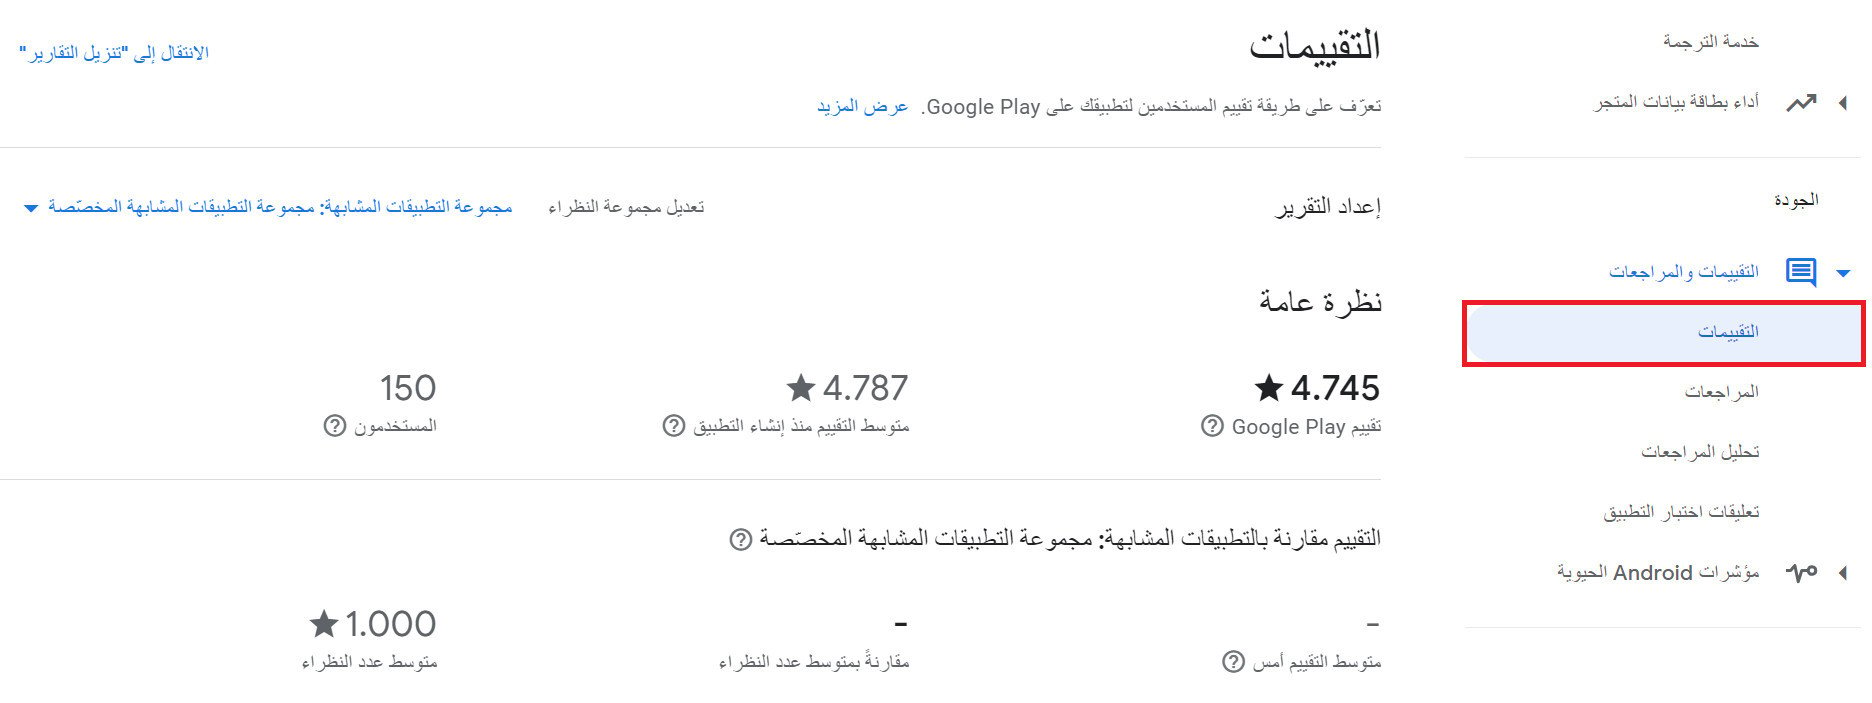
For more detail, see Viewing app ratings and reviews on Google Play.
For more detail, see The My Apps management page in the Apple app dashboard.
❓ Frequently asked questions
Do I have to add my products twice, once for the store and once for the app?
No. Products are added and managed once, and the same options and details apply to both. Only some design choices in App Maker are specific to the app.
Can I run an offer in my app without running it in my store?
Yes. When you create the offer, choose the platform it runs on and select the app only. Discount coupons work the same way, through the (Apply the coupon in) option.
How do I tell how much I sold through the app?
Filter your orders by sales channel and choose the store app, or open the reports page and choose (Sales channels) to see the app's order count and total sales.
Can I hide a product or category in the app but keep it in my store?
Yes. Use (Hide category in the app) on a category, or (Product display channels) then (Hide product in the store app) on a product. Both are reversible.
Which chat services can I use in the app?
Intercom and Zendesk.