Is your store telling customers who you are, what you sell, and how to reach you?
Your store's identity starts with its basic settings. These are the options that control how your Salla store looks and how it responds to customers and visitors — from your logo and store name to your support channels, social media accounts, and app links. In this guide, you'll learn which basic settings you can set and how to configure each one from your dashboard.
To set your store's basic settings, open Store settings from the main menu, then click Basic settings. From there you can set your store's logo, icon, name, description, location, activity type, customer service channels, business verification number, social media accounts, and app links, then save your changes.
📌 Article overview
- The basic settings you can configure
- How to set your store's basic settings
🎯 The basic settings you can configure
- Store logo
- Store icon
- Store name
- Store location
- About the store
- Store map location
- Customer support channels
- Business platform verification certificate
- The store's social media accounts
- Store app link
👣 How to set your store's basic settings
1. From the main menu of your dashboard, click (Store settings).

2. From the store settings page, click (Basic settings).

3. Enter your store details, then click (Save).
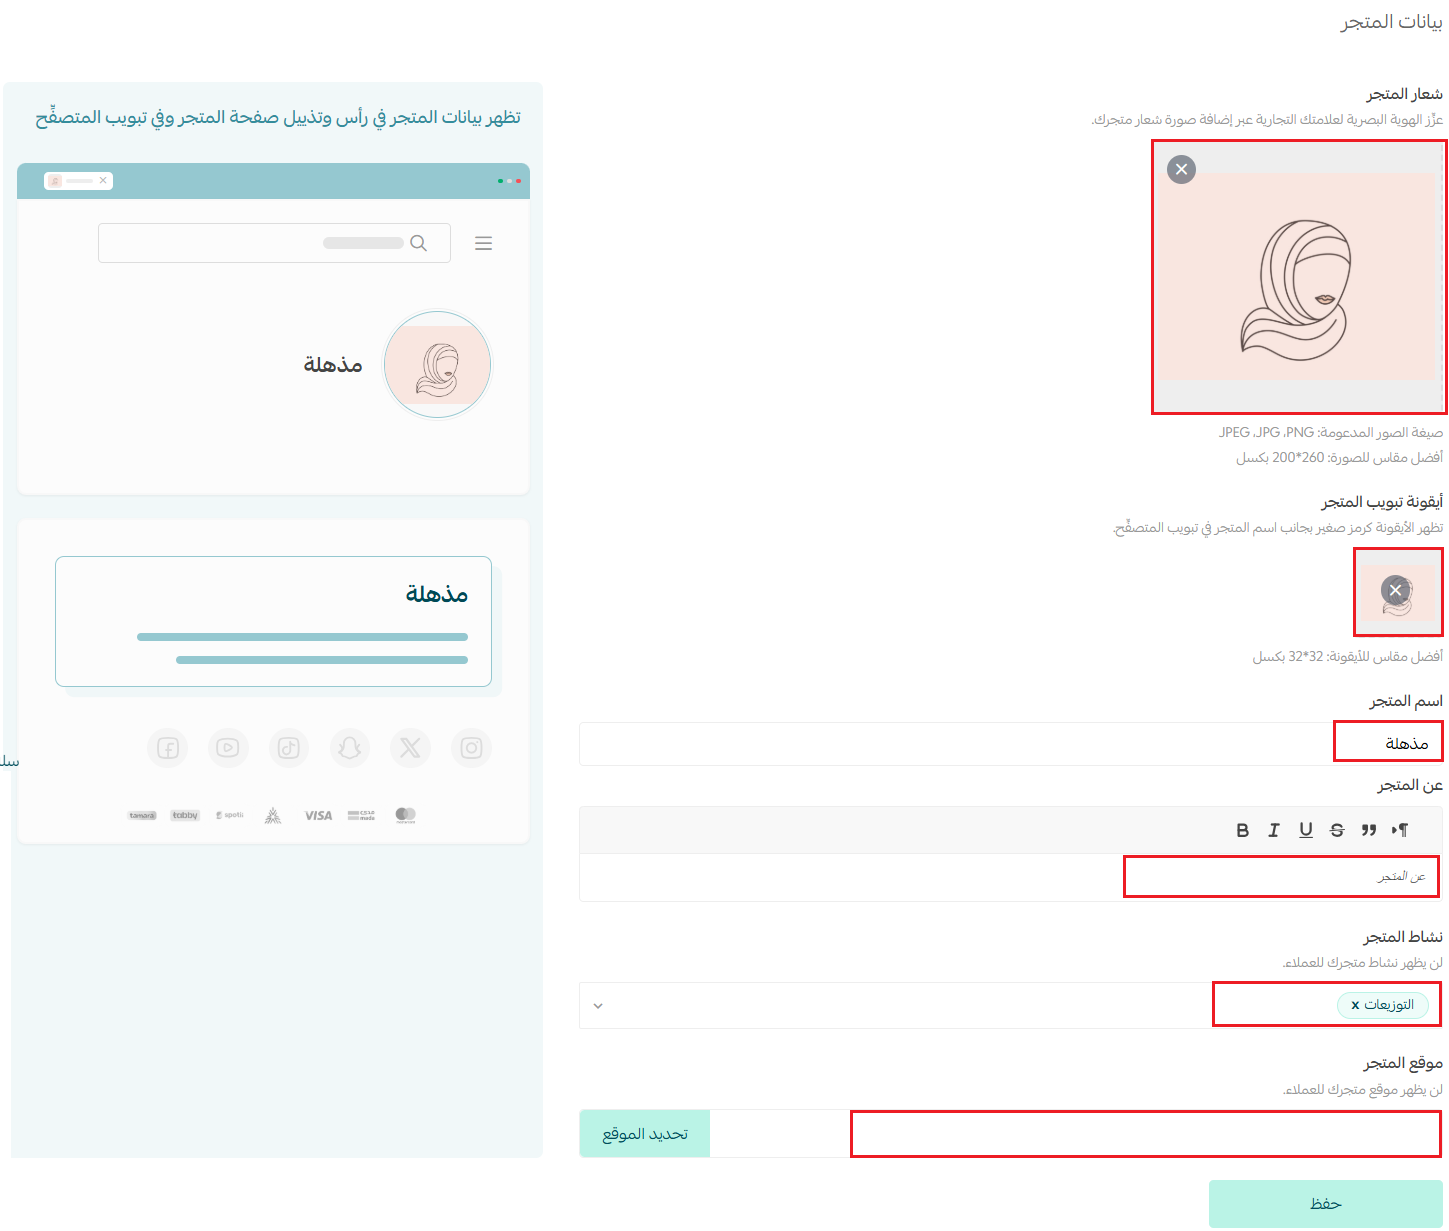
The store details include:
- Store logo.
- Store icon.
- Store name.
- About the store: write a short description of no more than 200 characters.
- Store activity.
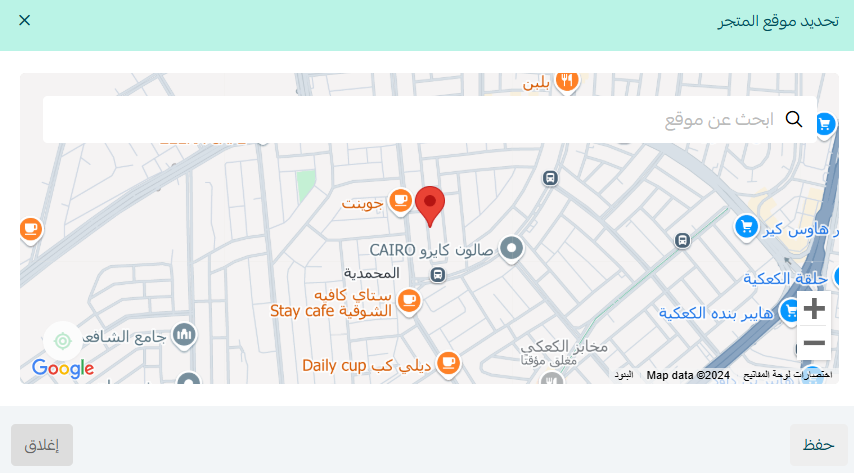
- Click (Set location) to pin your store's location on the map, then click (Save) to save it.
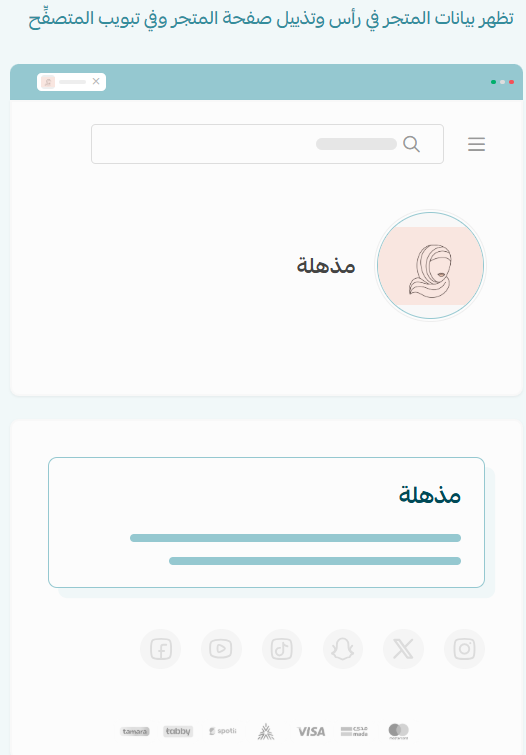
The store details page will look like this:
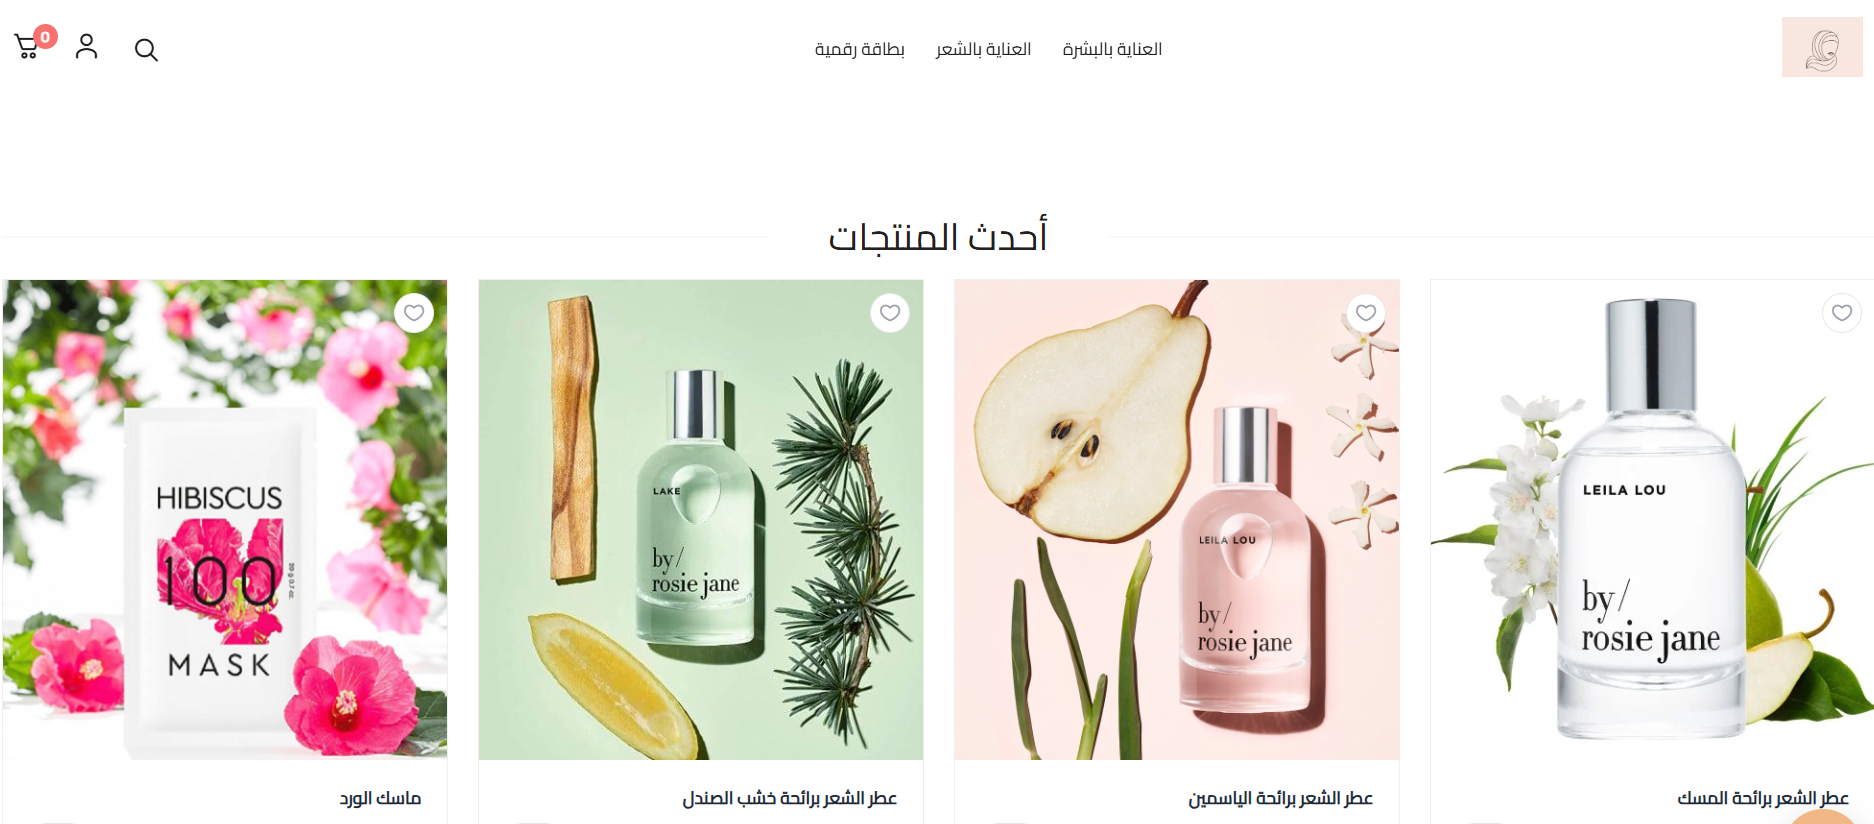
And when customers visit your store, it appears like this:
- Select your store activity type.
This helps identify your merchant entity type, which makes dealing with your store easier based on that entity.

4. Set your store's customer service channels.
You must have at least one contact channel.
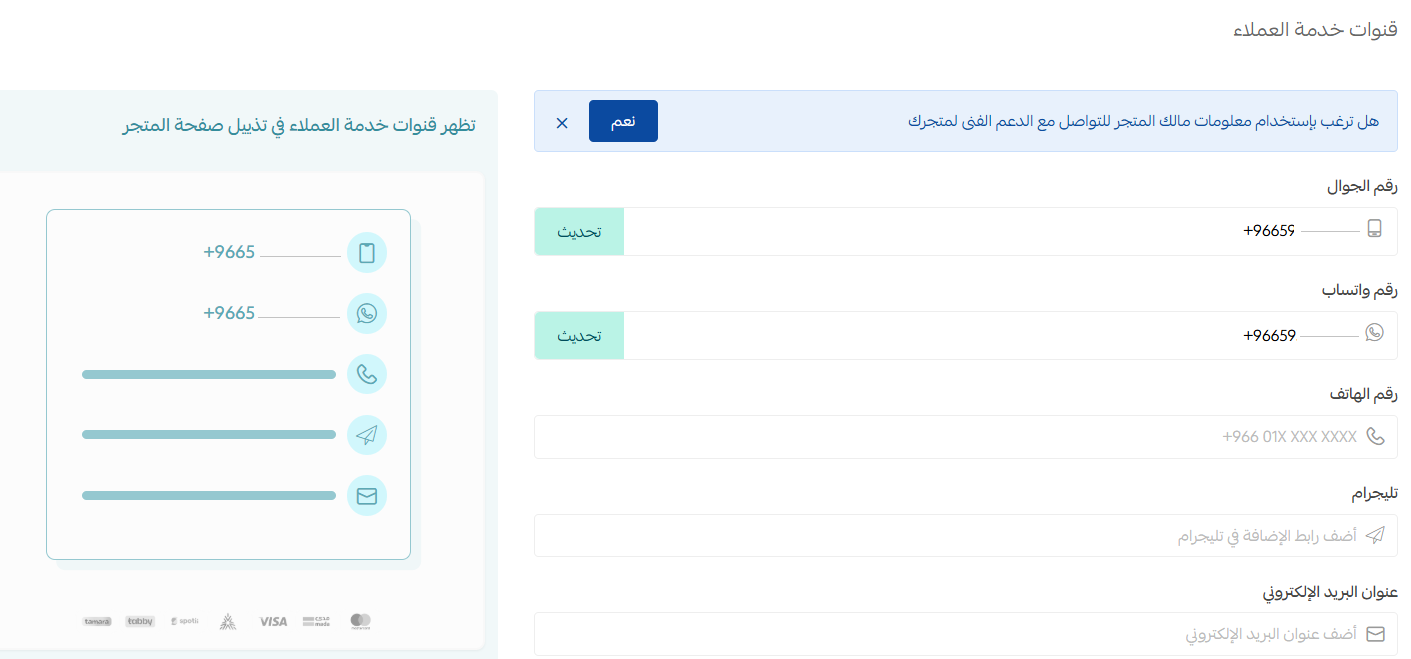
5. Add your verification number.
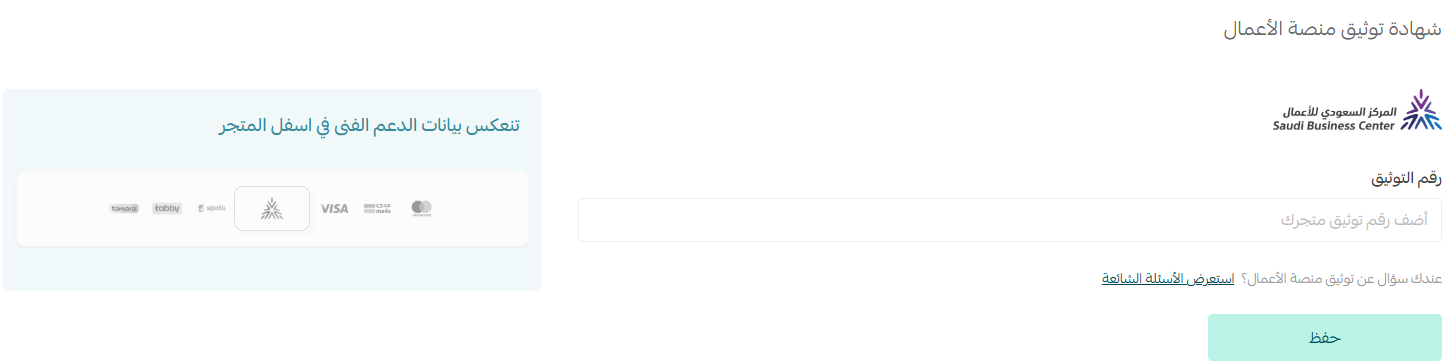
For more details, see Verifying your store on the business platform.
6. Add your store's social media accounts to the store page.
Enter your store's accounts on the different social platforms, then click (Save).
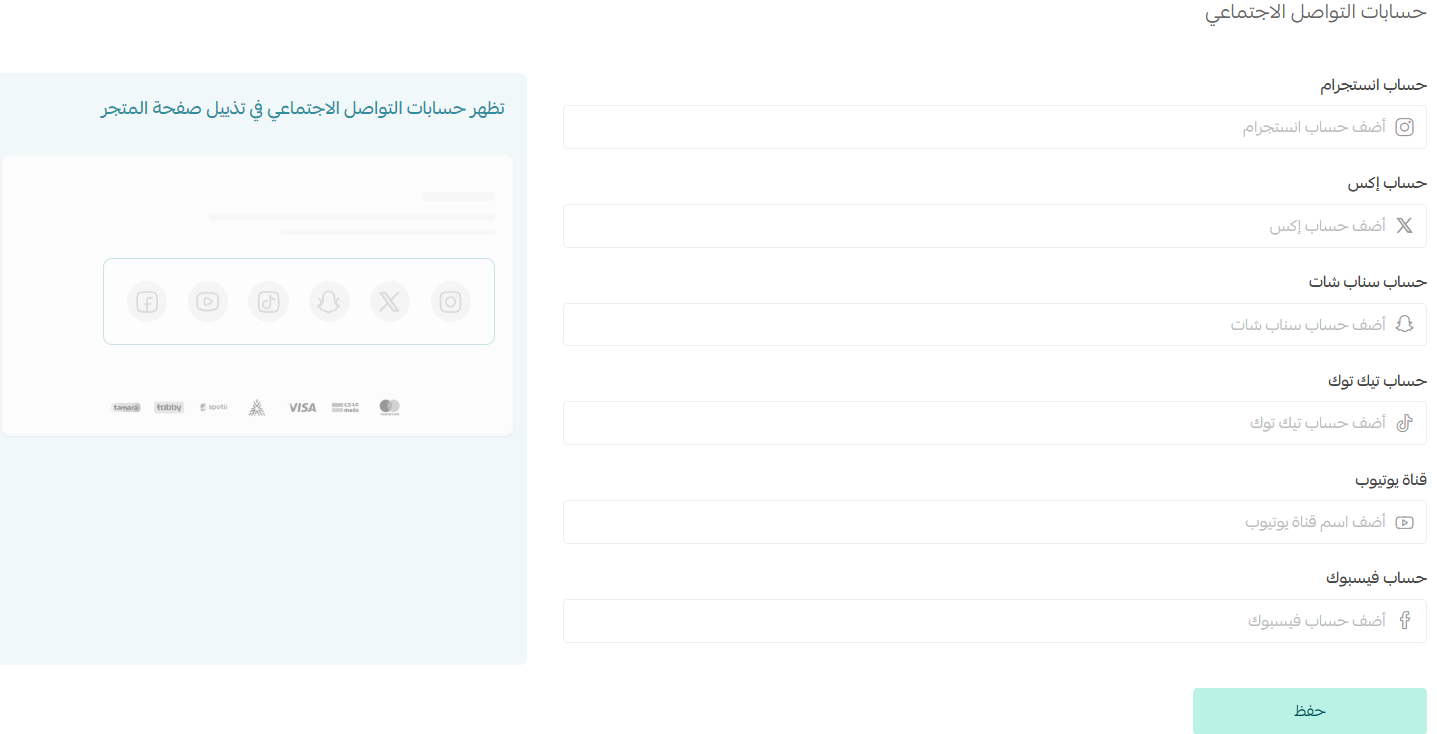
📝 Important notes
Add your Snapchat account in this format:
https://www.snapchat.com/add/username

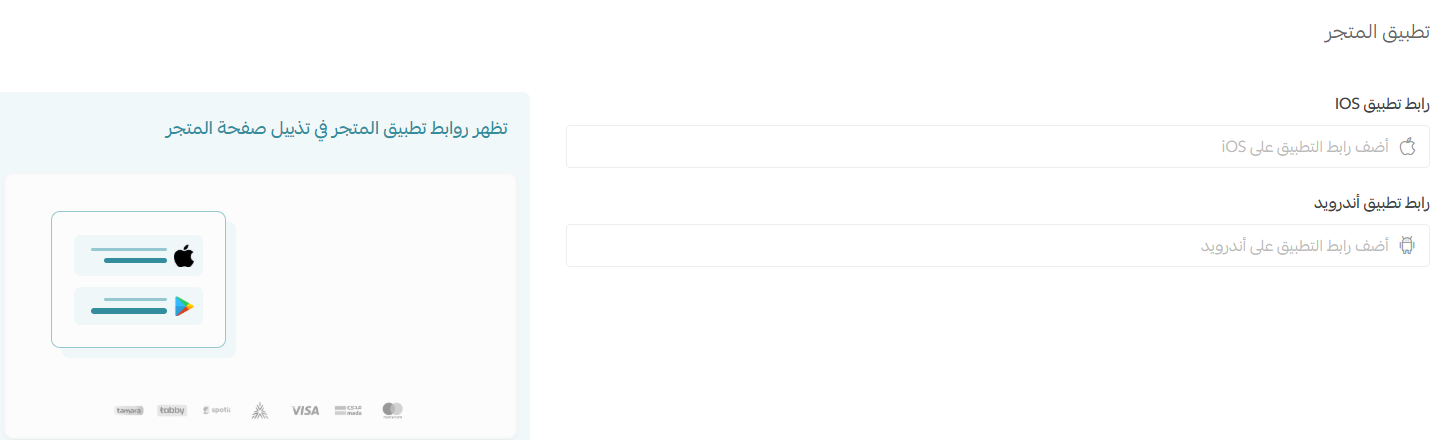
7. Add your store app link to the store page.
Enter the link to your store's Android and/or iPhone app, if you have one, then click (Save).
❓ Frequently asked questions
How long can the store description be?
The "About the store" description is limited to 200 characters, so keep it short and focused on what makes your store worth buying from.
Do I have to add a customer service channel?
Yes. Your store must have at least one contact channel so customers and visitors can reach you.
What format should my Snapchat account link use?
Add it as a full profile link: https://www.snapchat.com/add/ followed by your username. Other formats may not display correctly on your store page.
A complete set of basic settings makes your store look professional from the first visit — set them once, and revisit them whenever your brand or contact details change.