Want your store's mobile app to look like it was designed just for your brand?
The app design stage is where you shape every element of your store's app — the tools, buttons, and images on each page — to fit your needs and your customers' expectations. It is the first stage of publishing your app, and you can build on one of two ready-made templates: the default template or the menu template. In this guide, you'll learn how to start designing your app in Salla's App Maker, switch templates, and customize each part of the app.
To design your app, open (App Maker) from your Salla dashboard. The default template is preselected — click (Change) to browse and switch templates — then customize the home page, categories, top bar and tabs, splash screens, product details, and general settings. Always click (Save Design) to apply your changes.
📌 Article overview
- Where app design fits in publishing your app
- Steps to design your app
- Important notes
- Frequently asked questions
Where app design fits in publishing your app
Designing the app is the first stage of publishing it:

👣 Steps to design your app
1. From your store's dashboard, click (App Maker).
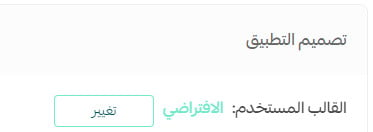
2. The default template is selected automatically. Click (Change) to browse the available templates and switch.
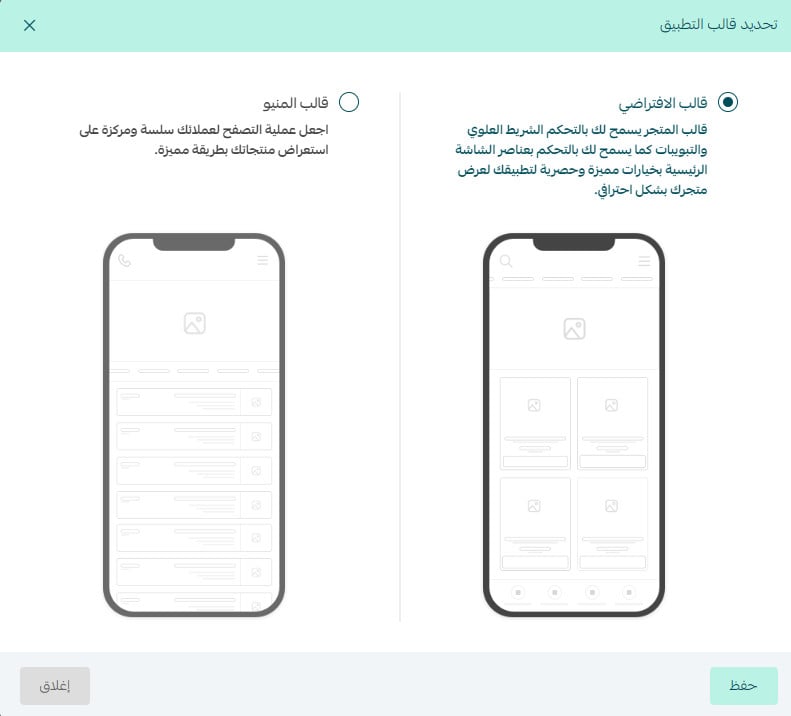
3. Click (Change), select the template you want, then click (Save).
You can design the app by customizing the home page, categories, top bar and tabs, splash screens, product details, and the general settings.

Each template comes with powerful options that spare you from writing a lot of custom CSS. For more, see:
- Designing the app with the default template — home page
- Designing the app with the default template — categories
- Designing the app with the default template — category templates
- Designing the app with the default template — top bar and tabs
- Designing the app with the default template — splash screens
- Designing the app with the default template — product details page
- Designing the app with the default template — general settings
📝 Important notes
Always click (Save Design) so any new changes take effect, then close and reopen the app to see them.
Changes can take a few minutes to display correctly.
If you change the splash screens, after saving you must delete and reinstall the app to preview them directly on your device.
Frequently asked questions
❓ How do on-demand product options appear in the app?
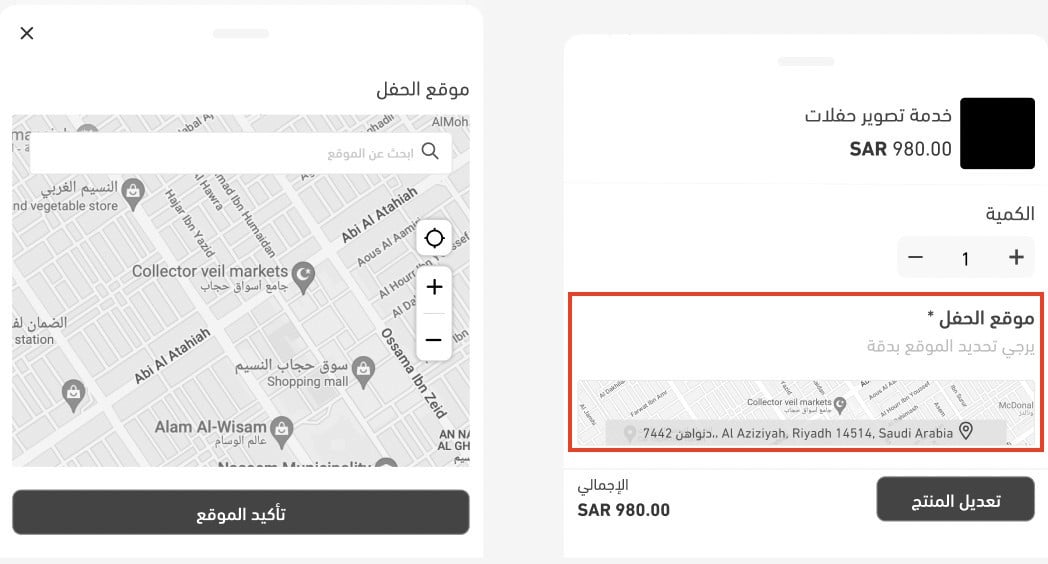
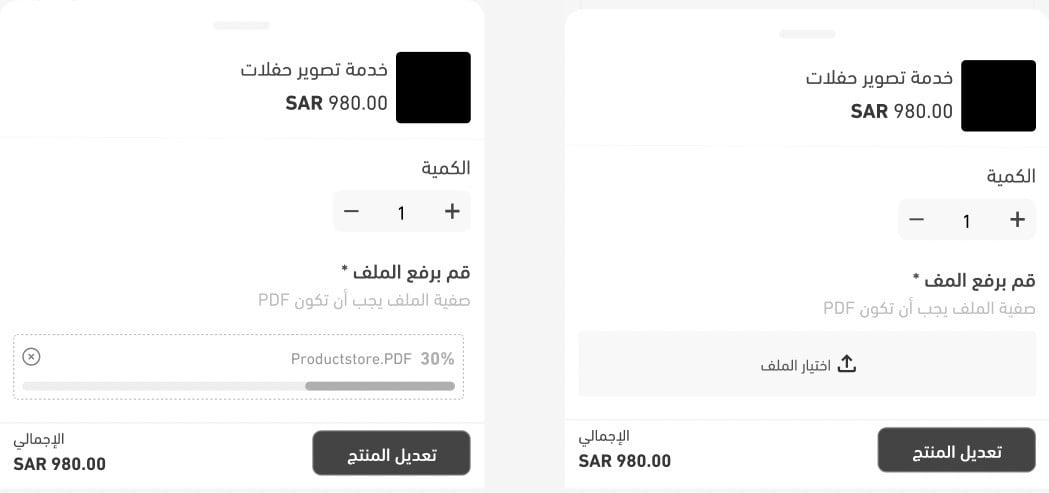
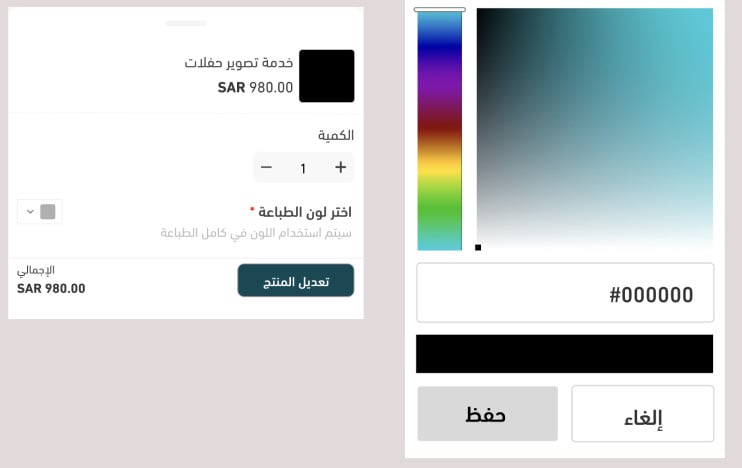
Customers can set options while ordering — such as picking a location on a map, uploading a file, or choosing a color — like this:
1. Location picker option:
2. File upload option:
3. Color picker option:
❓ How can I preview design changes to the app?
Use the preview section, as shown here:
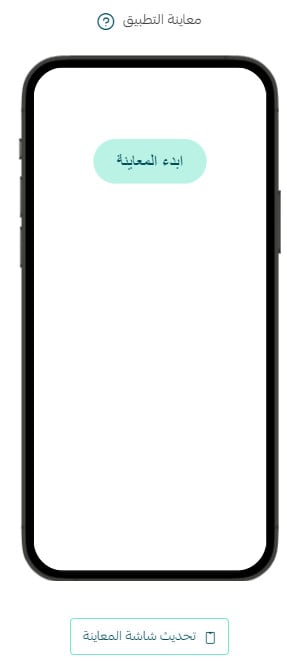
For more details, see (Previewing the app from the App Maker page).
❓ How do I choose a color for any part of the app design?
Click the color box — for example, the selected tab color.

Then pick the color you want and click (Save), or enter the color code directly.

❓ How will my customers browse a product bundle?
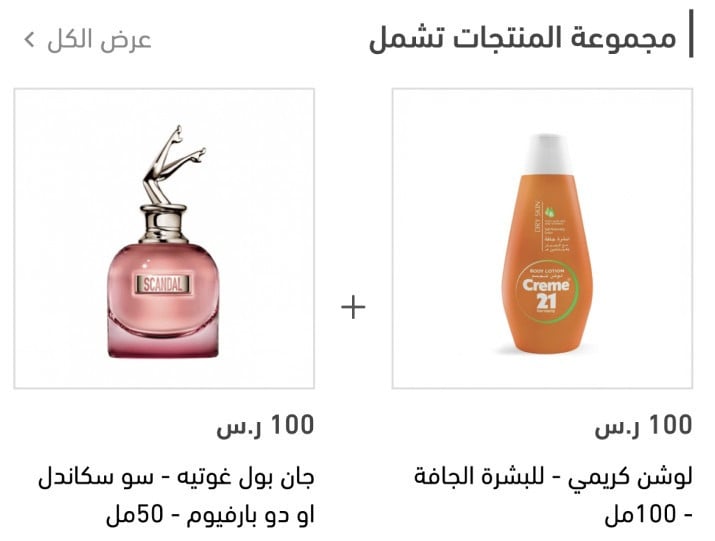
When a product is of the "product bundle" type, a new section called (This bundle includes) appears on the product details page.
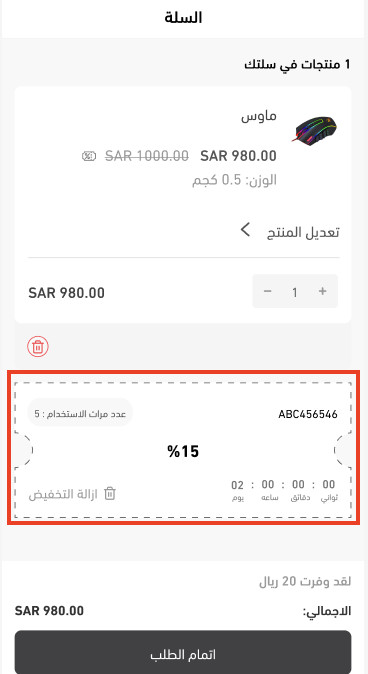
❓ What are the main cart alerts my app's users can see?
A cart alert that a coupon is available
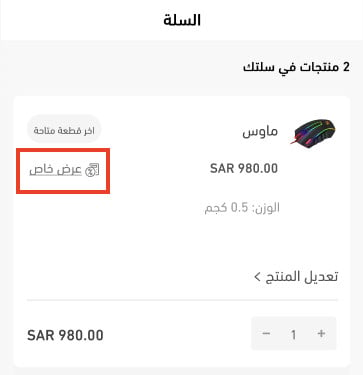
A cart alert that a special offer is available
An alert that a product is out of stock while other variants of it are available
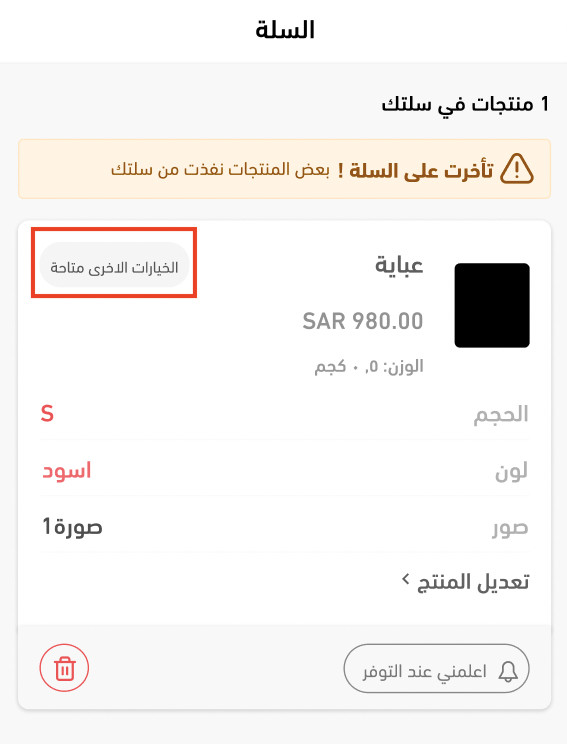
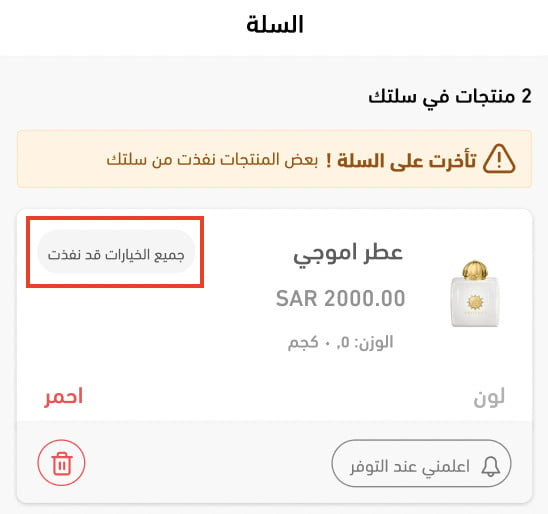
An alert that a product and all its variants are out of stock
❓ Can customers download the app from emails?
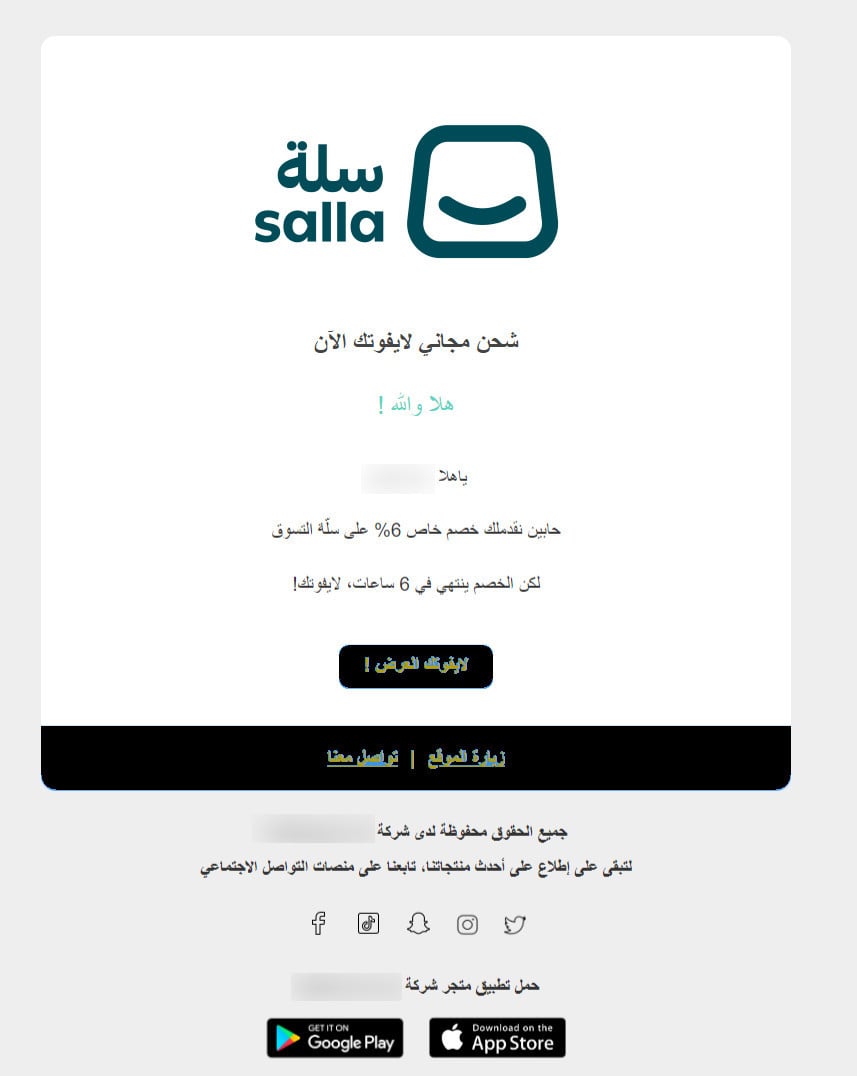
Yes — app download links were added to the order status and abandoned cart emails customers receive, raising awareness that your store has an app.
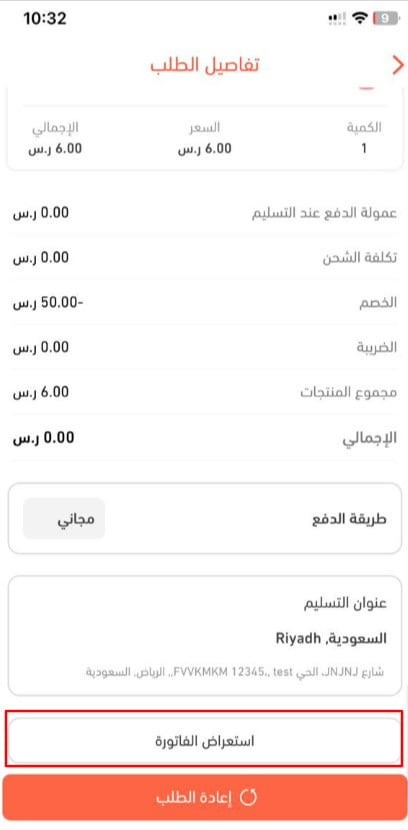
❓ Can customers download the invoice from the order details page?
Yes. A button on the order details page lets customers download the invoice to their device, then view and print it.