Moving product or customer records into Salla from another platform?
The import products and customers with Excel workflow gives you separate templates for customer records and product records, then processes the completed workbook in your Salla store.
To import products and customers with Excel on Salla, open Store settings, select Import data, choose the customer or product import option, download its template, complete every required field without deleting columns, then upload the saved workbook. Salla processes the file and reports any import errors when the operation finishes.
The import service can transfer customer and product data from another platform through a supported platform connection or through an import request with uploaded data files.
Watch the source product import video for an additional walkthrough.
📌 Article overview
- Review supported import options and platforms
- Import customers with an Excel template
- Import products with an Excel template
- Follow the documented workbook rules
- Frequently asked questions
Import products and customers with Excel: available options
Salla provides two documented Excel workflows:
- Import all customers into your store.
- Import new products or update products through the product import option.
The source lists Salla and Zid as supported sources for customer imports. It lists Salla, Shopify, and Zid for product imports.
How to import customers with Excel
1. From the dashboard side menu, click Store settings.

2. From Store settings, click Import data.

3. Select Import customer list, then click Start import.
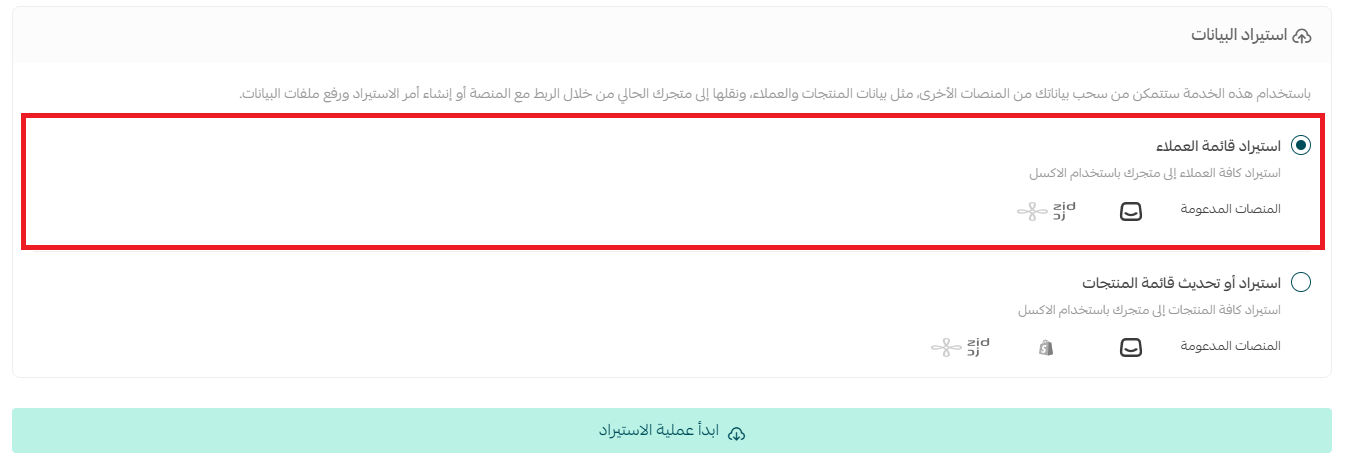
4. From the customer import page, click Download template.

Enter the new customer records in the template, then save the file.
5. Choose the saved customer file, then click Import.

Wait while Salla processes the customer import.
How to import products with Excel
1. From the dashboard side menu, click Store settings.

2. From Store settings, click Import data.

3. Select Import or update product list, then click Start import.
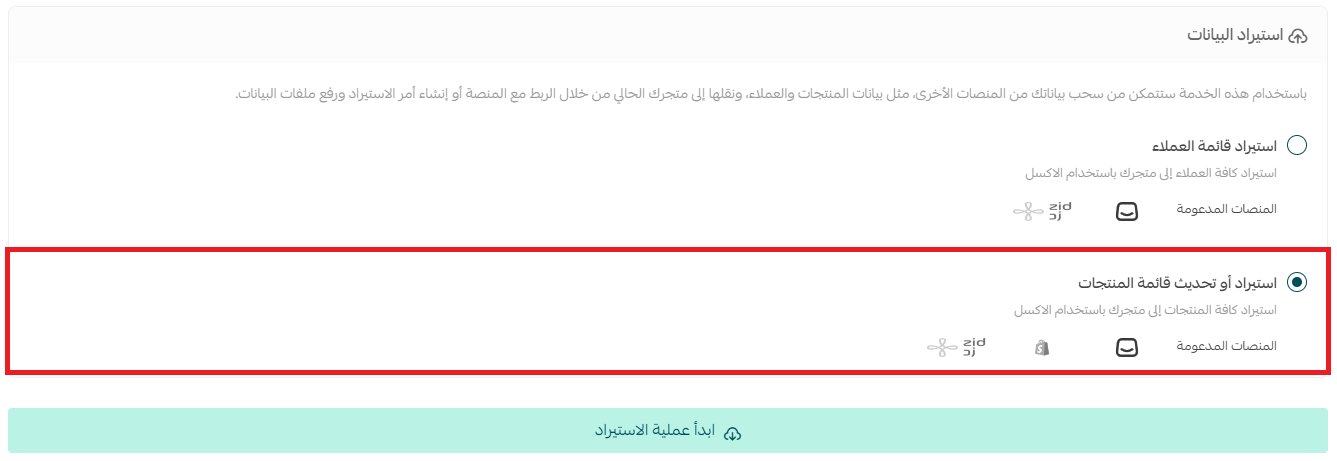
4. From the new product import page, click Download template.

The Excel template includes fields such as item type, product name, category, product image, product type, price, description, shipping requirement, product code, and cost price.
Enter the new product records, then save the completed workbook.
5. Click Choose product file, attach the saved workbook, then click Import.

Wait while Salla processes the product import.
📝 Important notes
- Enter each value in the requested format, whether it is a URL, text, or number.
- Do not delete any template column, even if you do not need it.
- Do not enter or change values in gray cells; the source says changes in these cells are not exported to the store.
- Use the item type field to distinguish a product from one of its options, such as different colors for the same product.
- Enter a product image as a URL.
- Enter product colors as hex codes. The source example for blue is #0000FF.
Frequently asked questions
Can I run more than one import at the same time?
No. The source says you must wait 24 hours after the first import finishes before starting another import by any method.
Can errors occur during a data import?
Yes. Review the completion report to see how many errors occurred during processing.
How many rows can the Salla import template contain?
The documented maximum is 3,500 rows per file.
Is updating existing products different from importing products?
Yes. Updating changes products already stored on Salla, while importing brings product data from another platform into your Salla store.
Related guides and services
Learn more about updating existing store products or importing product quantities and prices.
If you need help moving catalog data, use Salla's merchant services to request product migration or entry support or a complete store migration service.
Use the correct template for the data you are moving, preserve its structure, and review the completion report before starting another import.