Running a charitable organization's store and looking for a secure way to accept donations and payments online?
Payment collection is where trust matters most. When you enable the PayTabs payment gateway on your Salla store, your charity gets a secure gateway with fraud protection built in. In this guide, you'll learn what PayTabs is, who can enable it, what you need to prepare, and the four stages of activating it on your store.
To enable PayTabs on Salla, register a PayTabs merchant account, copy your Profile ID from the Profile page and your Server Key from Developers, then Key management. In your Salla dashboard, go to (Store settings), then (Payment methods), click (Enable) next to PayTabs, and enter both values. Activation is available to charitable organizations only.
📌 Article overview
- What is PayTabs?
- Conditions and requirements
- The four activation stages
- Frequently asked questions
What is PayTabs?
PayTabs is a company that aims to revolutionize online payments by providing easy, reliable payment processing for merchants and individuals.
PayTabs products primarily target small and medium-sized organizations, making online card acceptance easier to integrate, less costly, and — most importantly — less exposed to fraud risk.
Its services include a secure payment gateway along with a fraud protection system, backed by convenient payment services.
Conditions for enabling PayTabs on Salla stores
- Activation is available only to charitable organization entities.
Requirements for enabling PayTabs on Salla stores
- A PayTabs payment gateway account for your organization.
- Your charity's certificate.
- Adding the Profile ID and Server Key on the gateway's page in Salla to activate the connection.
👣 How to enable the PayTabs payment gateway
To complete the connection with PayTabs, activation goes through the following stages:
1. Open a PayTabs payment gateway account for your organization.
2. Get the Profile ID.
3. Get the Server Key.
4. Add the Profile ID and Server Key on the gateway's page in Salla to activate the connection.
Stage one: open a PayTabs account
1. Go to the PayTabs new account registration page and enter the required registration details.
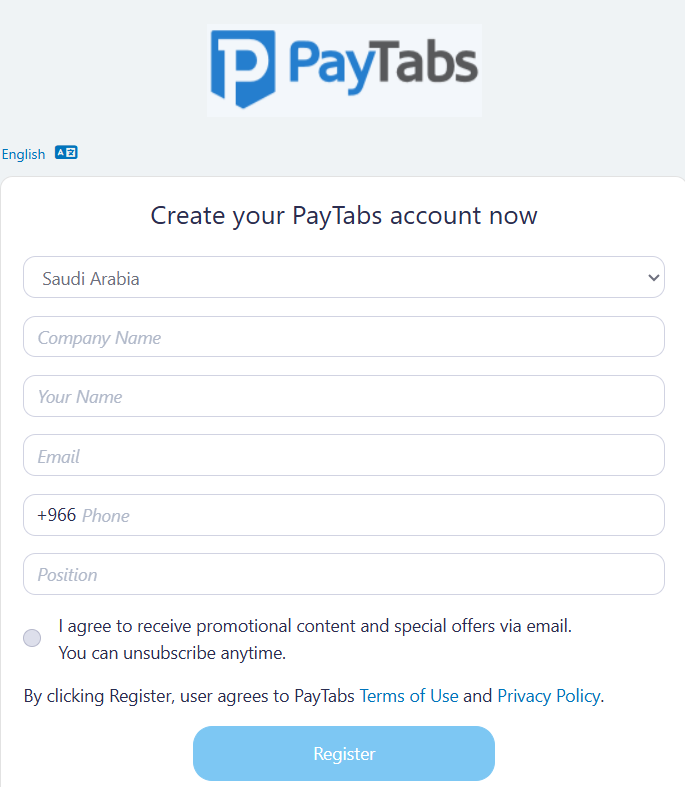
The fields are, in order: country, company name, the account manager's name, email address, phone number, and the account manager's job title.
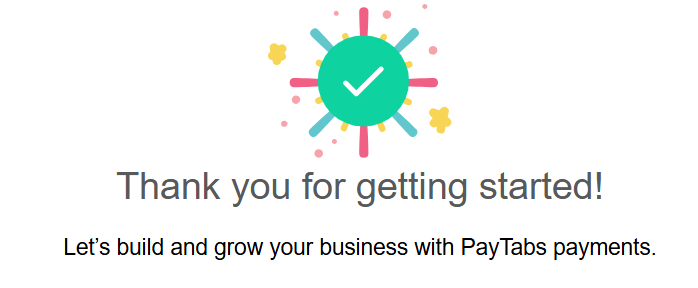
Then click (Register) to complete registration and wait for the registration confirmation message.
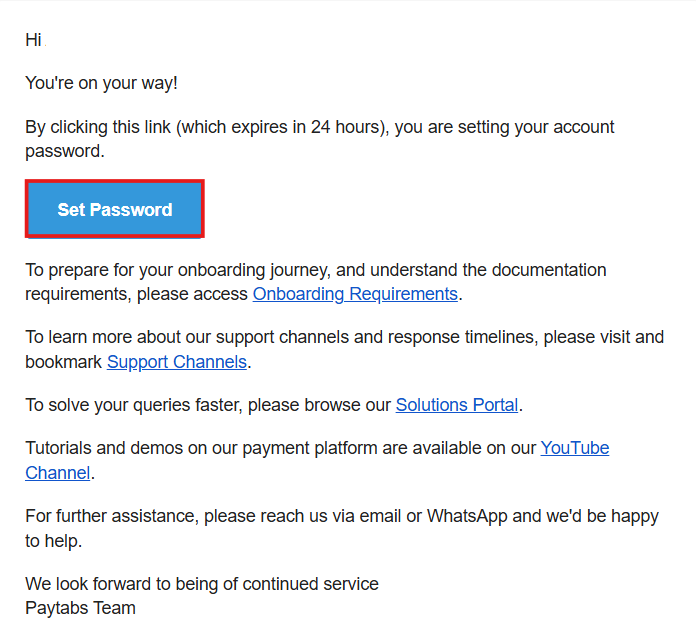
2. Check the email you received from PayTabs and click (Set password) to set a password for the new account.
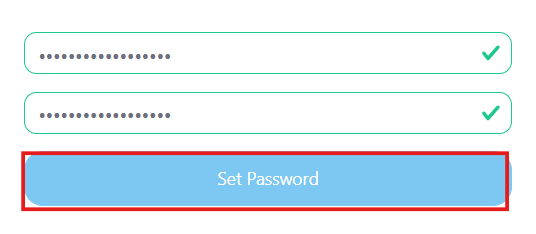
3. Enter a password for your PayTabs account, then click (Set password).
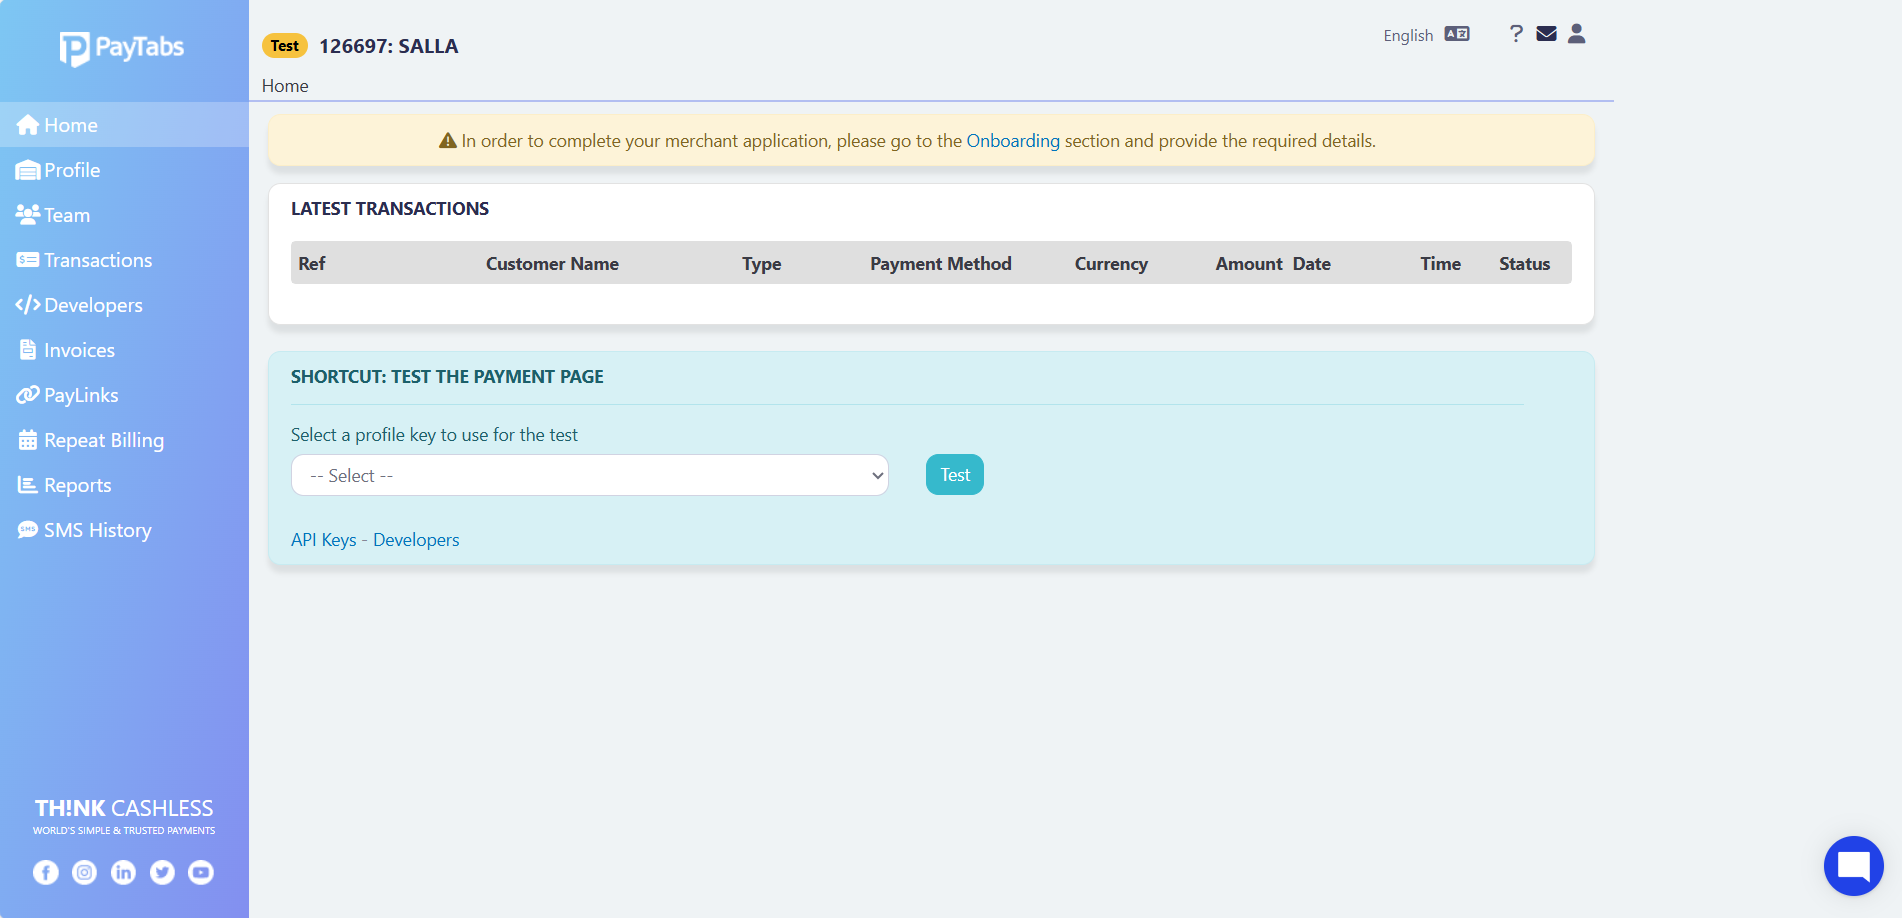
The PayTabs home page then appears, as shown:
Stage two: get the Profile ID
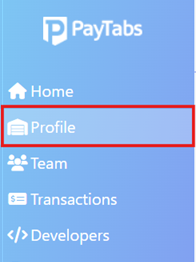
1. Sign in to your PayTabs account and click (Profile) in the dashboard.
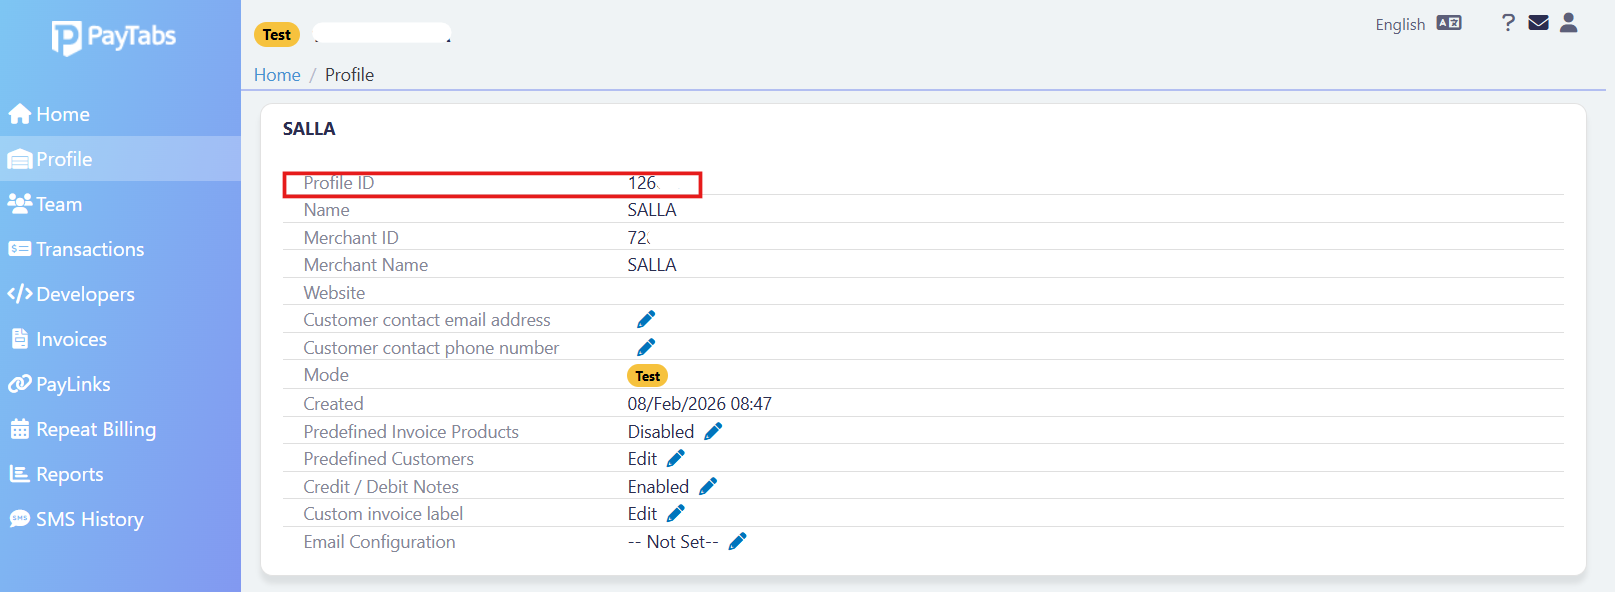
2. From the Profile page, copy the Profile ID and keep it aside.
Stage three: get the Server Key
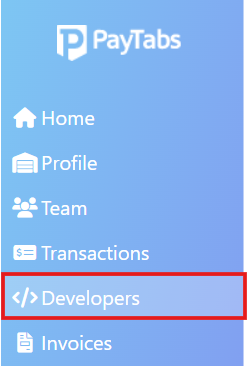
1. Sign in to your PayTabs account and click (Developers) in the dashboard.
2. From the Developers page, click (Key management).
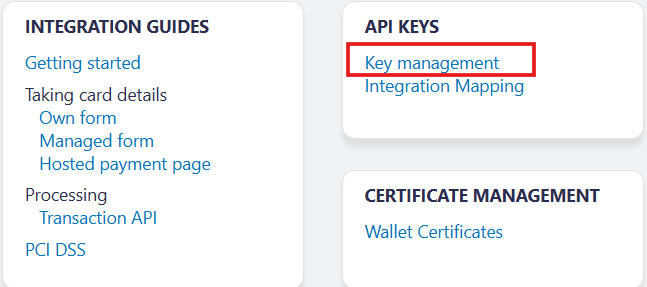
3. From the Key management page, select the Server Key and copy it.

Stage four: add the Profile ID and Server Key in Salla
1. From the side menu of your dashboard, click (Store settings).

2. From the store settings page, click (Payment methods).

3. From the payment methods page, next to the PayTabs icon, click (Enable).

4. Enter the required details, then click (Save).
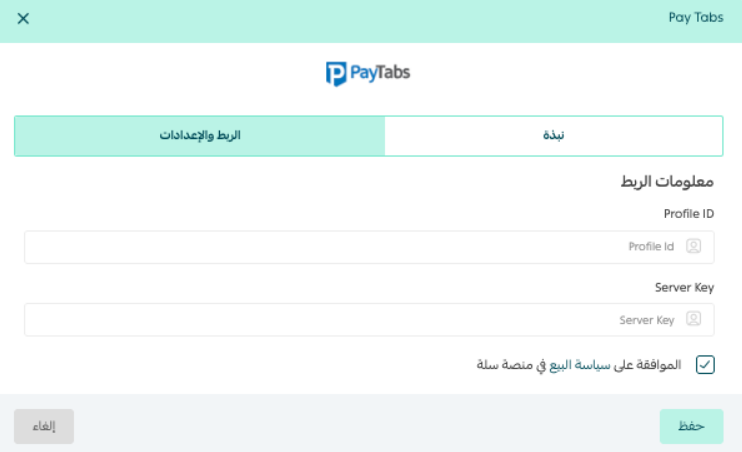
Agree to the Salla platform's sales policy, then click (Activate service).
With that, you've completed all the steps to enable PayTabs on your store.
Frequently asked questions
❓ Who can enable PayTabs on a Salla store?
Activation is available only to charitable organization entities. Other store types should choose one of the other payment gateways available in Salla.
❓ What do I need before starting the activation?
Three things: a PayTabs payment gateway account for your organization, your charity's certificate, and the Profile ID and Server Key copied from your PayTabs account.
❓ Where do I find the Profile ID and Server Key?
Both live in your PayTabs account: the Profile ID on the (Profile) page, and the Server Key under (Developers), then (Key management).