How many of your returns start with a customer who simply could not picture the item on themselves?
Clothing is the hardest category to sell online, because a flat product photo asks the shopper to imagine the rest. Elbesha (V-Try-On) closes that gap with virtual clothing try-on: your products appear on your customers own bodies before they order. In this guide, you will learn how to connect the V-Try-On app to your store, upgrade your plan, customize the experience, and remove the app if you need to.
Elbesha, also known as V-Try-On, is a Salla app that adds virtual clothing try-on to your store. It shows your products on your customers own bodies before they buy, so they can judge fit and look more clearly and make a confident purchase decision instead of guessing from a flat product photo.
📌 Article overview
- How to connect the V-Try-On app
- How to manage the V-Try-On app
- Frequently asked questions
👣 How to connect the V-Try-On app
1. From the main menu, click (All), then under helper tools click (App Store).
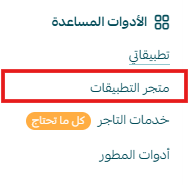
2. Search for the app using the search field.

3. On the Elbesha app page, click (Install).

4. Choose the plan that fits you, then click (Install app).
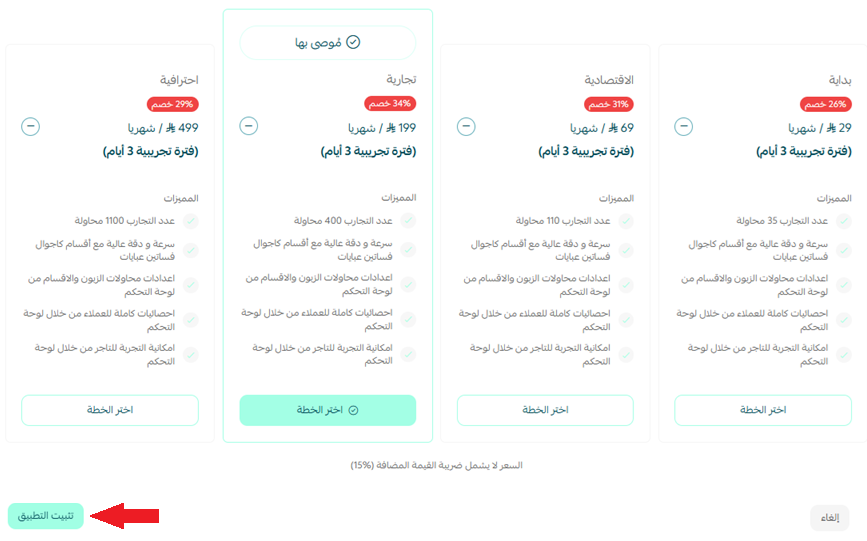
5. Check your inbox. Once the app is installed, Elbesha emails you the activation steps.
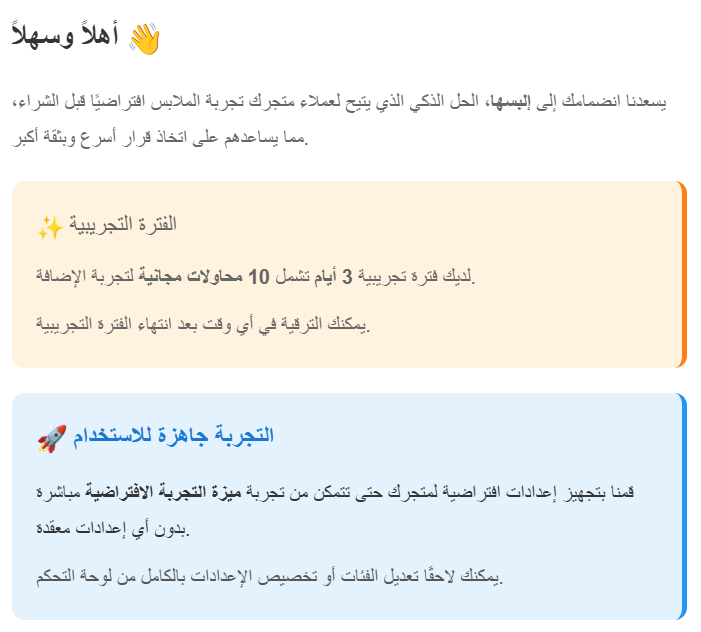
6. In that email, click (Go to dashboard).
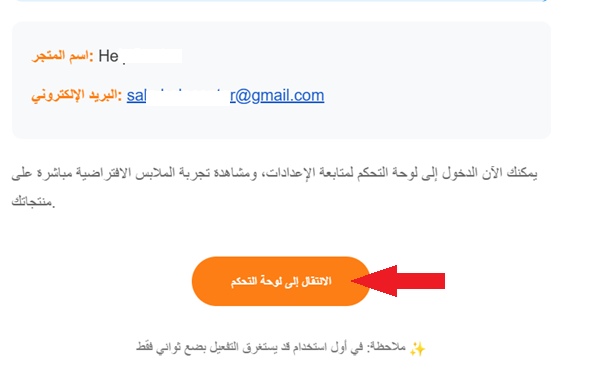
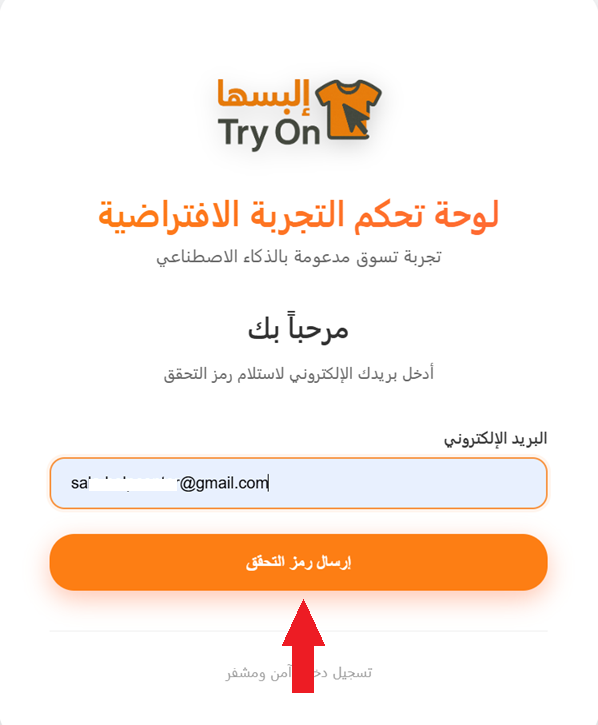
7. Enter the email address that matches your store, then click (Send verification code).
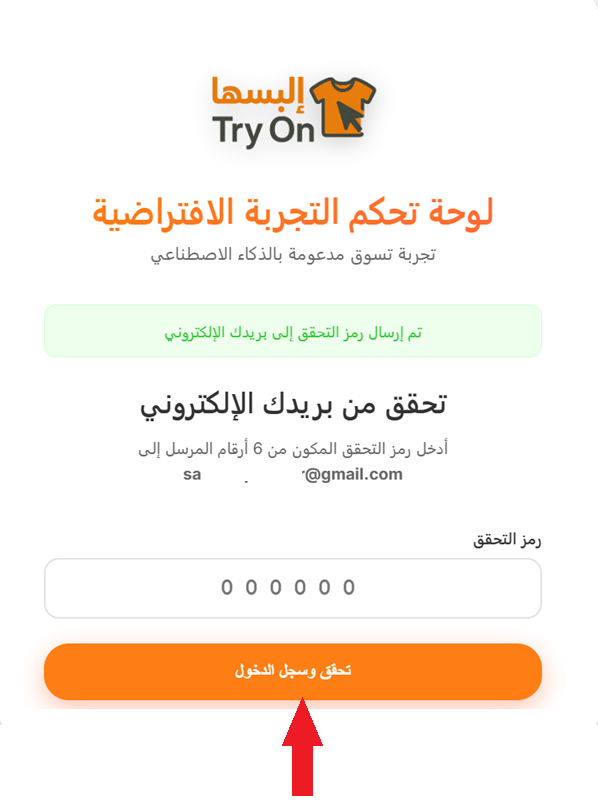
8. Copy the code from the email, paste it in, then click (Verify and log in).
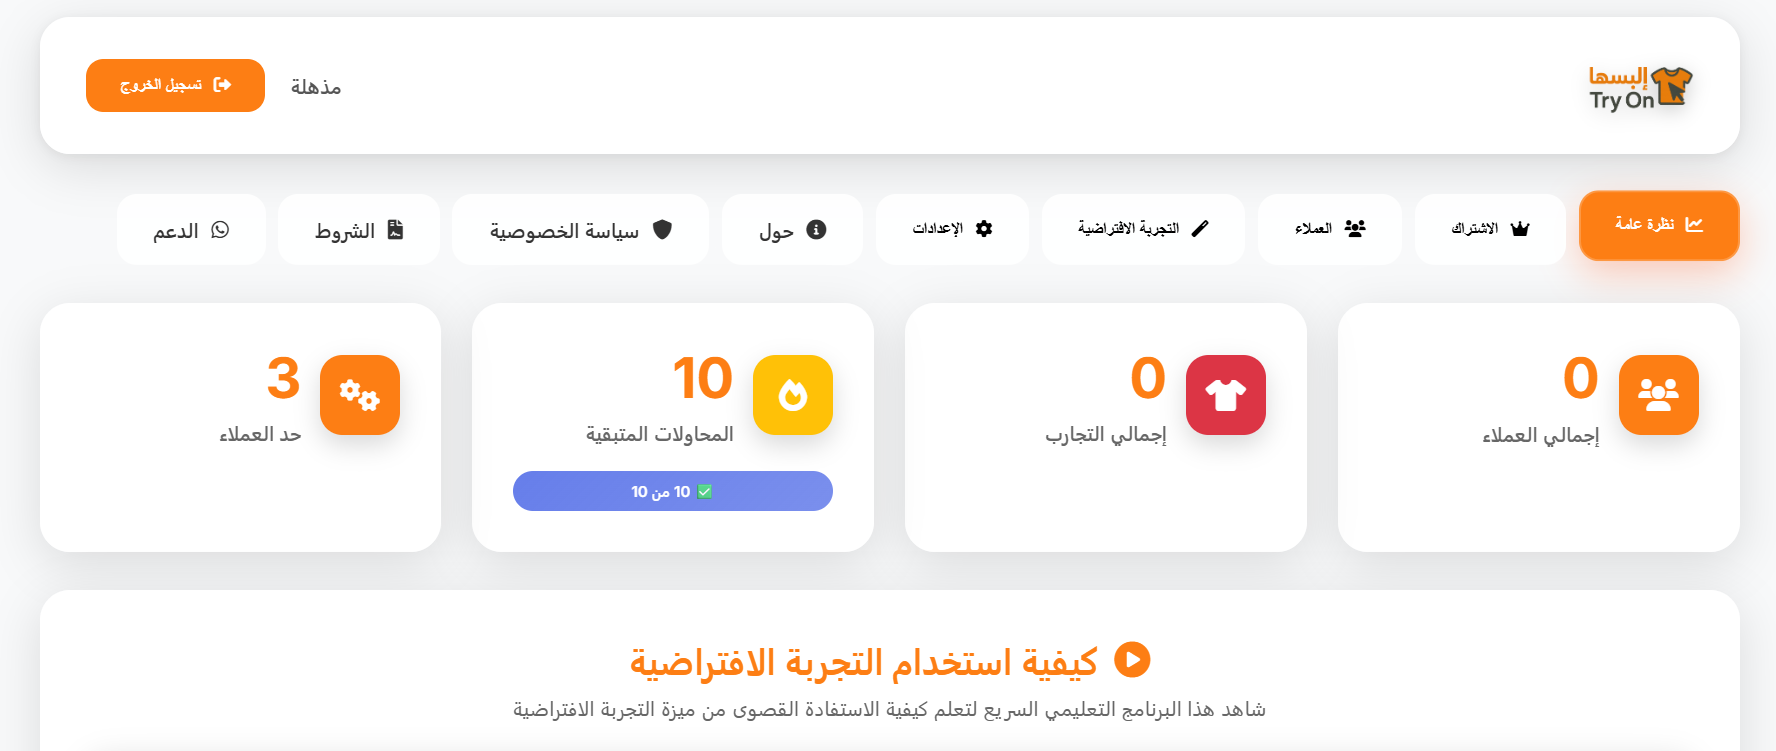
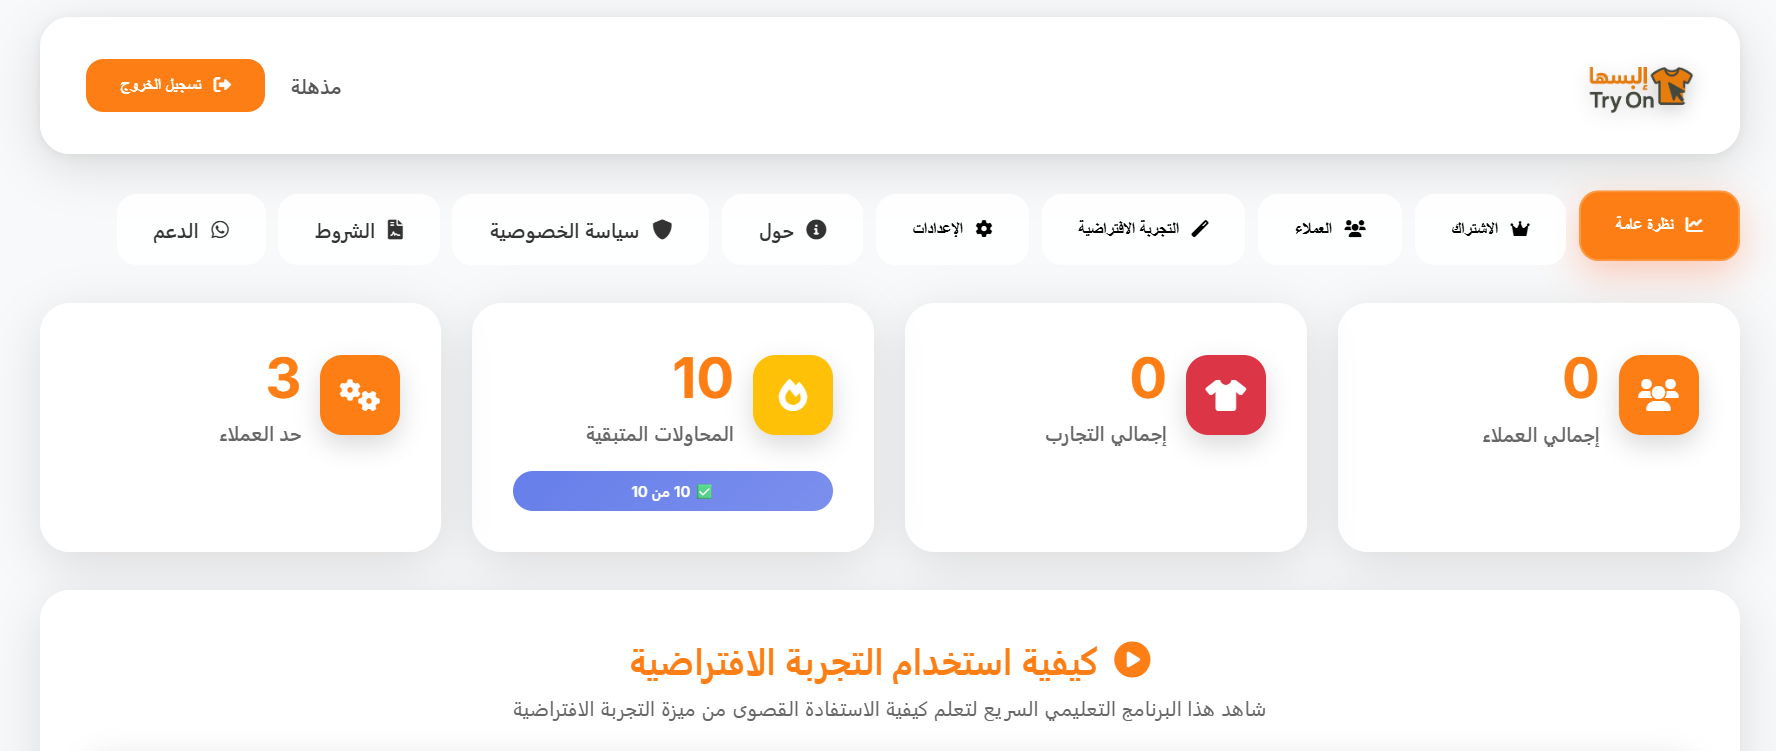
9. The Elbesha dashboard opens. This is where you customize the app.
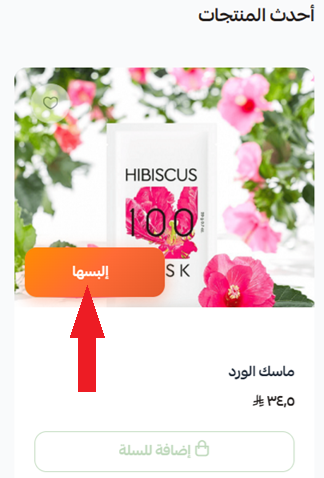
🎉 Your customers can now try the feature on your products.
🚀 How to manage the V-Try-On app
Upgrade your plan
1. From the app details page in your store, click (Upgrade plan).

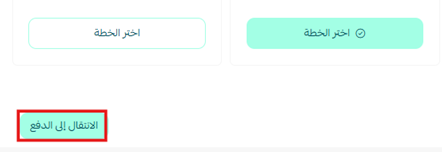
2. Choose the plan you want, then click (Go to payment).
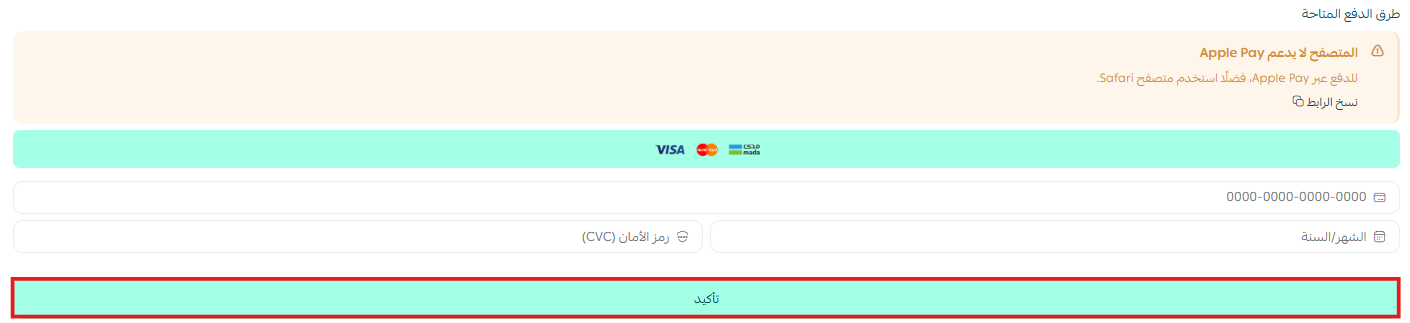
3. Complete your payment details and click (Confirm) to finish the upgrade.
Customize the app
🎯 Adjust how the try-on works from the home page of the Elbesha dashboard.
Delete the app
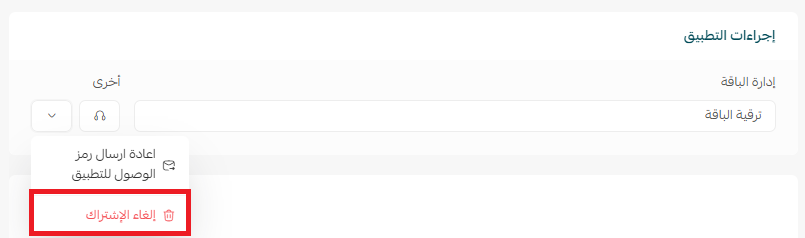
1. From the app options menu, click (Cancel subscription) and choose a reason.
2. From the same menu, click (Delete app) and choose a reason.
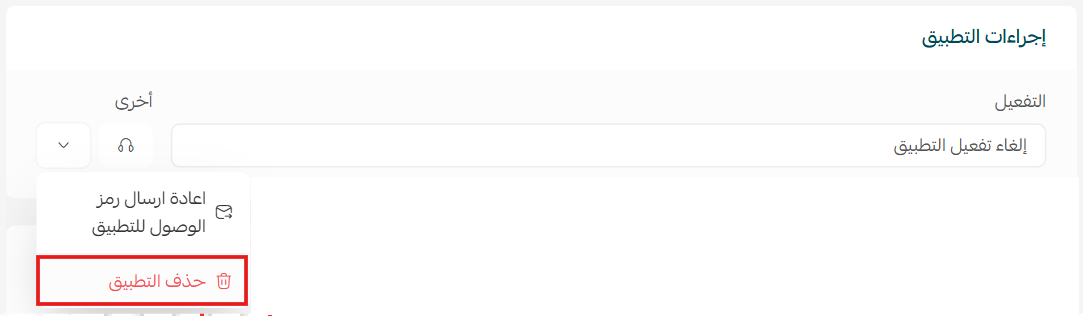
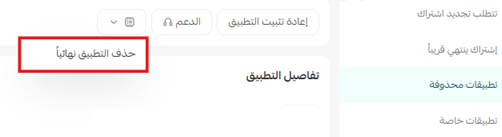
3. Open the Deleted apps page, then from the app options menu click (Delete app permanently) to remove it from your store for good.
📝 Important notes
Cancel the subscription first. Deleting the app on its own does not end billing.
Frequently asked questions
❓ Do I need a separate Elbesha account?
Yes. After installation you receive an activation email, verify the email address that matches your store with a one-time code, and your Elbesha dashboard is created from there.
❓ Which email address should I use?
Use the same email address registered on your store. Verification is tied to it.
❓ Where do I change how the try-on looks?
In the Elbesha dashboard, not in your Salla dashboard. All app customization lives there.
❓ Does deleting the app remove it completely?
Not immediately. A deleted app moves to the Deleted apps page, and you remove it for good by clicking (Delete app permanently) there.
Fit uncertainty is one of the quietest reasons a clothing sale does not close. Letting a shopper see the item on themselves takes that doubt off the table. For more details, see the Elbesha app page.