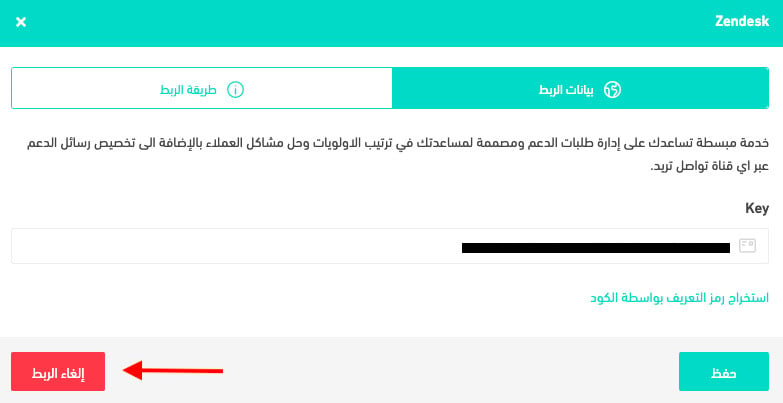
Are support requests reaching you from five different places at once?
Connecting Zendesk with Salla puts a live chat widget on your store and routes every conversation into one support desk. Zendesk is a paid, streamlined messaging service for managing support requests: it helps you prioritize, solve customer problems around the clock, and tailor your support messages to whichever channel the customer used. In this guide, you'll learn how to open a Zendesk trial, set up your web widget, and activate the connection in your Salla store.
To connect Zendesk with Salla, start a free Zendesk trial, verify your email, and set up the web widget until you reach the tracking code. Copy it, then open (Installed apps) in your Salla dashboard, click (App settings) on the Zendesk app, paste the code, and click (Activate connection).
📌 Article overview
- What is Zendesk?
- How to connect your Salla store with Zendesk
- Frequently asked questions
🎯 What is Zendesk?
Zendesk is a paid, streamlined instant messaging service that helps you manage support requests. It's designed to help you set priorities, solve customer problems around the clock, and customize your support messages across any channel you want to use.
🚀 How to connect your Salla store with Zendesk
The connection happens in two stages:
1. Sign up for Zendesk.
2. Paste the Zendesk tracking code into your Salla store.
Stage one: sign up for Zendesk
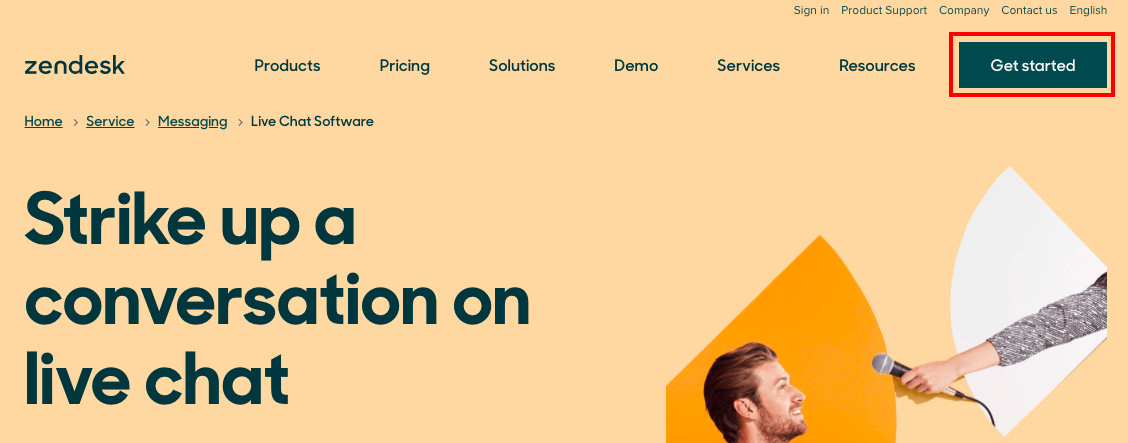
1. Go to the Zendesk website and click (Get started) to sign up for a trial — you can subscribe later.
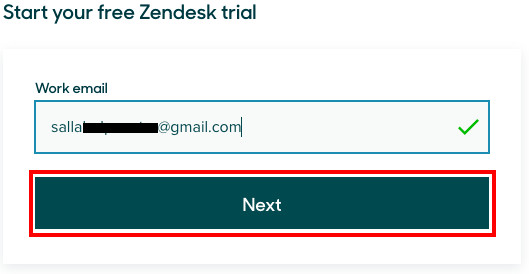
2. Enter your email address and click (Next).
3. Enter your basic details, then click (Next).
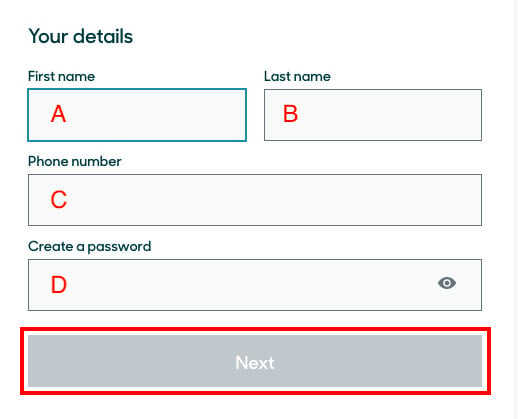
a. First name.
b. Last name.
c. Mobile number.
d. A new password — at least 5 characters, mixing numbers, English letters and symbols.
4. Enter your store information, then click (Start your free trial).
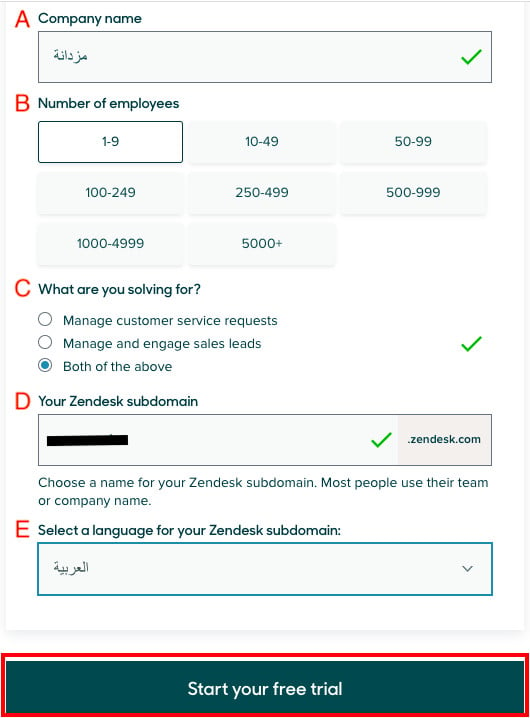
a. Your store name.
b. Your number of employees.
c. Why you're using the software.
d. A subdomain for your Zendesk account — usually your store name in English.
e. The language you want.
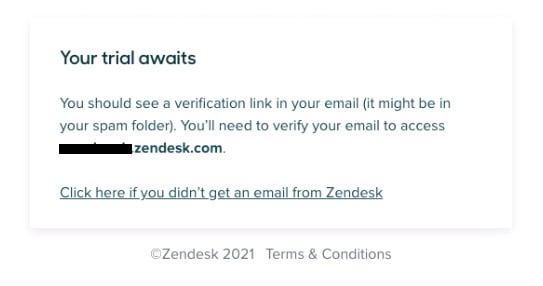
5. A window appears asking you to go to the email address you registered and activate the account.
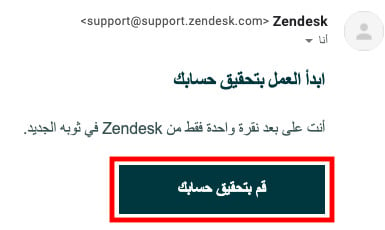
6. In the email you receive, click (Verify your account) to go to your Zendesk account.
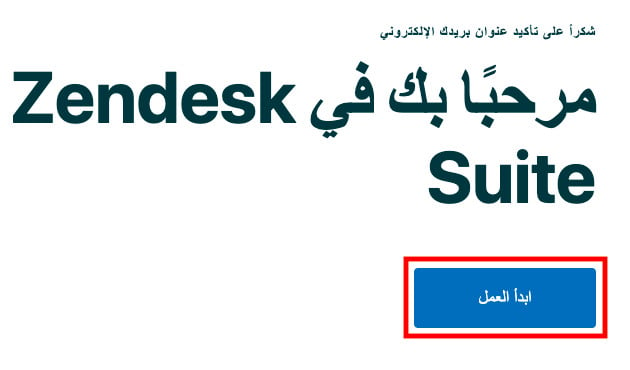
7. The getting-started page opens. Click (Get started).
8. Work through the introductory steps by clicking (Next) until you reach the settings.
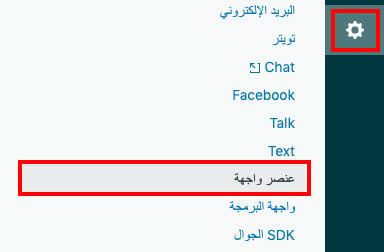
9. Click the settings icon in your account, then click (Widget).
10. Click (Get web widget).

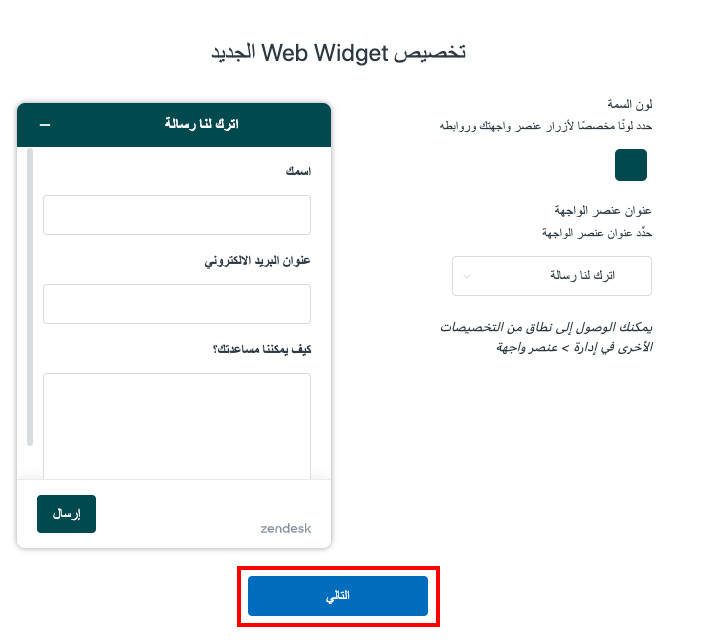
11. Customize the chat template settings — the template color and the chat heading — then click (Next).
📝 Important notes
You can change these settings later.
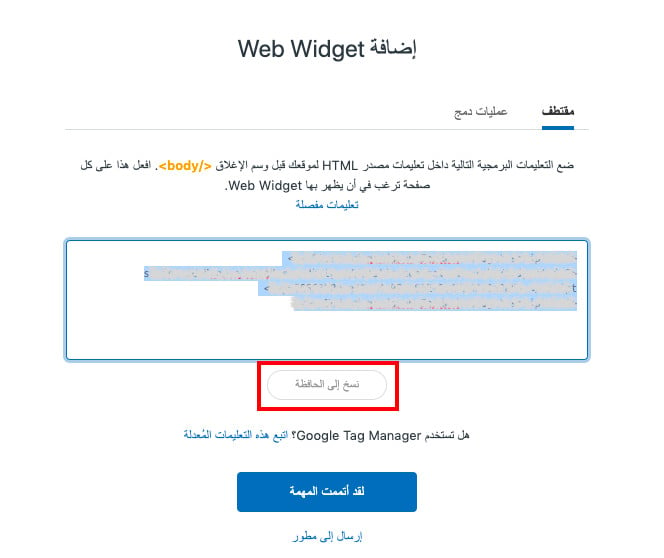
12. Choose how you'll get to your tracking code.
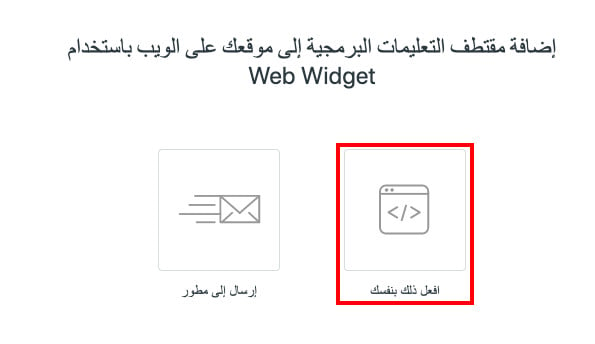
13. Copy the tracking code so you can paste it into your store, then click (I'm done). The Zendesk home page opens.
Stage two: paste the Zendesk tracking code into your Salla store
1. From the side menu of your dashboard, click (Installed apps).

2. On the Zendesk app, click (App settings).
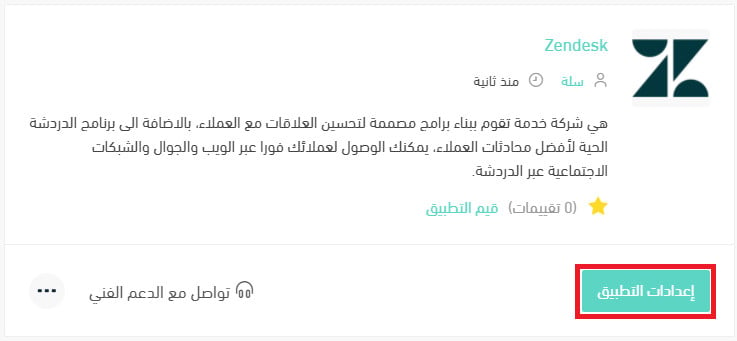
If the app isn't installed in your store yet, install it first. For more details, see installing an app from the Salla App Store.
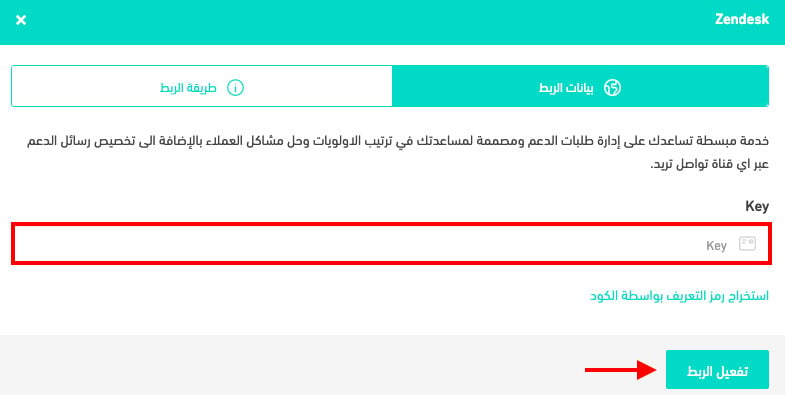
3. Paste the tracking code you copied from Zendesk in stage one, then click (Activate connection).
❓ Frequently asked questions
Why use Zendesk?
- You can raise tickets, collect support requests from different social platforms, and manage them in record time.
- You can solve a lot more customer problems by voice through the Zendesk Talk feature.
- You can measure and improve your customer experience with wide-ranging analytics reports generated automatically.
- You can build a full help guide with answers to the questions your customers ask most and fixes they can try before they contact you.
- The service supports multiple languages.
Is Zendesk free or paid?
It's a paid service, priced very reasonably for what it offers. It also gives you a trial period of up to 14 days.
Can I disconnect my store from my Zendesk account?
Yes. On the Zendesk connection page, click (Disconnect).