Do your customers have to message you just to find out when you are free?
A bookings product turns your Salla store into a booking system. Instead of selling an item off a shelf, you sell a slot on a schedule you control: the days you work, the times you work, how many seats each slot holds, and the dates you are closed. Customers pick a time that suits them and pay for it like any other order. In this guide, you'll learn how to add a bookings product, how to schedule and manage its appointments, how to build the order form your customers fill in, and how to follow every booking from one table.
A bookings product on Salla sells appointments instead of items. From (Products), create a new product, choose the bookings type, and enter its basic details. Then open (Product data) and set the booking schedule — days only, or days and times — along with how many seats each slot holds.
📌 Article overview
- How to add a bookings product
- How to manage and schedule bookings
- How to add different field types to the order form
- How to follow the bookings table
- Frequently asked questions
🚀 How to add a bookings product
1. From the dashboard side menu, click (Products).

2. On the products page, click (New product).

3. Set the product type to bookings product.
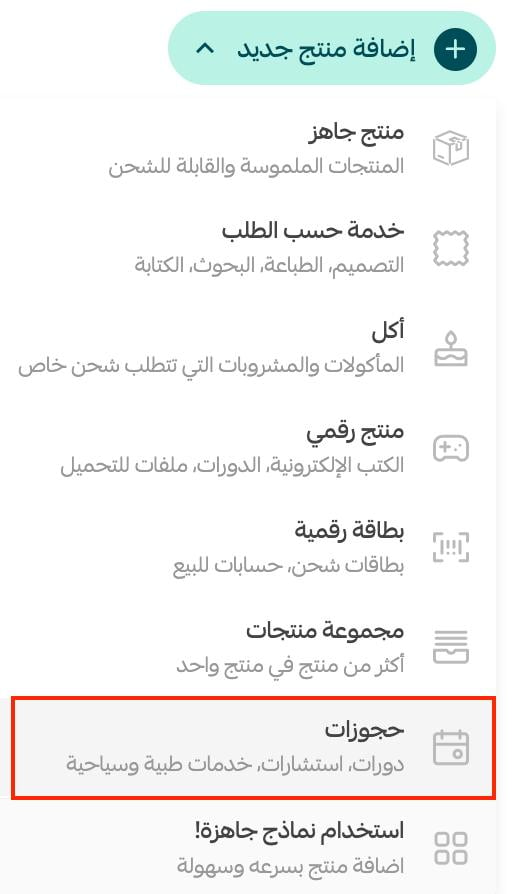
4. Enter the product's basic details, then click (Save).
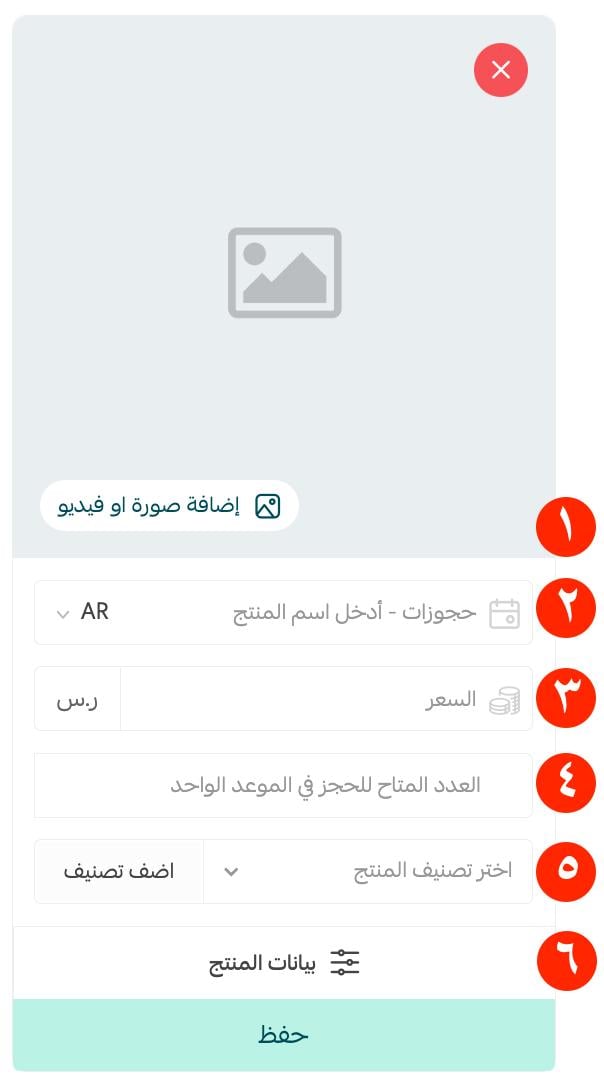
- One or more product images. For more on uploading product images and videos.
- Product name — the name your customer sees.
- Product price — what you charge for the booking.
- Seats available per slot — how many bookings each appointment can take.
- Product category, which helps you control how products are displayed, view product reports, and more. For more on managing product categories.
- Product details, where you set up the product data, the booking schedule, the order form, and the rest.
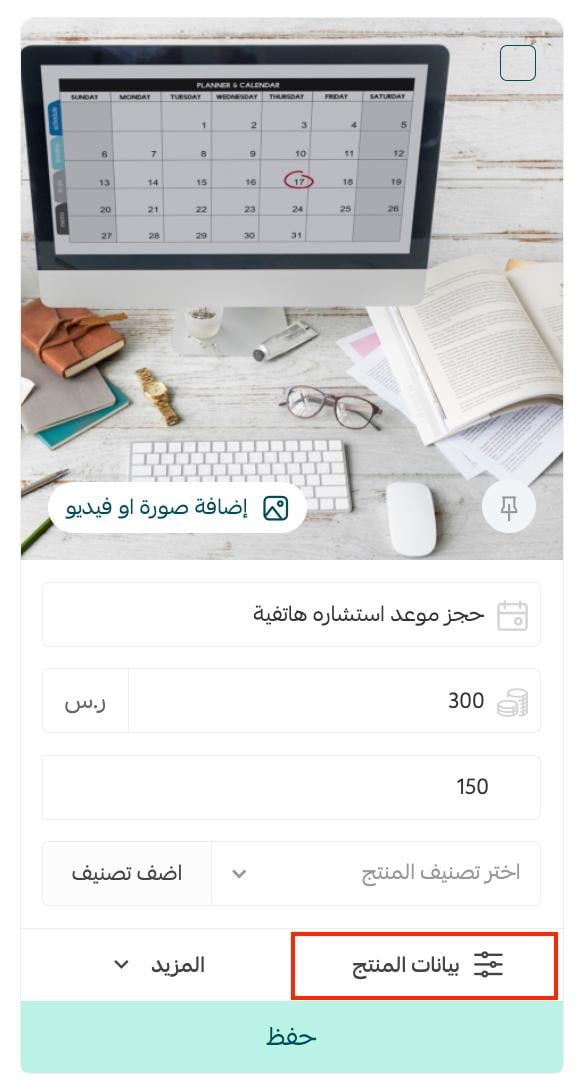
Once saved, the product card looks like this:
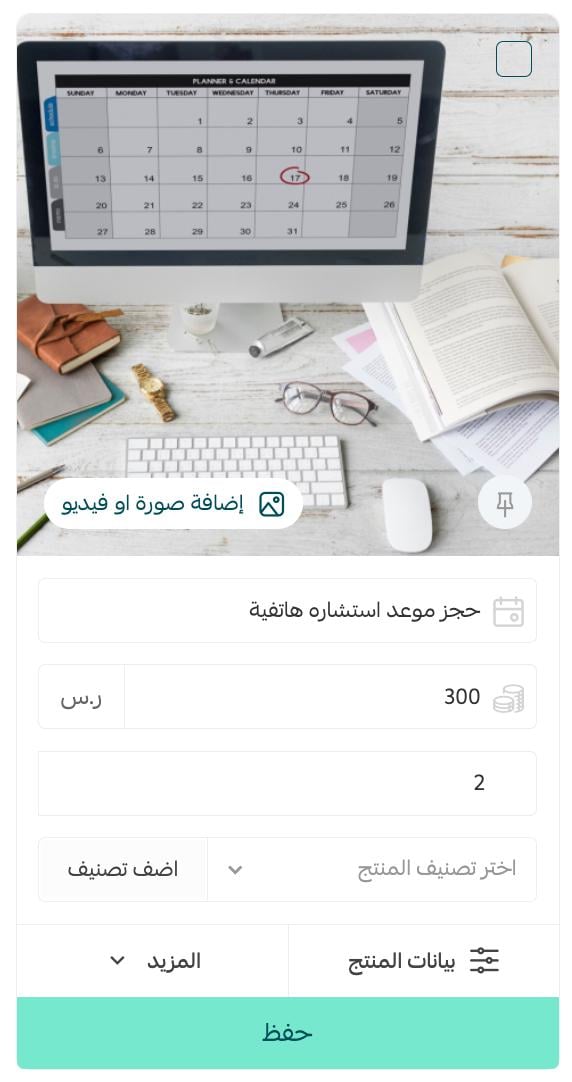
For more on the product card and adding a new product.
And for more on adding product options and controlling how they appear to the customer.
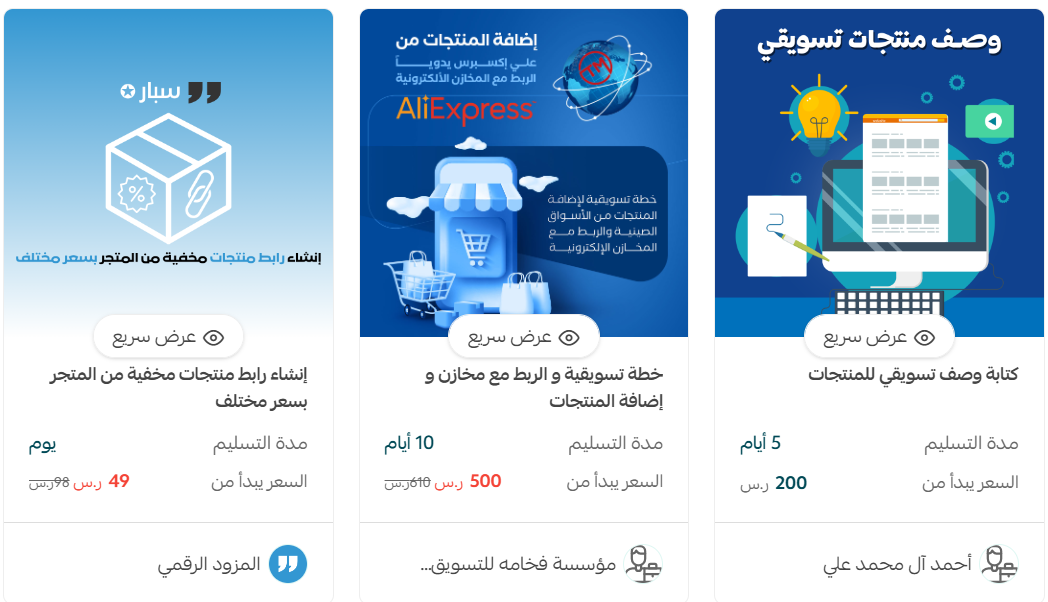
If you want a hand adding products, you can request support from merchant services, which covers things like adding products, image design, description writing, and product photography.
👣 How to manage and schedule bookings
Set the booking schedule
1. On the product page, click (Product data).
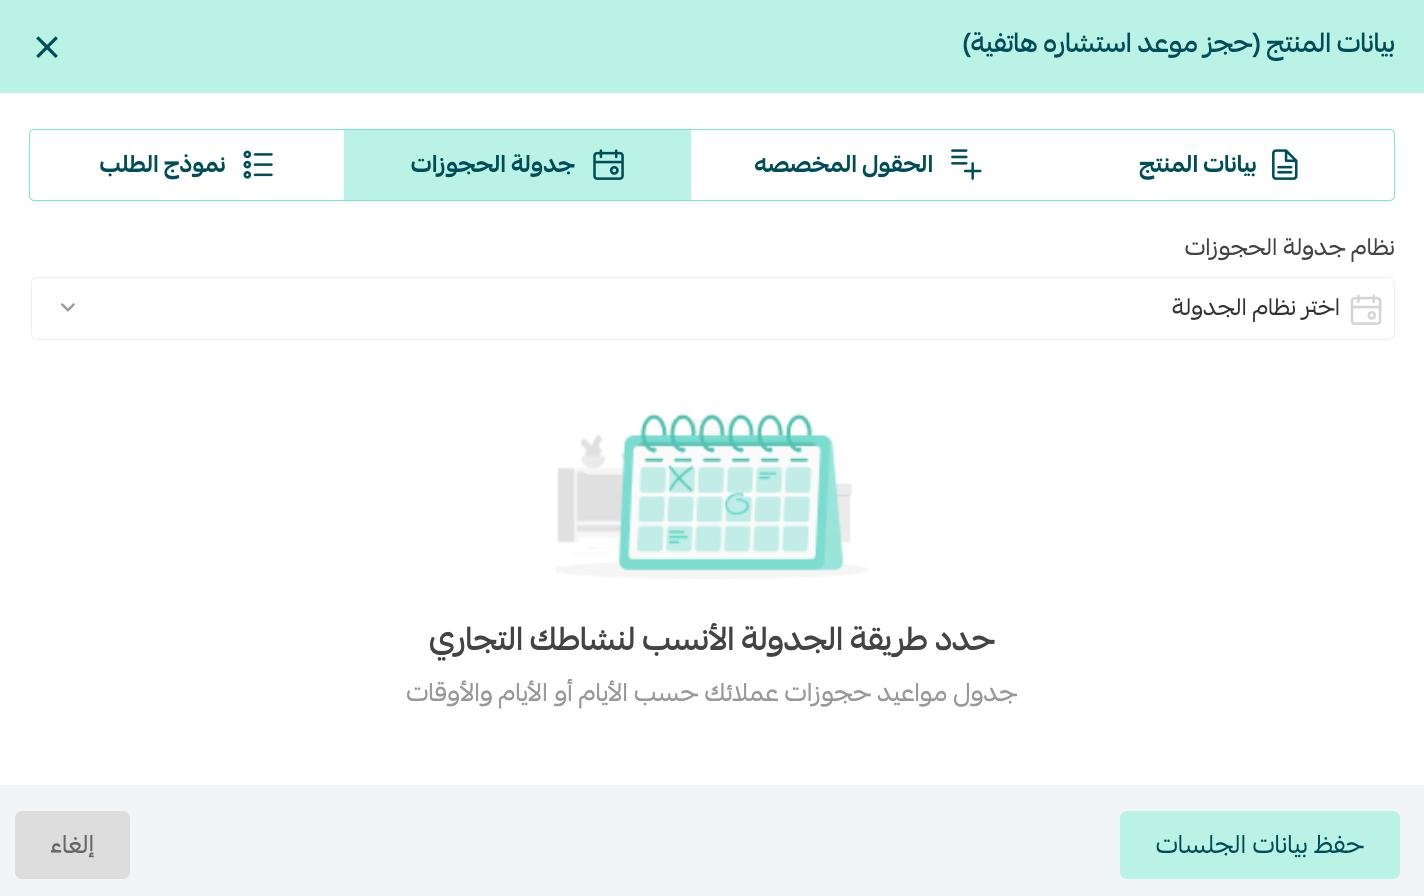
2. On the product data page, open the (Booking schedule) tab.
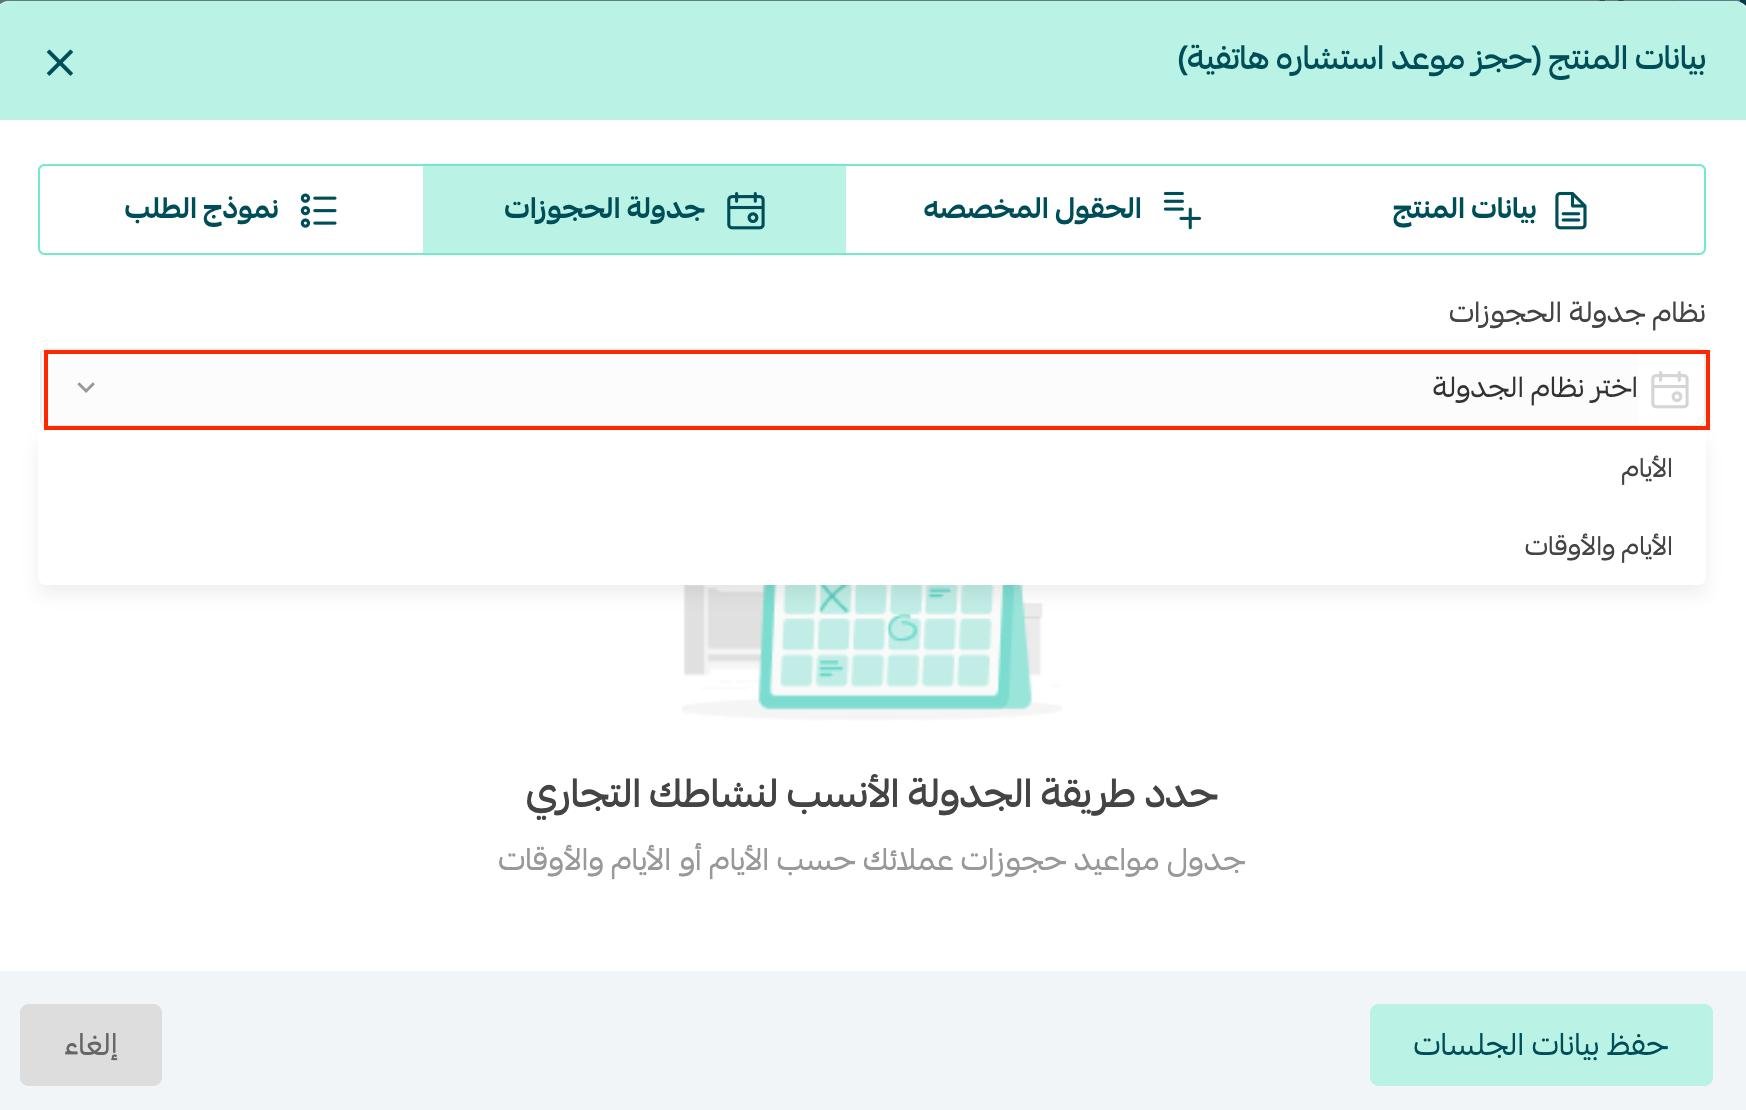
3. Choose the booking system that suits you: days, or days and times.
Then set the booking system up the way you want it:
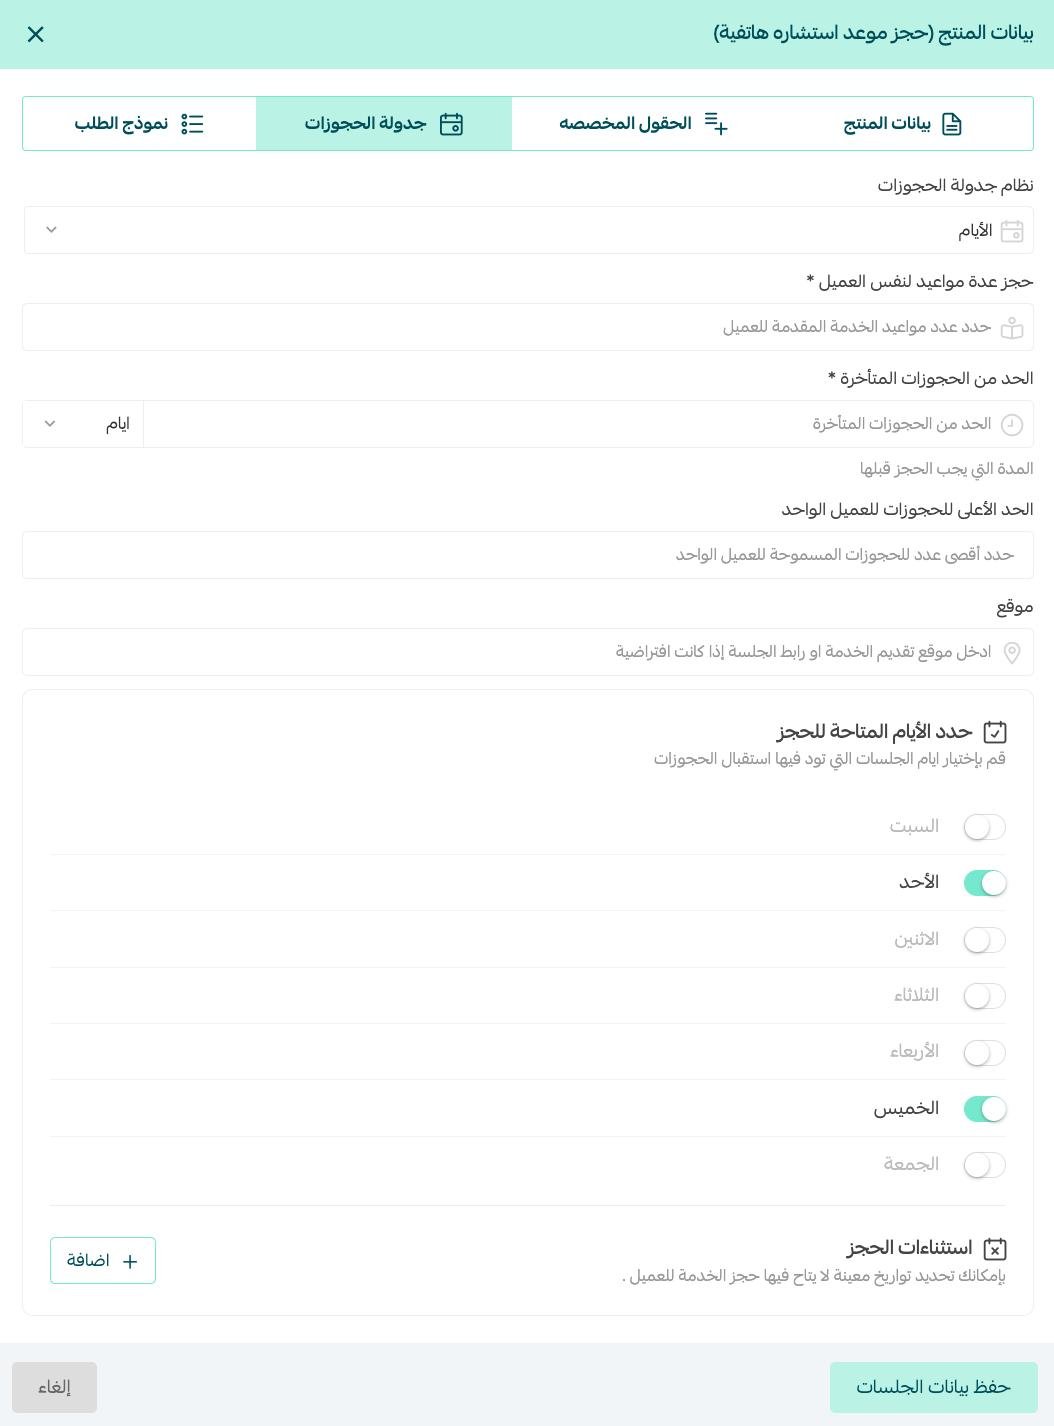
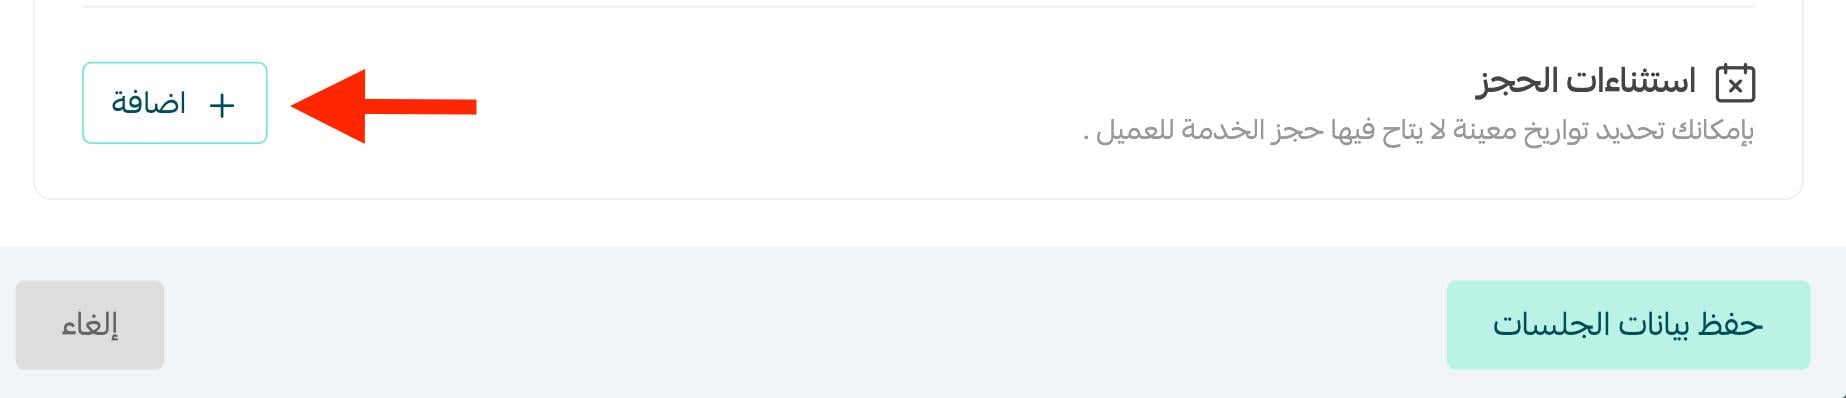
You can also block specific dates from booking by clicking (Add).
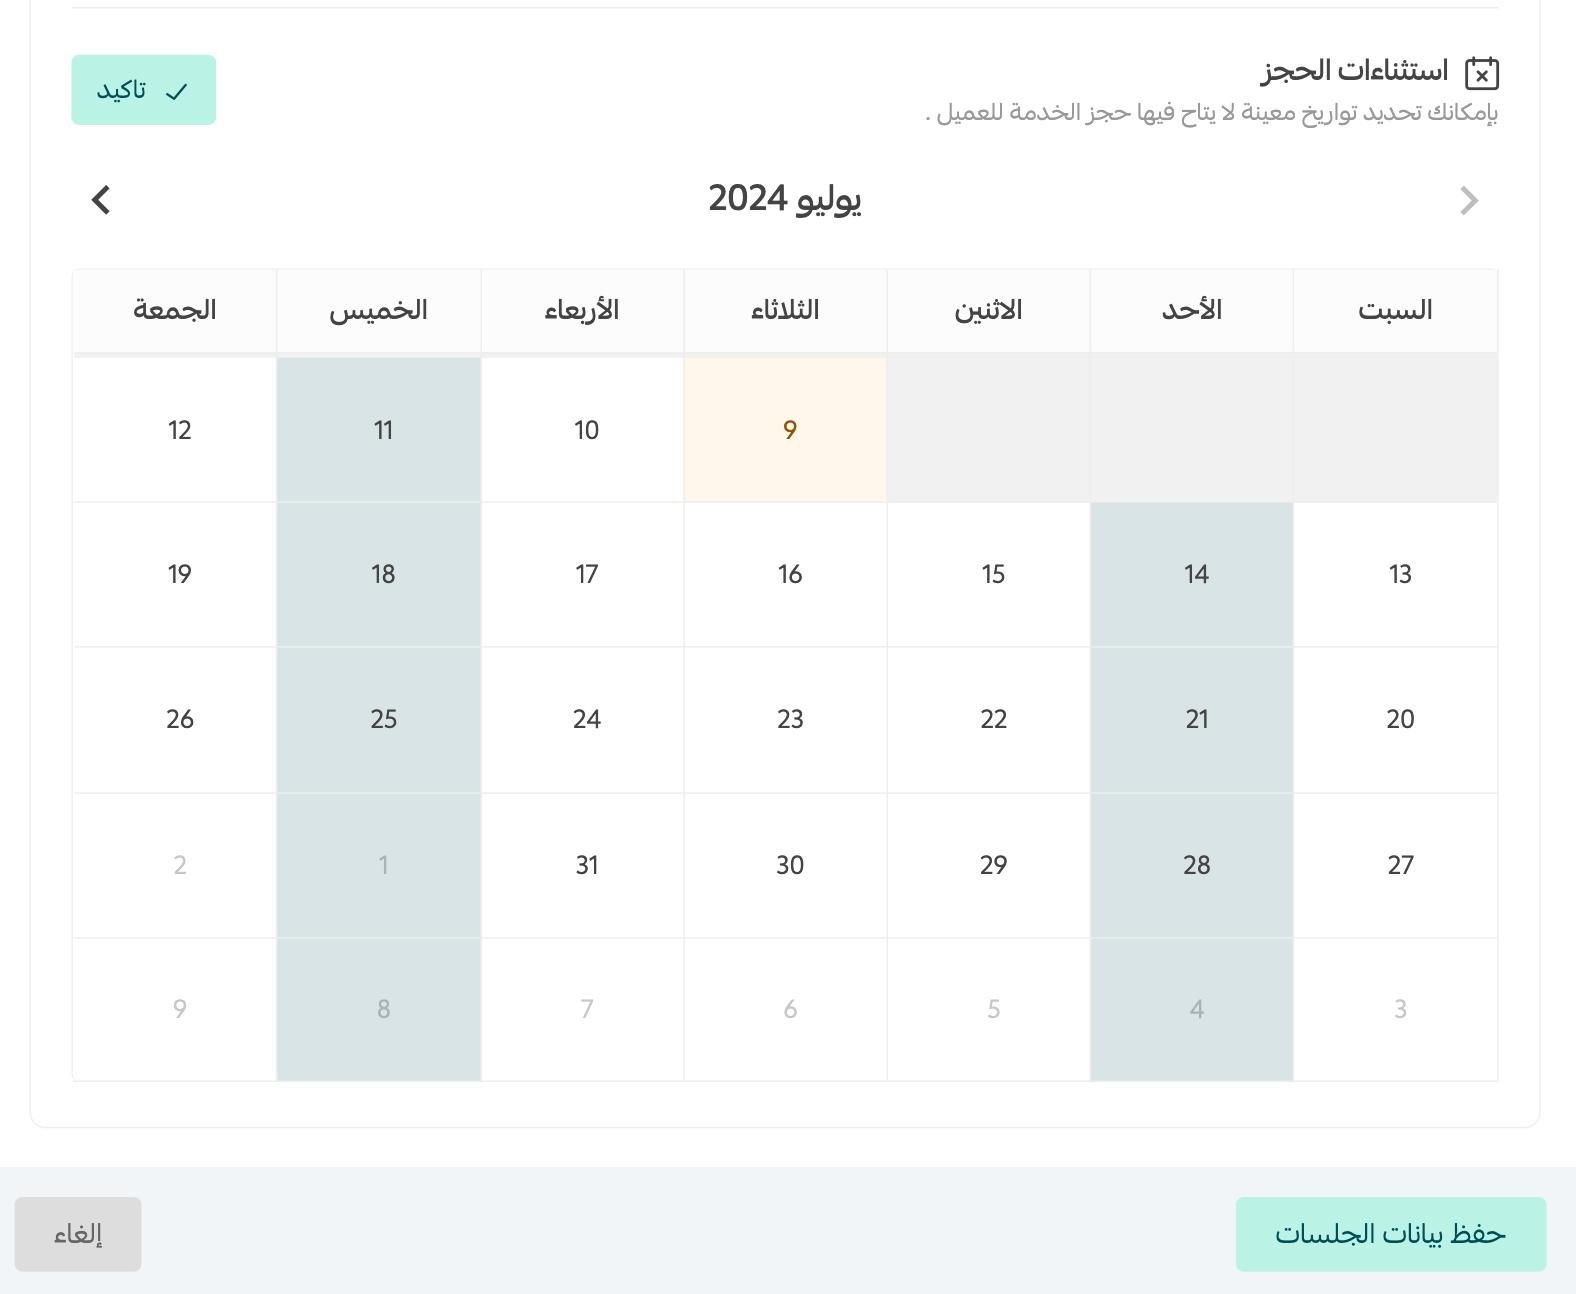
Pick the dates you want to exclude, then click (Confirm).
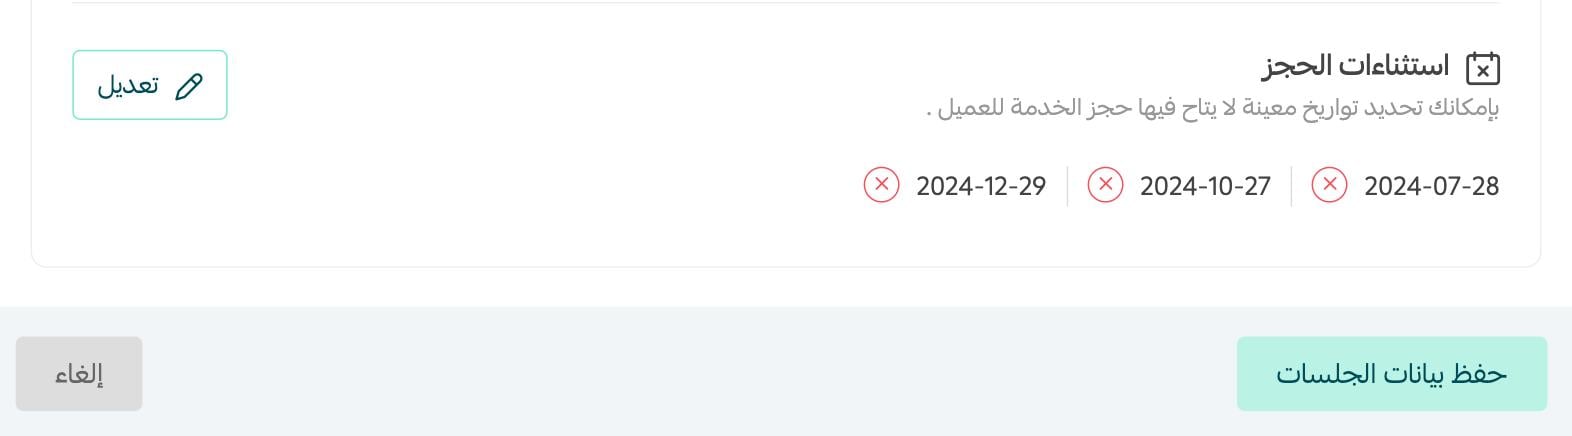
You can change those dates later by clicking (Edit), or click (Save session data) to keep them.
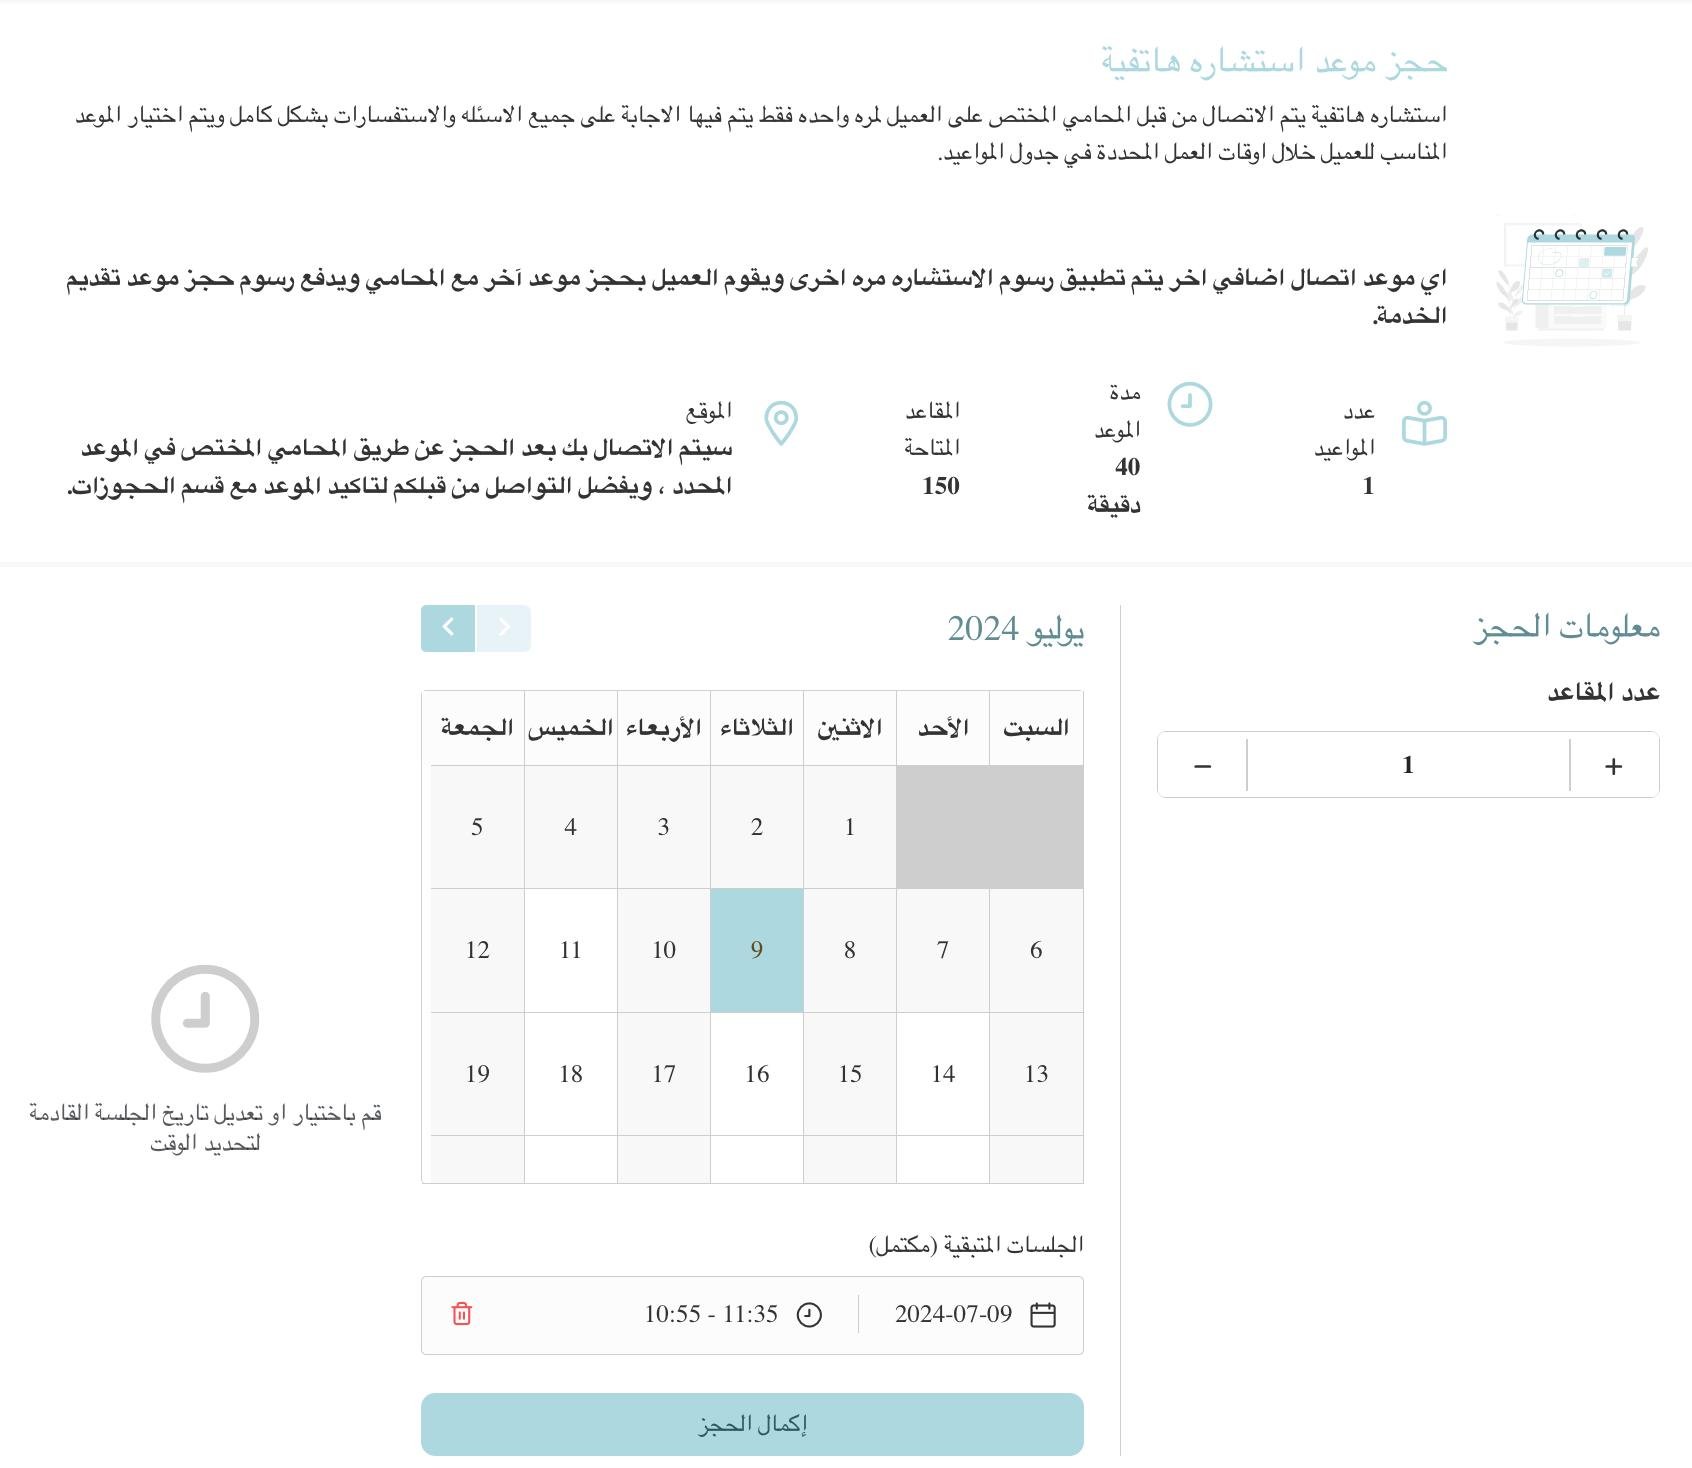
This is how it appears to your customers on the checkout page.
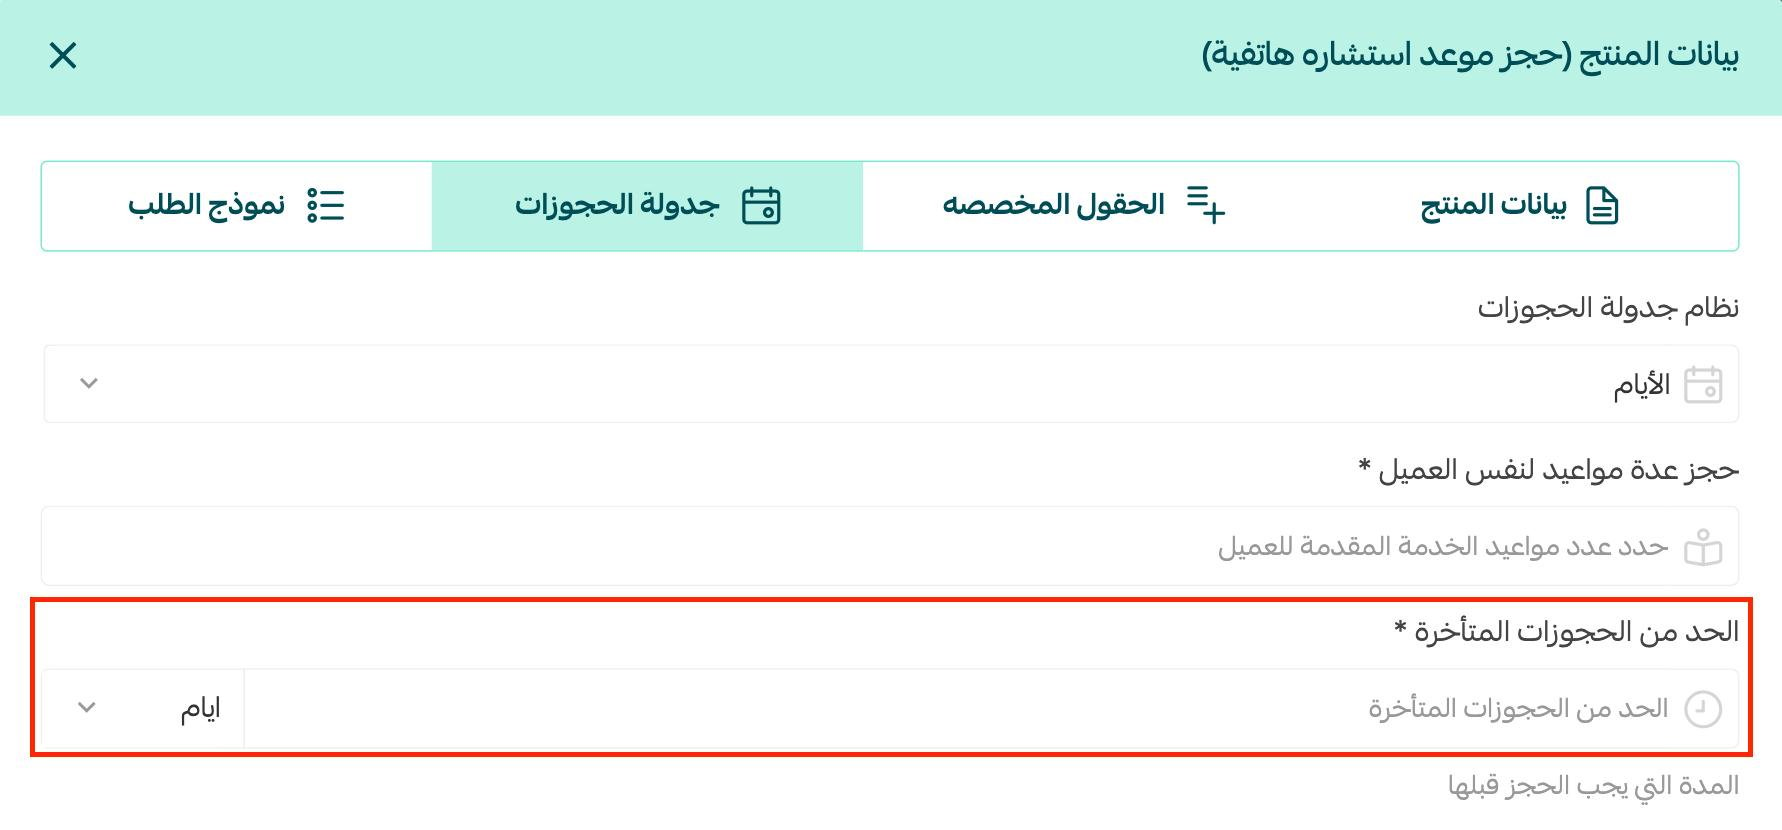
Turn off the late-booking limit
To remove the minimum notice a customer has to book with, set the value to zero and click (Save session data).
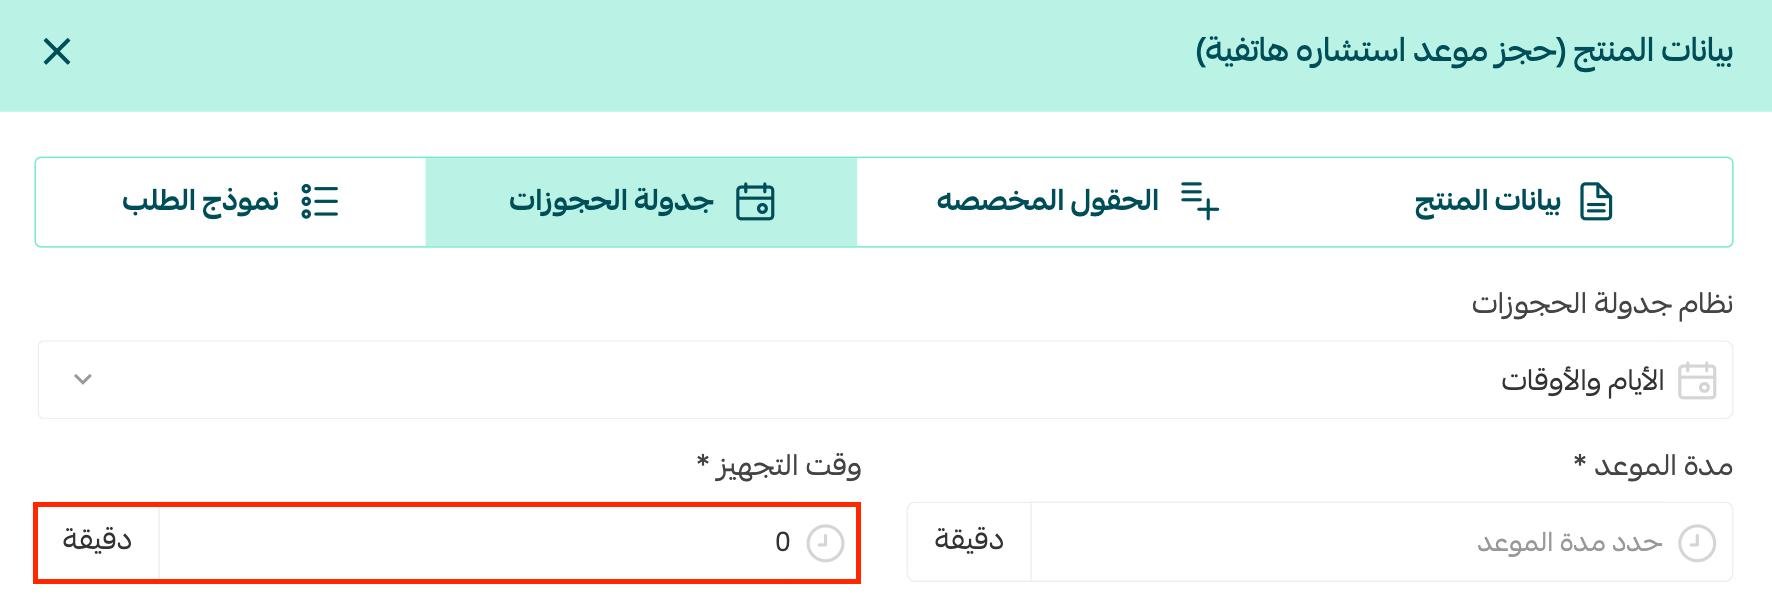
Remove the prep time between appointments
This applies if you use the days-and-times booking system. If you do not need a gap between appointments, set the prep time to zero.
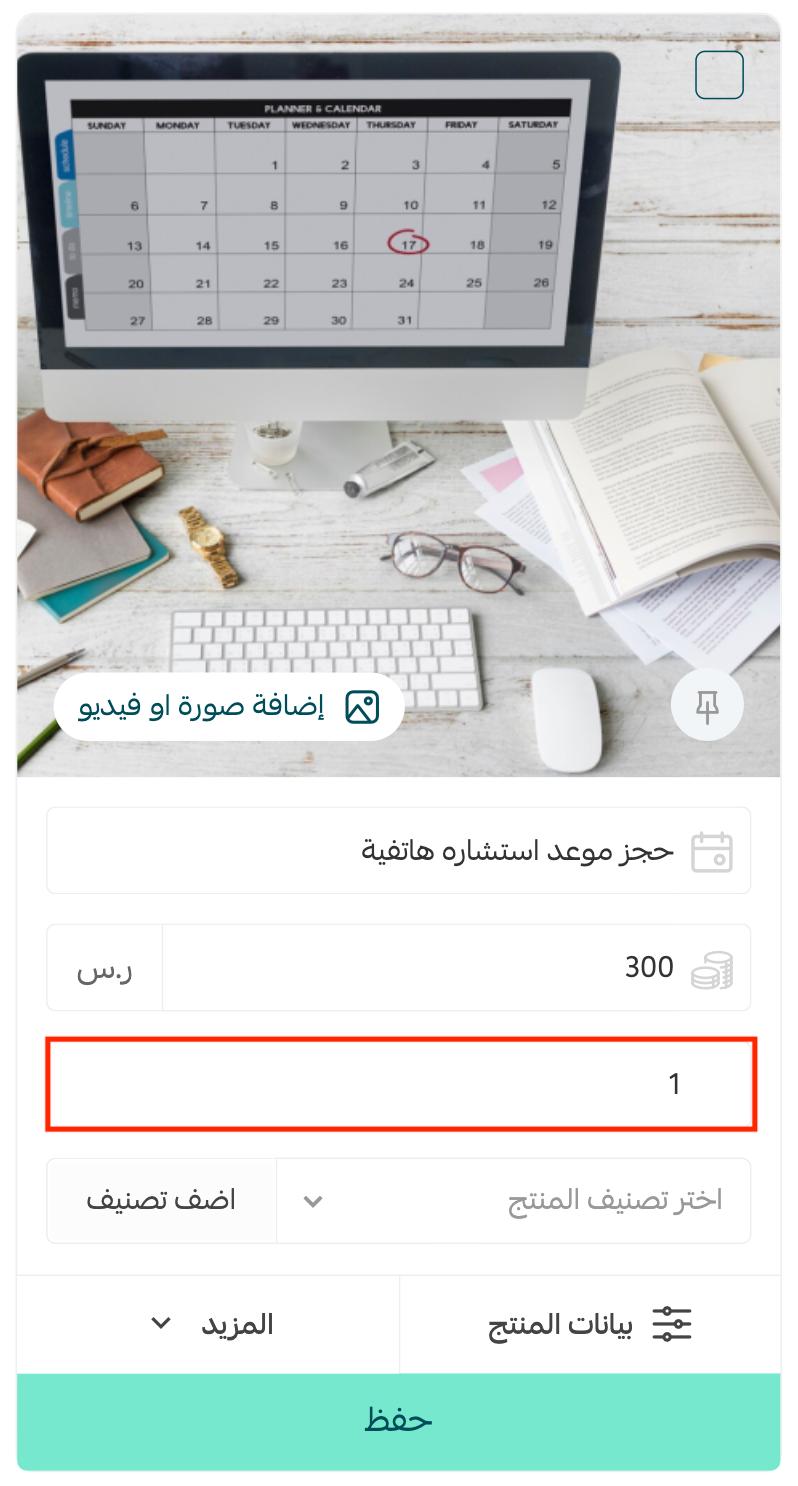
Reserve a whole day for one customer
In the product data, choose the days booking system.

Then set the seats available per slot to one seat.
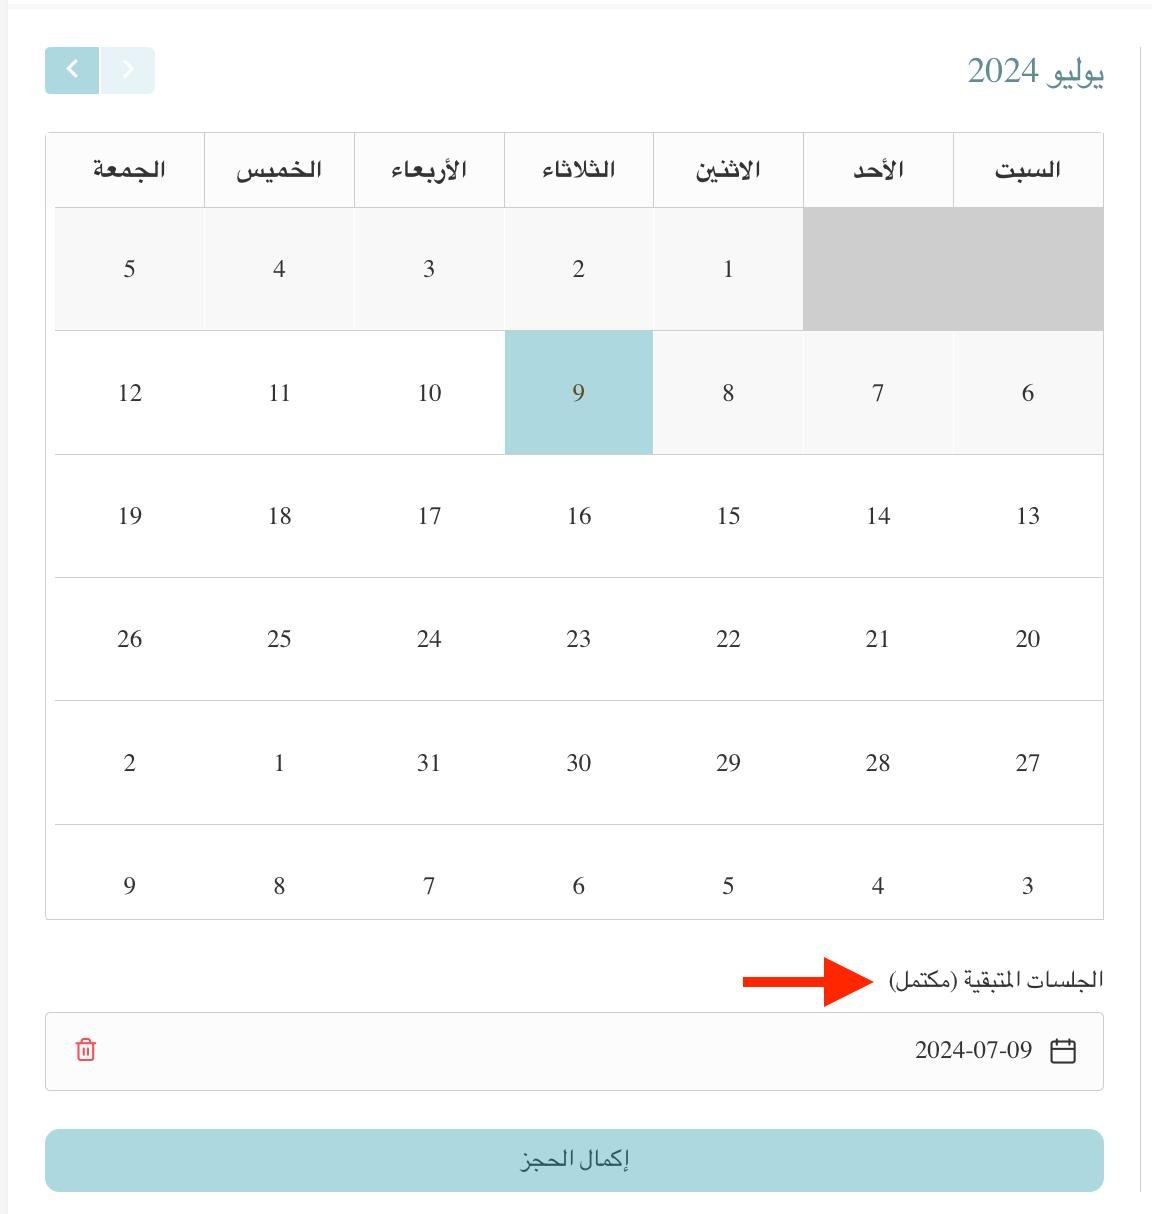
Once a customer books that day, the checkout page shows a (Full) label and nobody else can book the same day.
✅ How to add different field types to the booking order form
The bookings product supports several field types in its order form: image upload, location, file upload, and color picker.
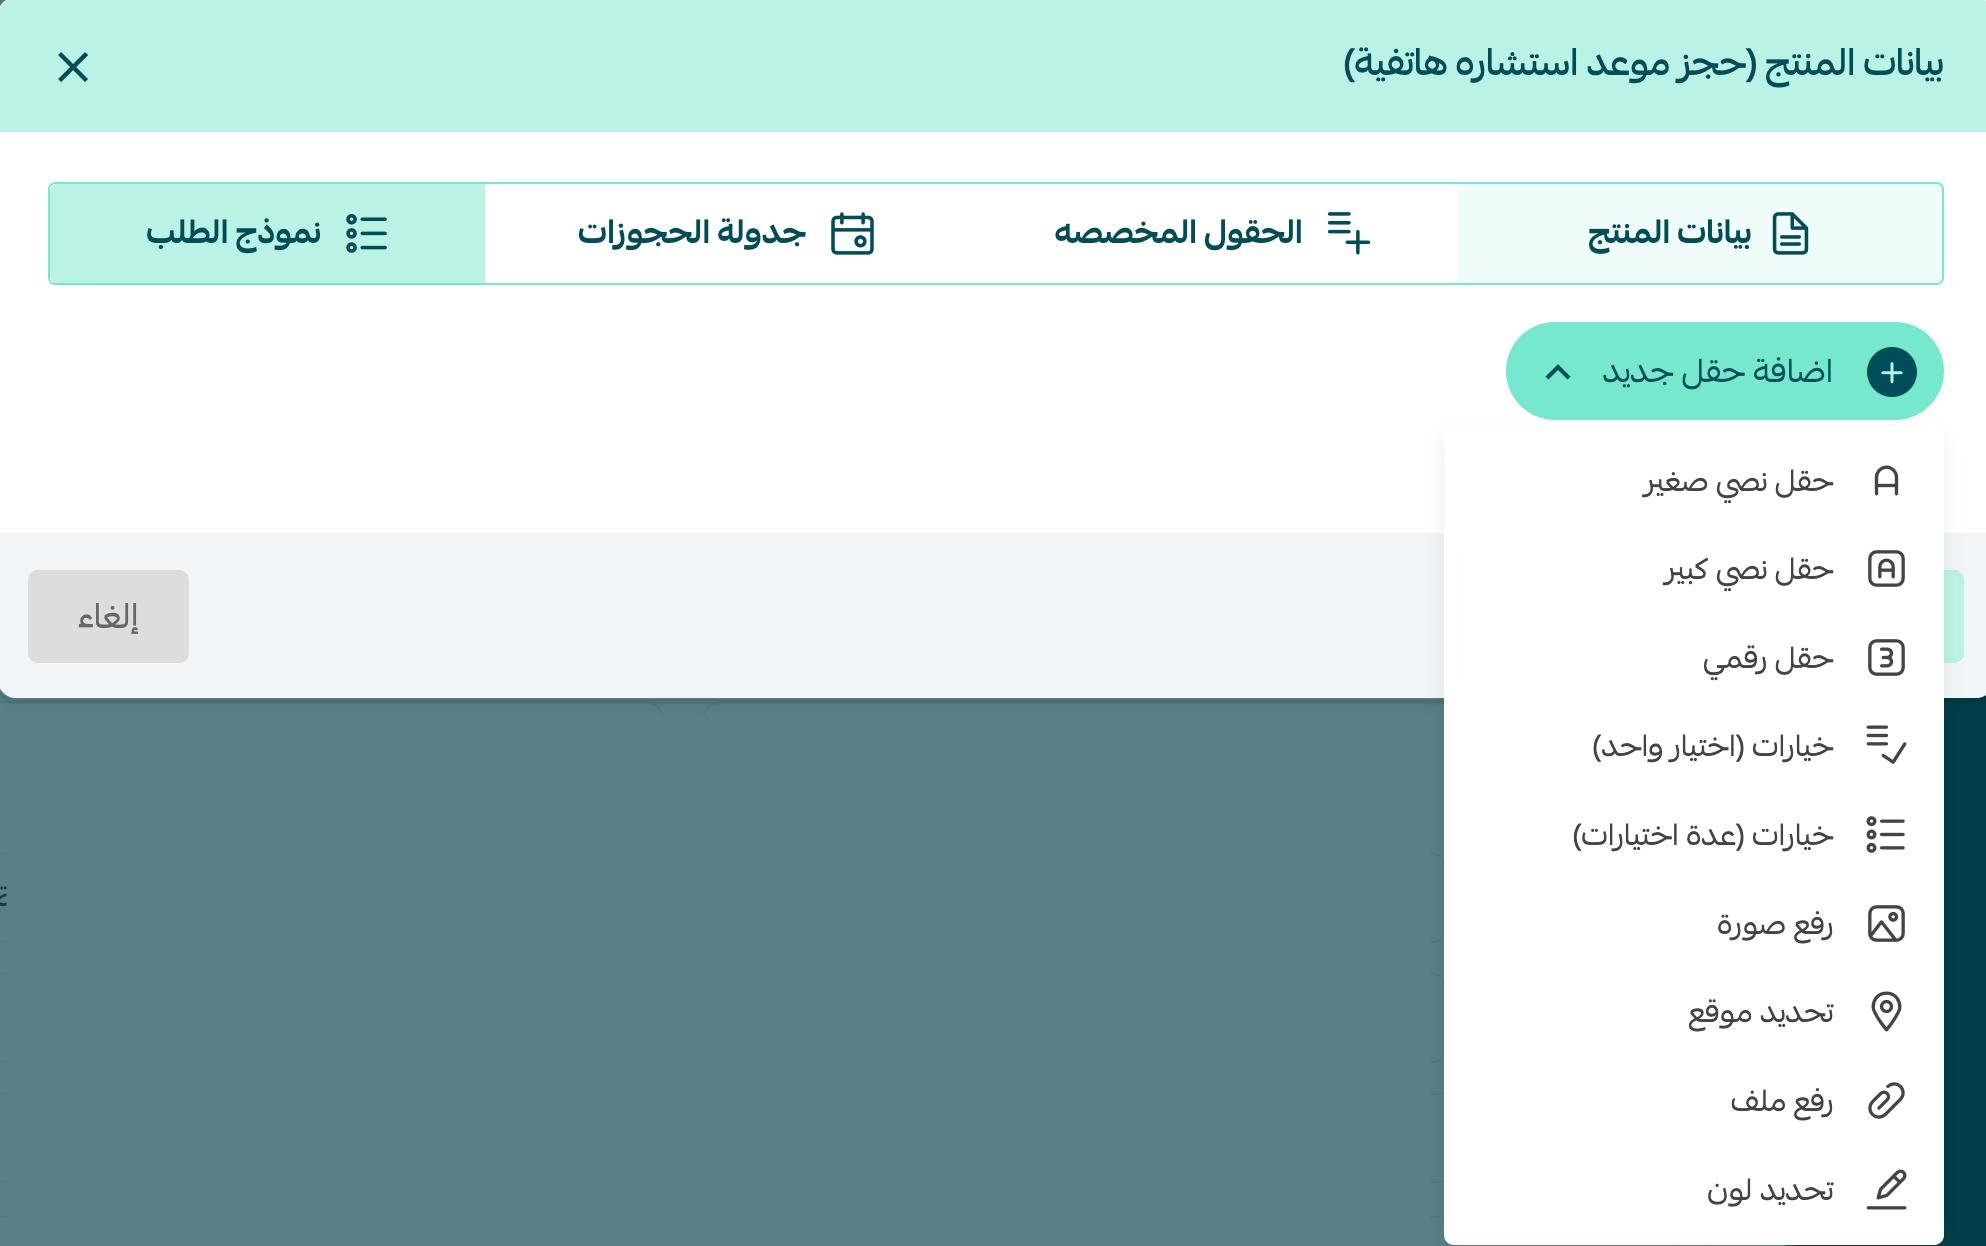
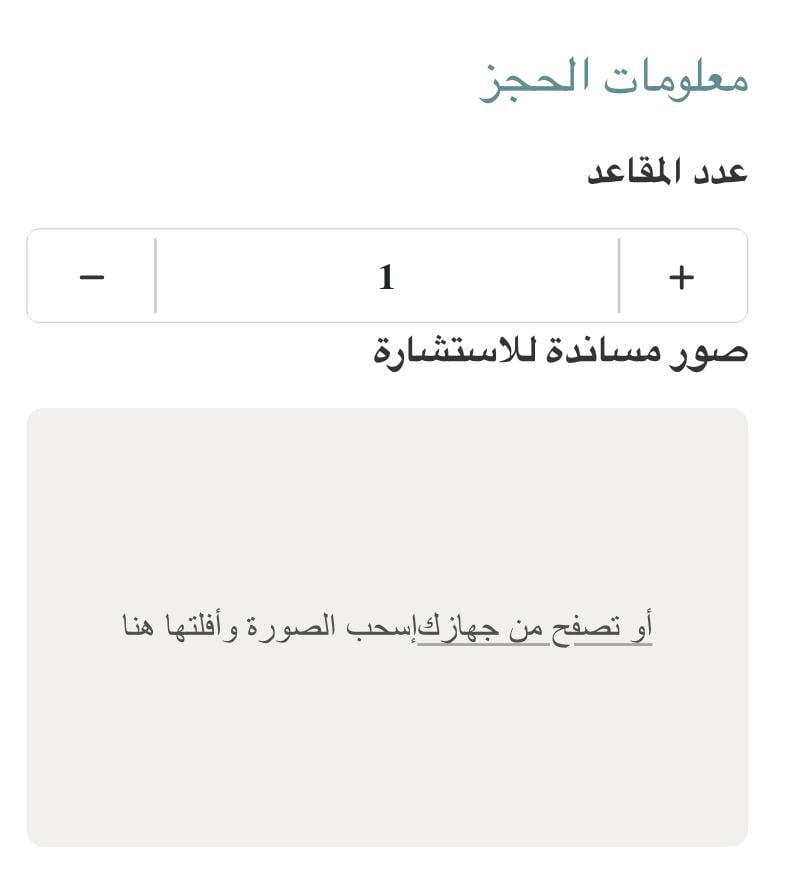
Add an image upload field
To make this available in the order form, insert an image field.

Enter the details it asks for. The customer then sees it on the booking confirmation page like this:
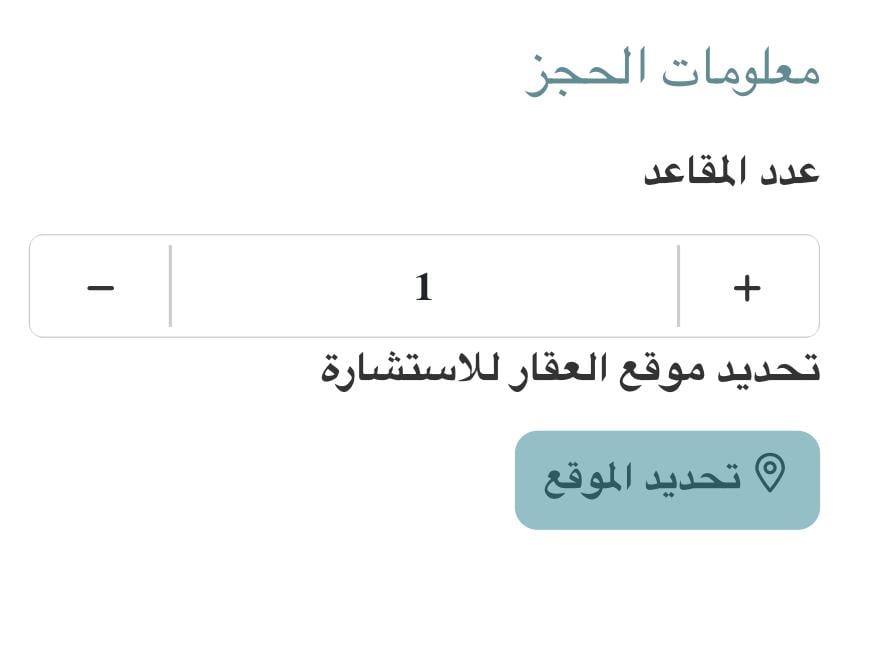
Add a location field
You can view the map the customer attached on the order details page in your dashboard.

📝 Important notes
You can add one map field or several.
The map field is useful when you need to know where the service will be delivered.
The customer sees it on the booking confirmation page like this:
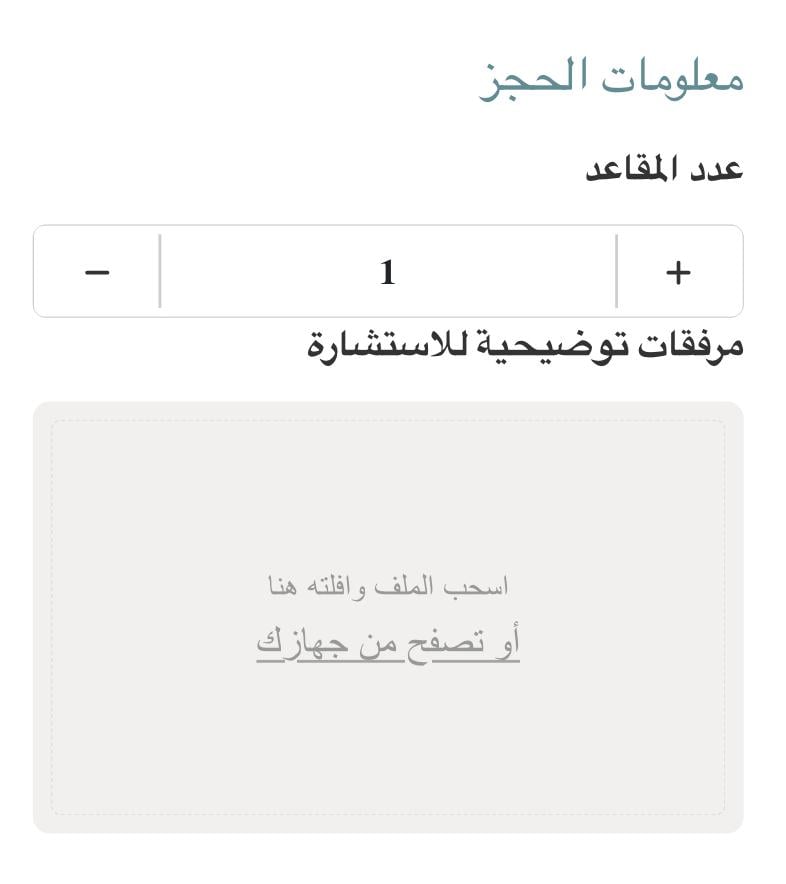
Add a file upload field
You can add a file upload field to the order form.
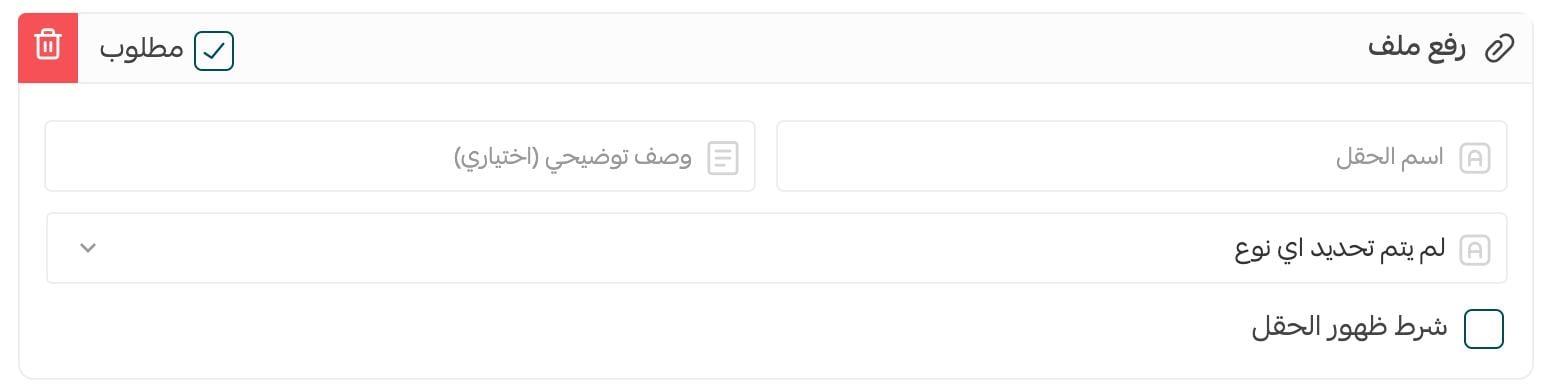
- Write the field name.
- Add a short description explaining the field.
- Make the field required if you need it, and show it only when a condition is met.
- Set what the field accepts by choosing the formats you allow.
Customers can upload png, jpg, pdf, word, exl, svg, and txt files. [Verify: the Arabic lists 'exl' — most likely xls or xlsx.]
The customer sees it on the booking confirmation page like this:
Add a color picker field
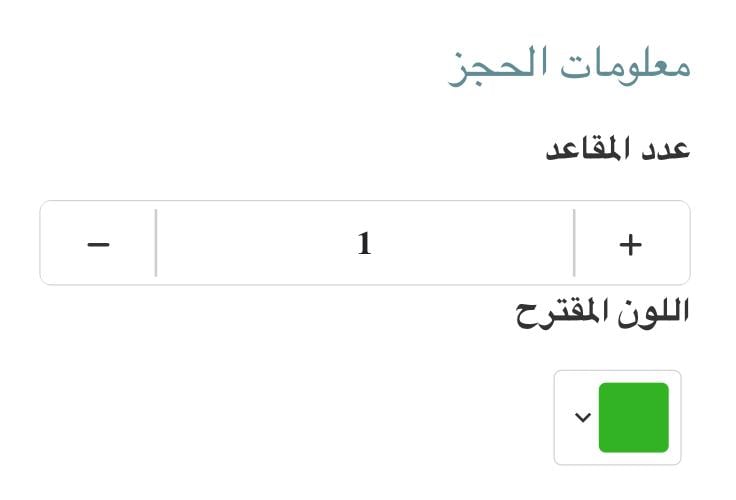
You can see the color the customer chose on their order page in your dashboard. Add the color field to the order form and set its properties here:

The color field is a full palette, so the customer can pick an exact shade rather than choosing from a fixed set.
The customer sees it on the booking confirmation page like this:
🔍 How to follow the bookings table
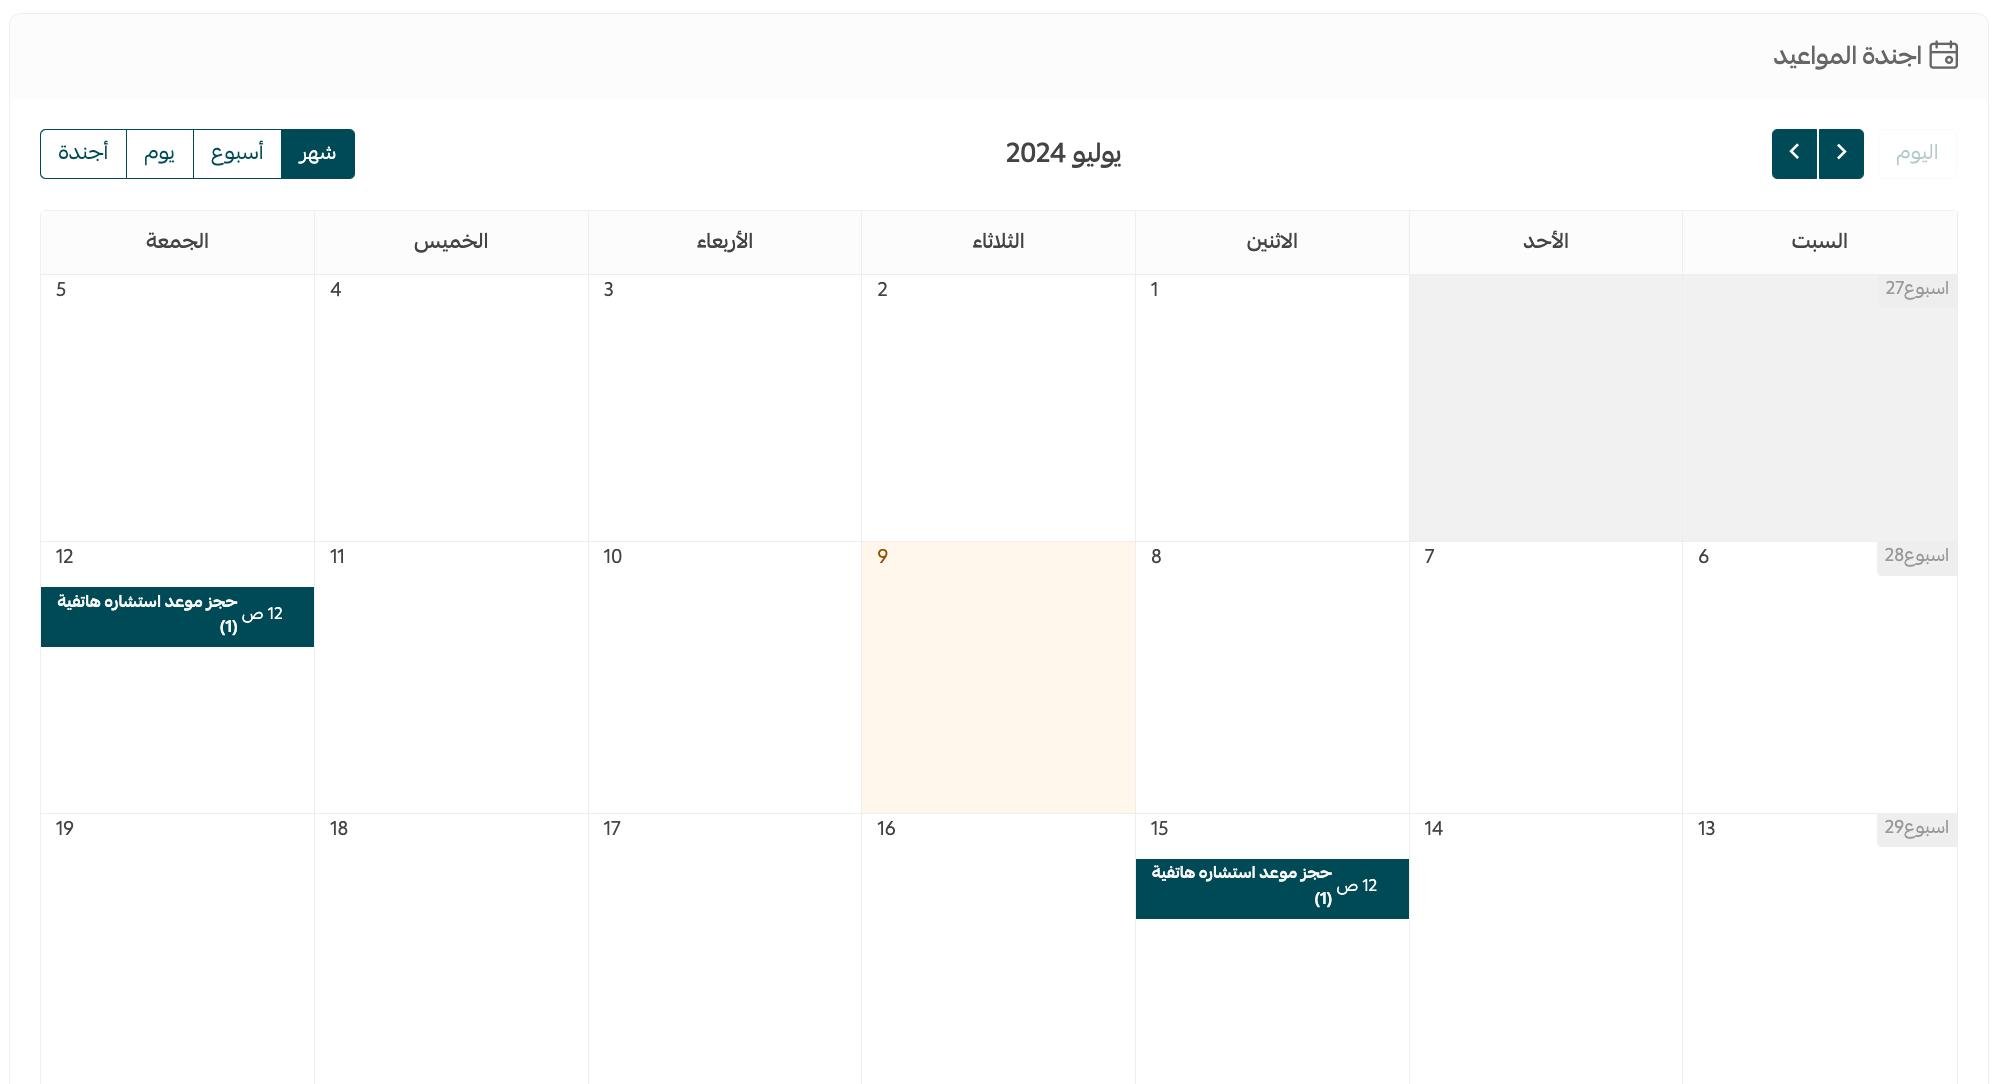
From the orders page, click (Bookings).

In the bookings table, click any booking to open its details.
❓ Frequently asked questions
These are the questions answered below:
- How does a customer make a booking?
- Does the seat count drop when a customer chooses to pay later?
- Can I schedule appointments three months ahead?
- Is there an option to add a time zone?
- Can I combine a regular product and a bookings product?
- Can I tailor the booking information to my line of business?
- Can the merchant cancel a scheduled appointment?
- Can I restyle the table, such as its color or font?
- Can I set the latest point at which customers can still book?
- Can I run several sessions for the same product?
- How many fields can I add to the bookings order form?
How does a customer make a booking?
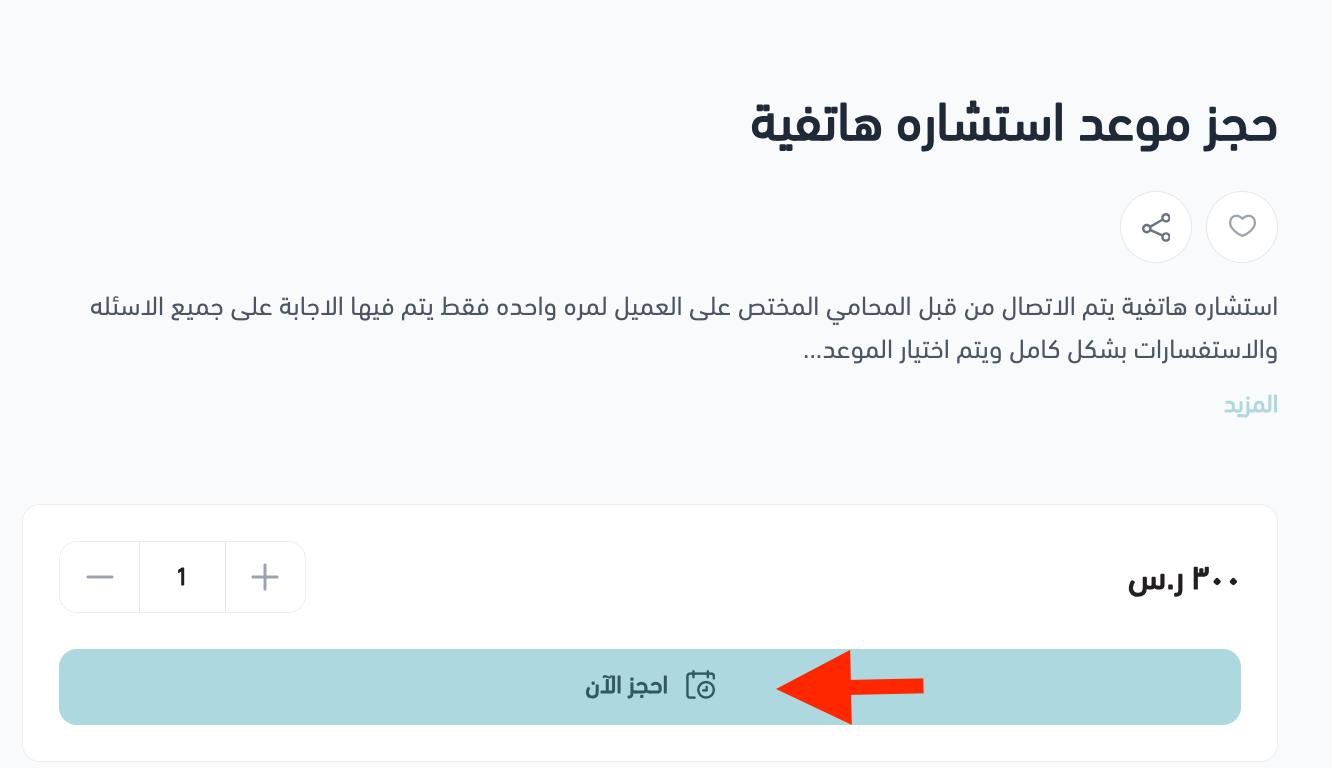
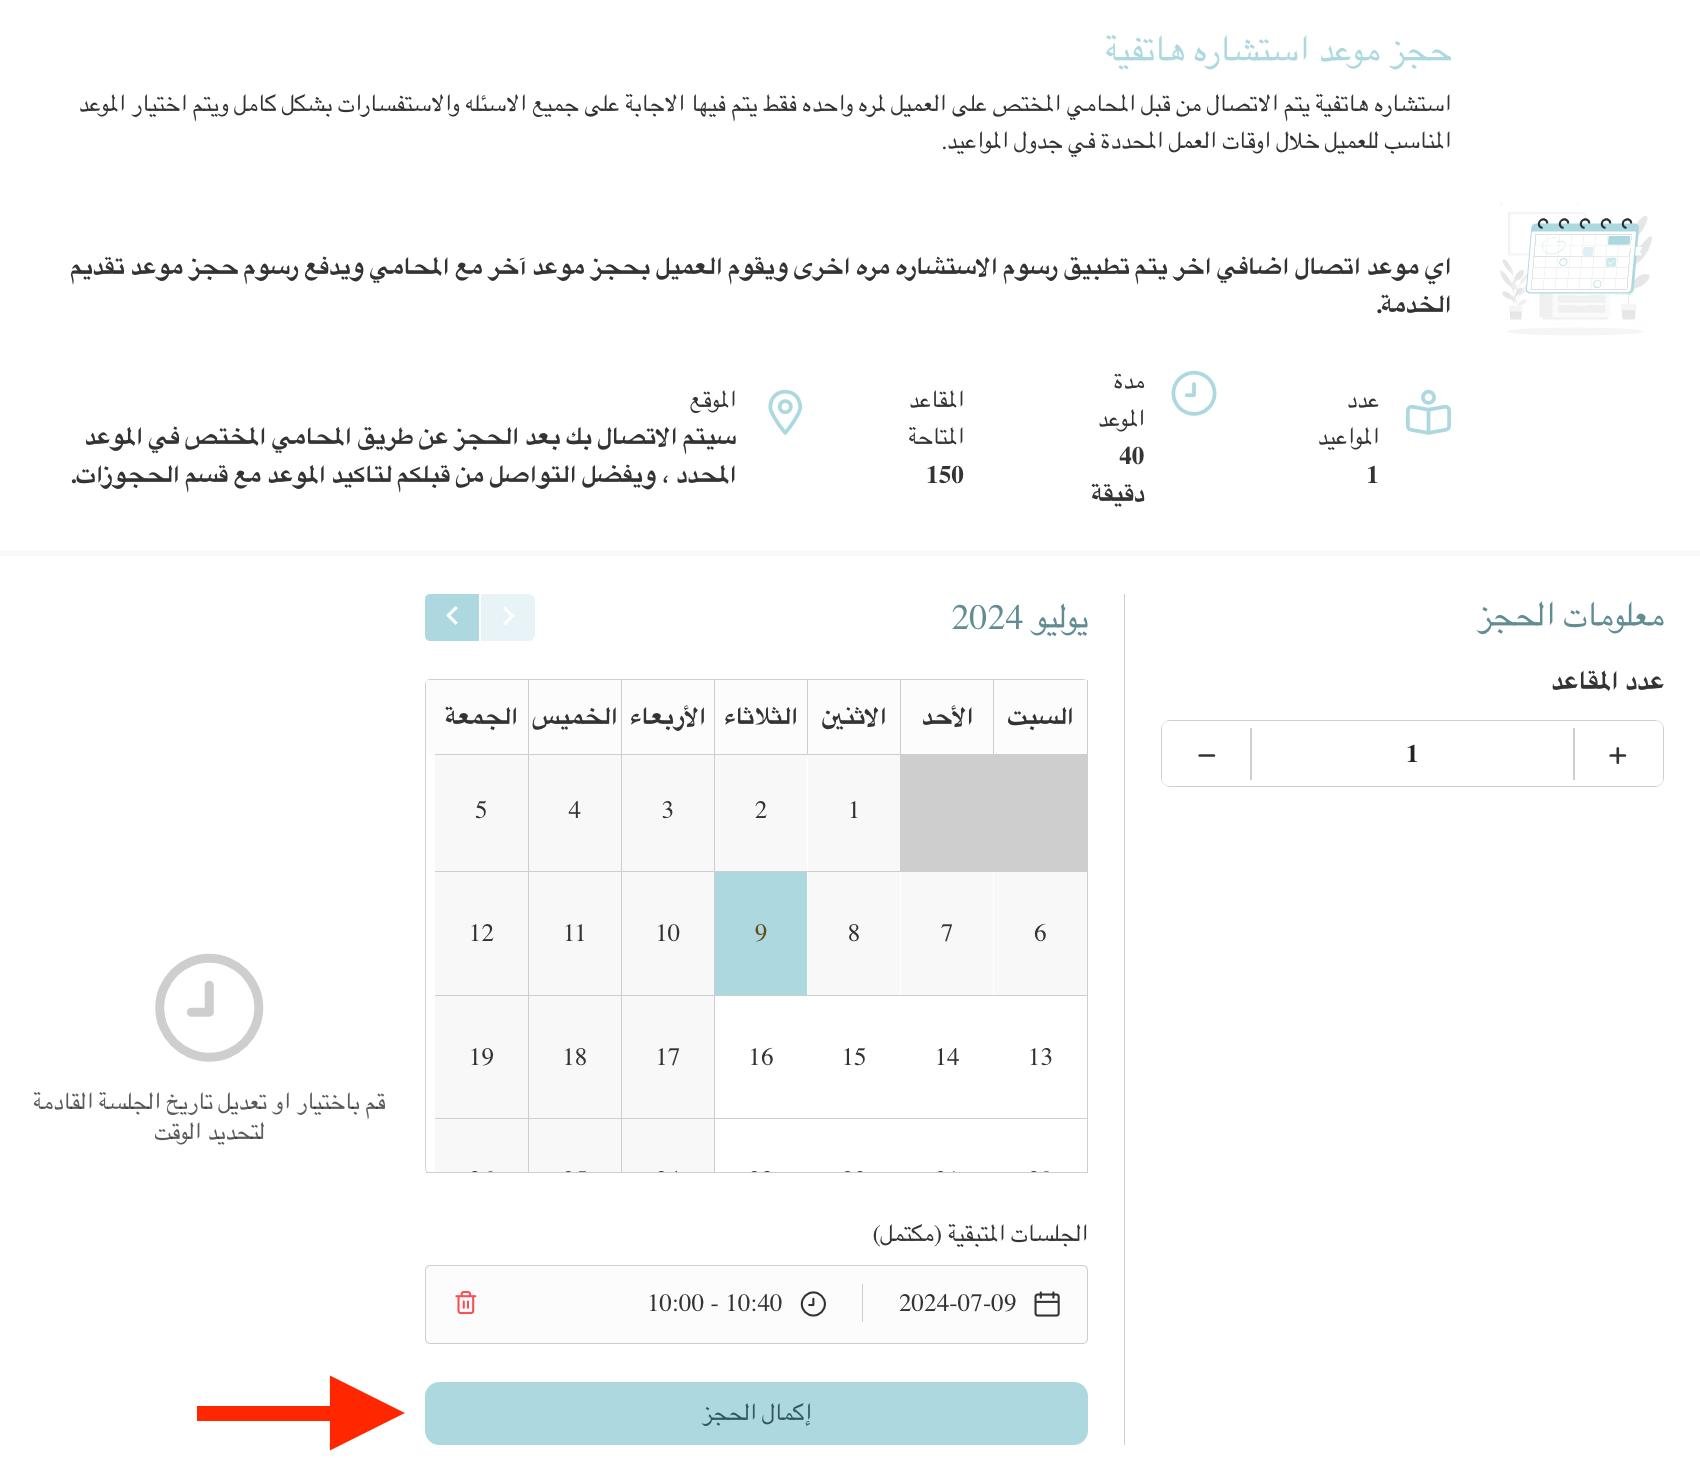
1. After choosing the product, the customer clicks (Book now).
2. The table of available slots opens. They choose how many seats they need, pick the date and time that suits them, and click (Complete booking).
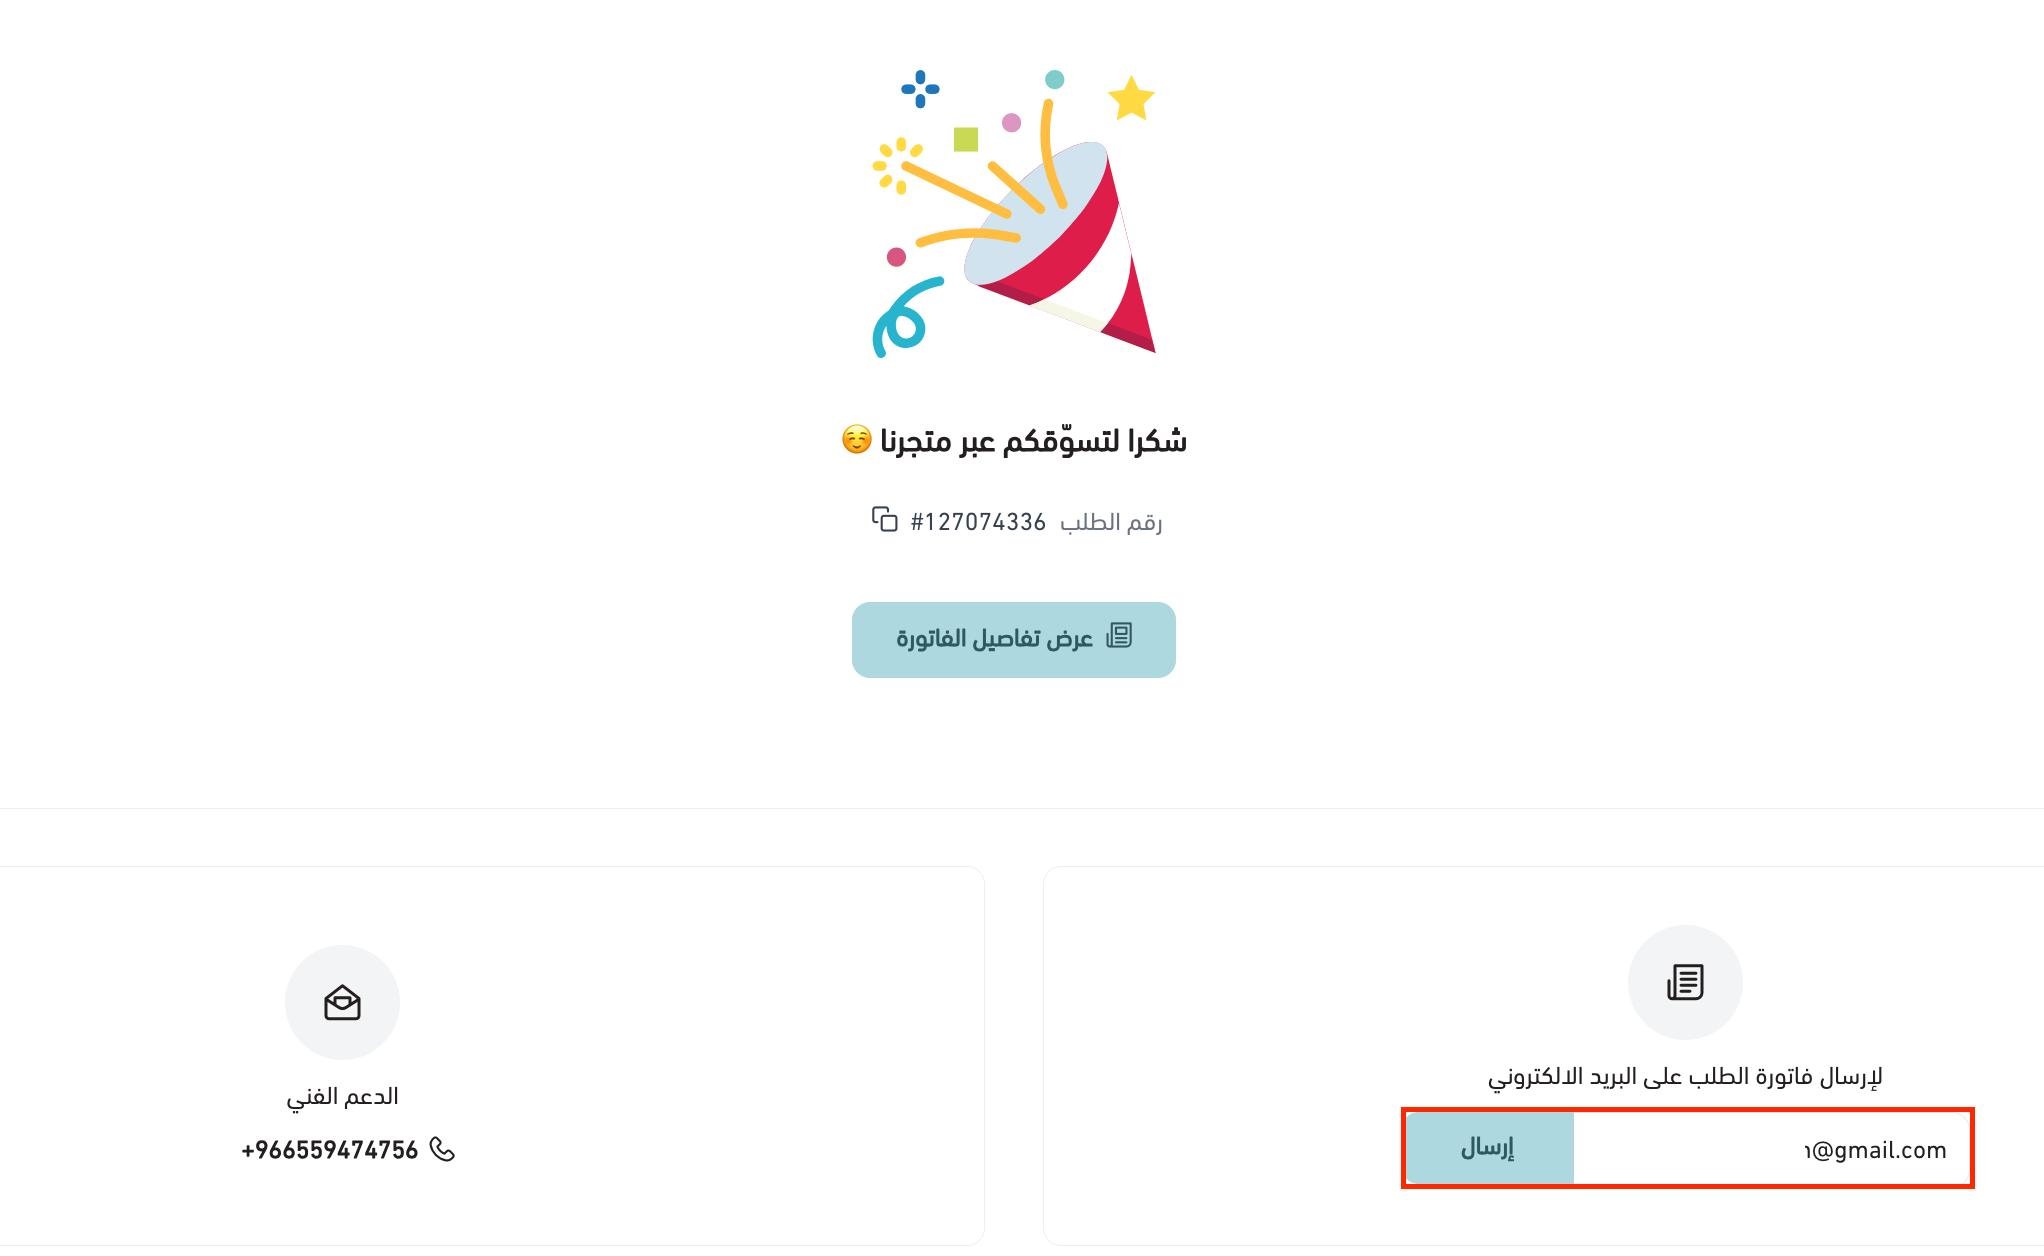
3. Once payment goes through, a message shows the order number along with a field where they enter the email address the invoice should go to.
Does the seat count drop when a customer chooses to pay later?
No. The seat is only reserved once direct payment is completed.
Can I schedule appointments three months ahead?
Yes. You can schedule appointments up to 12 months ahead.
Is there an option to add a time zone?
Not yet. Saudi Arabia time is currently the only time zone available.
Can I combine a regular product and a bookings product?
No. A bookings product is a separate product type.
Can I tailor the booking information to my line of business?
Yes, through the order form.
Can the merchant cancel a scheduled appointment?
Yes, and how you do it depends on the appointment type. On the times-based system, cancel it by adjusting the booking days. On the days-based system, cancel it by adding an exception.
Can I restyle the table, such as its color or font?
No. The table color follows your store theme's color.
Can I set the latest point at which customers can still book?
Yes, from the booking schedule, using the late-booking limit.
Can I run several sessions for the same product?
Yes. In the booking schedule you can set several sessions using the option to book multiple appointments for the same customer.
How many fields can I add to the bookings order form?
Up to 10 fields.
A booking calendar that fills itself is one less conversation you have to have. Set the schedule once and let the store take the appointments.