Is your bookkeeping still catching up with last month's orders?
Sales data and accounting records belong together, but for most stores they live in two systems that never quite agree. The Add Accounting app links your Salla store to an Add Accounting account, so your store and your books are set up as one workflow from the start. In this guide, you'll learn how to install and connect the Add Accounting app, how to upgrade your plan, and how to remove the app when you no longer need it.
Add Accounting is an accounting app for Salla stores. Install it from the App Store, complete the payment, then create an account on the Add Accounting website and verify your email. Once you log in, you manage the app and follow your orders from its own dashboard.
📌 Article overview
- How to connect the Add Accounting app
- How to manage the Add Accounting app
- Frequently asked questions
👣 How to connect the Add Accounting app
1. From the main menu, click (All), then under helper tools click (App Store).
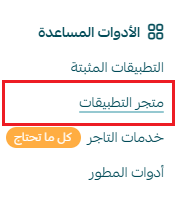
2. Search for the app using the search field.

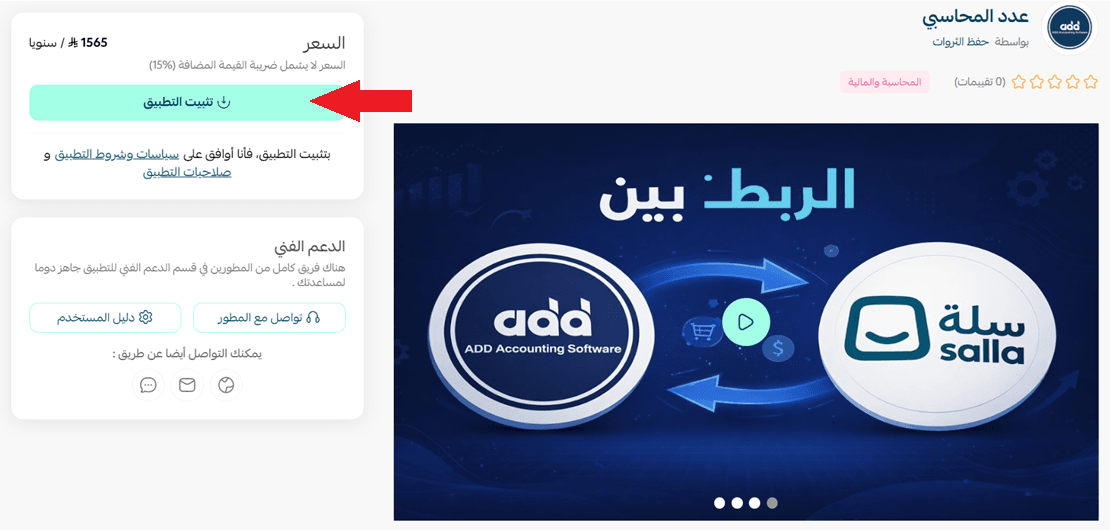
3. On the Add Accounting app page, click (Install app).
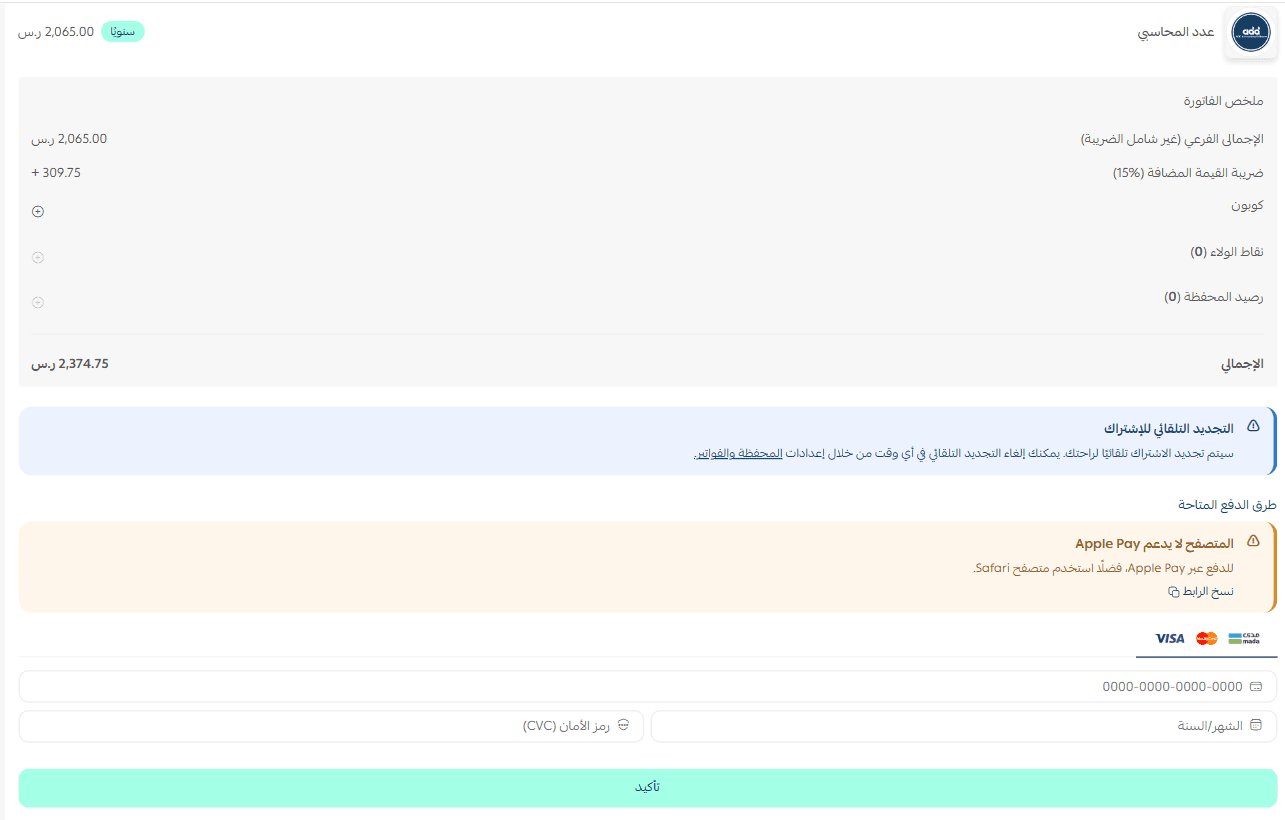
4. Enter your payment details, then click (Confirm).
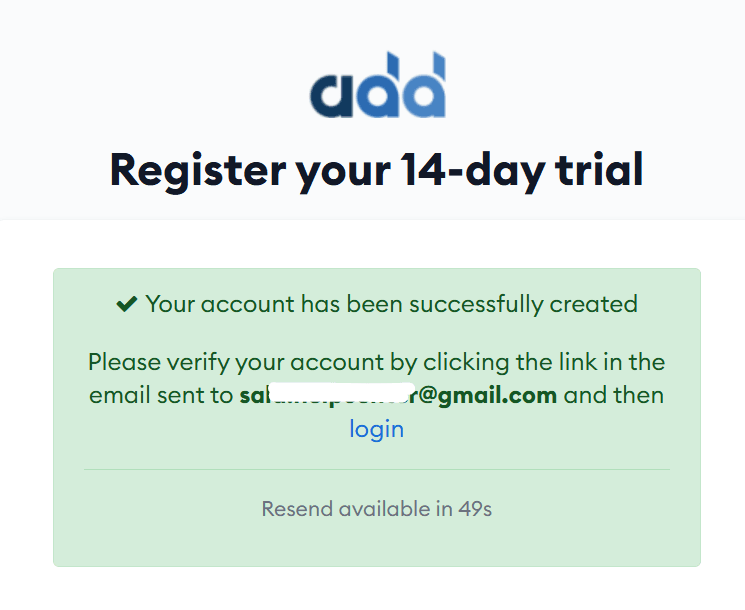
5. Go to the Add Accounting website and create a new account.
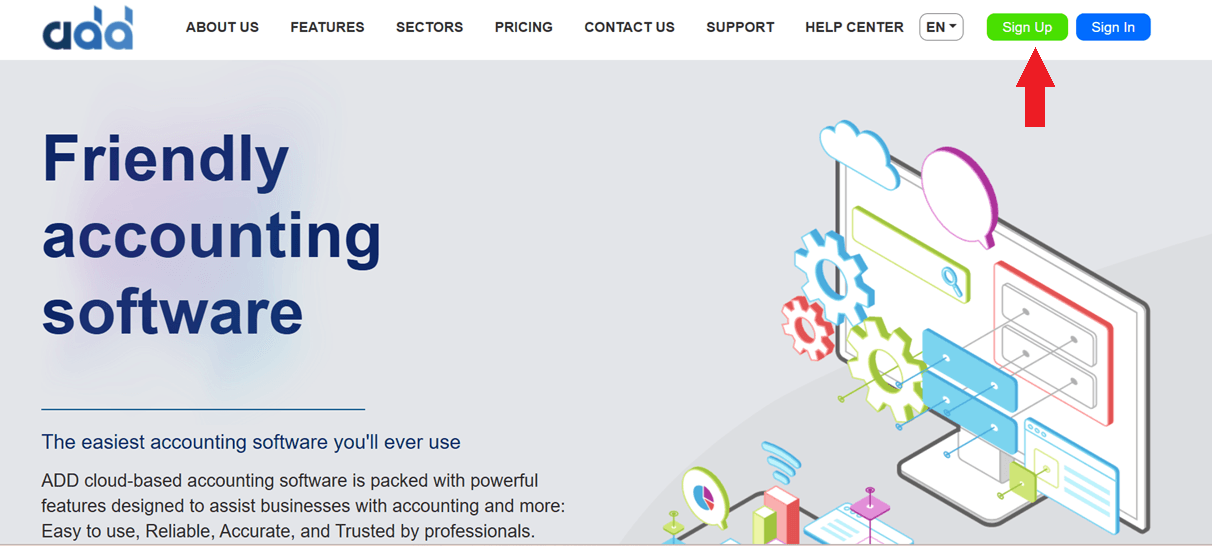
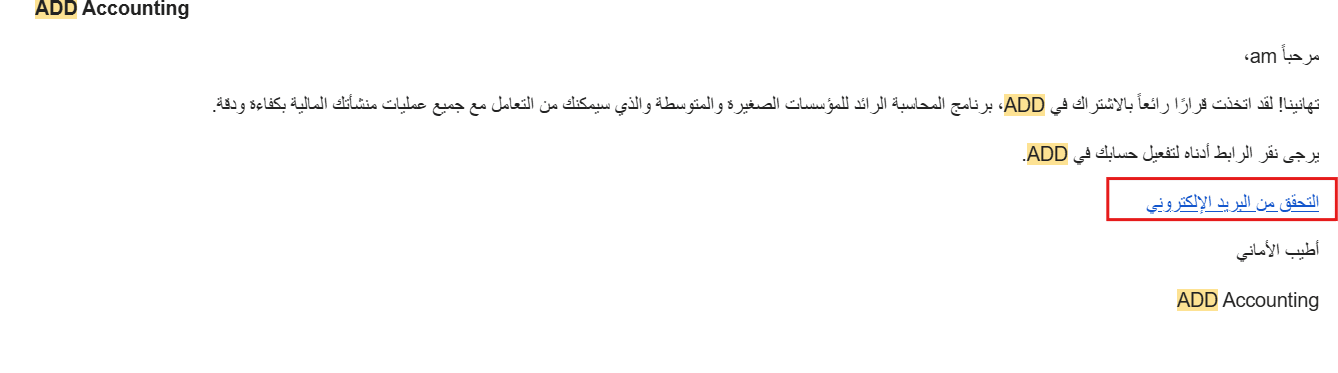
6. Once you've entered your account details, a message is sent to the email address you registered so you can finish signing in.
7. Click (Verify email address).
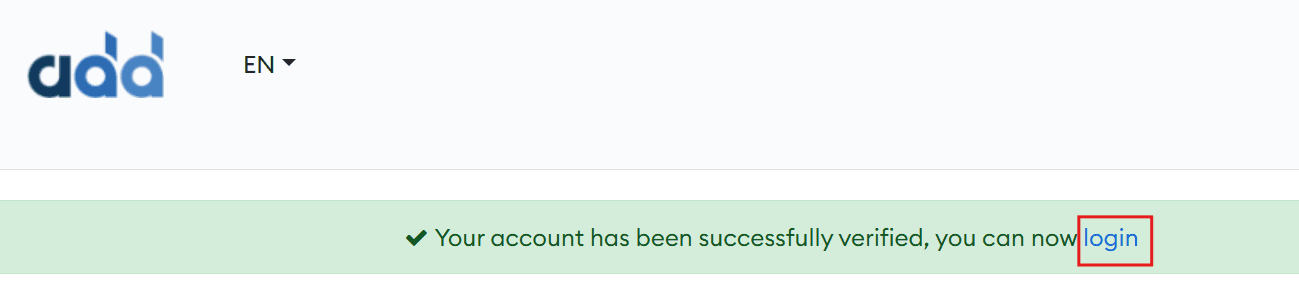
8. Click (Login) to continue signing in to your account.
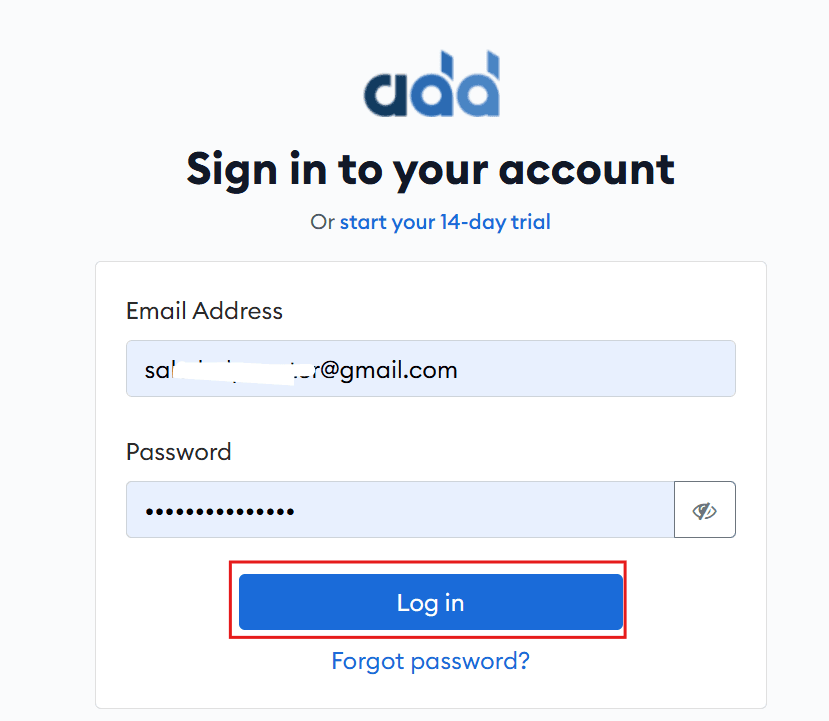
9. Enter your account details, then click (Log in).
🚀 How to manage the Add Accounting app
Upgrade your plan
1. From the app details page in your store, click (Upgrade plan).
2. Choose the plan you want, then click (Go to payment).
3. Enter your payment details, then click (Confirm) to complete the upgrade.
Customize the app
🎯 You manage the app and follow your orders from the dashboard on the Add Accounting website. [Verify: the Arabic sentence stops mid-line, its screenshot is missing, and it also mentions tracking reviews, which belongs to a different app.]
Remove the app
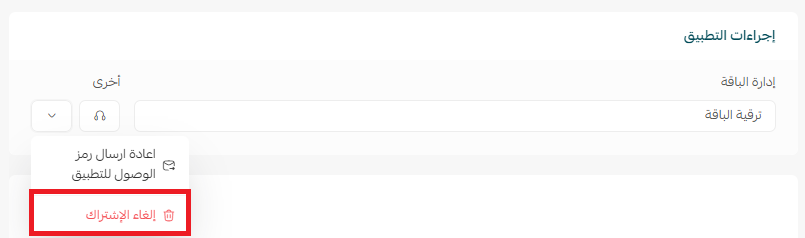
1. From the app options menu, click (Cancel subscription), then choose a reason for cancelling.
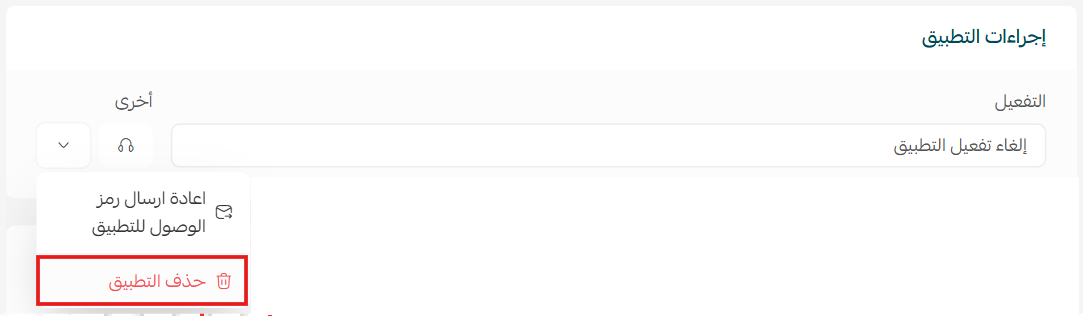
2. From the app options menu, click (Delete app), then choose a reason for deleting.
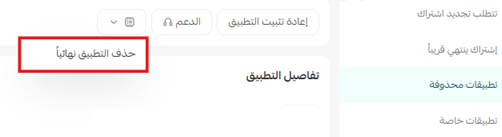
3. Open the deleted apps page, then from the app options menu click (Delete app permanently) to remove it from your store for good.
📝 Important notes
- Installing the app is a paid step. You enter payment details before the app is added.
- Your Add Accounting account is created on the Add Accounting website, not inside the Salla dashboard.
- You must verify your email address before you can log in.
❓ Frequently asked questions
Where do I install the Add Accounting app?
From the App Store in your Salla dashboard. Search for the app, open its page, and click (Install app).
Do I need a separate account?
Yes. After installing the app, create an account on the Add Accounting website and verify your email address.
Why can't I log in yet?
Check the email sent to the address you registered and click (Verify email address) first.
Can I change my plan later?
Yes. Open the app details page in your store, click (Upgrade plan), choose a new plan, and complete the payment.
How do I remove the app completely?
Cancel the subscription, delete the app, then delete it permanently from the deleted apps page.
For more details, visit the Add Accounting app page. [Verify: the Arabic labels this link with a different app name (مشتري موثق / Moshtary Moathaq); confirm the URL points to Add Accounting.]