How many returns in your store start with "it didn't look like this on me"?
Fashion is the hardest category to sell online for one reason: the customer cannot try anything on. The Virtual Fitting Room app closes that gap by letting shoppers try your clothes on digitally, right from the product page, so they buy with more confidence. It also generates AI fashion models, which means you can show a garment on a model without booking a photo shoot. In this guide, you'll learn how to install the app, switch it on for your products, upgrade your plan, and customize the try-on button.
The Virtual Fitting Room app lets your customers try clothes on digitally before they buy, which builds confidence at the moment of decision. It also creates AI-generated fashion models for your products, so you can present garments on a model without arranging a photo shoot for every item in your catalog.
📌 Article overview
- What the Virtual Fitting Room app does
- How to install and activate the app
- How to upgrade your plan
- How to customize and remove the app
- Frequently asked questions
🎯 What the Virtual Fitting Room app does
- Gives shoppers a digital try-on for your clothing products before they order.
- Builds buying confidence by showing how a piece looks rather than describing it.
- Creates AI fashion models, removing the need for a photo shoot to display a garment.
👣 How to install the Virtual Fitting Room app
1. From the main menu, click (All), then under the helper tools section, click (App Store).
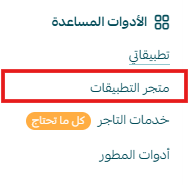
2. Find the app using the search field.

3. On the Virtual Fitting Room app page, click (Install).
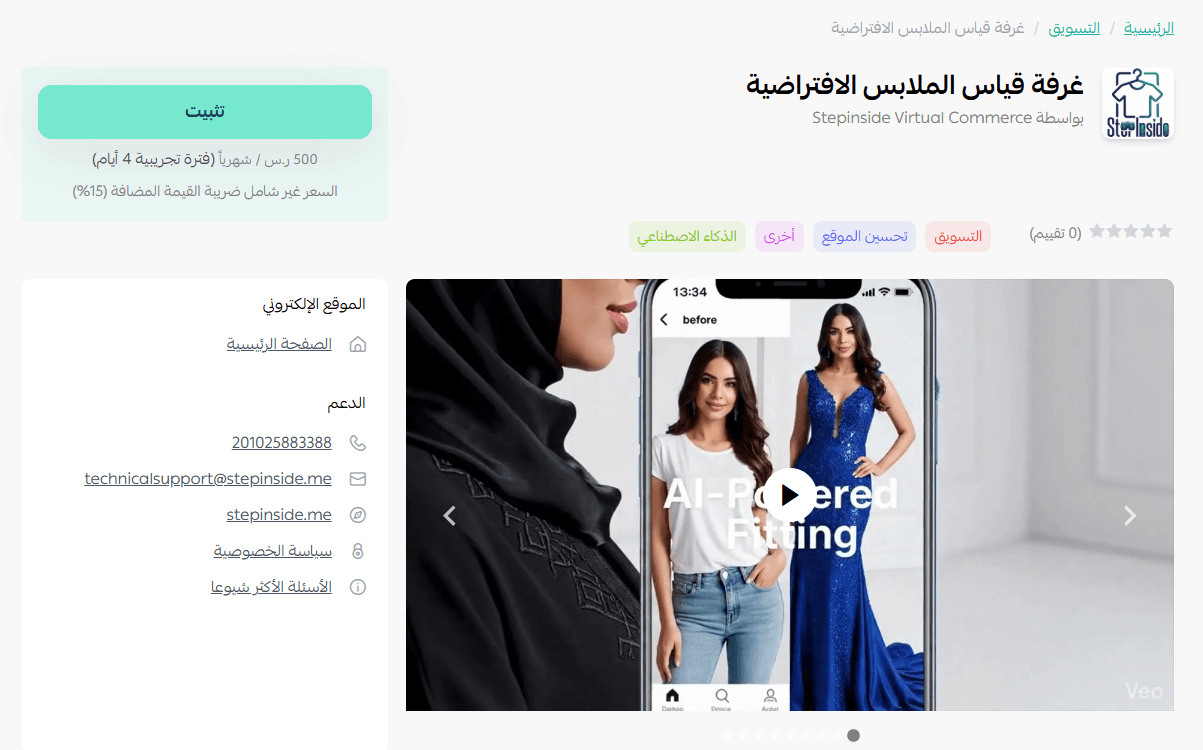
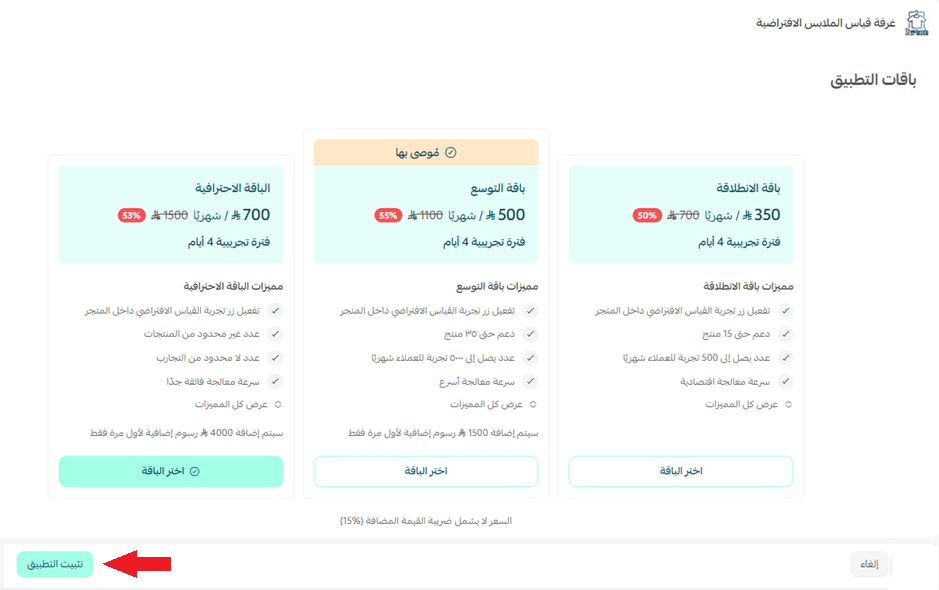
4. Choose the plan that fits your store, then click (Install app).
5. After the app is installed, open the email with your sign-in details and click (Dashboard).
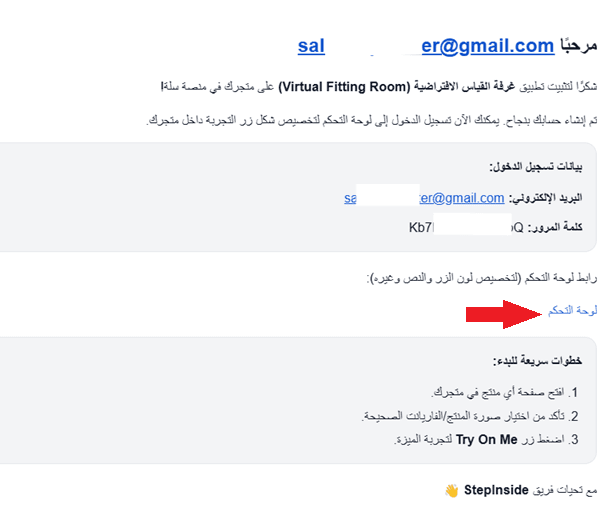
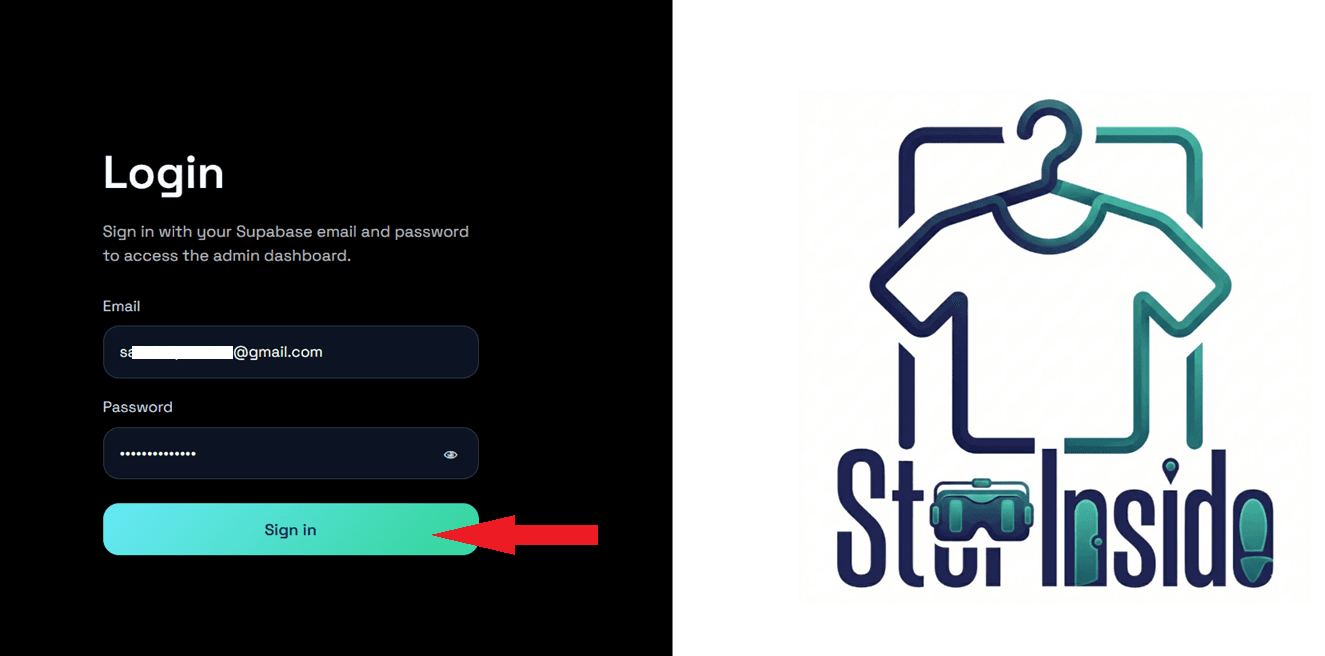
6. Enter your account details, then click (Sign in).
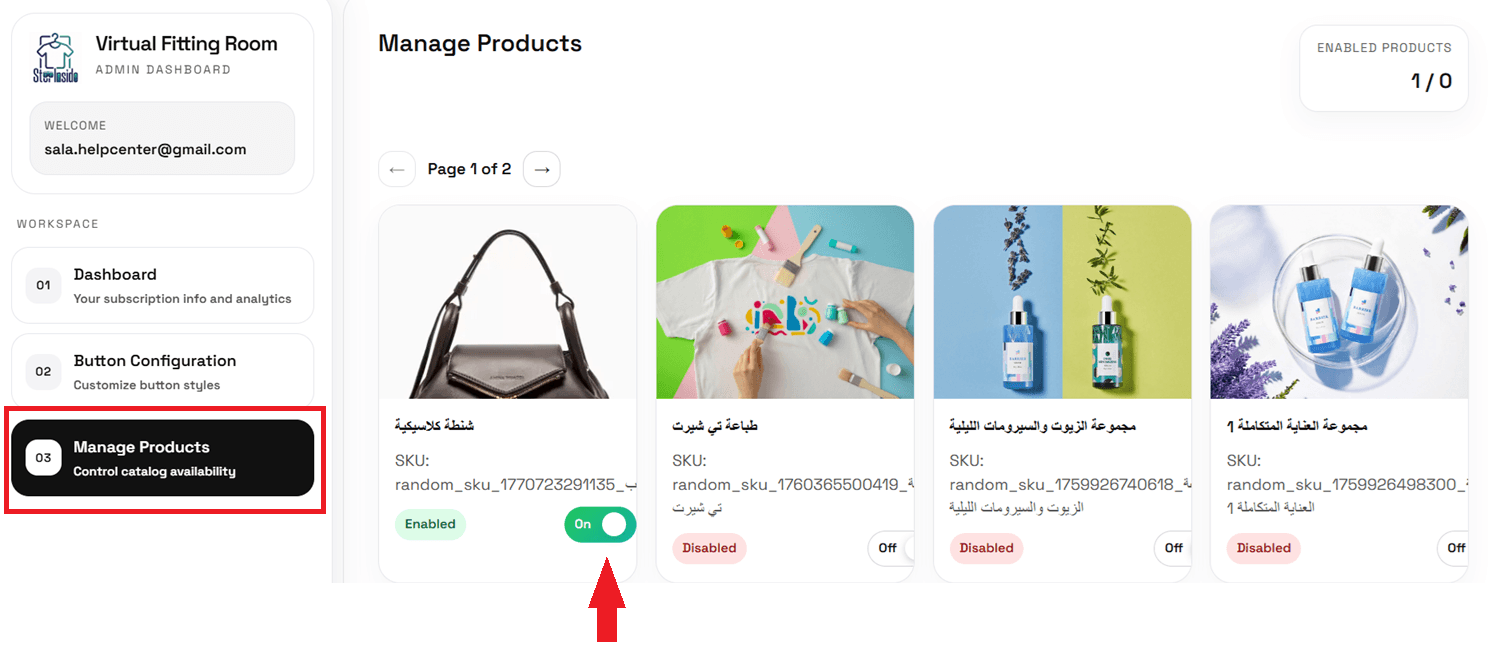
7. Open the (Manage Products) tab in the app dashboard and switch the toggle on for the products you want to enable.
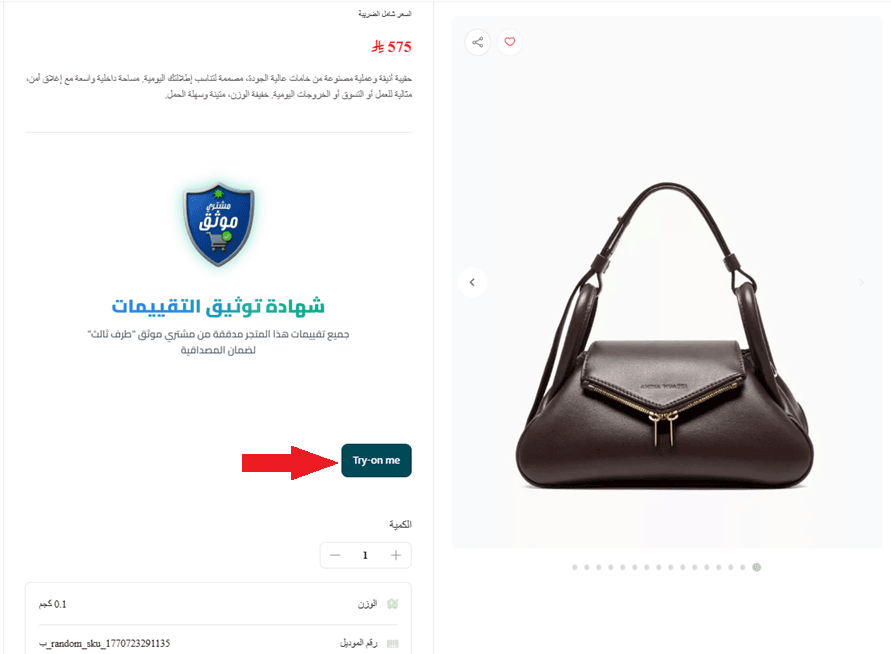
8. The try-on button now appears to customers on every product page you enabled.
🚀 Managing the Virtual Fitting Room app
Upgrading your plan
1. On the app details page in your store, click (Upgrade plan).

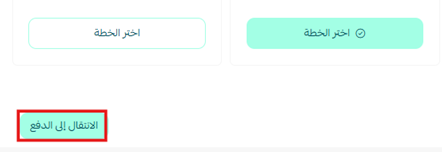
2. Choose the plan you want, then click (Go to payment).
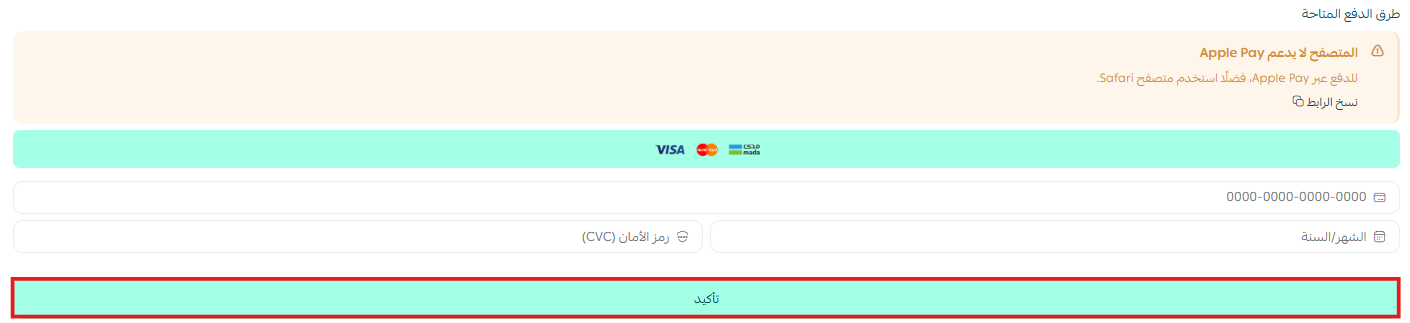
3. Fill in your payment details and click (Confirm) to complete the upgrade.
Customizing the app
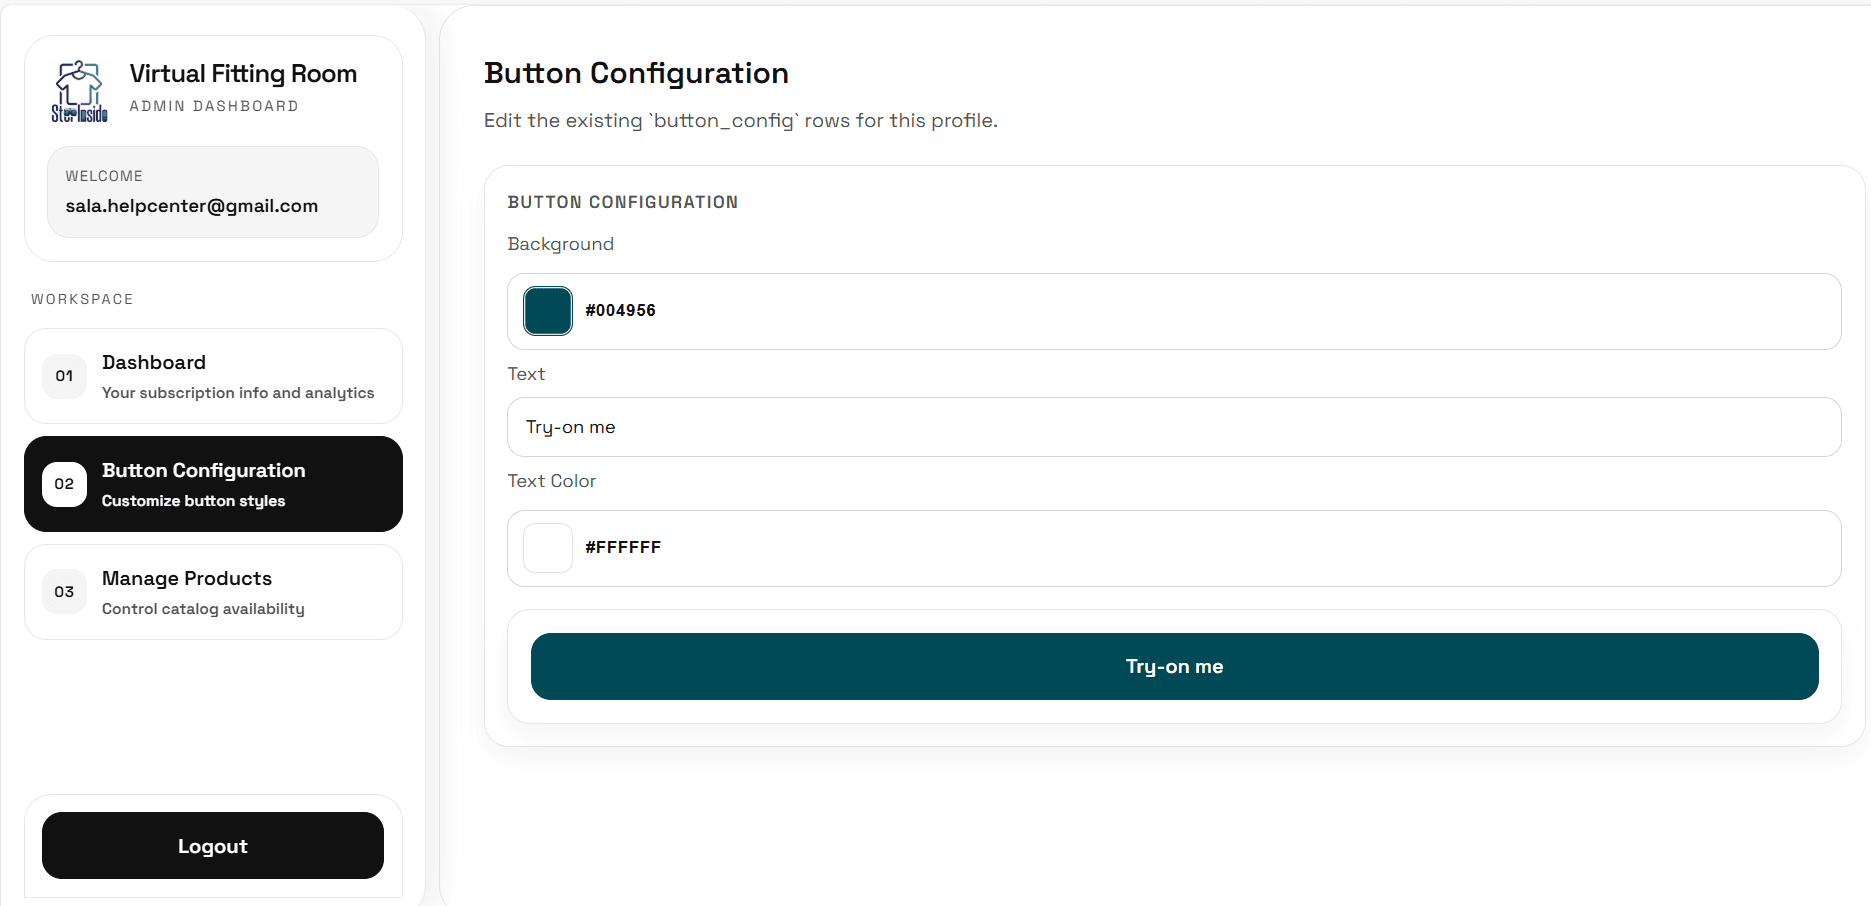
🎯 You control the app's settings and the look of the try-on button from your account dashboard on the Virtual Fitting Room site.
Removing the app
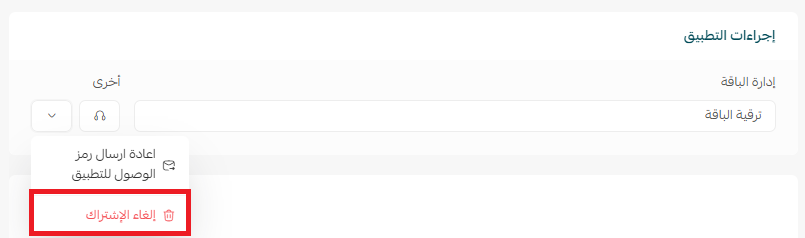
1. From the app options menu, click (Cancel subscription) and choose your reason for cancelling.
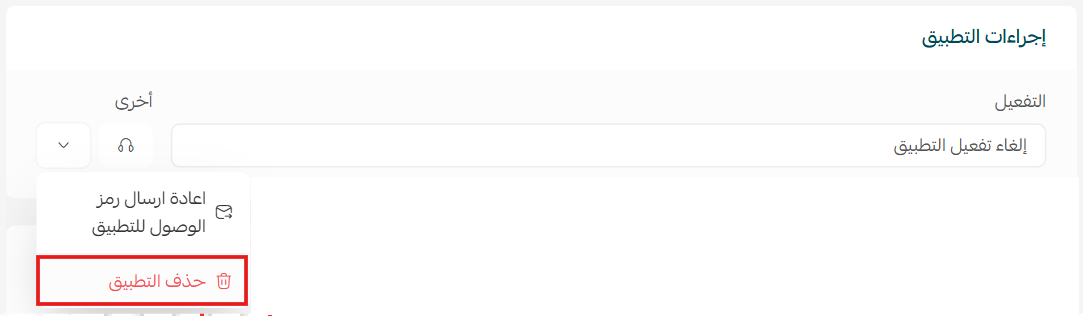
2. From the app options menu, click (Delete app) and choose your reason for deleting it.
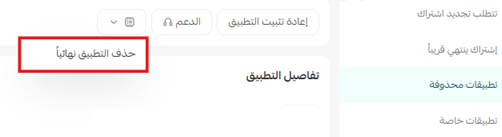
3. On the Deleted apps page, open the app options menu and click (Delete app permanently) to remove it from your store for good.
📝 Important notes
- The try-on button only shows on products you have switched on in the (Manage Products) tab.
- App settings and button styling live in the app's own dashboard, not in your Salla dashboard.
For more details, see the Virtual Fitting Room app page.
❓ Frequently asked questions
Does the try-on button appear on all of my products automatically?
No. Open the (Manage Products) tab in the app dashboard and switch the toggle on for each product you want to offer a virtual try-on for.
Do I still need a photo shoot for my clothing products?
The app can generate AI fashion models for your items, so you can show a garment on a model without arranging a shoot.
Where do I change the app's settings?
Sign in to your account on the Virtual Fitting Room site. The app settings and the try-on button appearance are both managed there.
Can I move to a bigger plan later?
Yes. On the app details page in your store, click (Upgrade plan), pick the plan you want, and complete the payment.
Confidence is what converts in fashion. Letting a shopper see a piece on themselves before they order removes the biggest reason they hesitate, and the biggest reason they send it back.