You may have thousands of customers on your list, but if nothing lands in their inbox at the right moment, none of that list is working for you.
A Mailchimp email campaign lets you send a properly branded message to exactly the right group of customers, at a time you choose, and then see who opened it and who clicked. In this guide, you'll learn how to build your first campaign in Mailchimp, from naming it and picking the audience through to designing the email and reading the performance report.
To create an email campaign in Mailchimp, open All campaigns and click Create, then choose Regular email. Name the campaign, select the audience or segment you want to reach, set the sender name and subject line, design the email, and send or schedule it. Open the campaign report afterwards to review opens and clicks.
🚧 Before you start
- Create a Mailchimp account and connect it to your Salla store.
- ✉️ Connecting the two is what lets you track campaign performance against your store. See how to connect your store to Mailchimp.
📌 Article overview
- How to build an email marketing campaign in Mailchimp
- How to create a new segment of recipients
- How to review your campaign's performance
- Frequently asked questions
🚀 How to build an email marketing campaign in Mailchimp
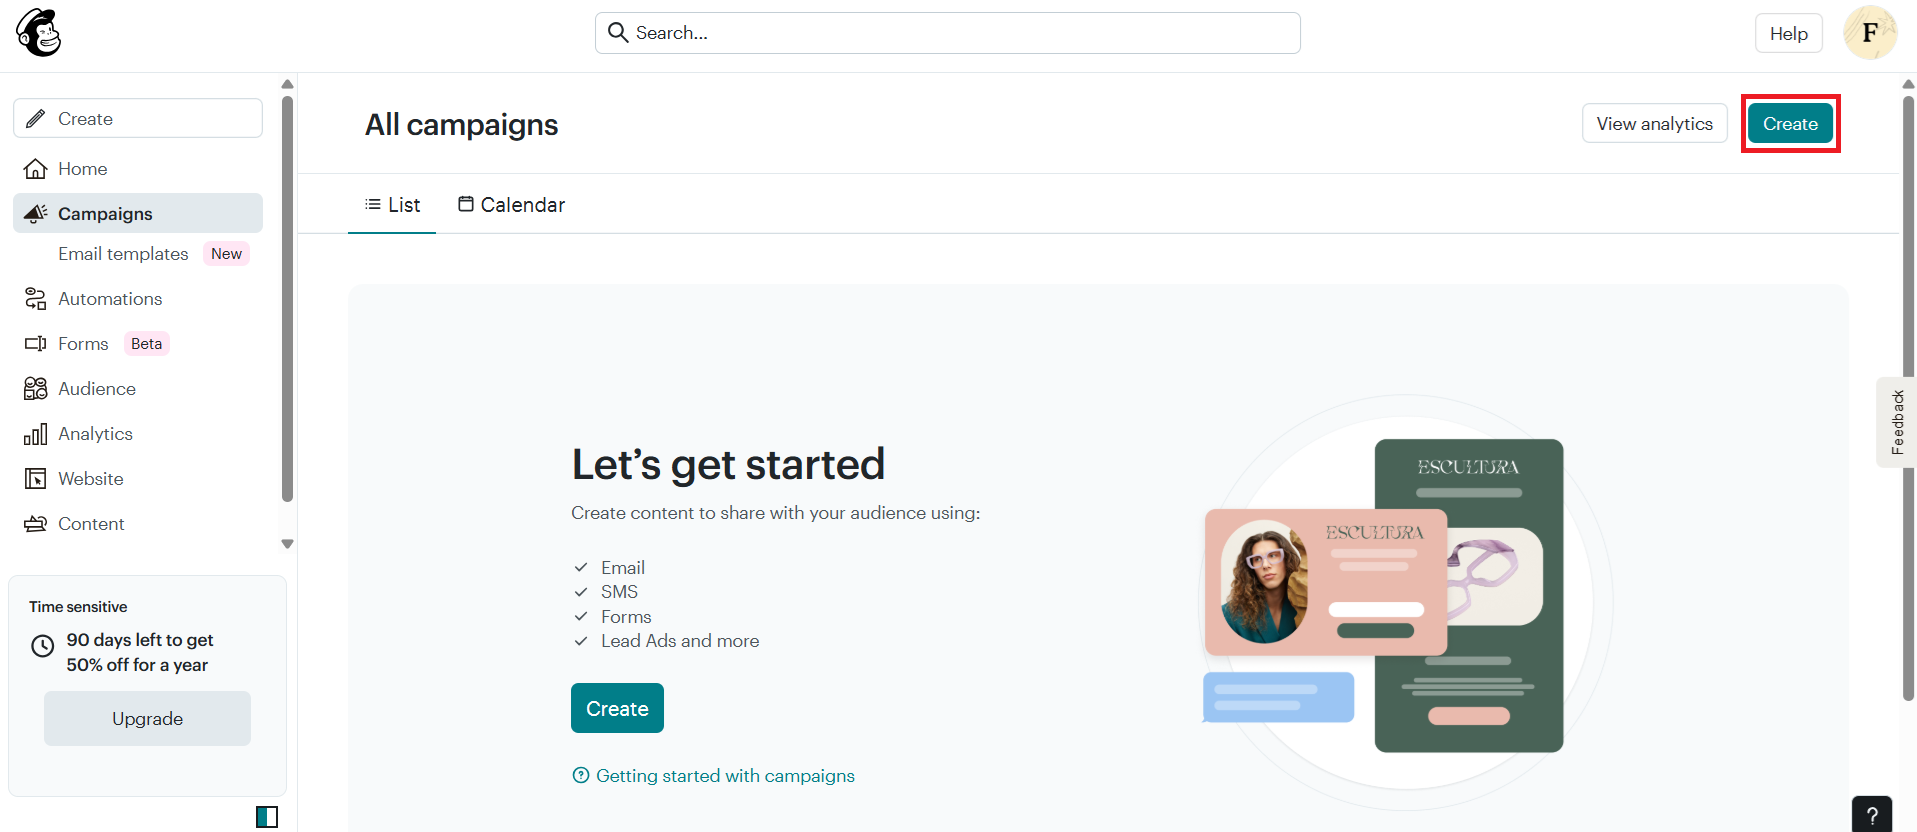
1. From the side menu of your Mailchimp dashboard, click (All campaigns), then click (Create) to start a new campaign.
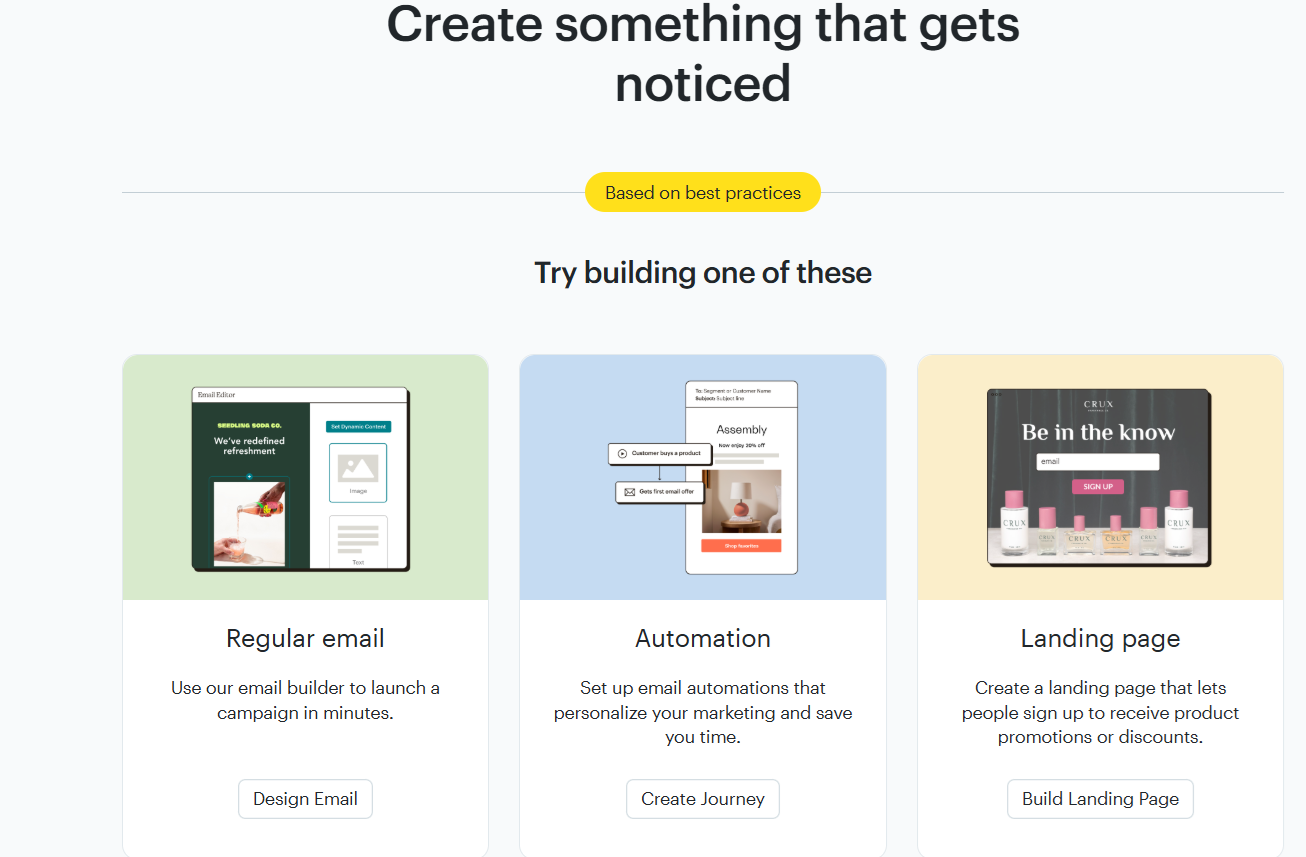
2. Choose the type of campaign you want to send.
- Regular email — use the email builder to put a campaign together in minutes.
- Automation — set up automated emails that personalize your marketing and save you time.
- Landing page — build a page where people can sign up for promotions or product discounts.
The rest of this guide covers a regular email campaign. Click (Design Email).
3. Set up the email you want to send.
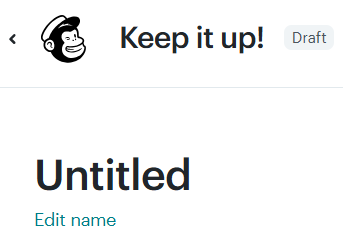
1. Name the campaign
Keep it short and descriptive — this name is for you, not your customers.
2. Choose your recipients
Pick the customers you want this campaign to reach. If you skip this, the campaign goes to every subscriber on your list.
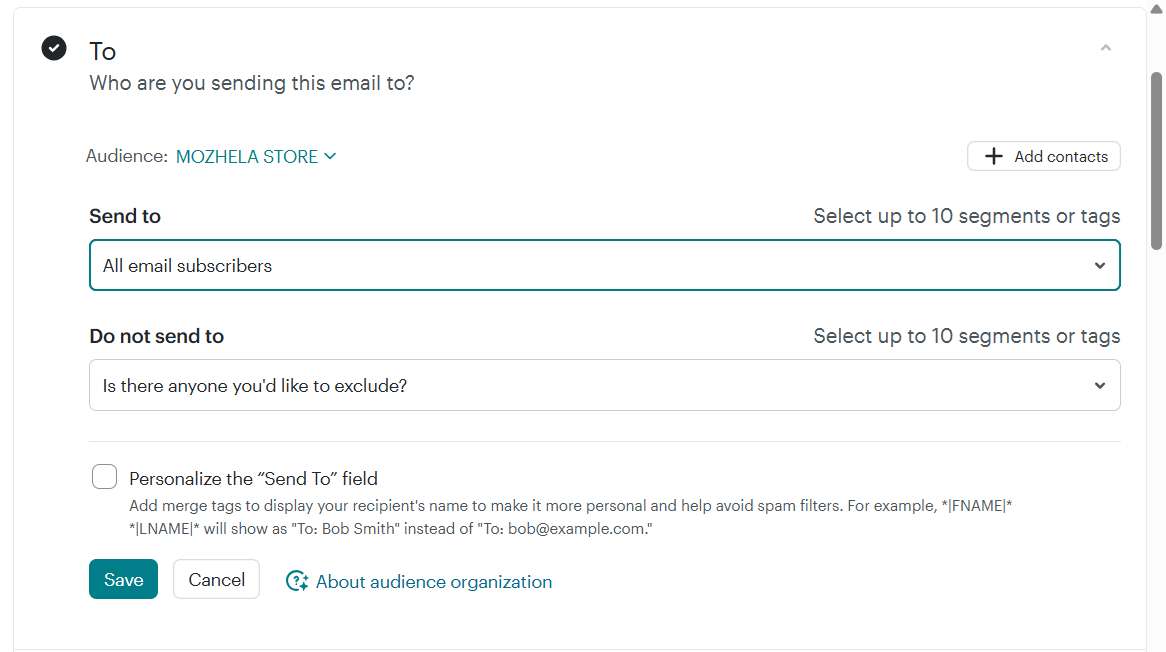
- Set who receives the campaign under Send to.
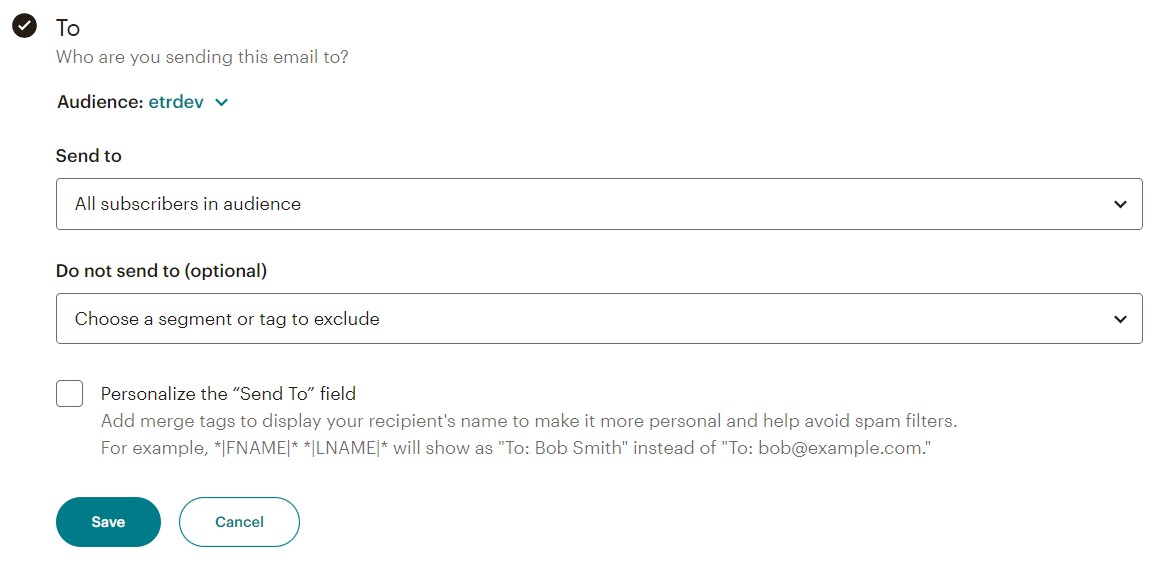
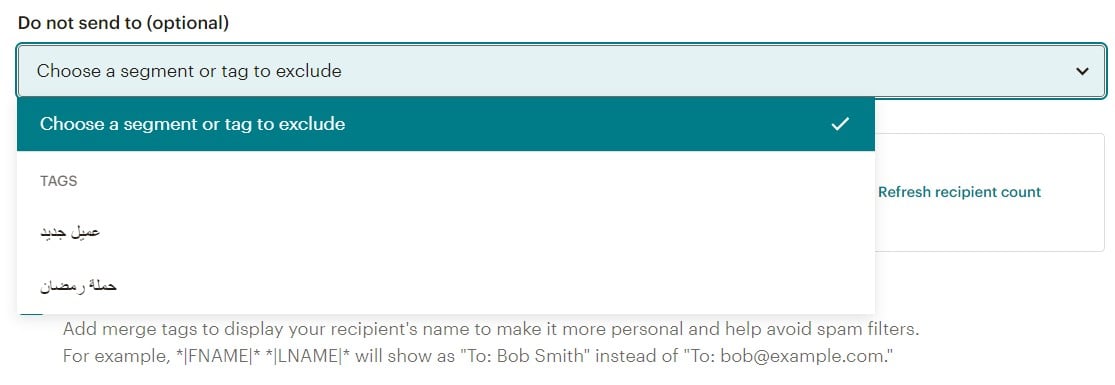
You can send to a specific segment, to people you have emailed before, or to everyone carrying a particular tag. To build a new segment at this step, see the frequently asked questions below.
- Set who to leave out under Do not send to (optional).
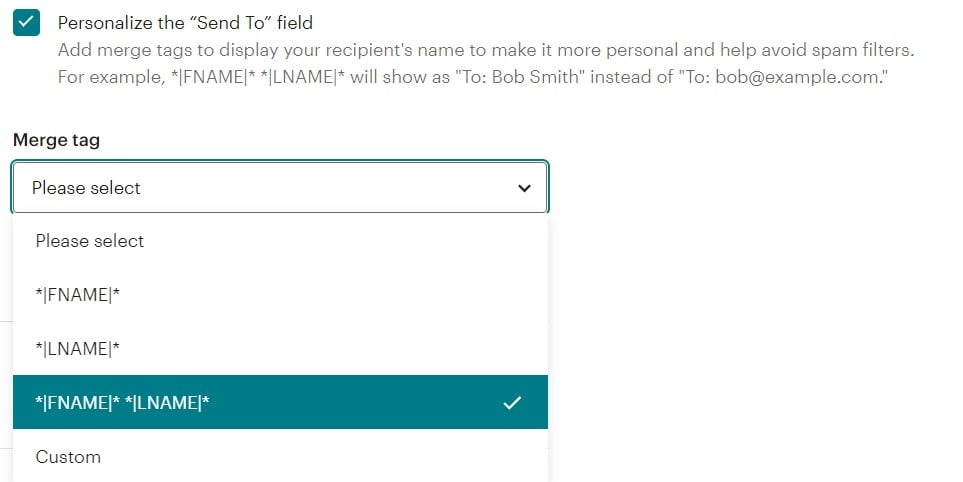
- You can also personalize the "To" field with merge tags, so the recipient sees their own name. It reads better and helps you stay out of spam filters.
For example, *|FNAME|* *|LNAME|* renders as "To: Bob Smith" instead of "To: bob@example.com".
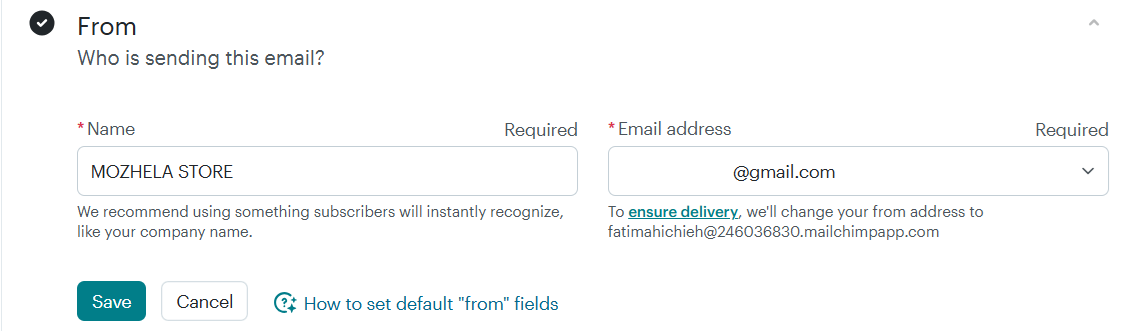
3. Set the sender name
Click (Edit From) to change how your name and address appear to recipients.
4. Write the subject line
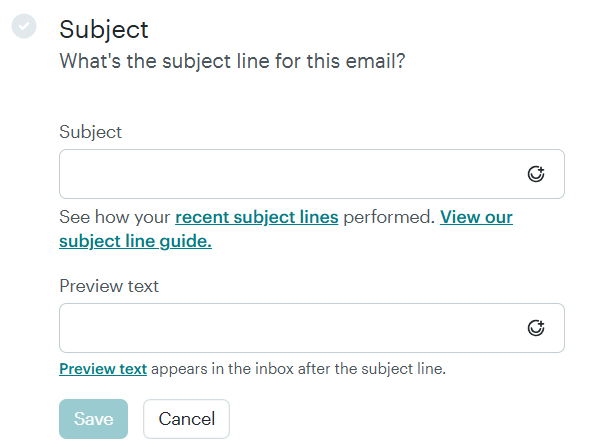
A strong subject line is what gives your audience a reason to open the email.
- Keep it to 9 words or fewer.
- Use no more than one emoji.
- Stay under 60 characters.
- Use no more than 3 punctuation marks.
Your preview text should run between 40 and 150 characters, including spaces, and work together with the subject line rather than repeat it.
Don't skip the preview text. If you leave it empty, email clients generate their own from the first few lines of your email, and that is rarely the impression you want to make.
For more on this, see best practices for writing a persuasive email, with examples.
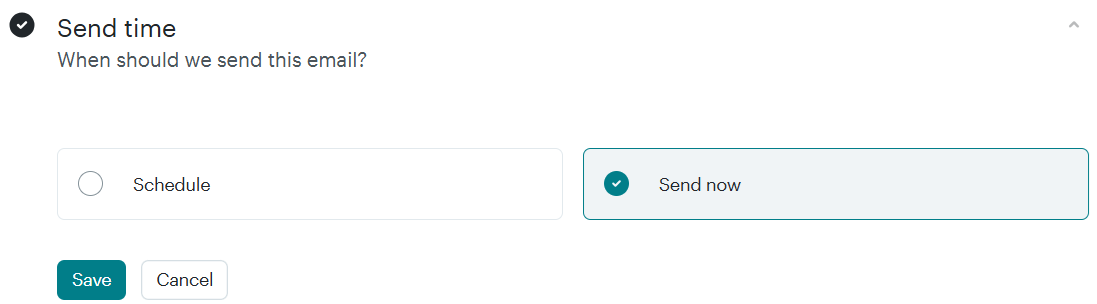
5. Choose the send time
Send the campaign immediately, or schedule it for later, then click (Save).
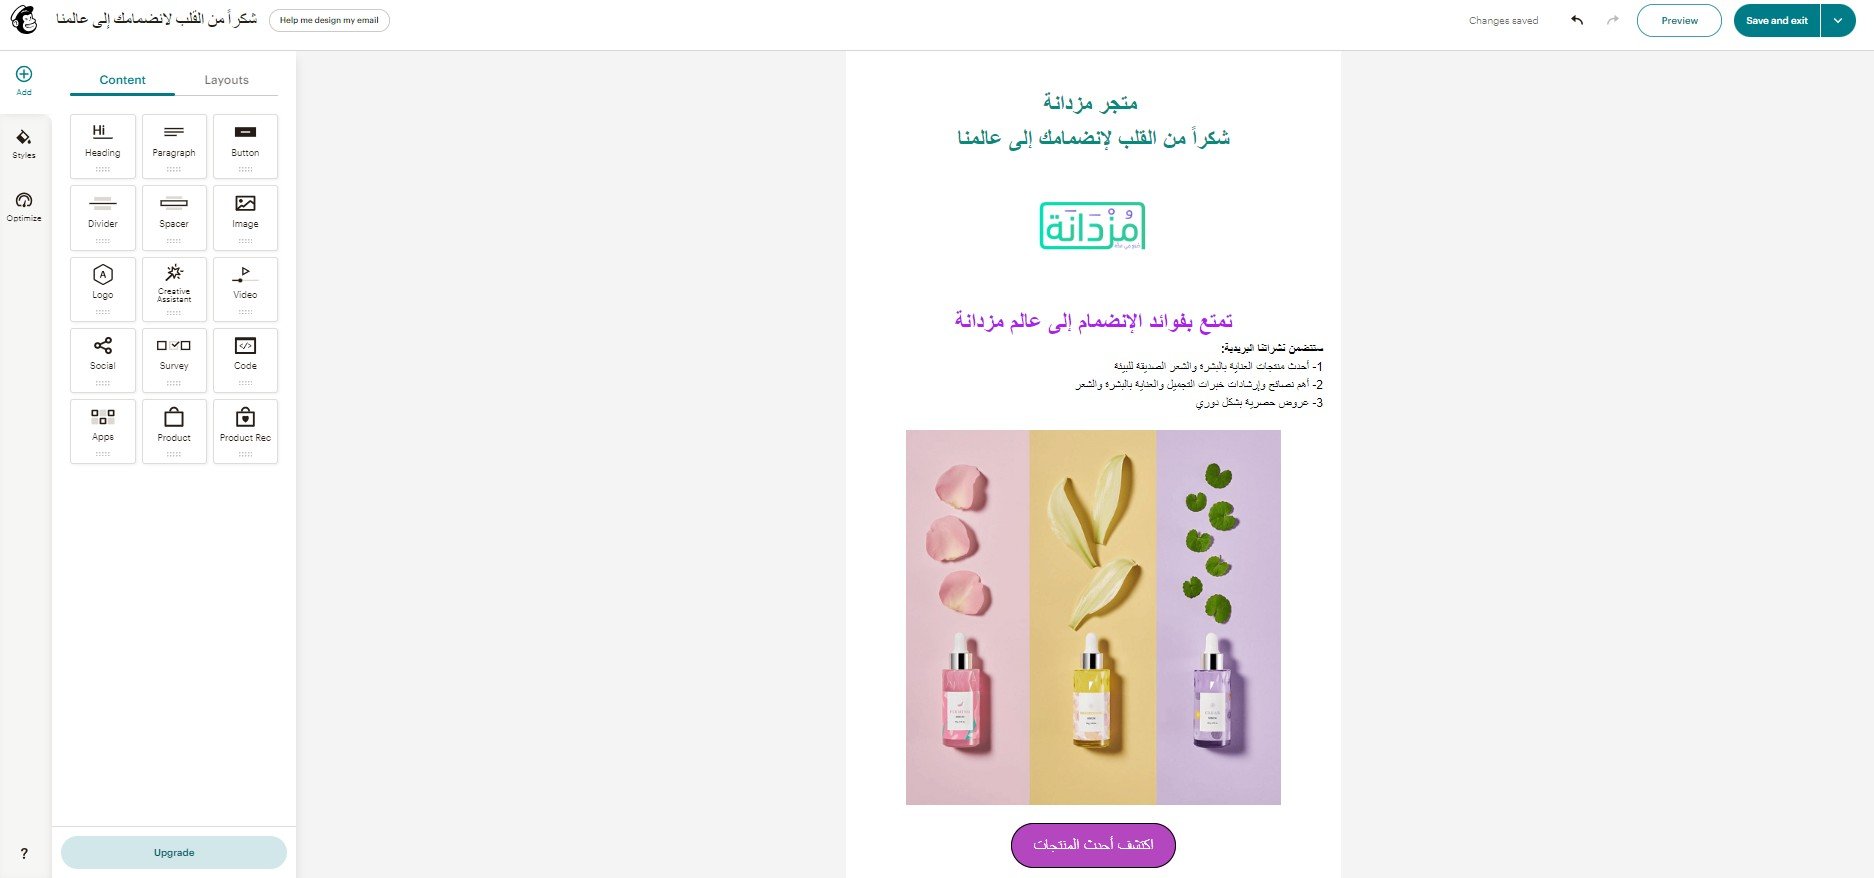
6. Design the email content

Build one template that carries your brand — colors, fonts, imagery, logo, tone of voice — and reuse it across every campaign. Familiarity is what makes a customer recognize you in a crowded inbox.
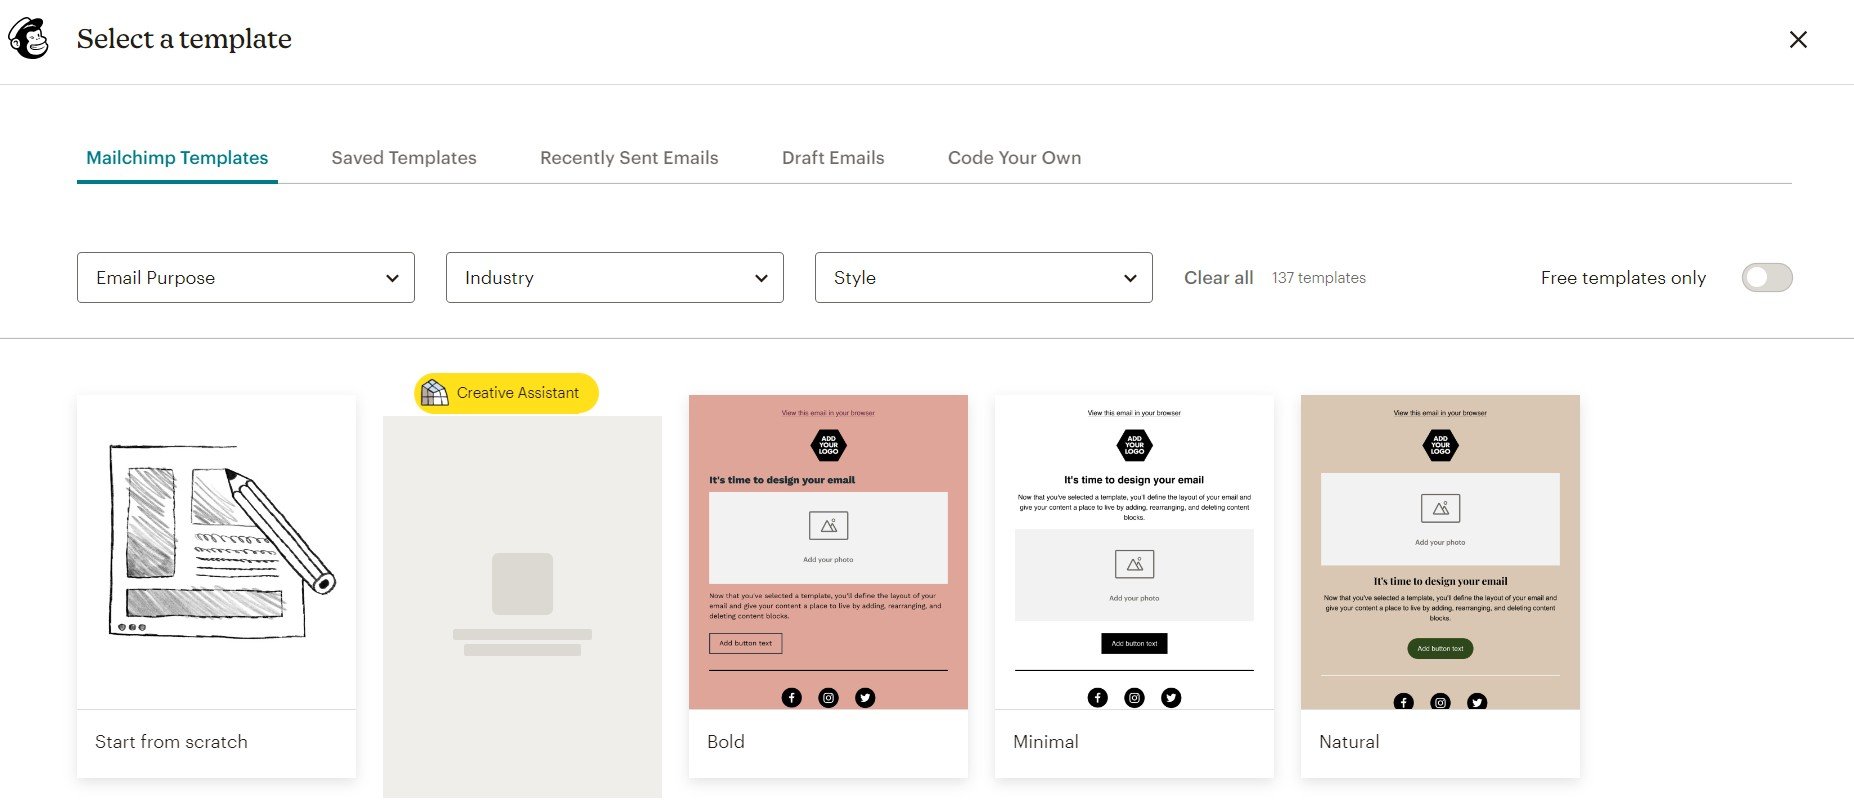
Mailchimp fully supports Arabic, so you can build the same campaign for an Arabic-speaking audience using the same set of blocks and options.
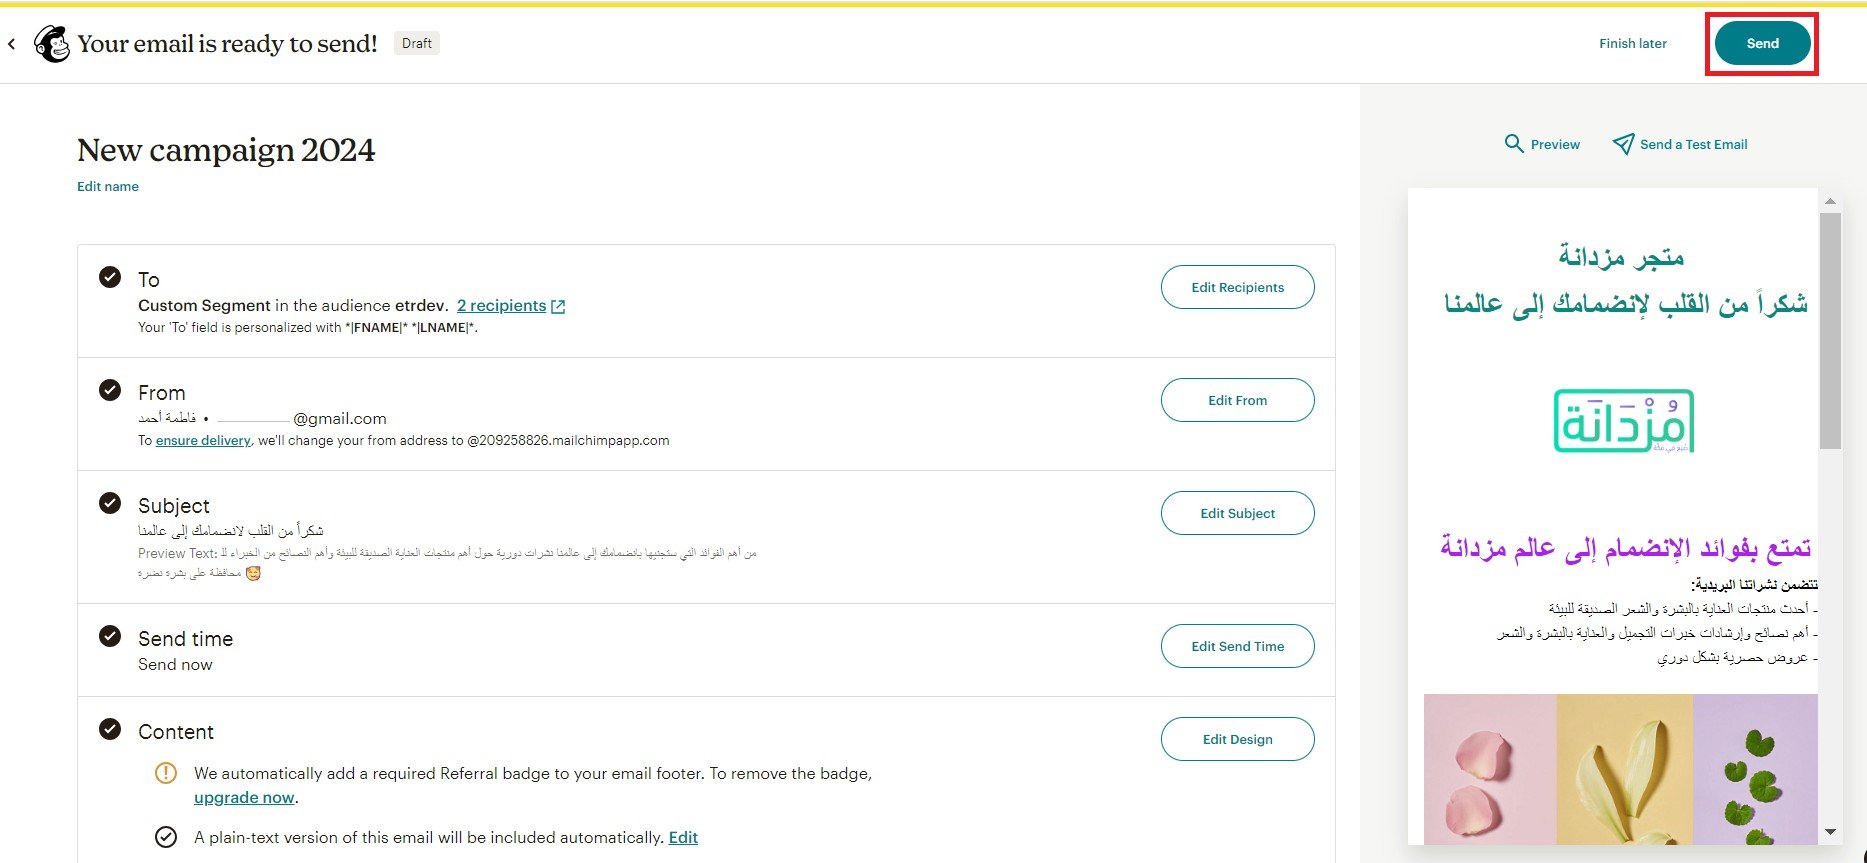
7. Send the campaign
Click (Send) when everything looks right.
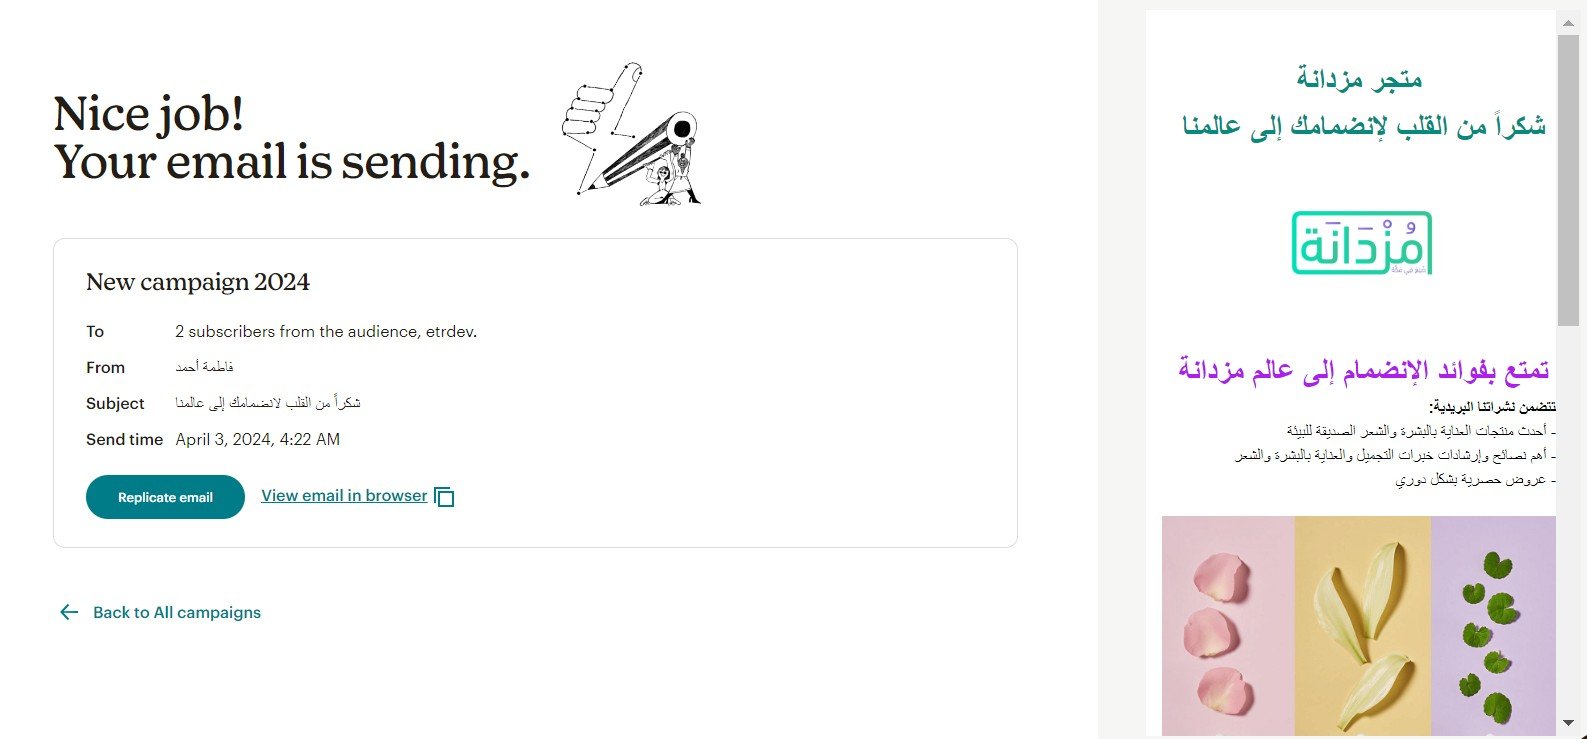
A confirmation message appears once the campaign is on its way.
And this is how it lands in the recipient's inbox:

📩 Before you send your next email, make sure it earns its place in the inbox.
These guides cover connecting your store to Mailchimp and turning email from a one-off message into a channel that builds loyalty and sales:
- Email marketing strategies and tips
- How to automate email marketing with Mailchimp
- Best practices for writing a persuasive email, with examples
❓ Frequently asked questions
How do I create a new segment of recipients?
From the Send to list, click (+New segment).
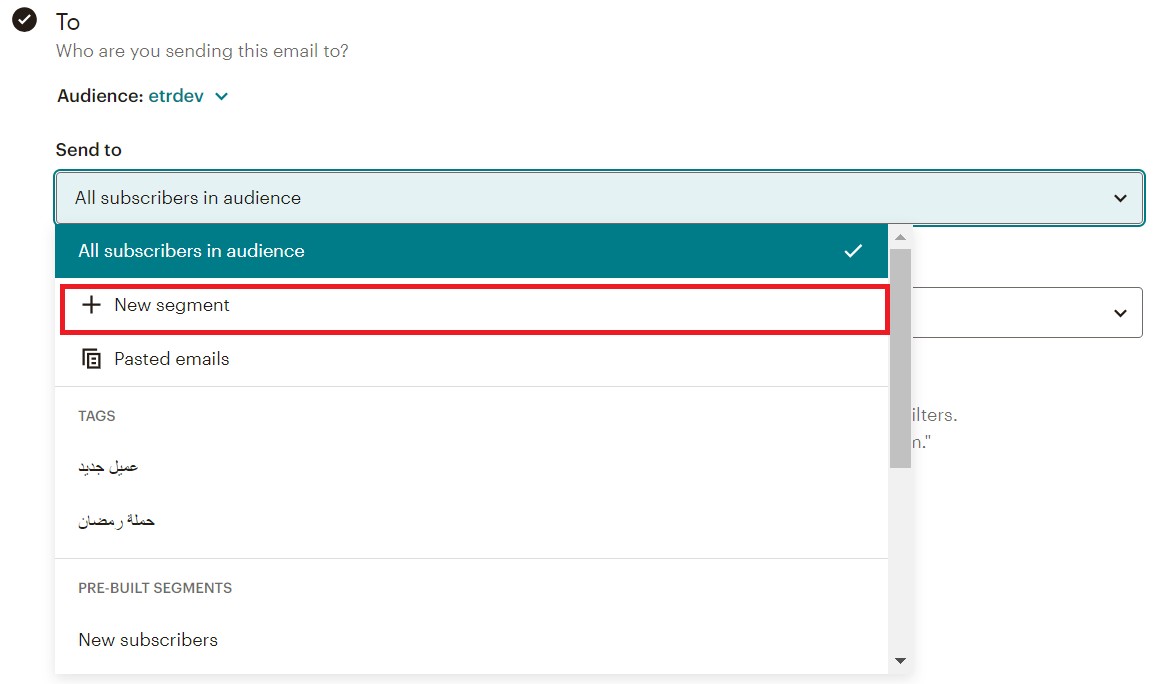
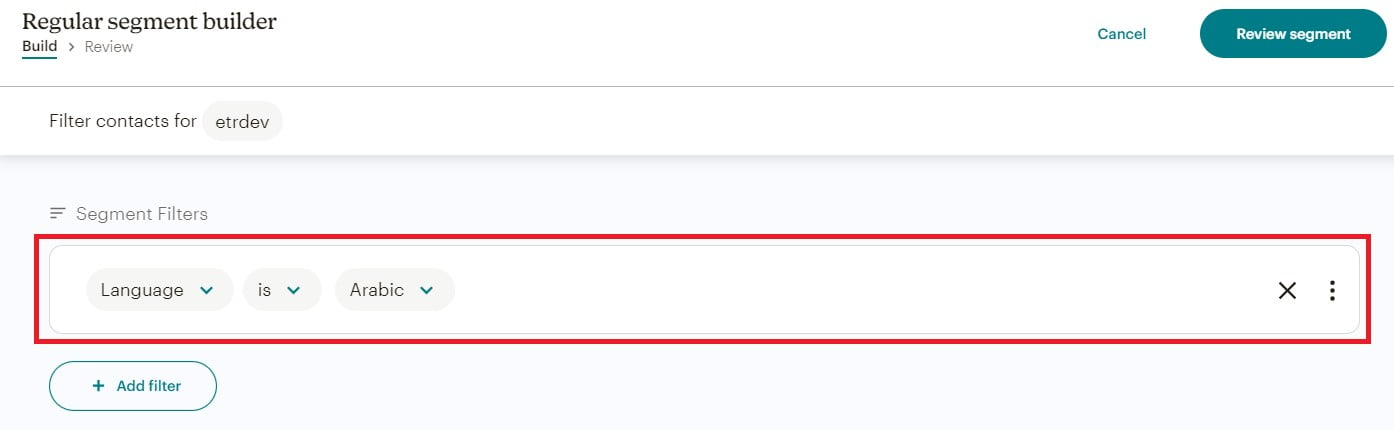
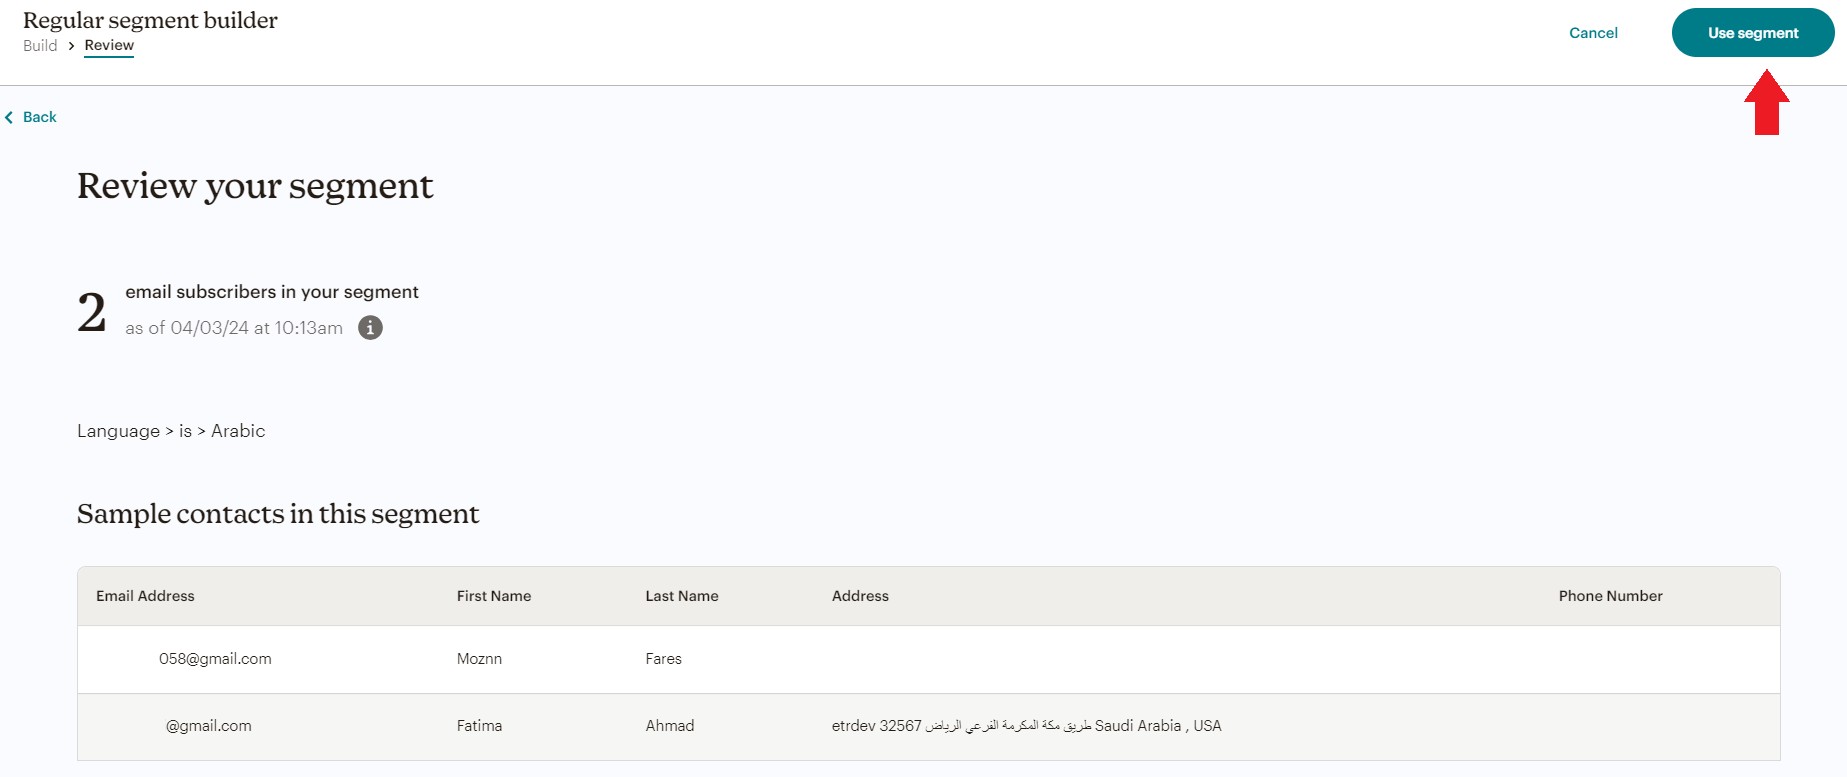
Then add the filters you want to narrow your customer records by — you can combine more than one. For example, you could build a segment of the customers who browse your store in Arabic. Click (Review segment).
Then click (Use segment).
How do I review my campaign's performance?
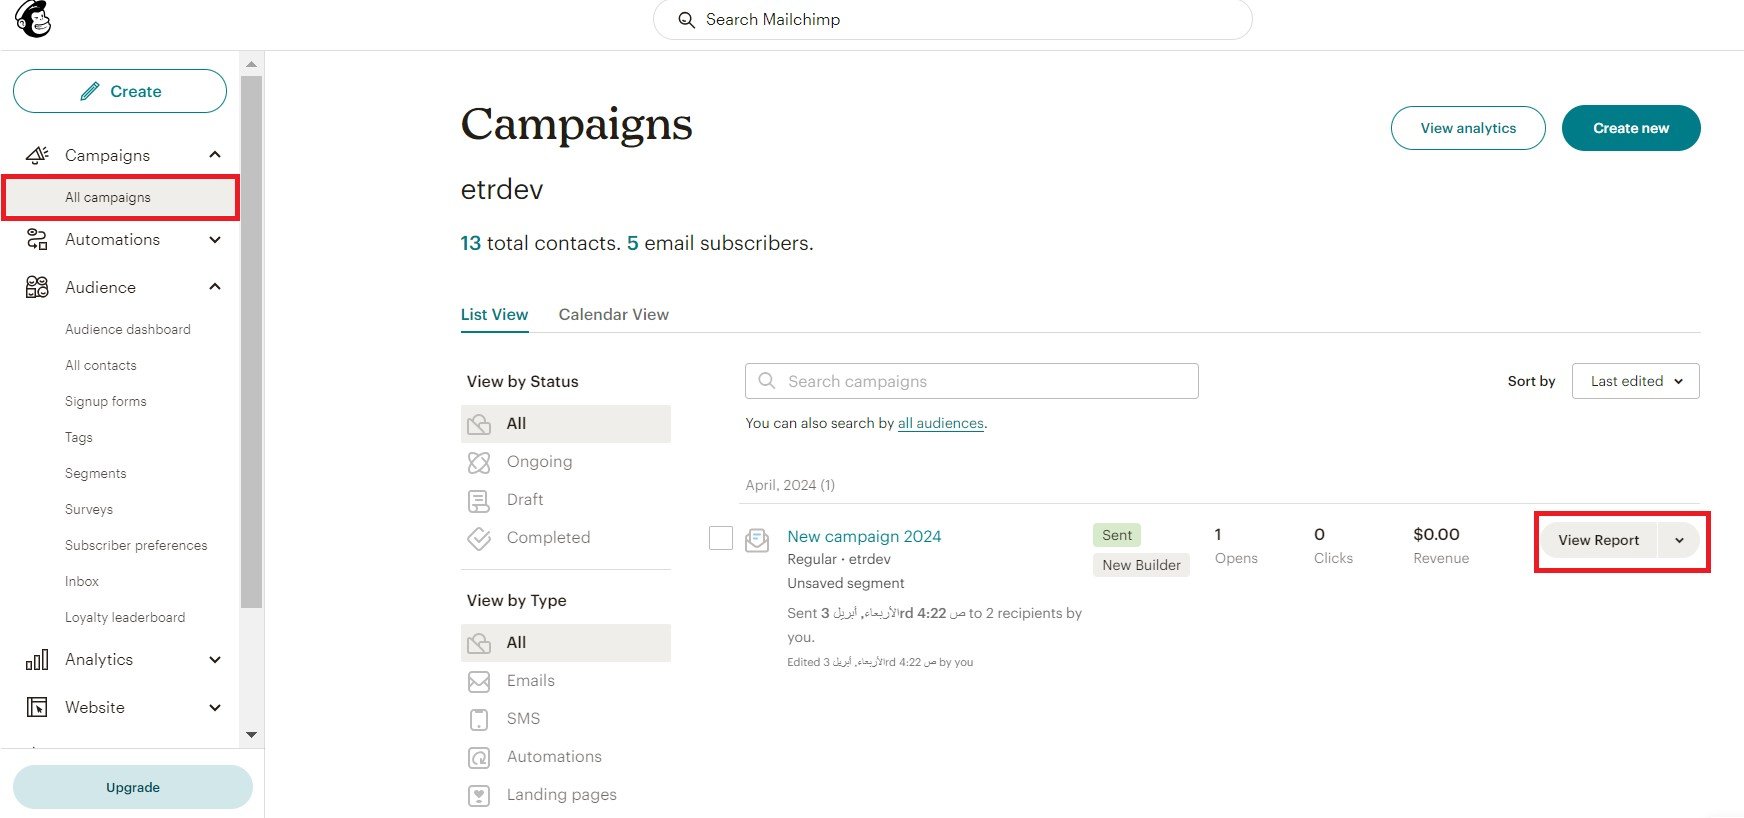
Open the All campaigns page and click (View Report).
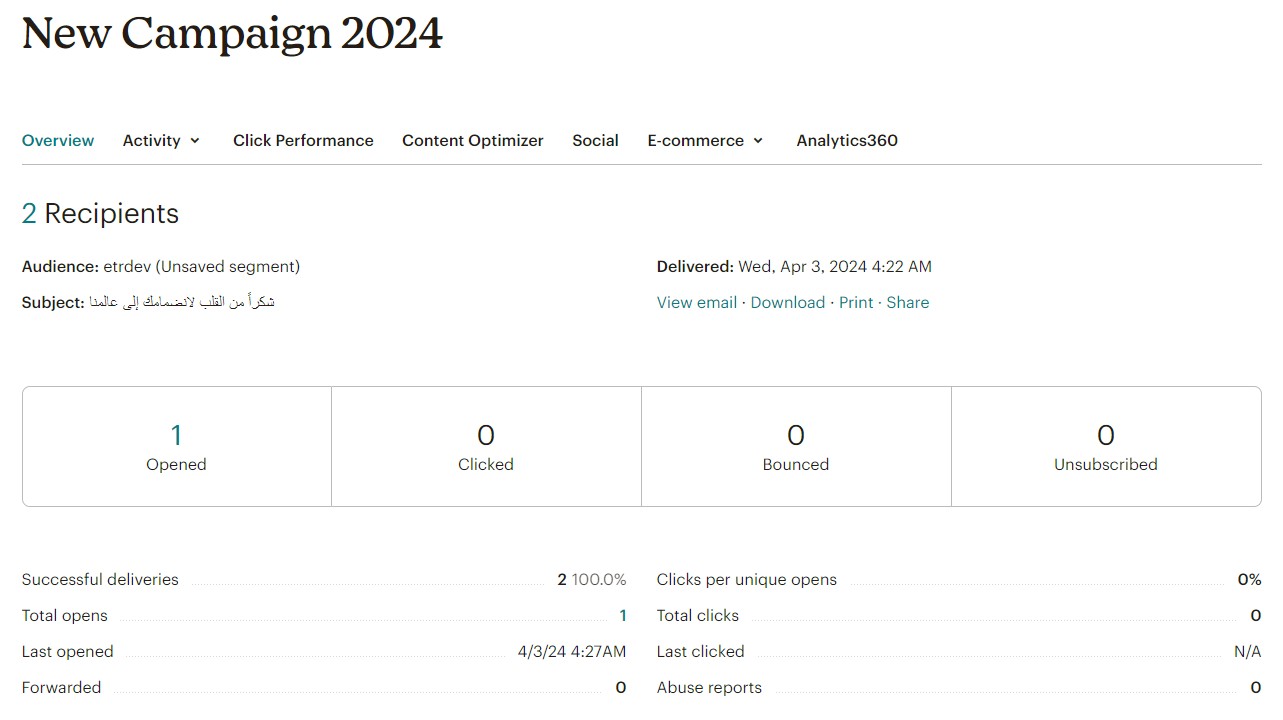
You'll get a detailed breakdown: how many people received the campaign successfully, how many opened it, and more.
What makes an email campaign succeed?
1. Personalization is the key — make sure every email is relevant to the person receiving it.
2. Timing is everything — send when your customers are most likely to engage.
3. Segmentation lets you reach specific groups with content that actually applies to them.
4. A clear call to action tells the reader exactly what to do next.
How is email campaign performance measured?
A few metrics carry most of the story:
Metric |
Definition |
Formula |
Healthy range |
Open rate |
The percentage of people who open an email from a given campaign. |
Open rate = (emails opened / emails sent) * 100 |
20-30% |
Click-through rate |
The percentage of people who open an email and then act on it, by clicking a link, a CTA, or an image inside the message. |
Click-through rate = (clicks on email links / emails sent) * 100 |
2-5% |
Conversion rate |
The percentage of people who complete the goal action — a purchase, a lead, and so on — after clicking a link in the email. |
Conversion rate = (email conversions / emails sent) * 100 |
10-20% |
Return on investment |
The net profit produced by the email campaign. |
ROI = (revenue from the campaign - campaign cost) / campaign cost * 100 |
4000% (average) |
If you'd rather have someone build the campaign for you, Merchant Services connects you with vetted external providers who handle this kind of work professionally.