Would a shopper trust your store more if they could see other people buying from it right now?
Shoppers hesitate on a store that looks empty. Social Proof Sales from Smartarget shows a small stream of sales notifications on your Salla store, built from a list of names and items you set up yourself, so visitors see activity instead of silence. More confidence usually means more completed orders. In this guide, you'll learn what Social Proof Sales does, how to create a Smartarget account, how to connect and activate the app on your store, and how to customize what the notifications say.
To add Social Proof Sales, create a Smartarget account and copy your User ID from the (INTEGRATION) page. Then open (Installed apps) in your Salla dashboard, browse the Salla App Store, install the Social Proof Sales app, and grant its permissions. Activate the app, paste your User ID, and click (Save).
📌 Article overview
- What is Social Proof Sales?
- How to connect Social Proof Sales to your store
- Frequently asked questions
🎯 What is Social Proof Sales?
Social Proof Sales shows your visitors that sales are happening in your store.
You create a set of names and a set of items you want to promote, and the app displays them to visitors so it looks like orders are being placed on your store right now. That extra confidence can turn browsers into buyers, and bring you more sales.
🚀 How to connect Social Proof Sales to your store
Getting Social Proof Sales live on your store takes four stages:
- Create a Smartarget account
- Copy your tracking code from Smartarget
- Install and activate the Social Proof Sales app on your store
- Customize Social Proof Sales
Stage one: create a Smartarget account
📝 Important notes
Skip this stage if you already have a Smartarget account.
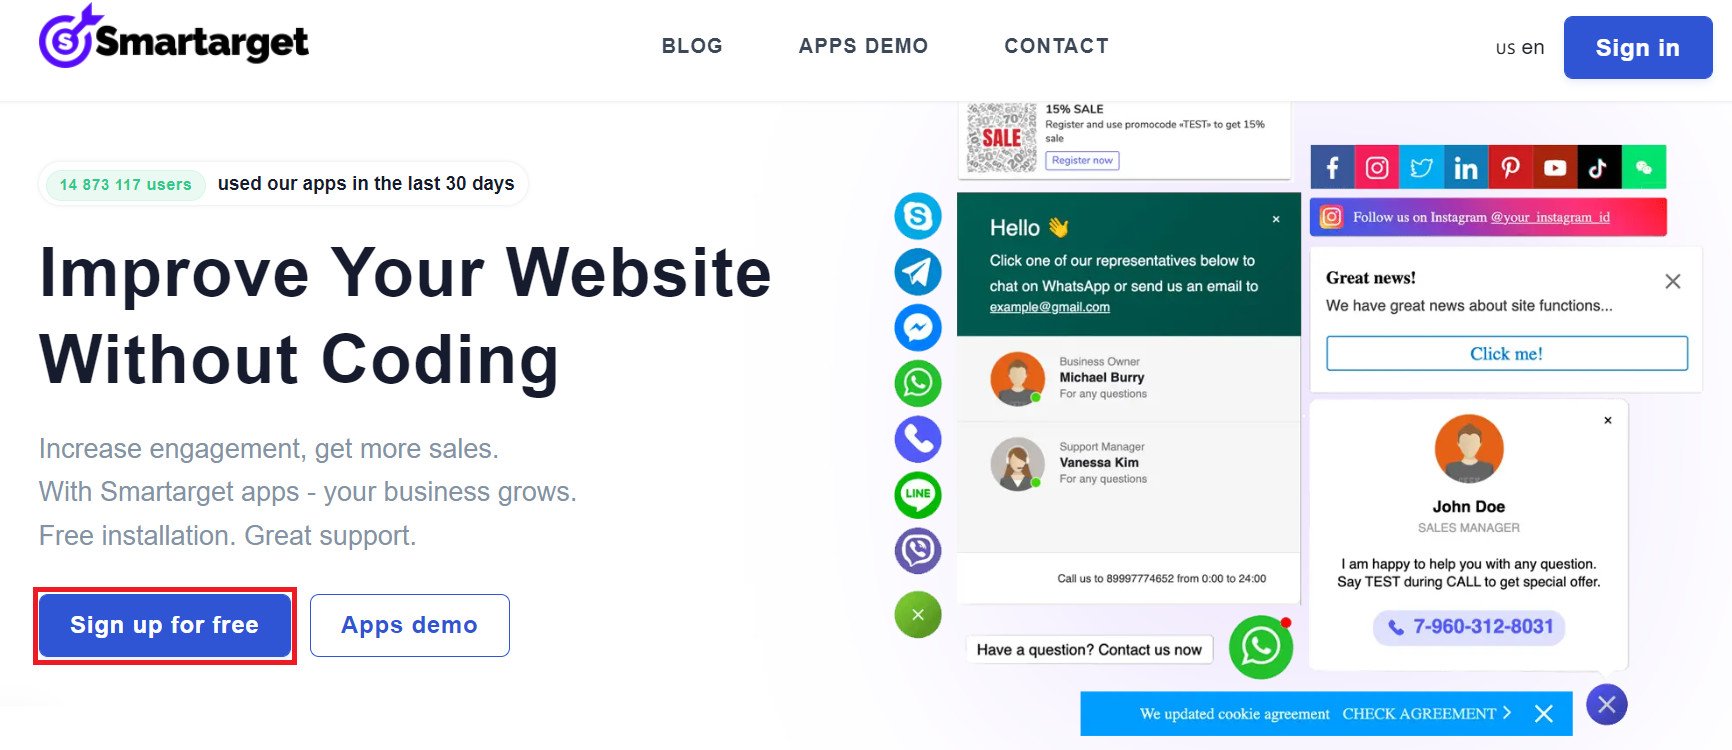
1. From the Smartarget home page, click (Sign up free).
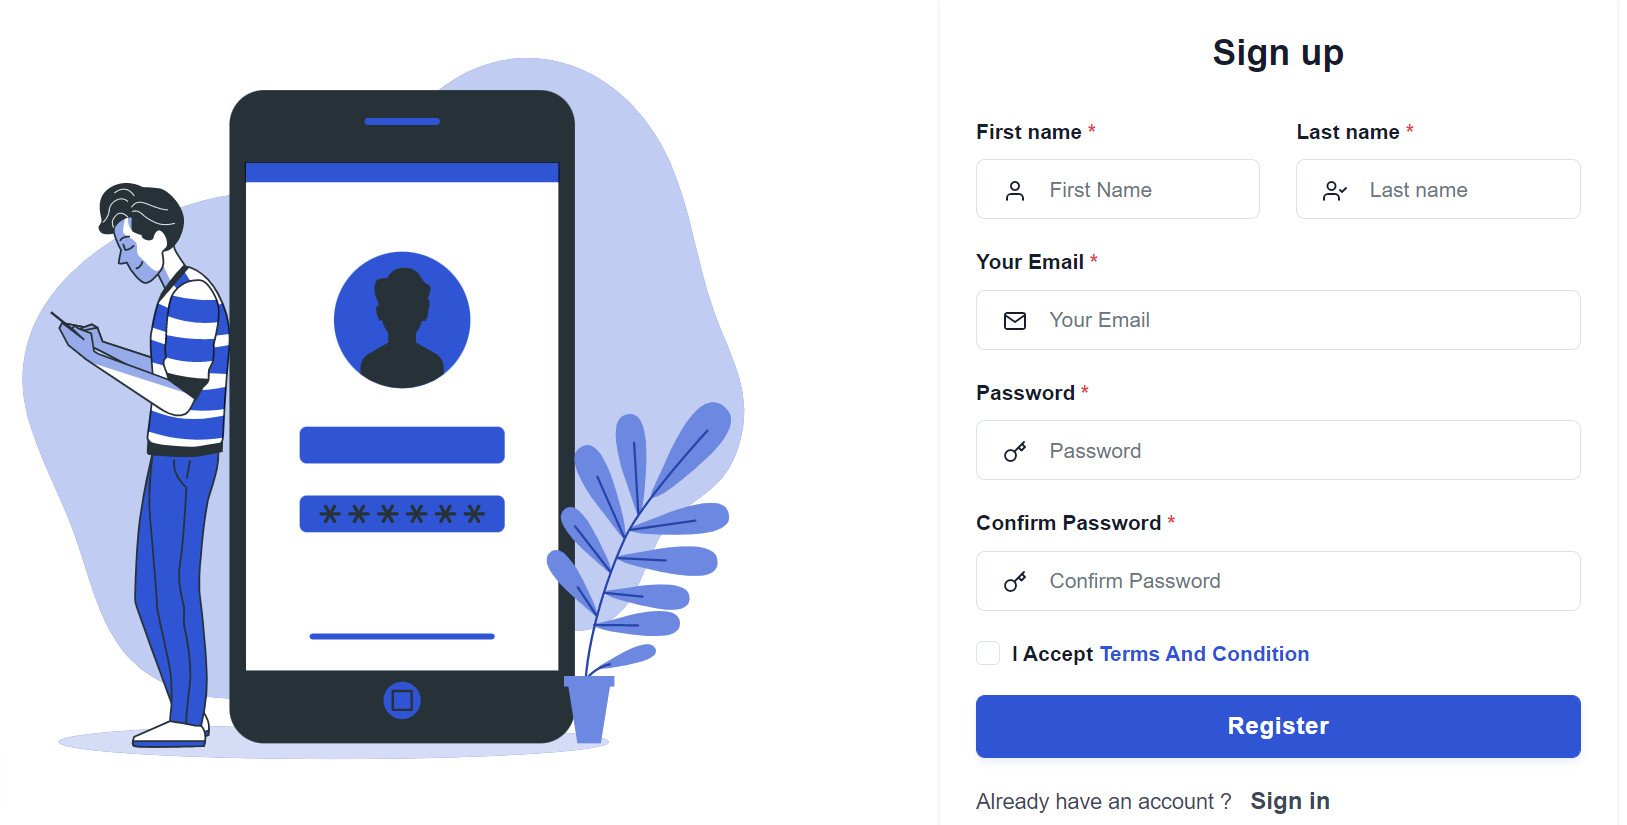
2. Enter the details it asks for, then click (Register).
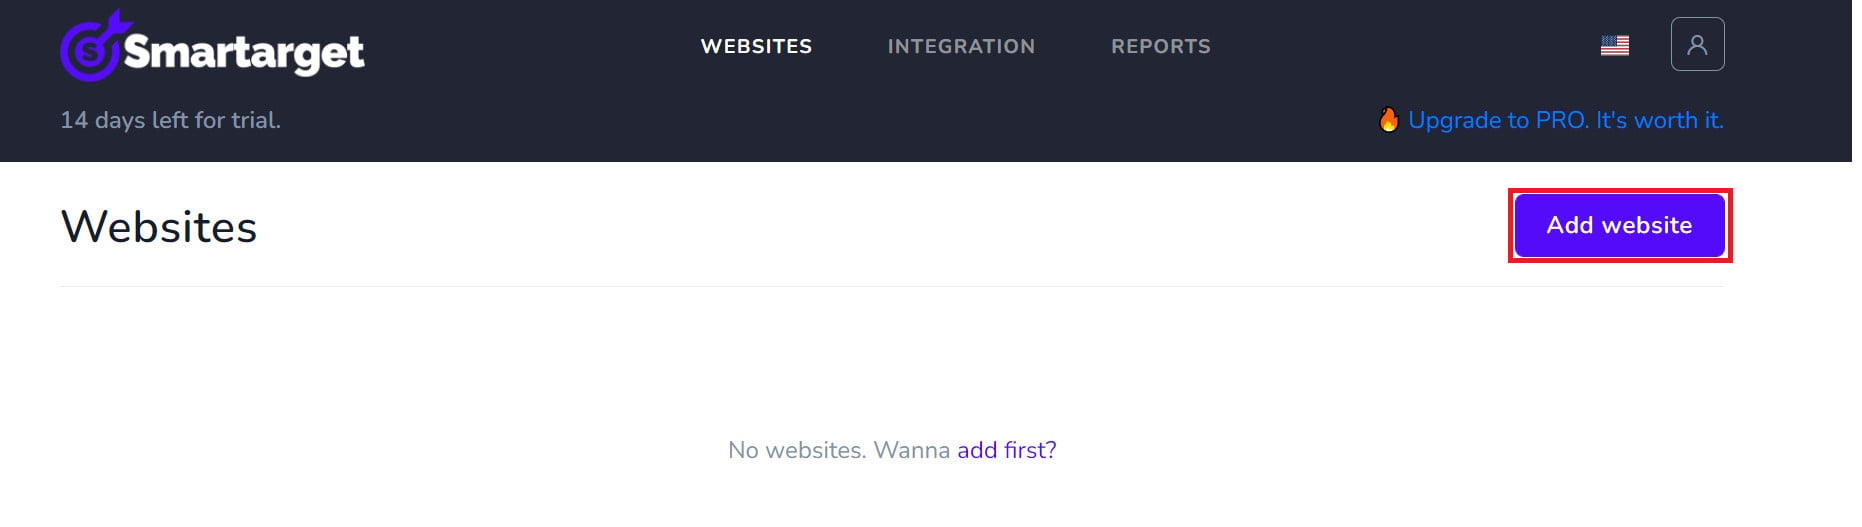
3. Confirm your account through the email you receive, sign in, then click (Add website).
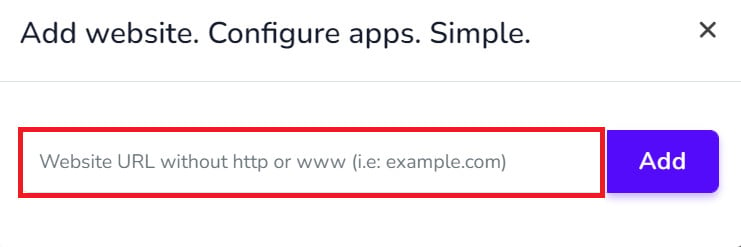
Then add your Salla store domain.
Stage two: copy your tracking code from Smartarget
In your Smartarget account, go to the (INTEGRATION) page and click the (Copy) button to copy your User ID.
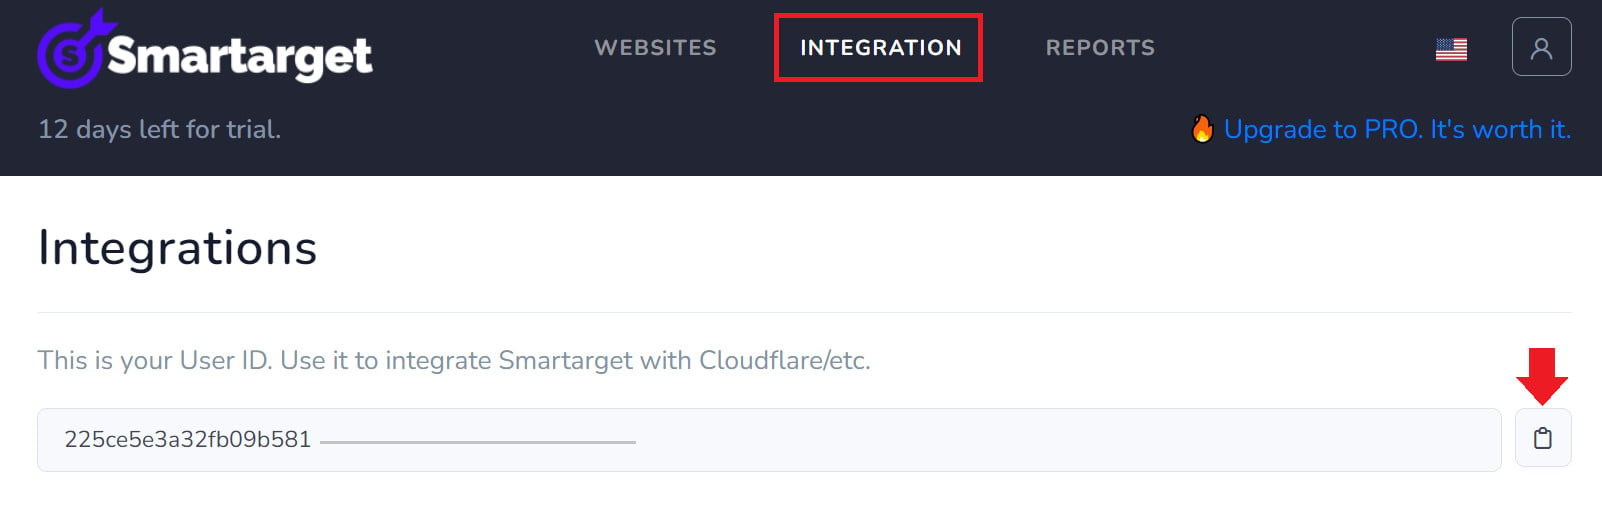
Stage three: install and activate the app on your store
1. From the side menu of your dashboard, click (Installed apps).

2. From the Salla App Store banner, click (Browse the Salla App Store).

3. From the Social Proof Sales app page, click (Install).
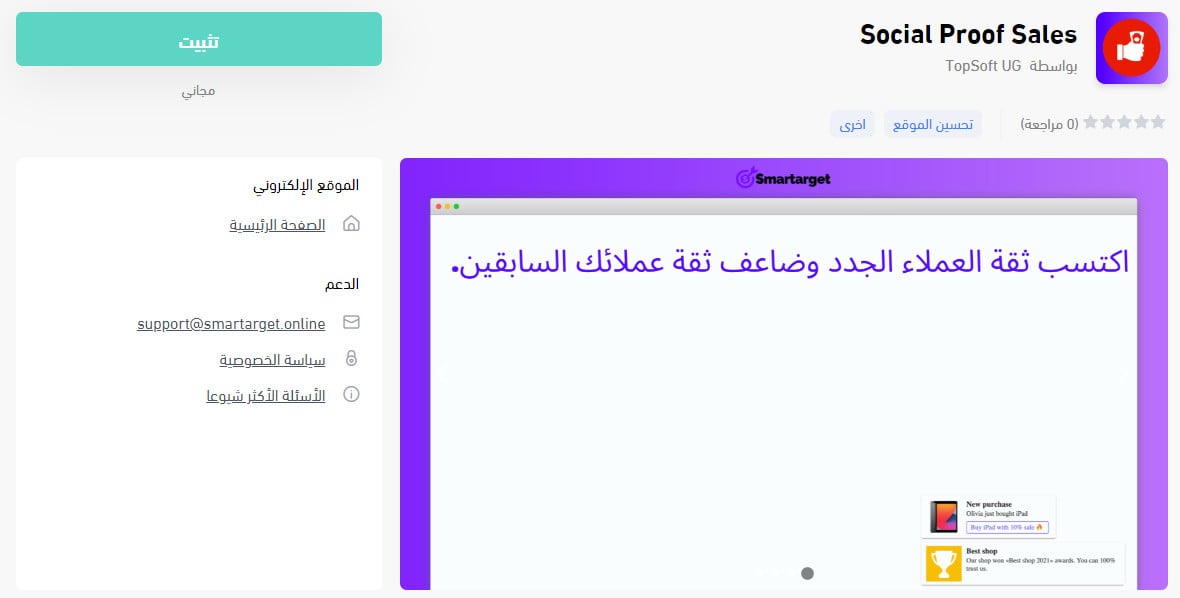
Then choose the plan that suits your store and click (Choose plan).
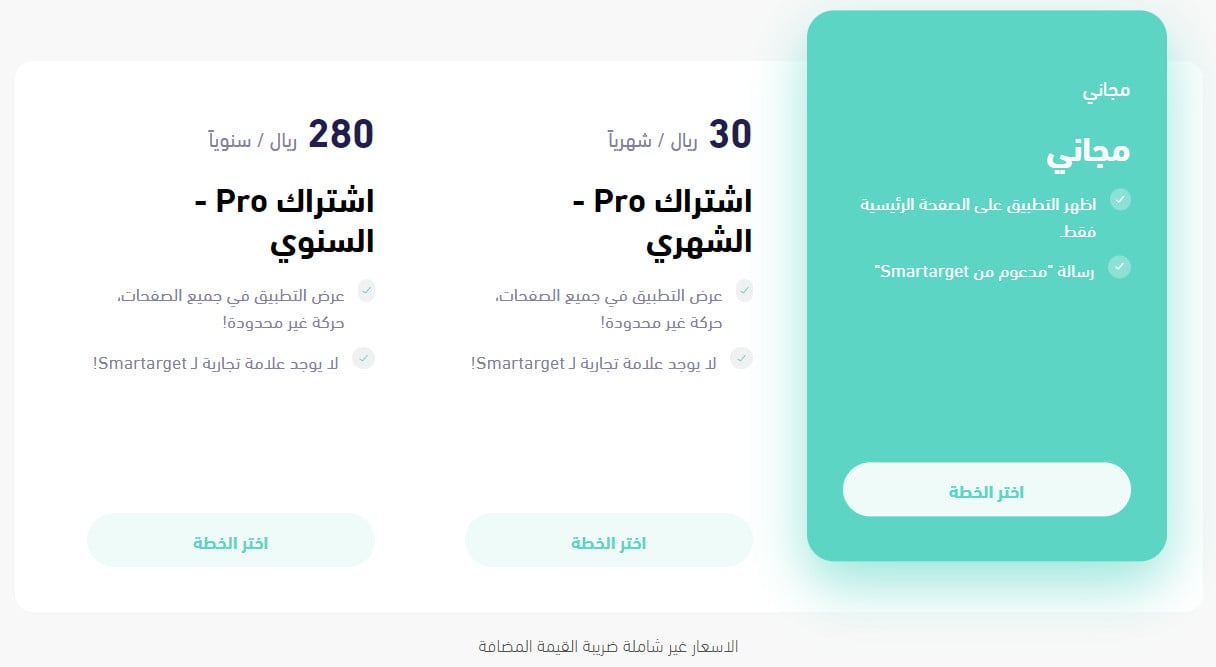
4. Review the permissions the app asks for, then click (Grant permission).
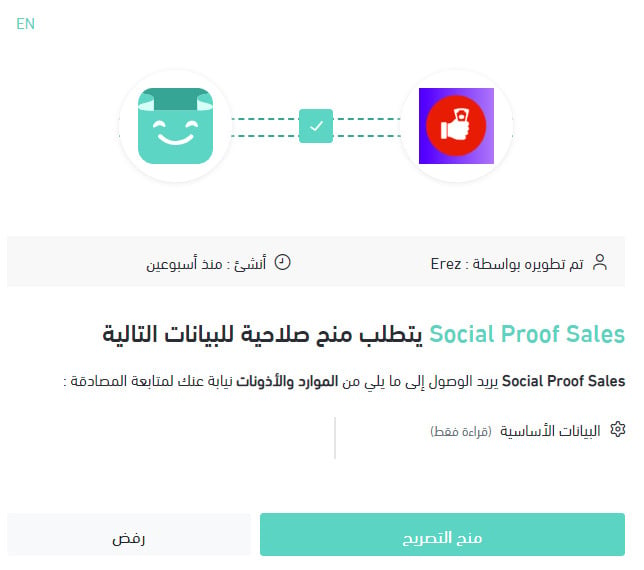
The Social Proof Sales app is now installed on your store.
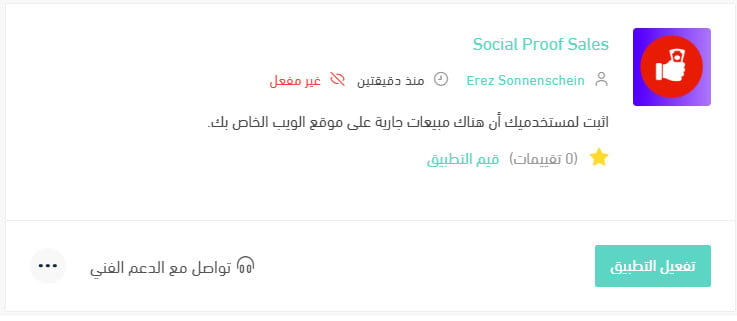
5. From the installed apps page, click (Activate app) on Social Proof Sales.
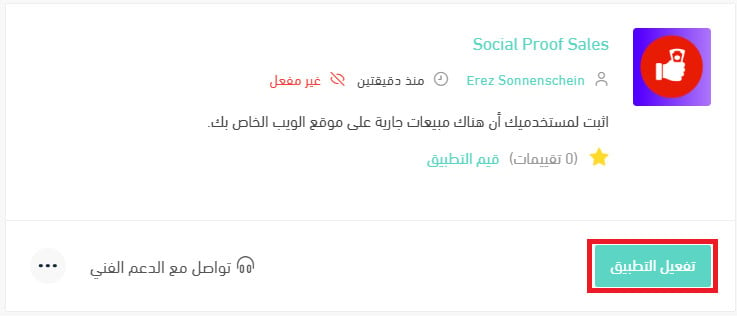
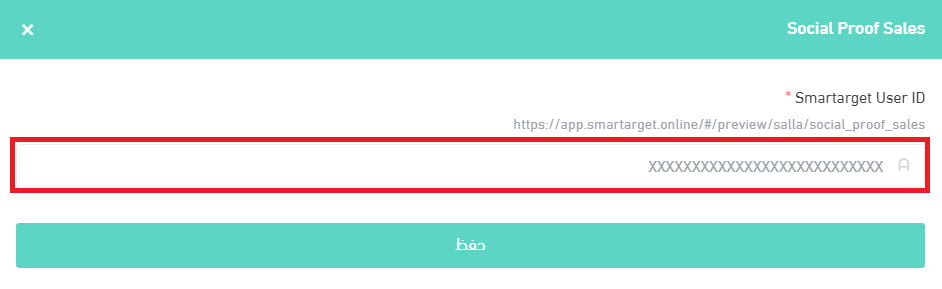
6. Paste your Smartarget User ID into the field provided, then click (Save).
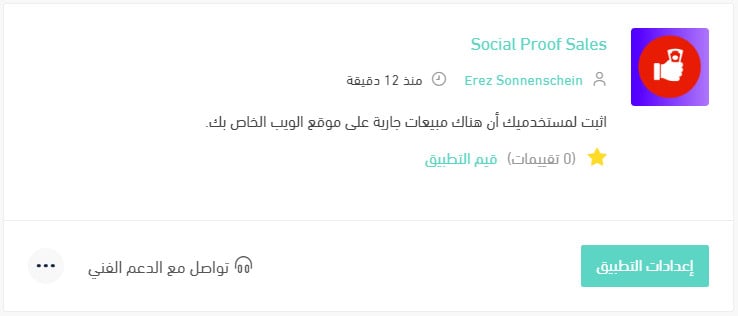
Social Proof Sales is now live in your store.
Stage four: customize Social Proof Sales
1. On your store's page in Smartarget, find Social Proof Sales and click (Connect App).
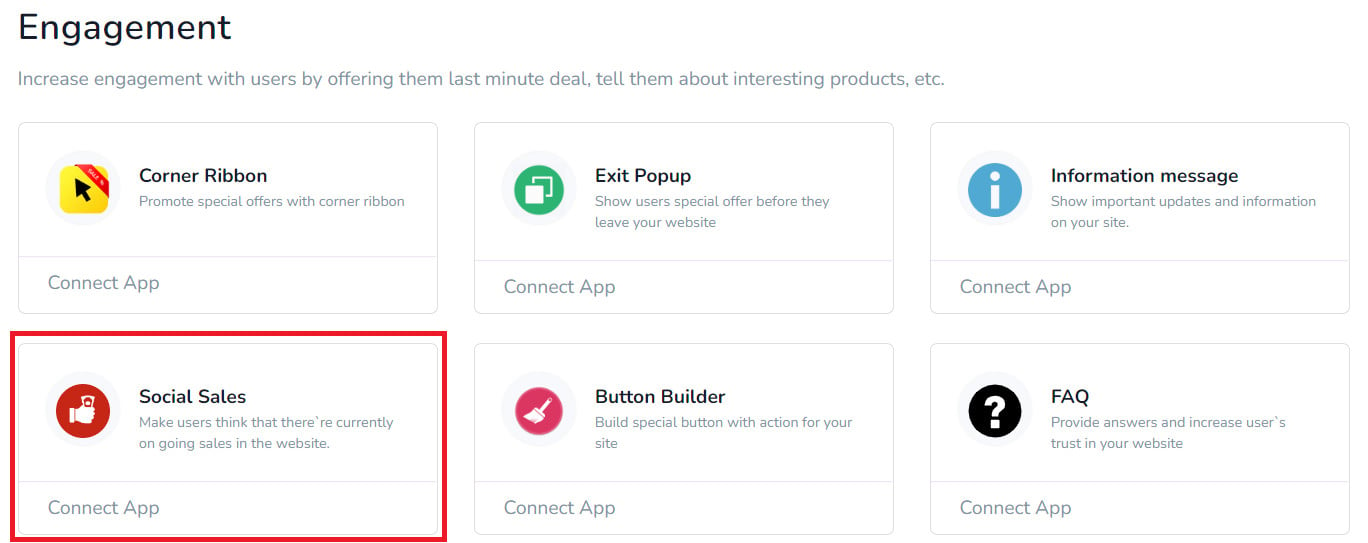
2. Set up Social Proof Sales to match what your business needs, then click (Save setting).
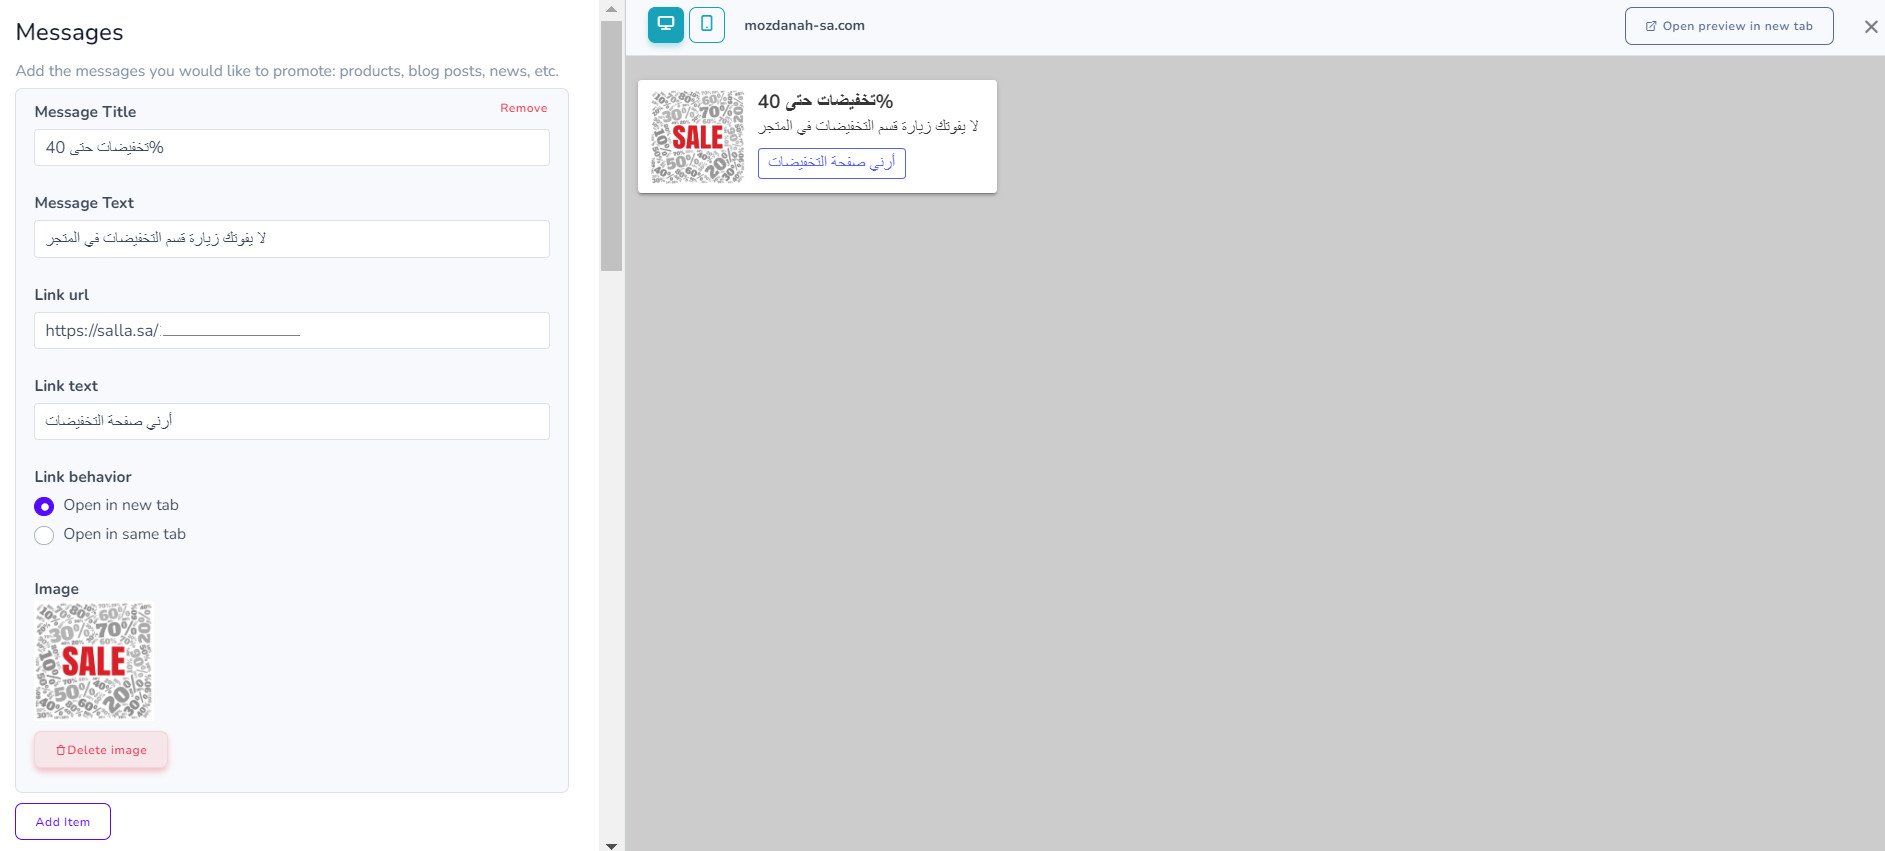
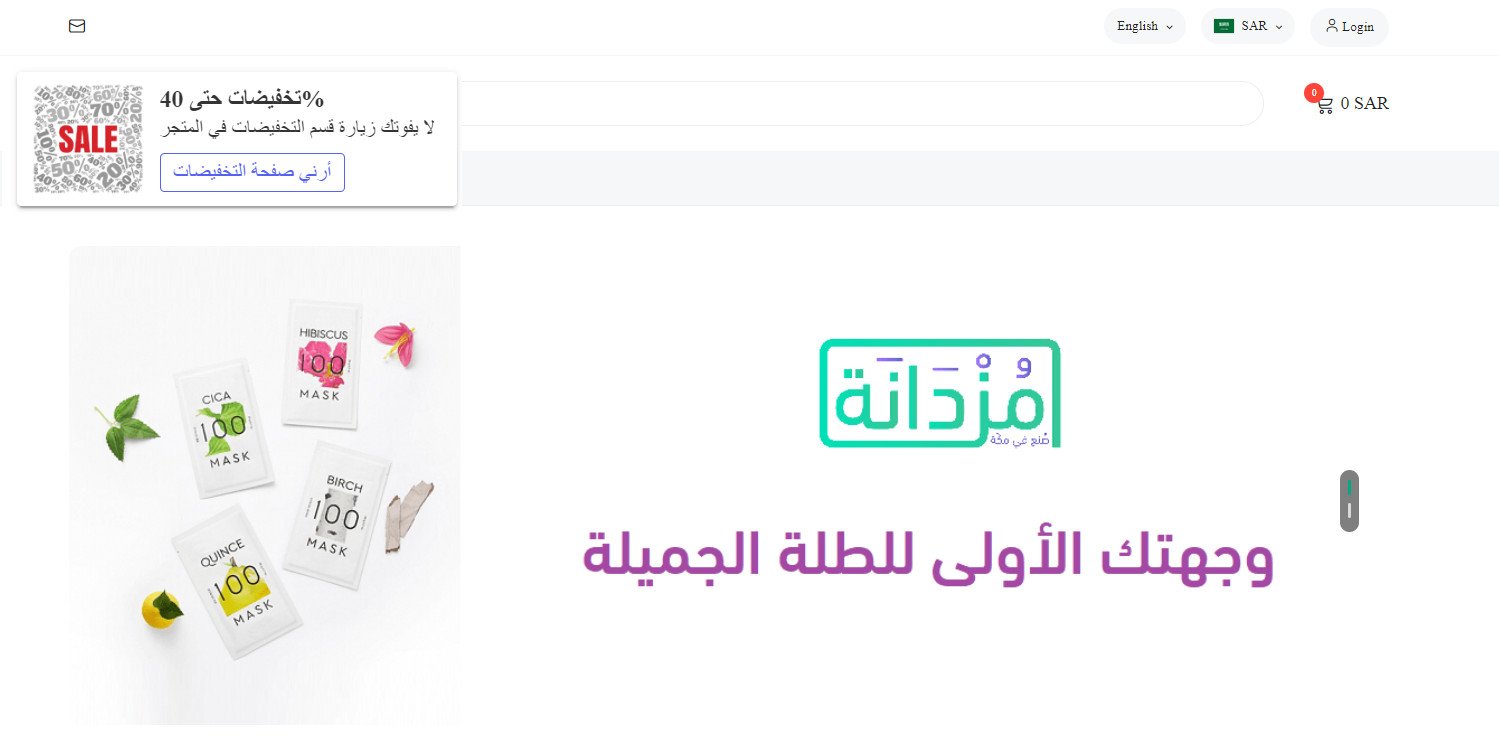
The notification then appears the way you set it up:
For more details, read managing my store's apps.
❓ Frequently asked questions
Can I use the app in any language?
Yes, including languages written from right to left.
Do I need a Smartarget account to use Social Proof Sales?
Yes. The app connects to your store through the User ID you copy from the (INTEGRATION) page of your Smartarget account, and you customize the notifications from Smartarget too.
Where do I customize what the notifications say?
On your store's page in Smartarget. Open Social Proof Sales, click (Connect App), adjust the settings, then click (Save setting).
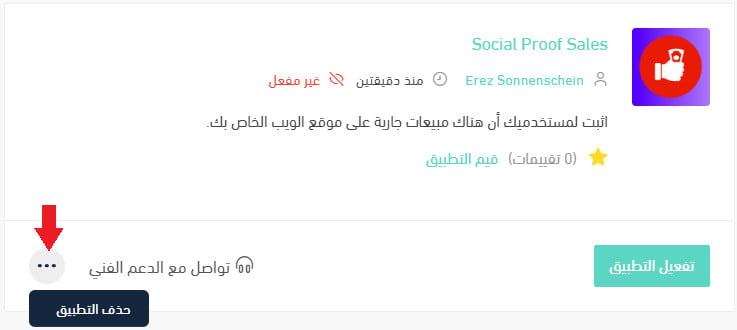
How do I remove the Social Proof Sales app from my store?
1. From the side menu of your dashboard, click (Installed apps).

2. On the all-apps page, find the Social Proof Sales app, click the (...) icon, then click (Remove app), as shown below.
Social proof works when it reflects a store people really do buy from. Keep the names and items you configure close to what you actually sell, and the notifications will read as reassurance rather than noise.