Would you rather store, pack, and ship every order yourself, or hand the whole operation to a fulfillment partner?
Storage and delivery are where most growing stores start to feel the strain. The SEND shipping integration connects your Salla store to a company that codes your products, stores them in space suited to their size and nature, then picks, packs, and delivers each order to your customer. You install it from the Salla App Store, and no separate signup is needed. In this guide, you'll learn how to connect SEND to your store, set your shipping rates, hide the courier at checkout, and remove the app.
To connect SEND, open (My installed apps) in your Salla dashboard, click (Browse Salla App Store), open the SEND app page, and click (Install). Review the permissions, then click (Grant permission). A SEND account is created for you automatically, so your store is linked as soon as the app installs.
📌 Article overview
- What is SEND?
- How to connect SEND to your Salla store
- Frequently asked questions
🎯 What is SEND?
SEND handles warehousing and shipping for online stores. It delivers orders quickly and with a level of service meant to improve the shopping experience and get orders to customers in the shortest time possible.
SEND codes your store's products and stores them in space that suits their size and nature. From there it prepares each order, packs it, and ships it to your customer in a fast, straightforward delivery.
Do I need a SEND account before connecting?
No. When you install the SEND app from the Salla App Store, a new SEND account is created for you automatically. If you already have a SEND account, contact SEND's technical support to activate that account on your Salla store.
🚀 How to connect SEND to your Salla store
1. From the side menu of your dashboard, click (My installed apps).

2. From the Salla App Store banner, click (Browse Salla App Store).

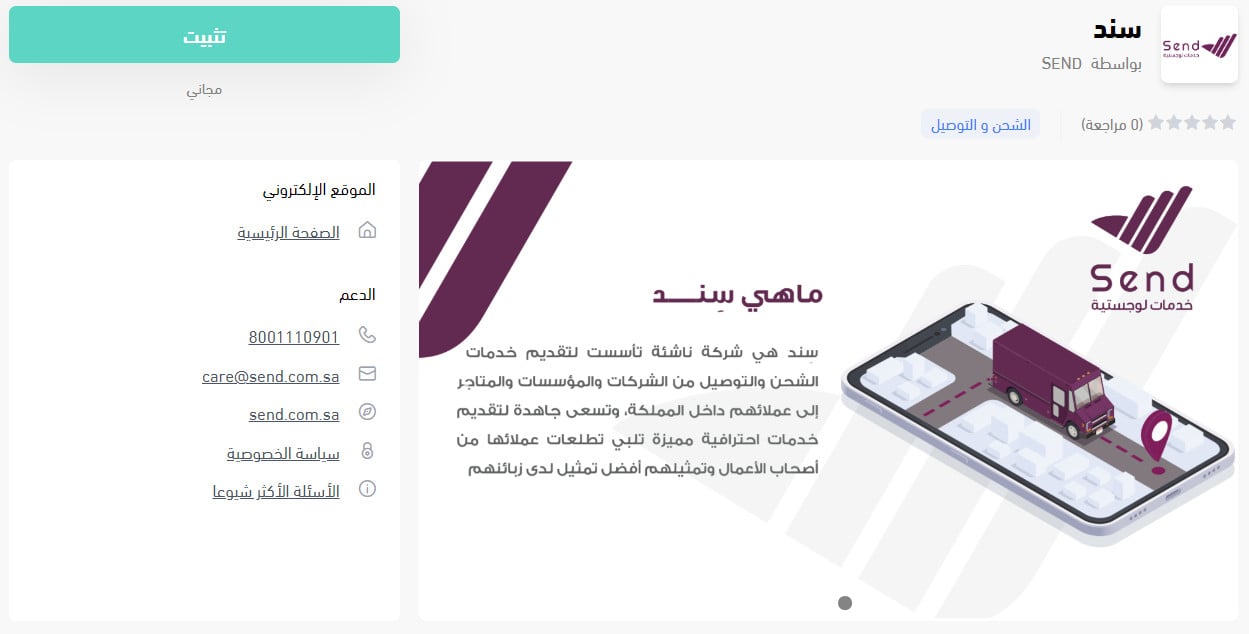
3. From the SEND app page, click (Install).
4. Review the permissions the app asks for, then click (Grant permission).
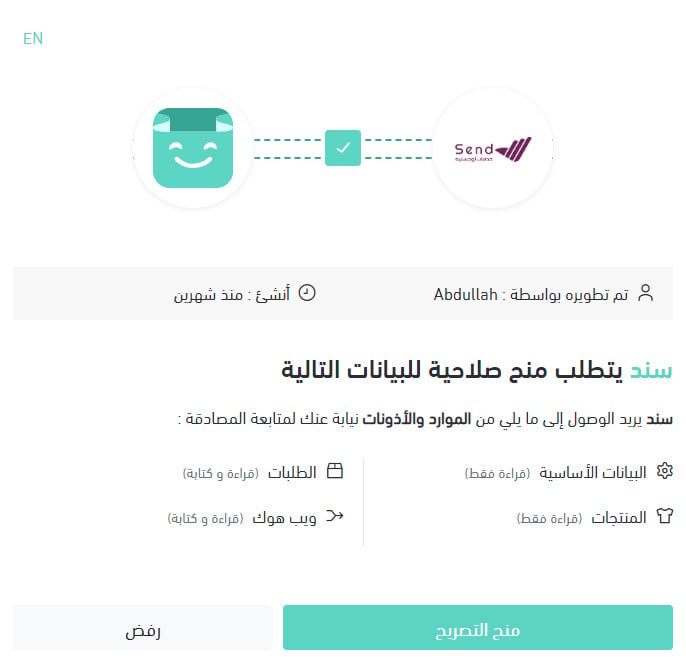
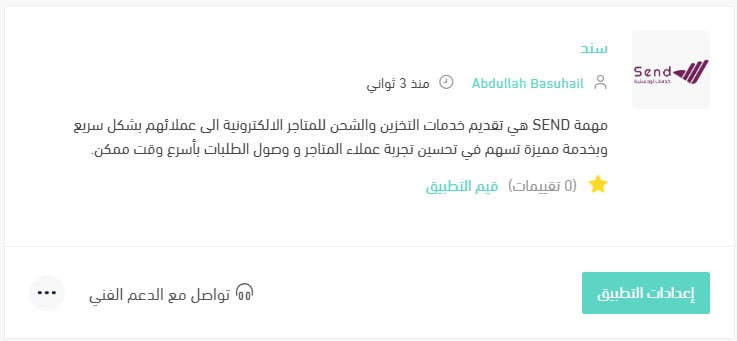
Your Salla store is now linked to your SEND account.
For more details, read managing my store's apps.
❓ Frequently asked questions
How do I set up shipping rates for SEND?
1. From the side menu of your dashboard, click (My installed apps).

2. On the all apps page, find the SEND app and click (App settings).
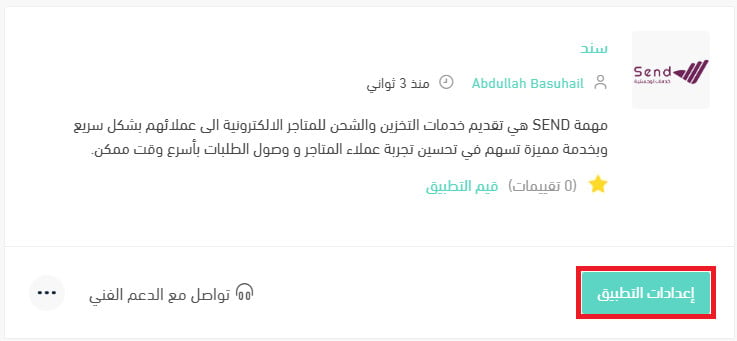
3. Open the (Shipping rates) tab and enter your rates for the cities and regions you want to serve.
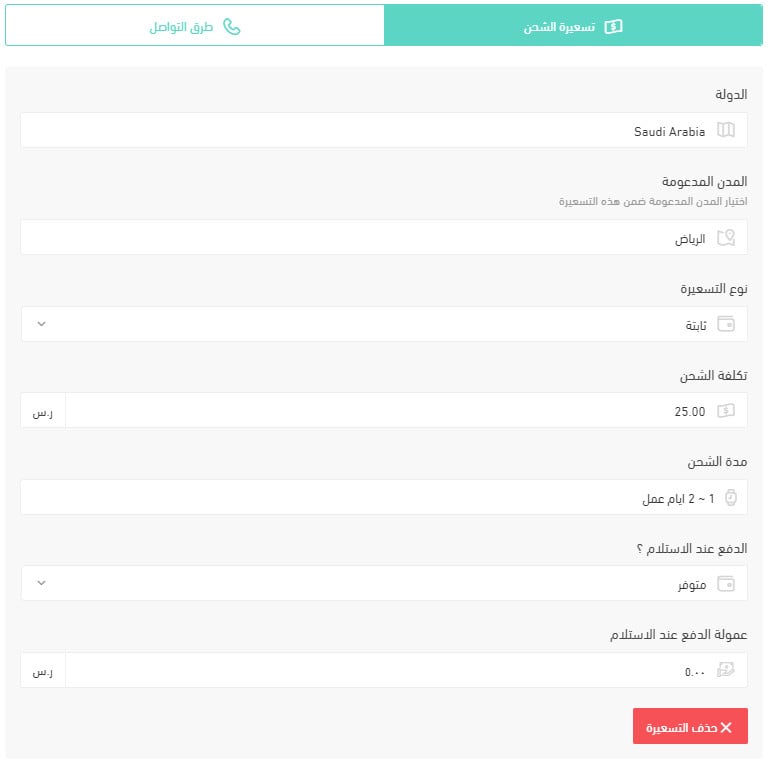
For more details, read shipping and delivery option settings.
How do I hide SEND at checkout without removing it?
1. From the side menu of your dashboard, click (My installed apps).
2. On the all apps page, find the SEND app and click (App settings).
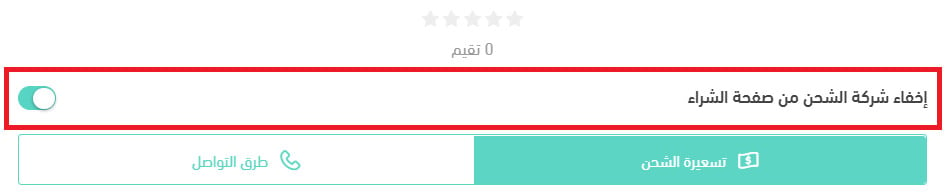
3. Turn the (Hide the shipping company from the checkout page) option on or off. [Verify: the Arabic asks how to disable an app temporarily but answers with this checkout-visibility toggle, which hides the courier rather than pausing the app.]
How do I remove the SEND app from my store?
1. From the side menu of your dashboard, click (My installed apps).
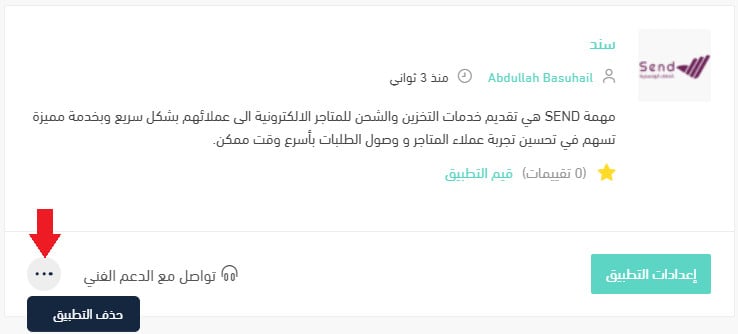
2. On the all apps page, find the SEND app, click the (...) icon, then click (Remove app), as shown below.
📝 Important notes
Installing the SEND app creates a SEND account for you automatically. If you already use SEND, contact their technical support to activate that account on your Salla store instead.
Fulfillment is worth handing over the moment packing orders starts taking more of your day than selling does. Connect SEND, set your rates, and let the warehouse carry the rest.