Do you know which part of your store quietly loses you customers?
Numbers tell you that visitors left; they don't show you the moment they gave up. Mouseflow is one of the strongest behavior analytics tools available, giving you heatmaps, session recordings, funnels, form analytics, and feedback campaigns for your store — so you can see the friction instead of guessing at it. In this guide, you'll learn what Mouseflow offers, how to create an account, how to copy your Mouseflow key, and how to connect and activate the app on your Salla store.
To connect Mouseflow, create a Mouseflow account and copy your tracking key from the installation flow. In your Salla dashboard, open (Installed apps), browse the Salla App Store, and install the Mouseflow app. Then click (Activate app), paste the key you copied into the field provided, and click (Save).
📌 Article overview
- What is Mouseflow?
- How to connect Mouseflow to your store
- Frequently asked questions
🎯 What is Mouseflow?
Mouseflow is one of the best behavior analytics tools for improving your website, through heatmaps, user recordings, conversion funnels, form analytics, and feedback campaigns.
🚀 How to connect Mouseflow to your store
Connecting Mouseflow takes three stages:
- Create a Mouseflow account
- Copy the Mouseflow key
- Install the Mouseflow app and link it to your Mouseflow account
Stage one: create a Mouseflow account
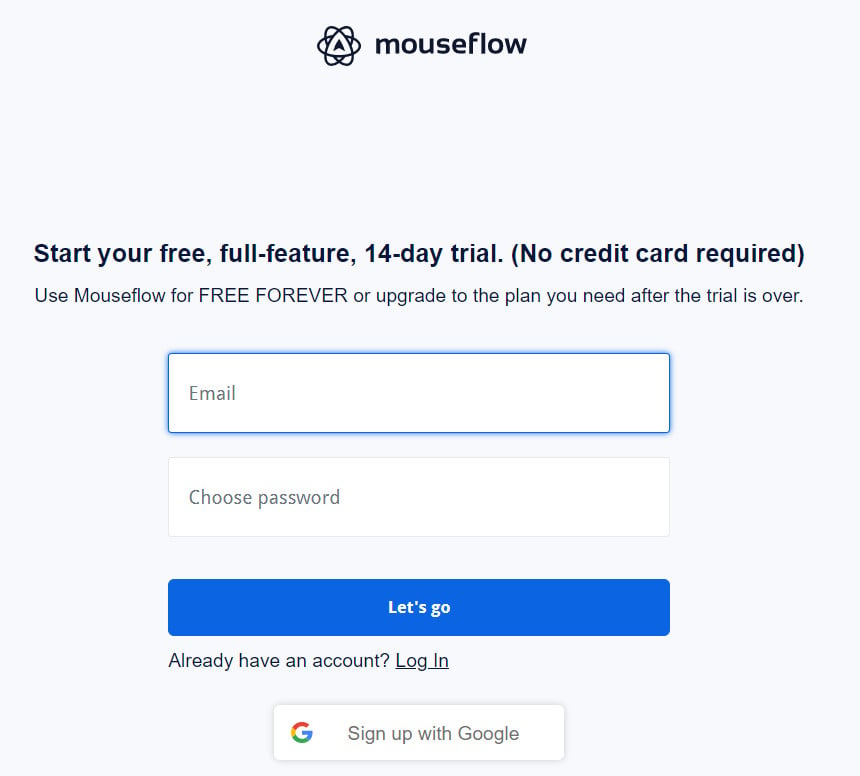
1. On the Mouseflow sign-up page, enter the details it asks for (email and password), then click (Let's go).
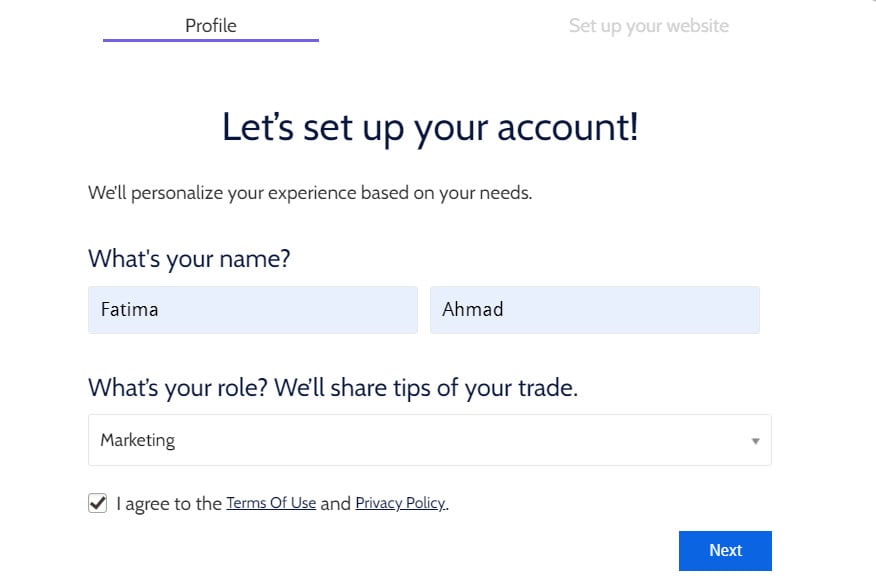
2. Enter your details and your role in the store, then click (Next).
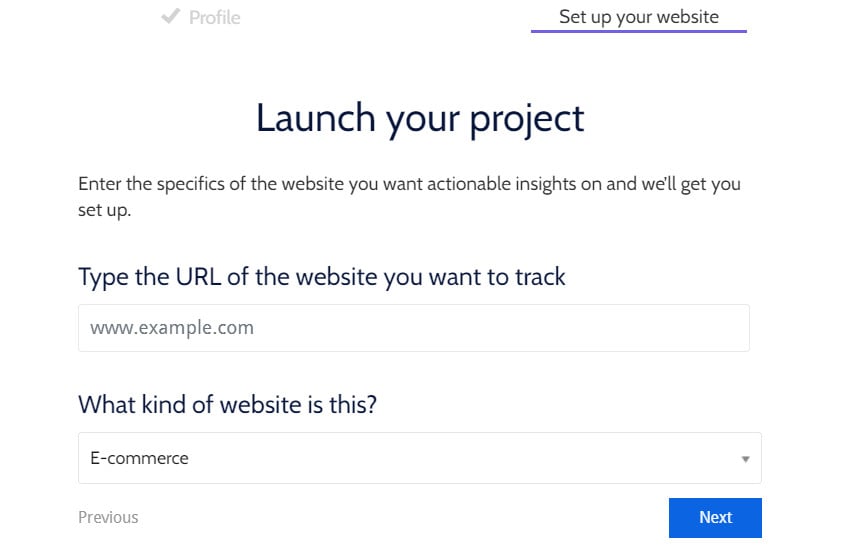
3. Enter your store link, choose your business type, then click (Next).
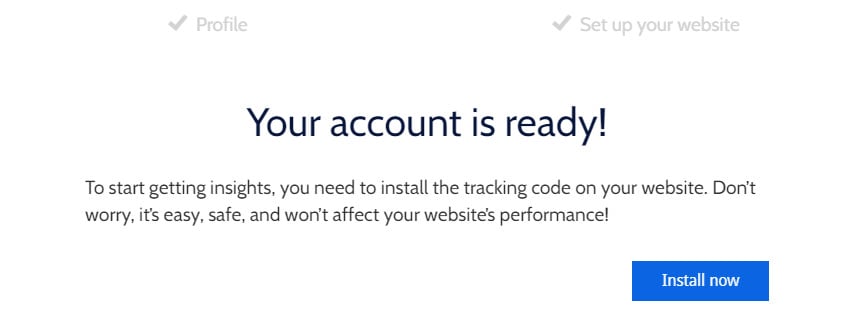
Your Mouseflow account is now ready.
Stage two: copy the Mouseflow key
1. If you have just created a Mouseflow account, the (Installing the Mouseflow Tracking code) window appears — click (Google Tag Manager) in it.
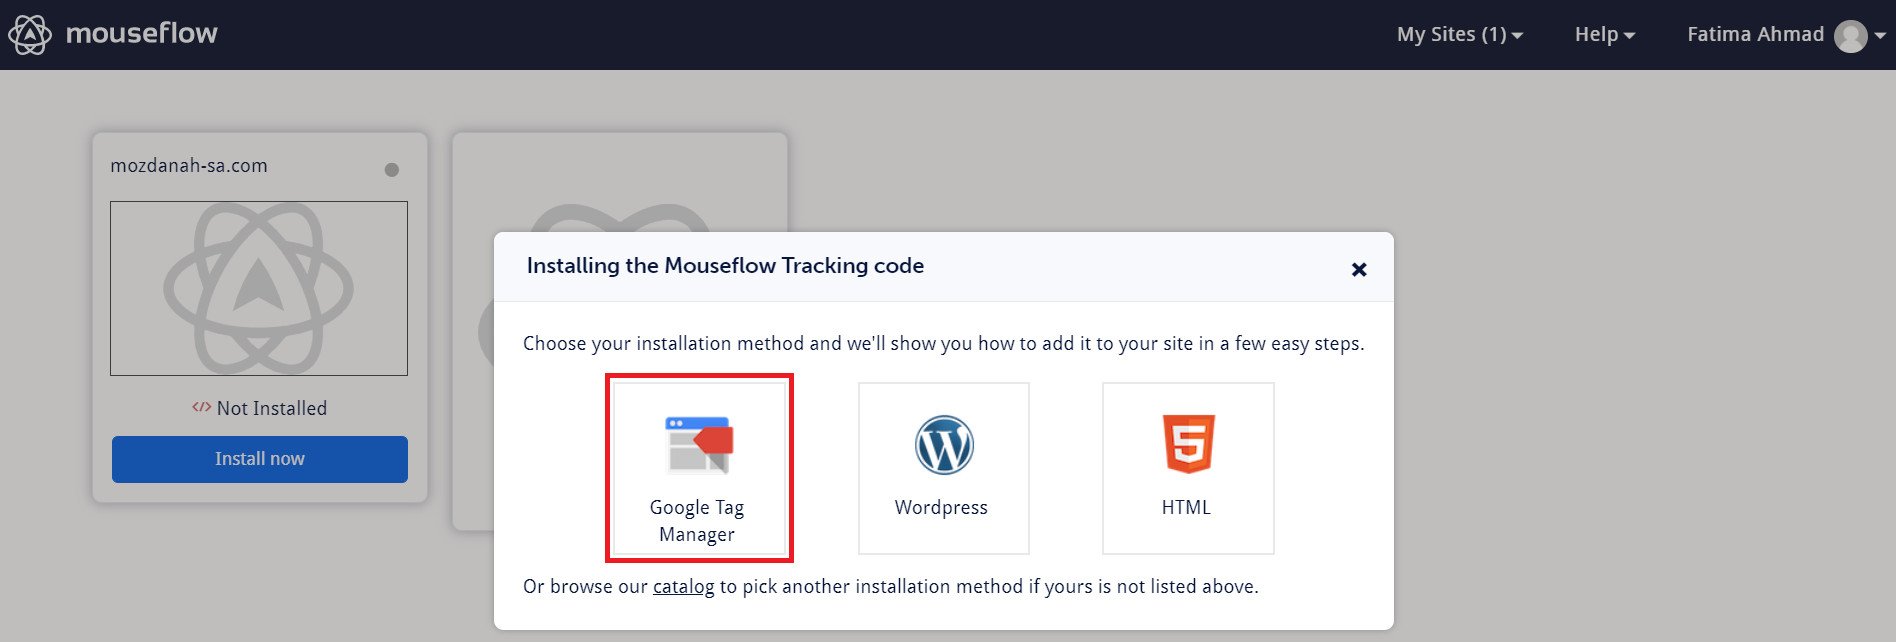
If you already had a Mouseflow account, reach that same window from your Mouseflow account page: click (Setting), then click (Installation Flow) at the bottom of the page.

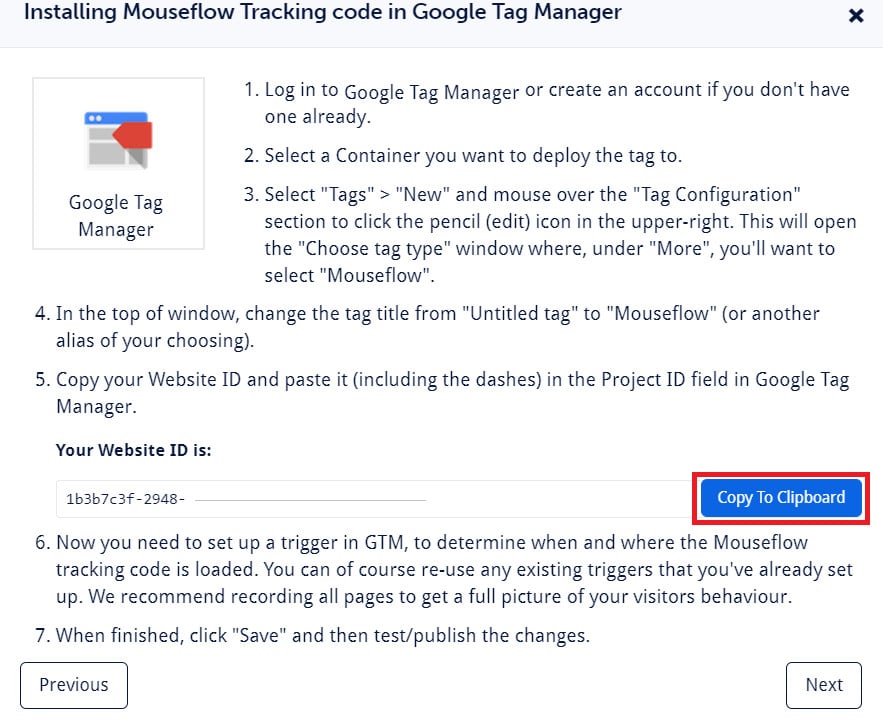
2. Click (Copy To Clipboard).
Stage three: install the app and link it to your account
1. From the side menu of your dashboard, click (Installed apps).

2. From the Salla App Store banner, click (Browse the Salla App Store).

3. From the Mouseflow app, click (Install).
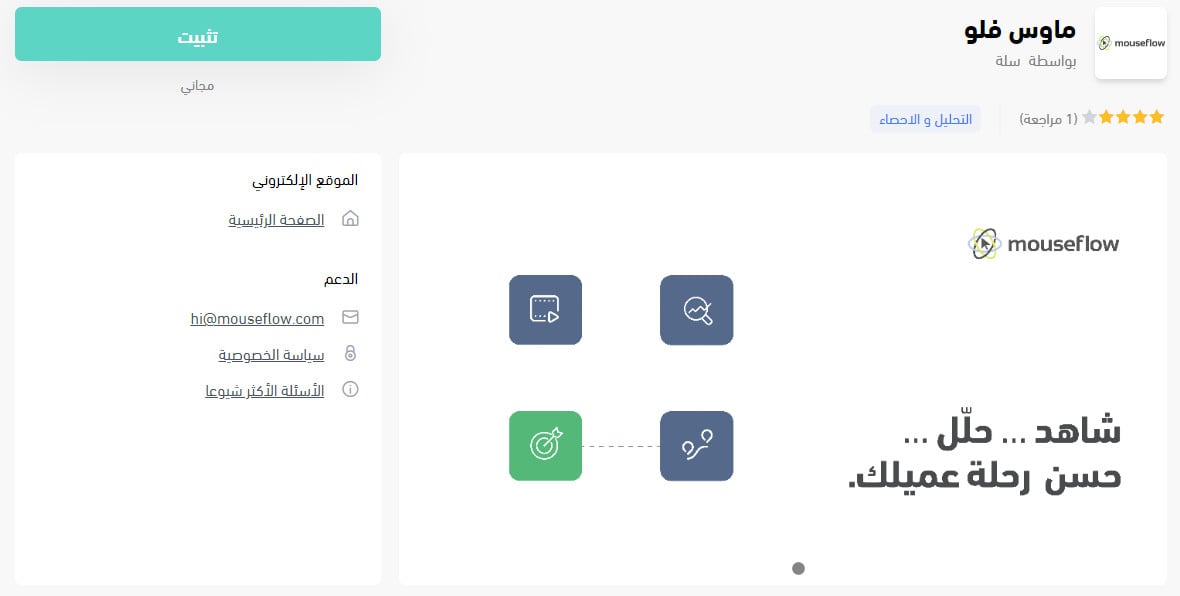
The app is installed. All that's left is to activate it.
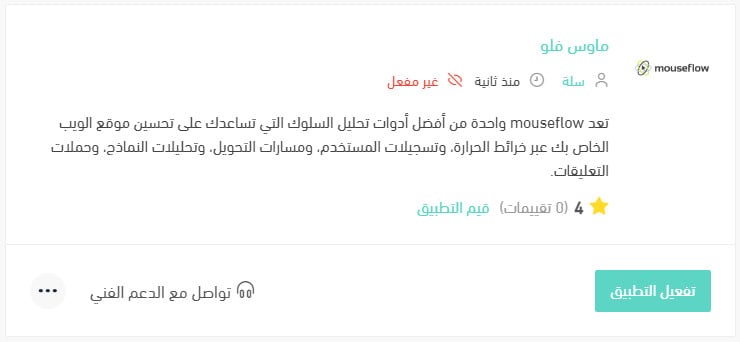
4. From the installed apps page, click (Activate app).
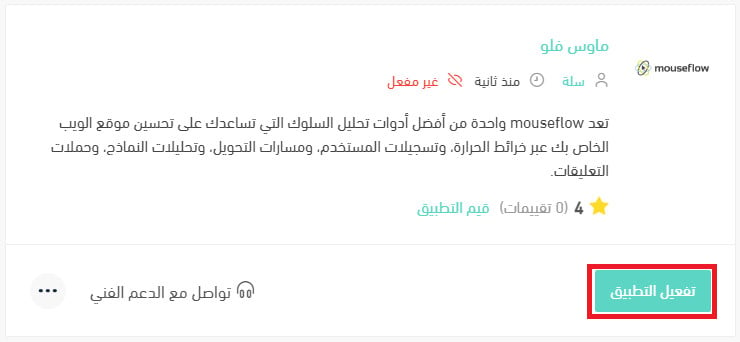
5. Paste the key you copied in stage two into the field provided, then click (Save).

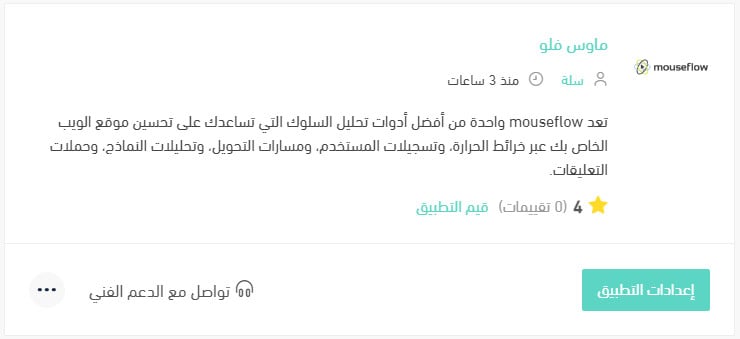
The app is now active, and it appears like this:
For more details, read managing my store's apps.
❓ Frequently asked questions
Here are the answers to the questions merchants ask most:
- What are the main features of Mouseflow?
- How do I track how users interact with my store?
- Does Mouseflow affect performance?
- How do I remove the Mouseflow app from my store?
What are the main features of Mouseflow?
- Session recording: watch, in detail, exactly how a user experiences your site.
- Heatmaps: a visual summary of how users move around your site — their movements, how many times they click, and where.
- Movement tracking: user recordings let you watch visitor activity as they move through your site.
- Forms: form analytics surface the problems that hurt usability for different groups of visitors.
- Feedback: create custom, interactive surveys aimed at a specific audience.
How do I track how users interact with my store?
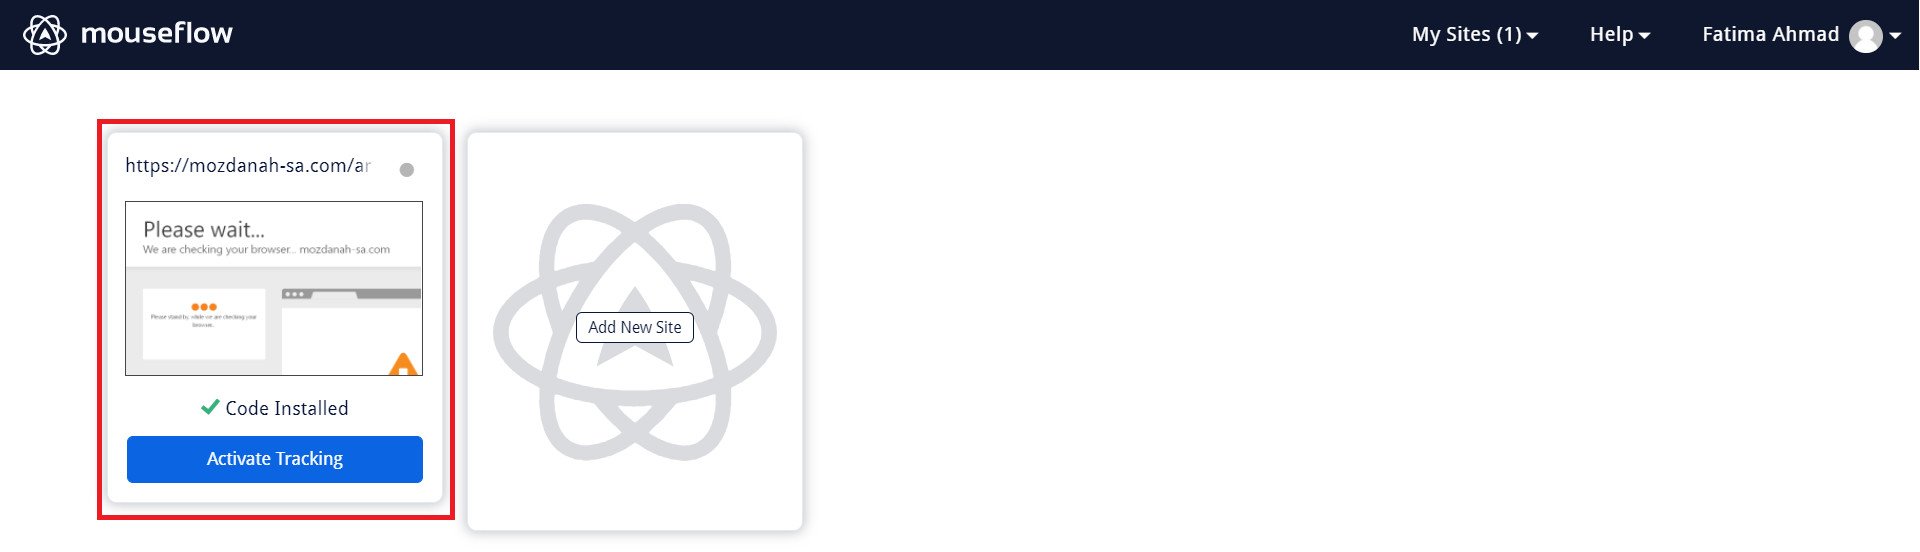
From your Mouseflow home page, click your store's account.
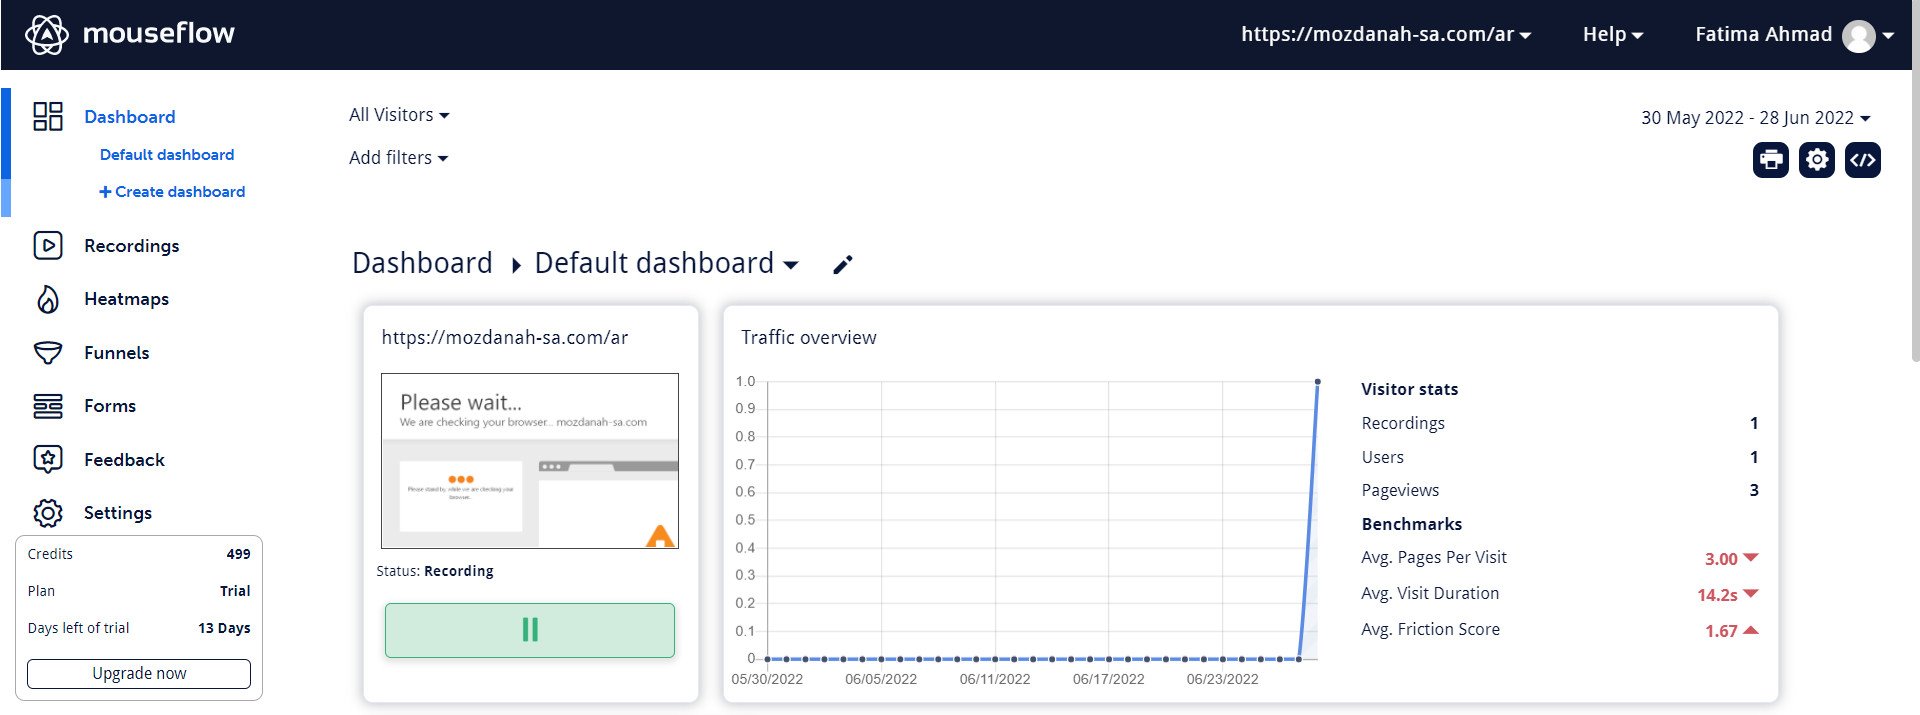
The (Dashboard) page shows visitor interaction, along with a range of reports and charts.
Does Mouseflow affect performance?
No. Mouseflow collects data entirely asynchronously, so it doesn't slow down page loading or change what the user experiences.
How do I remove the Mouseflow app from my store?
1. From the side menu of your dashboard, click (Installed apps).

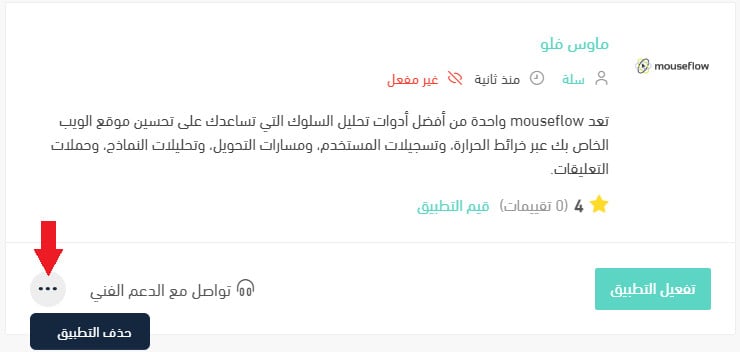
2. On the all-apps page, find the Mouseflow app, click the (...) icon, then click (Remove app), as shown below.
Start with one funnel. Watch where visitors drop out of it, fix that single step, then move to the next one — that is how behavior data turns into orders.