Many merchants struggle to fine-tune their app settings in a way that truly reflects their brand identity. When these details are overlooked, the customer experience can feel inconsistent or unpolished.
The solution lies in the General Settings tab within Salla’s App Maker. This section gives you full control over layout, colors, typography, and display behavior, allowing you to build a cohesive, professional app experience that aligns perfectly with your store’s identity and delivers a smooth, intuitive journey for your customers.
Configure general settings using the default template
1. Access the App Maker
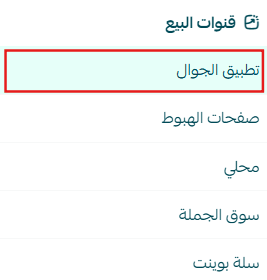
From the main menu, click Store & Channels), then select Mobile App.
2. Open General Settings
From the app design page, select the General Settings tab.
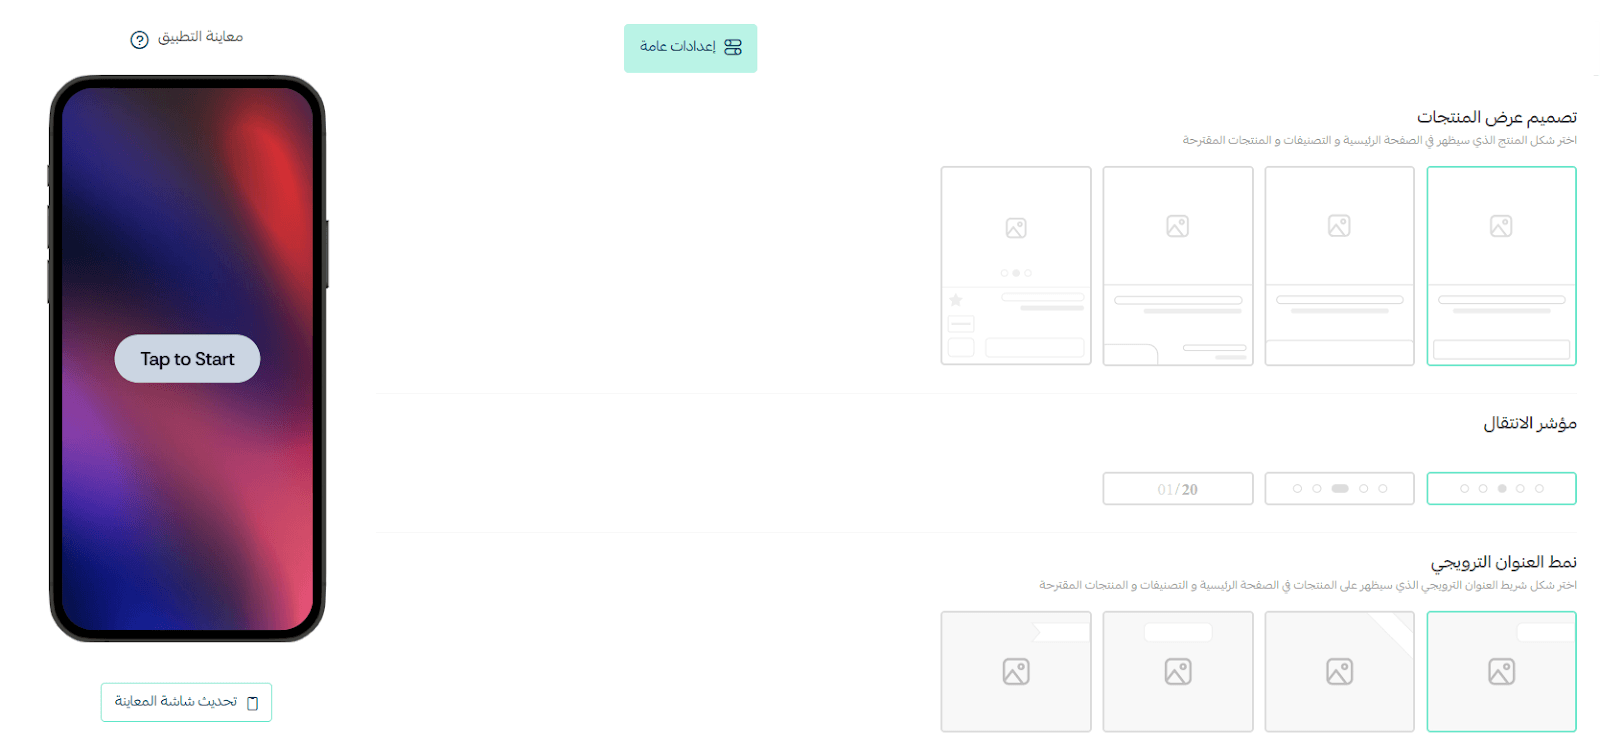
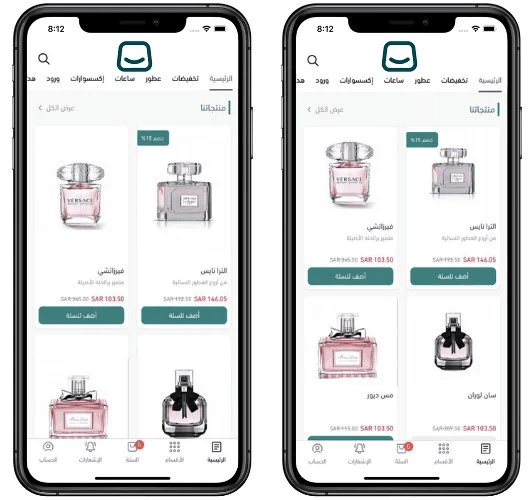
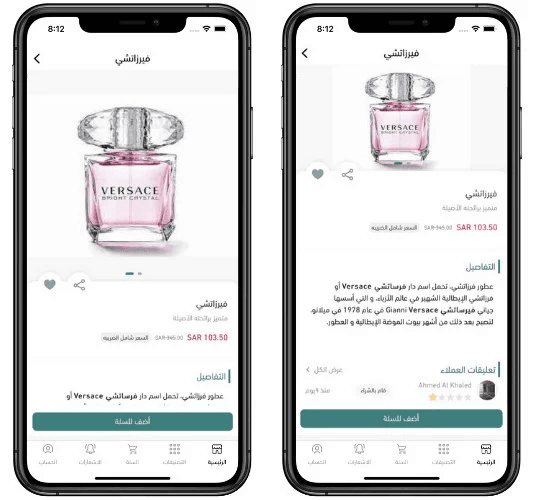
3. Choose the Product Display Style
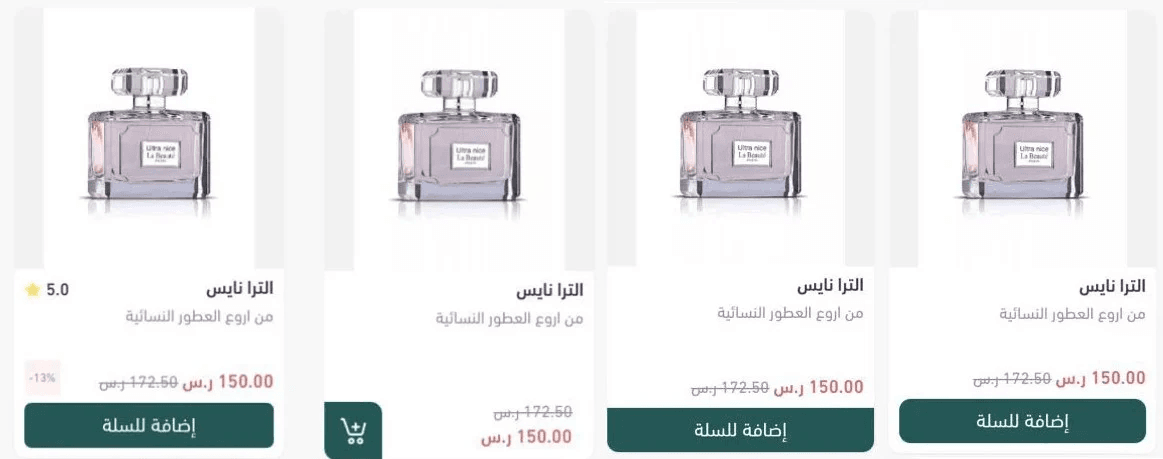
Select how products are displayed across the app interface.
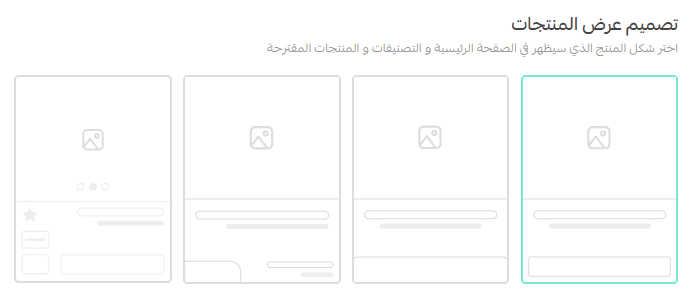
You can choose from four different layout styles, each offering a distinct visual presentation to suit your products and browsing experience.
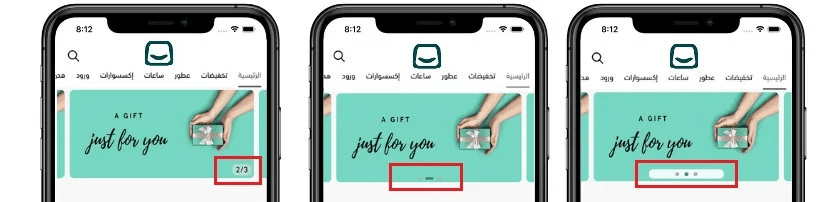
4. Select the Navigation Indicator Style
Choose the style of the navigation indicator used when switching between pages or product images. Available options include:
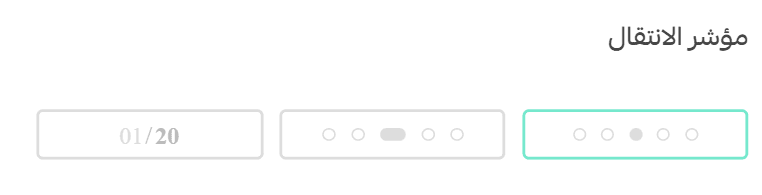
- Circular dots
- Capsule-shaped indicators
- Numeric indicators
This helps guide users visually and improves navigation clarity.
5. Select the Promotional Title Style
Choose how promotional titles appear on products across:
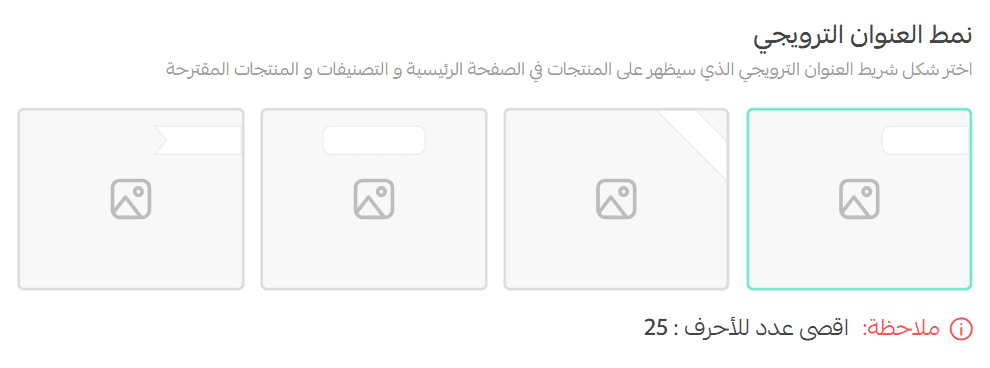
- The home page
- Category pages
- Recommended products
Several visual styles are available to match your preferred design approach.
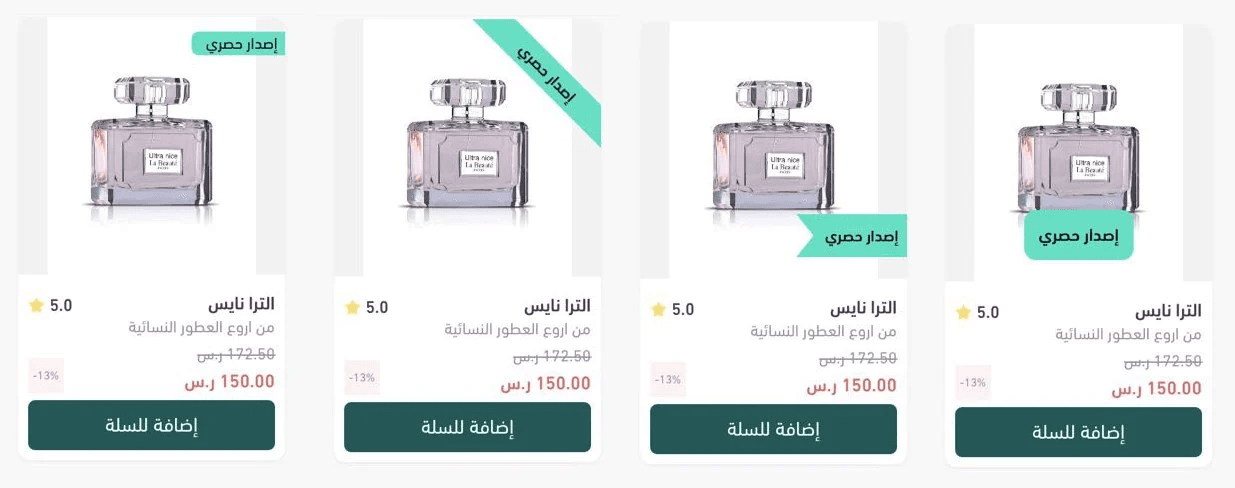
6. Define the Promotional Title Position
Set where the promotional title appears on the product card:
- Top
- Bottom

This allows you to emphasize offers while maintaining a clean layout.
7. Customize Colors

Define the colors for:
- Promotional titles
- Promotional background
- Primary app color
For best results, use colors consistent with your brand identity to ensure visual harmony and brand recognition.
8. Select the App Font
From the font list, choose the font you want to use throughout the app.
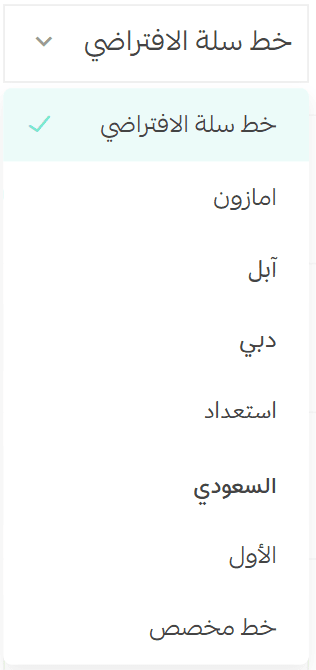
Add a Custom Font
To upload a custom font for your store:
- Select (Custom Font)

- Upload the font file from your device
- Choose the font weight:
- Regular
- Medium
- Bold
- Click (Add another font) if you need additional weights
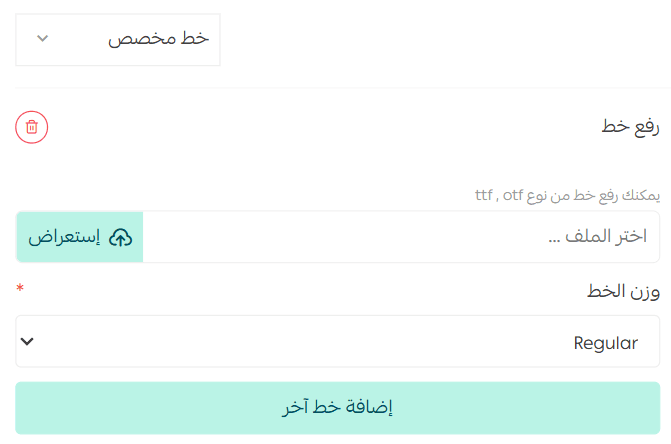
You can remove any font easily using the delete icon.

Make sure to click (Save) at the bottom of the page to apply your changes.
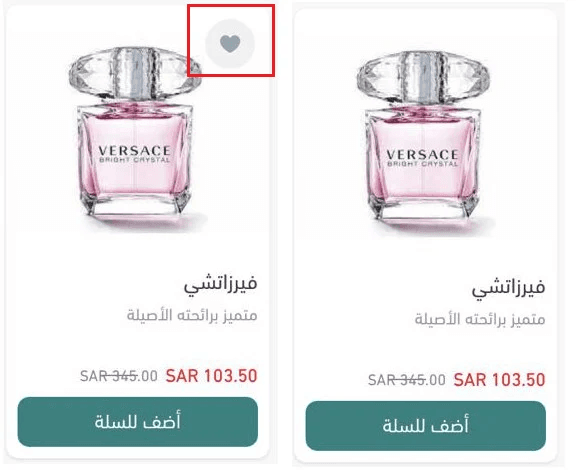
9. Enable the “Add to Favorites” Button
You can enable the Add to Favorites button to allow customers to save products directly from the home page without opening the product details page.

This feature helps:
- Increase engagement
- Encourage repeat visits
- Improve product discovery
10. Configure Additional Settings

Adjust advanced options to better fit your store’s needs, including:
- Maximum number of characters allowed in product titles
- Product image display preferences
Product Image Display Options:
Product image size:
- Default
- Large
Product image display mode:
- Full image
- Fit to container
Product detail image size:
- Default
- Large
These settings help balance visual appeal with usability, especially on the home page, category pages, and product detail screens.
✨ Best Practice Tip
Display and layout settings don’t just affect appearance; they directly influence browsing behavior, engagement time, and purchase decisions.