The more accurately you organize customer data from the start, the easier and more professional your customer management becomes.
With custom customer fields, you can tailor each customer profile to include only the information you actually need. This enables better follow-ups, deeper insights, and more informed decision-making, all from a single, well-structured customer card.
📌 Article overview
- Accessing the custom fields page
- Adding custom customer fields
- Assigning custom fields to customers
- Editing custom fields
- Deleting custom fields
Accessing the custom fields page
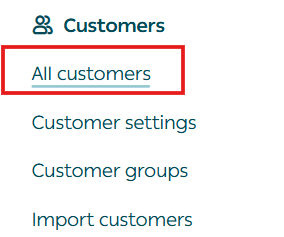
- From the main menu, click All, then under Customers select All customers.
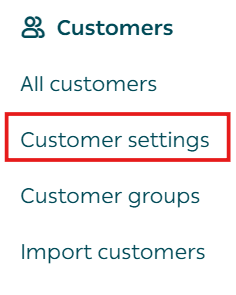
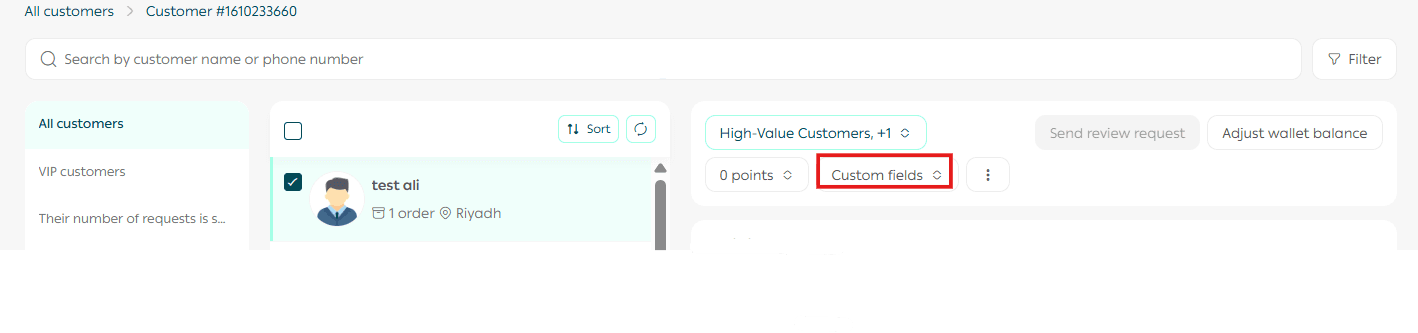
2. Open the Custom Fields tab and click Add Section.

Adding custom customer fields
Enter basic field information
- Enter the field details and choose whether the field applies to:
- All customers, or
- A specific customer group
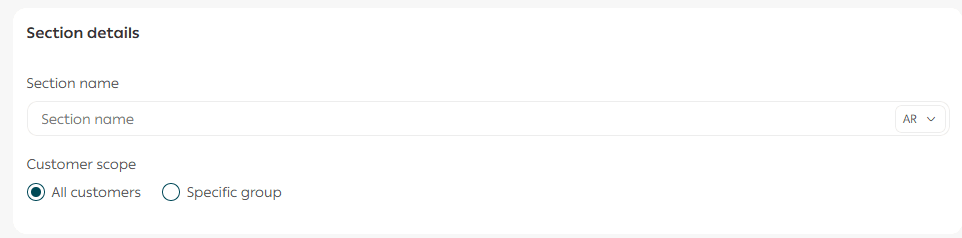
If you choose a specific customer group, you must select one of the previously created customer groups.
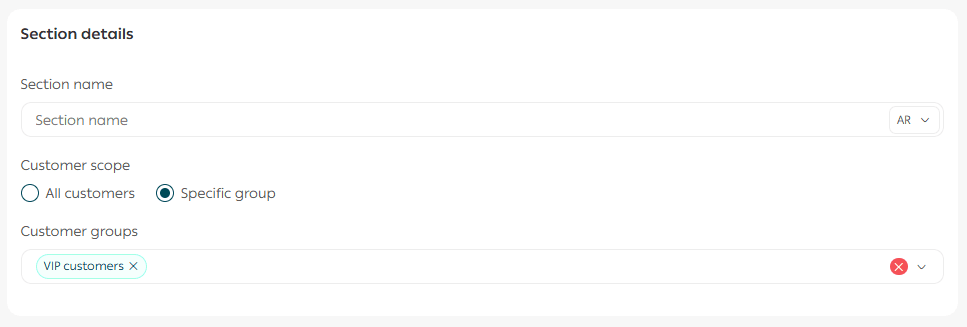
For more details, see How to Create Customer Groups.
Add custom field values
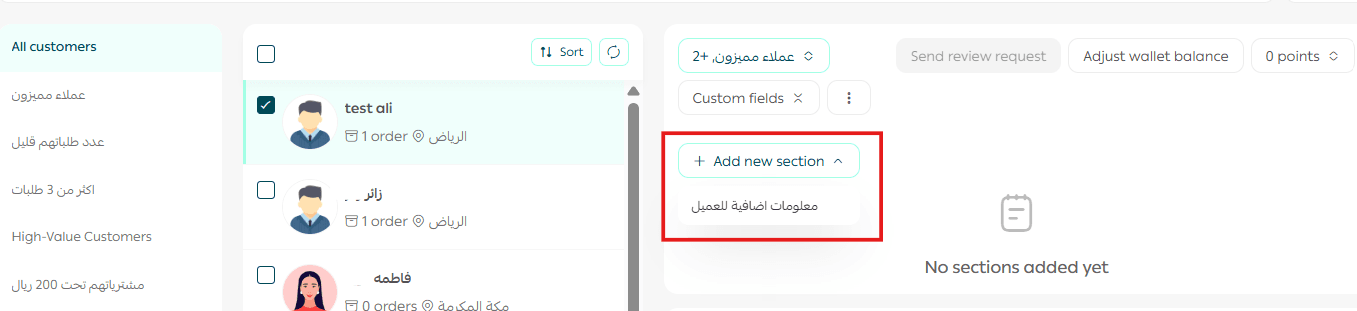
- Add the fields you want to include (up to 5 fields per section).
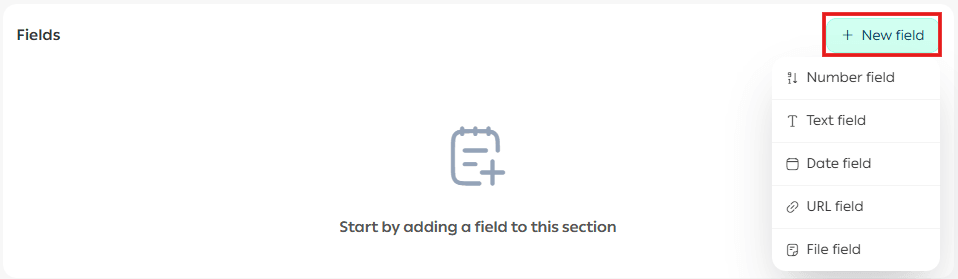
After adding the required fields, customize them based on your needs and click Add Section.
Practical example
A beauty and skincare store can add custom fields such as:
- Skin type
- Skin concerns
This allows the store to recommend suitable products and send targeted campaigns based on each customer’s skin needs.

🎉 Your custom fields have been added successfully, and the new section will appear in the list of custom fields.
Note: You can add up to 10 custom field sections in total.
Assigning custom fields to a customer
- From the main menu, click All, then under Customers select All customers.
2. From the customer list, select the customer whose profile you want to customize.
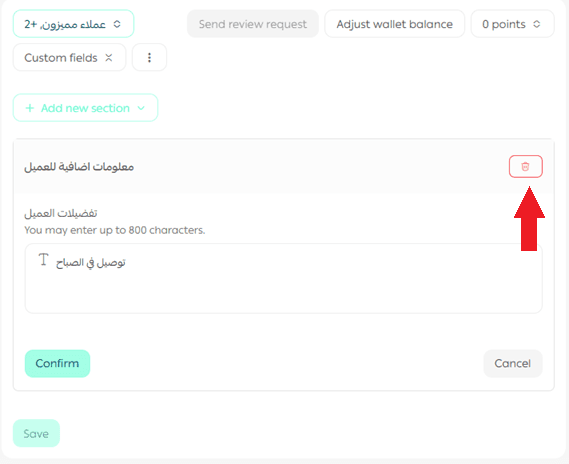
3. Inside the customer card, click Custom Fields, then Add Section, and select the field section you want to assign.
4. Enter the field values and click Confirm.

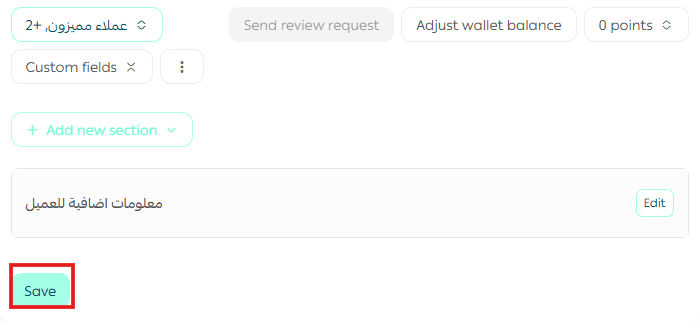
5. Click Save to apply the changes.
The custom fields will now appear in the customer profile.
Editing custom fields
- To edit a field, go to Custom Customer Fields and make the required changes.

Deleting custom fields
- To delete a field, go to Custom Customer Fields and remove the field or section.
Practical examples of custom customer fields
Fashion stores
Suggested custom fields:
- Preferred category (e.g., Dresses, Sportswear)
This enables personalized offers and product recommendations based on the customer’s interests.
Beauty & skincare stores
Suggested custom fields:
- Skin type (Dry, Oily, Combination)
- Preferred ingredients (Natural, Fragrance-Free)
This allows targeted recommendations and campaigns for products that match each customer’s preferences.
Food & beverage stores
Suggested custom fields:
- Diet type (Keto, Low-Carb, Bulking)
- Preferred drinks (Coffee, Tea, Juices)
This helps promote relevant products and seasonal offers, such as coffee promotions in winter or juice offers in summer.
Frequently asked questions
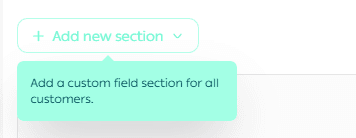
Why do I see the message “Please add a custom field section for all customers”?
This message appears when:
- The customer does not belong to any group that has custom fields assigned, and
- There is no general custom field section that applies to all customers.
Solution: Add at least one custom field section that applies to all customers, ensuring it appears for everyone without exception.
Which plans support custom customer fields?
The Pro and Special plans support this feature.
🎯 Well-structured customer data leads to smarter marketing, better personalization, and stronger customer relationships.