First impressions matter. If users are not engaged in the first few seconds after opening your app, interaction and conversion rates can drop quickly.
With animated images (motion assets) in the splash and onboarding screens, Salla App Maker helps you create a visually engaging experience that captures attention immediately and guides users smoothly into your store, increasing engagement and sales potential.
How to upload animated images to your app’s launch screens
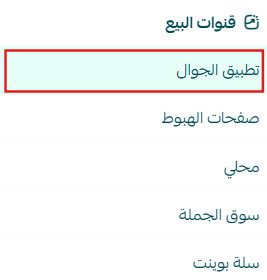
1. Access the App Maker
From the main menu, go to Store & Sales Channels, then select Mobile App.
2. Open the Launch Screens tab
From the App Maker page, navigate to the Launch Screens tab.

3. Upload an animated image
From the Launch Screen section, upload your animated image using the supported format.
- Supported formats: PNG, JPG, JSON
- Recommended size: 512 × 512 px
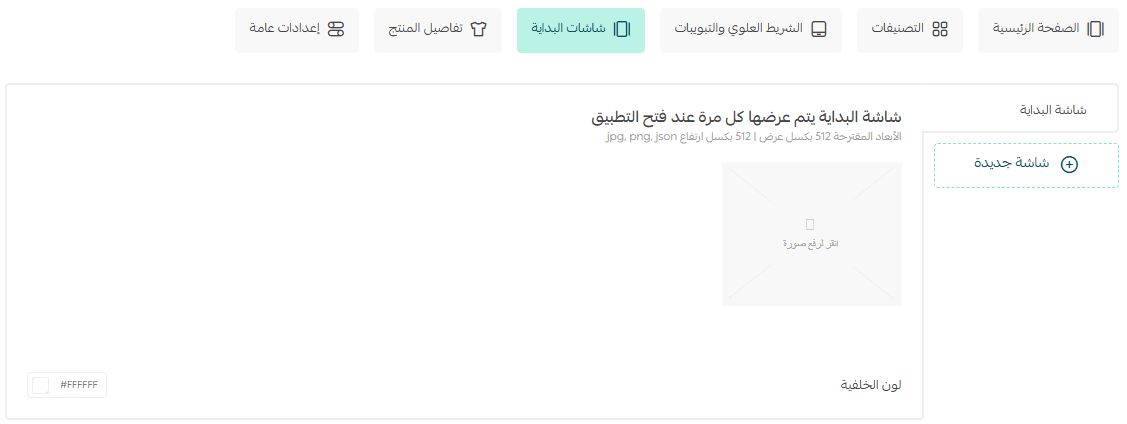
This animation will appear when the app is launched, creating a strong visual entry point.
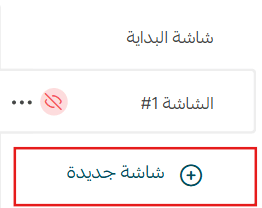
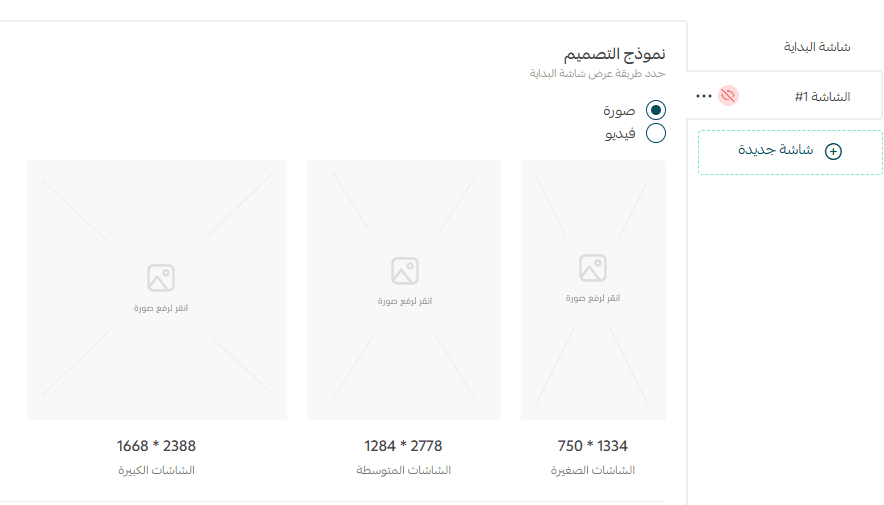
4. Add additional screens
Click + Add New Screen to create more launch or onboarding screens.
You can choose whether to upload:
- An image
- A video
Make sure to upload assets in the recommended sizes to ensure optimal display quality across all devices.
These screens are shown to users during their first-time app experience, forming the onboarding journey for new customers.
5. Configure screen settings
Each screen includes several customizable settings:
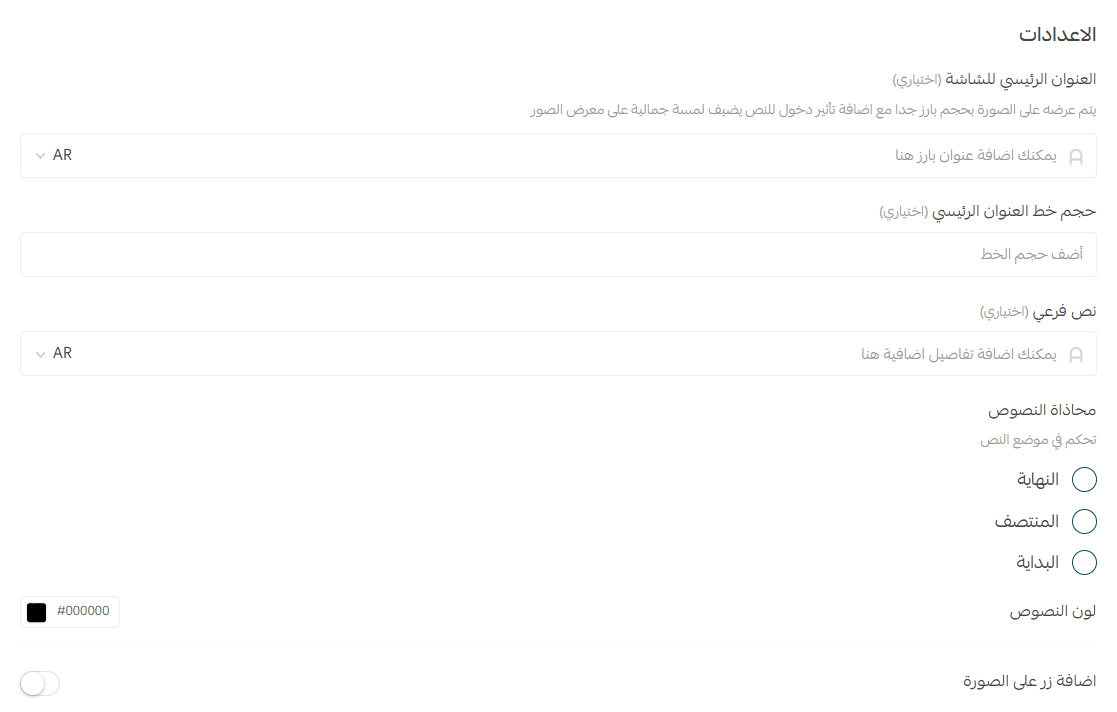
Main title (optional)
The primary text displayed prominently over the image.
Use a short headline or brand message that immediately captures attention.
Main title font size (optional)
Control the size of the headline text to match your brand identity and visual hierarchy.
Subtitle text (optional)
A secondary text area for additional context or a short message.
Examples:
- “Discover our new collection”
- “Exclusive offers all week”
Text alignment
Choose where the text appears on the screen:
- Bottom: text appears at the lower edge
- Top: text appears at the top
- Center: text appears in the middle of the screen
Text color
Select a text color that ensures readability and contrast with the background.
You can use preset colors or a custom HEX code.
Add a button (optional)
Enable a call-to-action button that appears on top of the image.
This button can guide users directly to an action such as:
- “Start now”
- “Shop now”
The button can be toggled on or off using the switch in the settings panel.
6. Save your changes
Click Save Settings to apply all updates and publish your changes.

For more details, explore:
- App design customization
- Designing your app using the Menu Template
Frequently asked questions
What is the splash screen?
The splash screen is displayed every time a user opens your app. It appears briefly and serves as the app’s visual introduction.
Can I upload animated images to onboarding screens?
No. Animated images are supported only in the splash screen, not in onboarding screens.
Onboarding screens are shown once only, during the first app launch after installation.
What formats are supported for animated images?
Animated images are supported in JSON format.
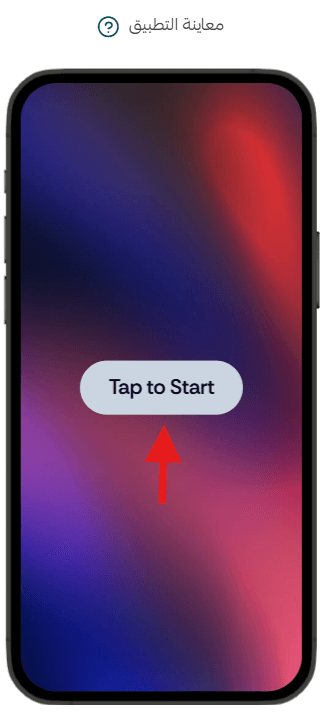
Can I preview the animated image after uploading it?
Yes. Click Refresh Preview, then tap Tap to Start to view the animation as it will appear to users.